I still remember the first time I tried to paint a room without properly prepping it – let’s just say it was a disaster. I was so excited to get started that I skipped all the boring prep work, and ended up with paint splatters on the carpet, furniture, and even the ceiling fan. It was a hard lesson to learn, but I quickly realized that knowing how to properly prep a room for painting is just as important as the actual painting itself. I’ve since learned that it’s all about taking your time, being meticulous, and having the right tools for the job.
In this article, I’ll share my honest, no-hype advice on prepping a room for painting, from clearing out the clutter to fixing those pesky holes in the wall. I’ll walk you through the entire process, step by step, so you can avoid the mistakes I made and get professional-looking results. Whether you’re a seasoned DIYer or a total beginner, I’ll show you that prepping a room for painting doesn’t have to be a chore – with the right mindset and techniques, it can even be kind of fun. So, let’s get started and turn your room into a beautiful, freshly painted oasis.
Table of Contents
Guide Overview: What You'll Need
Total Time: 2 hours 30 minutes
Estimated Cost: $50 – $100
Difficulty Level: Intermediate
Tools Required
- Utility Knife (with extra blades)
- Sandpaper (various grits)
- Vacuum Cleaner (for cleaning floors and surfaces)
- Drop Cloths (for protecting floors and furniture)
- Tape Measure (for measuring walls and surfaces)
- Ladder (for reaching high areas)
- Putty Knife (for filling holes and cracks)
- Screwdriver (for removing outlet covers and switch plates)
Supplies & Materials
- Drywall Patch Kit
- Spackling Compound (for filling holes and cracks)
- Sandable Primer (for priming surfaces)
- Painter’s Tape (for creating sharp edges and lines)
- Drop Cloth Tape (for securing drop cloths)
- Cleaning Solution (for cleaning surfaces)
- Rags (for wiping surfaces)
Step-by-Step Instructions
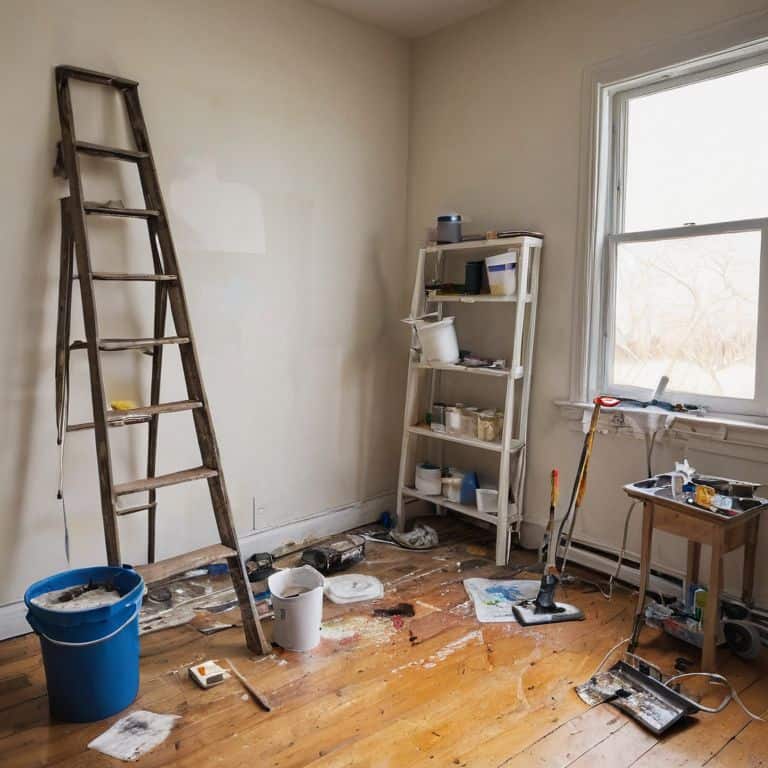
- 1. First, let’s clear the room of any furniture, curtains, and rugs to prevent them from getting damaged by paint splatters or spills. This is also a great opportunity to give the room a good dusting and vacuuming, getting rid of any cobwebs or dirt that might be hiding in the corners.
- 2. Next, we need to protect the floors by covering them with drop cloths or old sheets. This will save us a lot of time and hassle when it comes to cleaning up, and it’ll also prevent any paint from staining the floors. Make sure to secure the drop cloths with tape to prevent them from slipping around.
- 3. Now it’s time to remove any outlet covers and light switch plates to prevent paint from getting behind them. This is a simple step, but it’s often overlooked, and it can make a big difference in the overall look of the finished room. Set the outlet covers and light switch plates aside in a safe place where they won’t get lost.
- 4. We also need to wash the walls to remove any dirt, grime, or grease that might be on the surface. This will help the paint adhere better and give us a smoother finish. Use a mixture of soap and water, and a soft-bristled brush to gently scrub the walls.
- 5. After the walls are clean, it’s time to fix any holes or cracks in the drywall. This is where the magic happens, and we get to make the walls look brand new again. Use a joint compound to fill in the holes, and let it dry completely before sanding it down to a smooth finish.
- 6. With the walls all fixed up, we can now tape off the trim to prevent it from getting painted. Use a high-quality painter’s tape to get a seal that’s tight and even. Apply the tape carefully, making sure it’s straight and smooth, to get a crisp line between the trim and the wall.
- 7. Finally, let’s vacuum the room again to get rid of any dust or debris that might have been stirred up during the prep process. This will give us a clean slate to work with, and ensure that our paint job turns out smooth and even. Now we’re ready to start painting, and I can barely contain my excitement!
Prep Like a Pro
When it comes to achieving a smooth finish, sanding drywall is a crucial step that’s often overlooked. I like to think of it as the secret ingredient in your favorite recipe – it makes all the difference. By taking the time to sand down any imperfections, you’ll ensure a professional-looking result that’s worth the extra effort. Plus, it’s a great opportunity to put on your favorite playlist and get into a flow state.
As you’re prepping, don’t forget to protect your floors from those inevitable paint spills. I’ve learned the hard way that a good drop cloth or layer of plastic sheeting can save you hours of cleanup later on. And, if you’re planning on painting over dark colors, consider using a primer to get the best results. It’s like starting with a blank canvas – it gives you a fresh slate to work with.
Now, let’s talk about the often-neglected trim. Removing outlet covers and preparing your trim for painting can make a huge difference in the overall look of your room. By taking the time to mask off these areas, you’ll achieve crisp, clean lines that’ll make your space look like it was painted by a pro. Trust me, it’s worth the extra few minutes of prep work to get it just right.
Removing Outlet Covers for a Perfect Paint Job
Now that we’ve got our drywall sanded to perfection, let’s talk about another often-overlooked step: removing outlet covers. It’s a small detail, but trust me, it makes a huge difference in the end result. You don’t want any pesky paint lines around your outlets, right? So, take a screwdriver and gently pry those covers off. Set them aside in a safe place, like a little container or a ziplock bag, so you don’t lose any screws.
This simple step ensures a professional-looking paint job, and it’s easy to overlook, but it’s a total game-changer. With the outlet covers removed, you can paint right up to the edges without worrying about getting paint on the covers or missing any spots. Just remember to put them back on once the paint is dry – and you’re good to go!
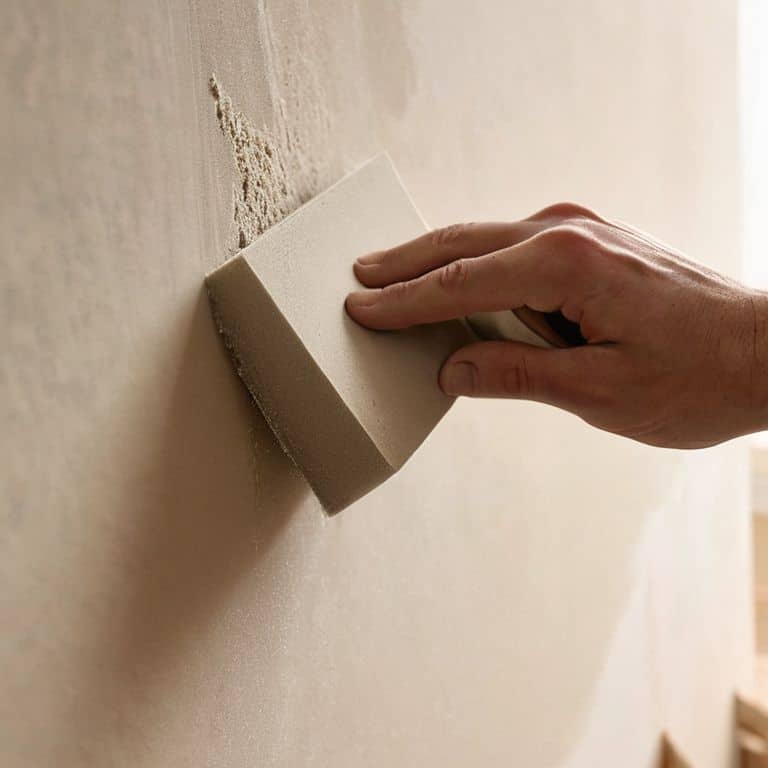
Sanding Drywall for a Smooth Finish
Now that we’ve got our room prepped like pros, it’s time to talk about one of my favorite topics: sanding drywall. I know, I know, it doesn’t sound like the most glamorous task, but trust me, it’s a total game-changer. A smooth finish is all about creating a solid foundation, and that starts with sanding down those drywall seams and joints. I like to use a combination of coarse and fine-grit sandpaper to get the job done – it’s all about feeling out the surface and adjusting your approach as you go.
With the right technique and a little bit of patience, you can achieve a finish that’s virtually flawless. And let’s be real, there’s something super satisfying about seeing those rough edges disappear beneath your sandpaper. It’s all about the process, my friends – and with sanding, it’s amazing how a few minutes of elbow grease can make all the difference in your final result.
Paint Prep Power Moves: 5 Tips to Get You Started

- Clear the clutter: Move furniture away from walls and cover the floors to avoid any paint splatters or spills
- Fix the flaws: Spackle or joint compound can work wonders on holes or cracks in the walls – just sand it down for a seamless finish
- Wash those walls: Dirt, grime, and grease can affect paint adhesion, so give your walls a good scrub before painting
- Take it to the tape: Apply painter’s tape to baseboards, trim, and moldings to get crisp, sharp lines and a pro-like finish
- Lighten up: Remove light switch plates and outlet covers to prevent paint from getting behind them and to ensure a smooth, even coat
Key Takeaways for a Flawless Paint Job
Clear the room and cover your floors and furniture to avoid any messy surprises, and make sure you’ve got all the necessary tools and materials within arm’s reach
Sanding your drywall and removing outlet covers are crucial steps to achieving a professional-looking finish – don’t skip ’em, even if it seems like a hassle
Remember, prep work is just as important as the painting itself, so take your time, crank up your favorite tunes, and have fun with the process – happy accidents are all part of the DIY journey
The Prep Is Mightier Than The Paint
Prepping a room for painting isn’t just about slapping on some primer and paint, it’s about crafting a canvas that’ll make your masterpiece shine – and that’s where the real magic happens, my friends!
Franklyn "Frank" Bishop
Wrapping Up Your Painting Prep
We’ve covered a lot of ground in this guide, from clearing out the room to sanding drywall for a smooth finish, and even removing outlet covers for a perfect paint job. Remember, prepping like a pro is all about attention to detail and taking your time – don’t rush through these steps, as they’re crucial for a professional-looking result. By following these steps, you’ll be well on your way to a beautiful, long-lasting paint job that will make your room look amazing.
Now that you’ve got the prep work under your belt, it’s time to get excited about the actual painting process! The fun part is just around the corner, and with a solid foundation like the one we’ve built together, you can bet your final result is going to be nothing short of awesome. So go ahead, grab your paintbrush, and let’s get this paint party started!
Frequently Asked Questions
What's the best way to fill holes or cracks in the drywall before painting?
Filling holes or cracks in drywall is a breeze, my friend! I swear by a good ol’ fashioned spackling compound. Just apply, let it dry, and sand it down for a smooth finish. For bigger holes, I use a drywall repair kit or even some mesh patching tape. Easy peasy, and you’re ready to paint!
How do I determine if I need to prime my walls before painting, or can I just use a paint with a built-in primer?
Hey, great question! So, you’re wondering if you can skip priming and just use a paint with a built-in primer? Honestly, it depends on your walls. If they’re pretty smooth and don’t have any major stains, a paint with primer might do the trick. But, if you’ve got rough texture, bold colors, or stubborn stains, you’re better off breaking out the separate primer for a solid base.
What's the most effective method for removing old adhesive or residue from walls, such as from previous wallpaper or border stickers?
Dude, old adhesive can be a real pain! I swear by using a mixture of equal parts water and fabric softener. Apply it to the residue, let it sit for a bit, and then scrape it off with a putty knife or credit card. It’s like magic, I tell ya!