I still remember the day I stumbled upon the concept of how to set up a bullet journal for planning – it was like a breath of fresh air in my chaotic life. I had tried countless planning apps and tools, but nothing seemed to stick until I discovered the beauty of bullet journaling. The myth that bullet journals have to be perfect, artistic masterpieces is a major turn-off for many, but I’m here to tell you that it’s completely okay to have a messy, beautiful bullet journal that reflects your unique personality.
In this article, I’ll walk you through my personal journey of setting up a bullet journal for planning, and provide you with practical tips to make the most out of this powerful tool. You’ll learn how to create a system that works for you, not against you, and how to make planning a fun and creative process. By the end of this guide, you’ll have a clear understanding of how to set up a bullet journal that suits your needs and helps you achieve your goals. So, let’s dive in and explore the world of bullet journaling together, and discover how it can help you take control of your life and make planning a breeze.
Table of Contents
- Guide Overview: What You'll Need
- Step-by-Step Instructions
- How to Set Up a Bullet Journal
- 5 Essential Tips to Supercharge Your Bullet Journal Setup
- 3 Key Takeaways to Supercharge Your Planning
- Planning with Intention
- Putting it All Together: Your Journey to Bullet Journal Mastery
- Frequently Asked Questions
Guide Overview: What You'll Need
Total Time: 1 hour 30 minutes
Estimated Cost: $10 – $30
Difficulty Level: Easy
Tools Required
- Pen (fine-tip)
- Pencil (sharp)
- Eraser (for corrections)
Supplies & Materials
- Notebook (dedicated bullet journal, preferably with 5 inches x 8 inches or larger pages)
- Ruler (for drawing straight lines, approximately 6 inches long)
- Stickers or washi tape (optional, for decoration)
- Colored pencils or markers (optional, for color-coding)
Step-by-Step Instructions
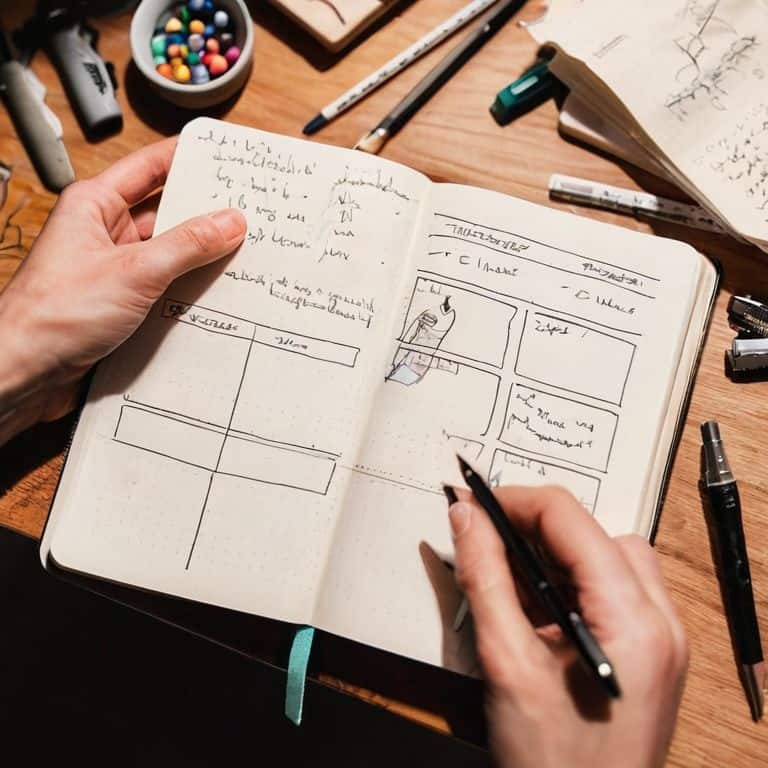
- 1. First, let’s start with the basics: choosing the right bullet journal for you. I’m a big fan of leuchtturm1917 notebooks, but honestly, any dedicated notebook will do. The key is to find one that feels comfortable in your hands and has a layout that inspires you to be creative. I like to think of my bullet journal as a trusted companion, so take your time when selecting the perfect one.
- 2. Next, it’s time to set up your bullet journal’s index system. This is where things can get a bit overwhelming, but trust me, it’s worth it. Essentially, you’ll want to create a key or legend that explains the different symbols and colors you’ll be using throughout your journal. For me, a filled-in circle means a completed task, while a hollow circle indicates a pending one. Don’t worry too much about getting it perfect at this stage – you can always adjust as you go along.
- 3. Now we’re moving on to the fun part: creating your future log. This is where you’ll get a bird’s-eye view of your upcoming events and appointments. I like to dedicate a few pages to this, using a different layout for each month. It’s amazing how having a visual representation of your commitments can help you plan and prepare for what’s ahead. Take your time to make it look pretty, too – after all, this is your chance to get creative and make your bullet journal truly yours.
- 4. With your future log in place, it’s time to start thinking about your daily spreads. These are the pages where you’ll be breaking down your tasks into manageable chunks. I’m a fan of using a Pomodoro timer to help me stay focused, so I like to include a section for tracking my work sessions. You can also add space for notes, reminders, or even a to-do list. Remember, the key to a successful daily spread is to keep it simple and flexible – you want to be able to adapt it to your changing needs.
- 5. One of the most powerful tools in your bullet journal arsenal is the migration process. This is where you’ll review your tasks, move incomplete ones to the next day, and generally get a sense of what needs to be done. I like to do this at the end of each day, using a highlighter to mark off completed tasks and make notes on what I could improve tomorrow. It’s a great way to reflect on your progress and plan for the day ahead.
- 6. As you get more comfortable with your bullet journal, you can start to experiment with different collections. These are essentially themed pages that help you track specific areas of your life, like habits, mood, or even books you’ve read. I have a dedicated page for tracking my travel plans, complete with a map and a list of destinations I want to visit. It’s a great way to add some personality to your journal and make it feel more like a treasured companion.
- 7. Finally, don’t be afraid to make mistakes or try new things – it’s all part of the bullet journal journey. Remember, this is a tool that’s meant to help you, not stress you out. If you find that a particular layout or system isn’t working for you, don’t be afraid to start again. The beauty of a bullet journal is that it’s completely customizable, so feel free to experiment and find what works best for your unique needs and style.
How to Set Up a Bullet Journal
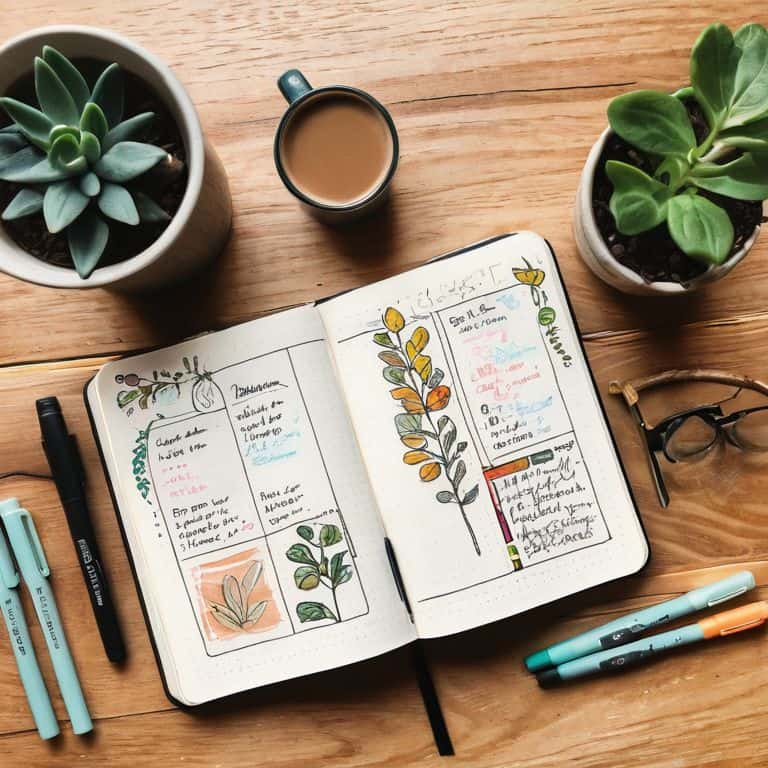
As I delve into the world of bullet journaling, I’ve discovered that custom bullet journal spreads can make all the difference in staying organized. For me, it’s about creating a system that’s both functional and visually appealing. I like to think of my bullet journal as a reflection of my personality, with each spread tailored to my specific needs and interests. Whether it’s a monthly log or a habit tracker, I’ve found that having a unique layout helps me stay engaged and motivated.
When it comes to setting up my bullet journal, I always start with a bullet journal key explained section. This helps me keep track of the various symbols and abbreviations I use throughout my journal. It’s amazing how something as simple as a key can help streamline your planning process. I also like to include indexing system for bujo to quickly locate specific spreads or collections. This has been a game-changer for me, especially when I’m trying to find a particular note or reminder.
As I continue to use my bullet journal, I’ve learned the importance of bullet journal migration tips. This involves transferring my existing spreads to a new journal, which can be a daunting task. However, with a little planning and patience, it’s easy to make the transition seamless. I’ve even started using habit tracker templates to help me stay on track with my daily routines. By incorporating these tools into my bullet journal, I’ve been able to create a system that’s both effective and enjoyable to use.
Bullet Journal Key Explained Simply
When I first started with bullet journaling, I was overwhelmed by all the symbols and keys. But trust me, once you break it down, it’s surprisingly simple. The bullet journal key is essentially a legend that helps you decipher the different symbols and markings in your journal. It’s usually placed at the beginning of your journal and serves as a quick reference guide.
I use a basic set of symbols: a dot for tasks, an ‘X’ for completed tasks, and a ‘>’ for migrated tasks. It’s amazing how these little symbols can help you stay on top of your to-do list and plan your day with ease. By keeping your key consistent, you’ll be able to quickly scan your journal and understand what needs to be done, making your planning process more efficient and stress-free.
Custom Spreads for Planning Chaos
Now that we’ve covered the basics, let’s dive into creating custom spreads that cater to your unique planning needs. I’m obsessed with designing spreads that reflect my current goals and priorities. For instance, I have a “Travel Planner” spread that helps me organize trips, and a “Party Planner” spread for, you guessed it, throwing epic themed parties! These custom spreads have been total game-changers for me, and I encourage you to experiment with different layouts and themes to find what works best for you.
I like to think of custom spreads as “sprints” towards my goals – they help me focus on what’s truly important and make steady progress. By incorporating personalized spreads into your bullet journal, you’ll be able to tackle planning chaos with ease and clarity. Whether it’s a “Fitness Tracker” or a “Creative Project” spread, the possibilities are endless, and I’m excited for you to explore and find your perfect fit.
5 Essential Tips to Supercharge Your Bullet Journal Setup
- My Top Tip: Start Small and Don’t Overcomplicate Your Spreads
- Choose a Journal That Feels Like You: From Size to Paper Quality, It Matters
- Create a Key That Actually Works for You: Experiment with Symbols and Colors
- Make Migrations a Breeze: How to Move Unfinished Tasks to Your Next Spread
- Schedule Regular Review Sessions: Reflect, Adjust, and Keep Your Journal Alive
3 Key Takeaways to Supercharge Your Planning
By setting up a bullet journal, you’ll be able to break down big goals into smaller, manageable tasks and track your progress with ease, making you feel more in control of your life
Customizing your bullet journal with spreads that fit your unique needs and style will help you stay motivated and engaged in the planning process, making it a fun and creative outlet
Remember, the beauty of bullet journaling lies in its flexibility, so don’t be afraid to experiment, make mistakes, and evolve your system as you go – it’s all about finding a rhythm that works for you and helps you achieve your dreams
Planning with Intention
A bullet journal is not just a notebook, it’s a reflection of your mind – messy, beautiful, and uniquely yours, where every spread is a chance to rewrite your story and plan your chaos into something breathtakingly organized.
Clara Jensen
Putting it All Together: Your Journey to Bullet Journal Mastery

As we’ve explored the world of bullet journaling, from the initial setup to creating custom spreads and understanding the bullet journal key, it’s clear that this system is all about flexibility and personalization. The steps outlined in this guide are designed to be adaptable, allowing you to mold your bullet journal into a tool that perfectly suits your planning style and needs. Whether you’re a meticulous planner or someone who prefers a more relaxed approach, the bullet journal system can be tailored to fit your lifestyle, making it an incredibly powerful tool for managing your time and achieving your goals.
As you embark on this journey, remember that the true beauty of bullet journaling lies in its ability to evolve with you. It’s not just about creating a perfectly laid out spread or using the ‘right’ symbols; it’s about creating a system that helps you stay on top of your tasks, appointments, and dreams. So, don’t be afraid to experiment, to try new things, and to make mistakes – because in the end, it’s all part of the process of growth and learning to navigate your life with clarity and purpose.
Frequently Asked Questions
What are some essential pages I should include in my bullet journal to make it a comprehensive planning tool?
For me, essentials include a future log, monthly spread, and daily to-do lists. I also love having a migration page to track unfinished tasks and a goals page to break down big objectives into smaller, actionable steps. These pages help me stay on top of my schedule and focus on what really matters.
How often should I review and update my bullet journal to ensure it remains an effective planning system?
I review mine weekly, setting aside 10 minutes on Sundays to reflect, update, and plan ahead – it’s my ‘sprint’ reset. I also do a deeper dive monthly, assessing what’s working and what needs tweaking, to ensure my bullet journal stays a trusted sidekick, not a source of stress.
Can I use a digital tool to create a bullet journal, or is a physical notebook necessary for its benefits?
While traditional bullet journaling is done in a physical notebook, I’ve found that digital tools can be just as effective. I use a hybrid approach, combining my physical journal with digital planning apps for added convenience. Experiment with both methods to see what works best for you!