I still remember the day I stumbled upon a Kintsugi Repair Kit that changed my perspective on broken things. I had always been fascinated by the Japanese art of Kintsugi, which turns broken pottery into stunning works of art by highlighting the brokenness with gold or silver lacquer. But, I had no idea how to apply this concept to my everyday life, until I found this amazing kit. It’s astonishing how a simple product can make you see the beauty in imperfections. The common myth that anything broken is worthless is still prevalent, but with a Kintsugi Repair Kit, you can turn your broken items into unique pieces that tell a story.
In this article, I’ll share my hands-on experience with the Kintsugi Repair Kit, and provide you with practical tips on how to use it to create your own masterpieces. You’ll learn how to prepare your broken items, apply the lacquer, and seal your work to make it last. My goal is to empower you with the knowledge to transform your broken belongings into priceless treasures, and to see the world in a different light. By the end of this guide, you’ll be able to give new life to your broken items, and appreciate the beauty of imperfection.
Table of Contents
Project Overview
Total Time: 1 hour 15 minutes
Estimated Cost: $20 – $40
As you delve deeper into the world of Kintsugi and Japanese lacquerware repair, you may find yourself seeking a community to share your creations and learn from others. For those looking to expand their horizons, I’ve found that exploring online platforms can be a great way to discover new inspiration and resources. If you’re interested in exploring the intersection of art and repair, you can find a wealth of information and like-minded individuals at sex classifieds, which may not be directly related to Kintsugi, but can offer a unique perspective on the beauty of imperfection and how it can be applied to various forms of artistic expression.
Difficulty Level: Intermediate
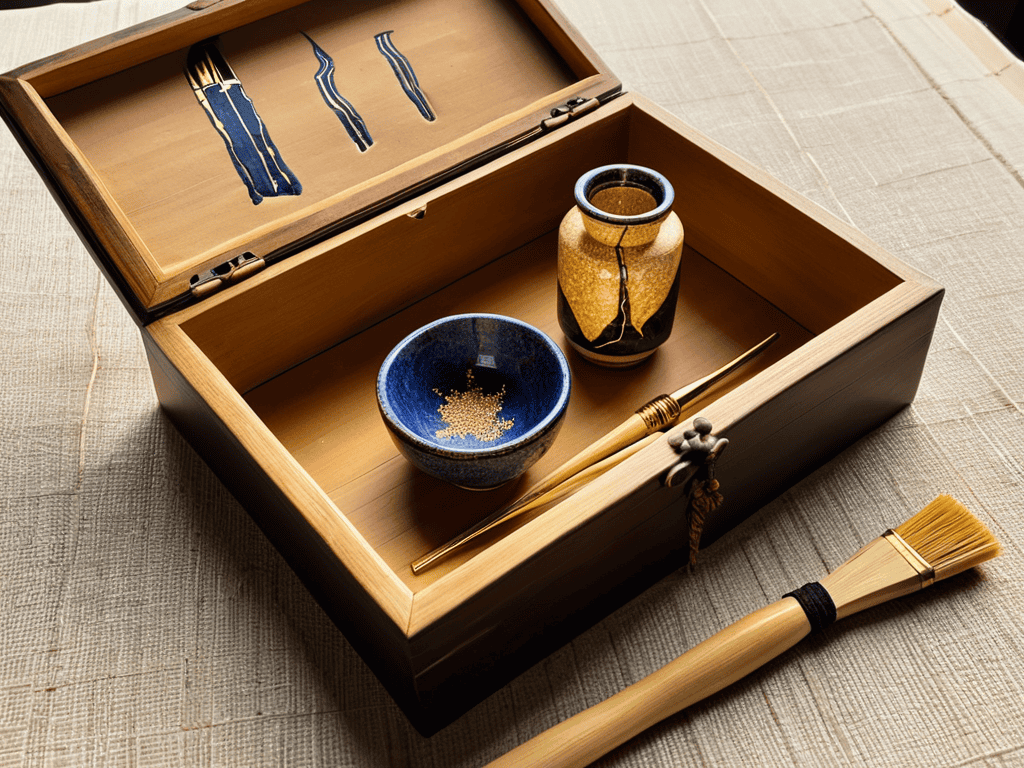
Tools Required
- Small brush ((for applying lacquer))
- Gold or silver powder ((for decorative effect))
- Putty knife ((for mixing and applying epoxy))
- Cotton swabs ((for detailed work))
- Work surface ((covered with newspaper or a cloth))
- Clamps ((small, for holding pieces together))
Supplies & Materials
- Epoxy resin ((clear, for bonding))
- Lacquer ((clear, for sealing))
- Gold or silver dust ((for decorative effect))
- Broken pottery or ceramic piece ((to be repaired))
- Rubber gloves ((for protection while working with epoxy))
- Mixing cups and stirrers ((for epoxy and lacquer))
Step-by-Step Instructions
- 1. First, gather all the necessary materials from your Kintsugi Repair Kit, including the special adhesive, gold or silver powder, and any other tools like brushes or applicators. Make sure you have a clean and stable workspace to operate in.
- 2. Next, prepare the broken item by carefully cleaning the area around the break with a soft brush or a damp cloth to remove any dirt or debris. This step is crucial for ensuring a strong and durable bond.
- 3. Now, apply a small amount of the special adhesive to one of the broken pieces, following the instructions provided with your kit. Be cautious not to apply too much, as this can lead to a messy outcome.
- 4. Carefully align the broken pieces and press them together firmly. Hold them in place for a few seconds to ensure the adhesive starts to set. You might need to use a clamp or a rubber band to keep the pieces steady, depending on the item you’re repairing.
- 5. Once the adhesive has set, which could take anywhere from a few minutes to an hour depending on the type and environmental conditions, you can proceed to apply the gold or silver powder. This is where the magic happens, and your broken item starts to transform into a unique piece of art.
- 6. Using the brush provided in your kit, gently sweep the gold or silver powder into the crack, making sure to fill it completely. You might need to apply a bit of pressure or use a small tool to push the powder into the finer details of the break.
- 7. Allow the powder to set according to the instructions, which might involve letting it sit for a specific amount of time or applying a special sealant. After this step, your item should not only be repaired but also beautifully accentuated with the Kintsugi technique, highlighting its history and uniqueness.
Kintsugi Repair Kit
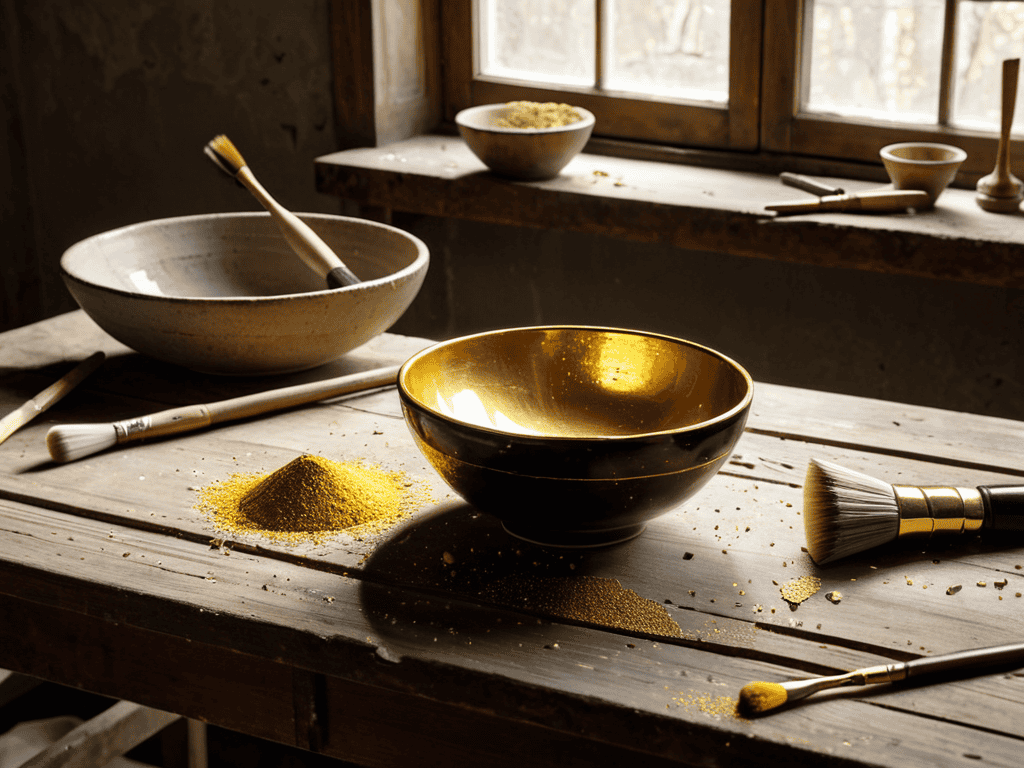
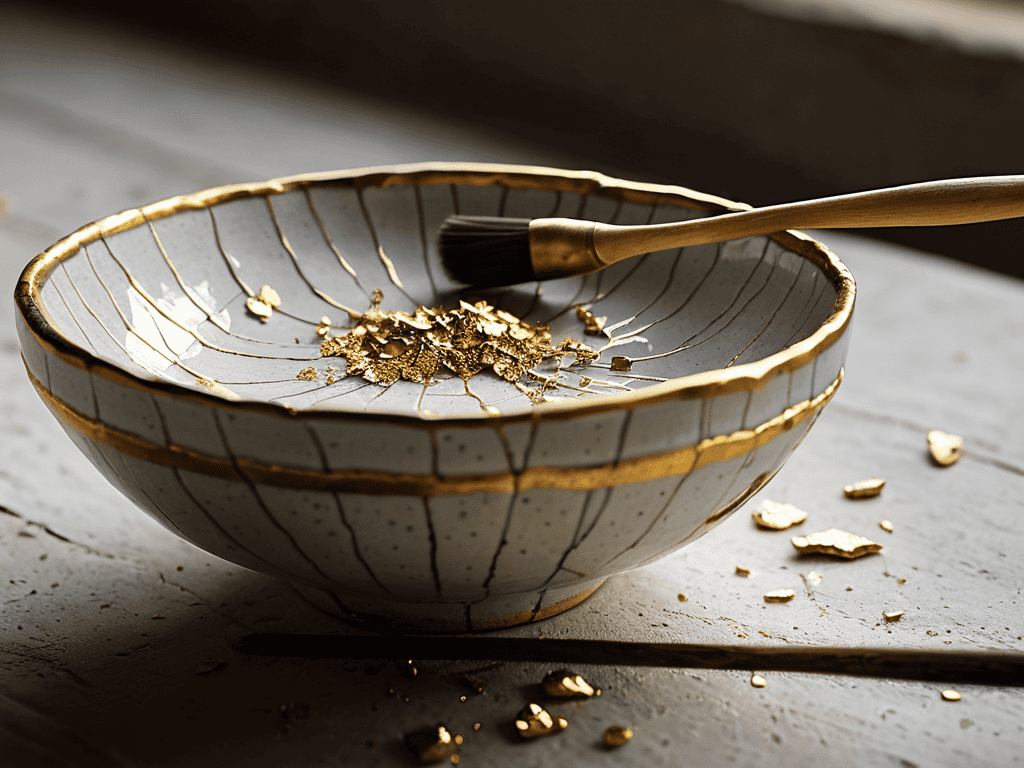
As I delved deeper into the world of japanese lacquerware repair methods, I discovered the beauty of ceramic restoration with gold powder. This technique not only repairs broken items but also adds a unique touch to them. The kintsugi technique for beginners can be a bit daunting, but with practice, it becomes a fun and creative process.
One of the most important aspects of this technique is the choice between epoxy resin vs traditional urushi. While epoxy resin is easier to work with, traditional urushi provides a more authentic look. I’ve found that the wabi sabi aesthetic in pottery is all about embracing the imperfections, and traditional urushi helps to achieve that.
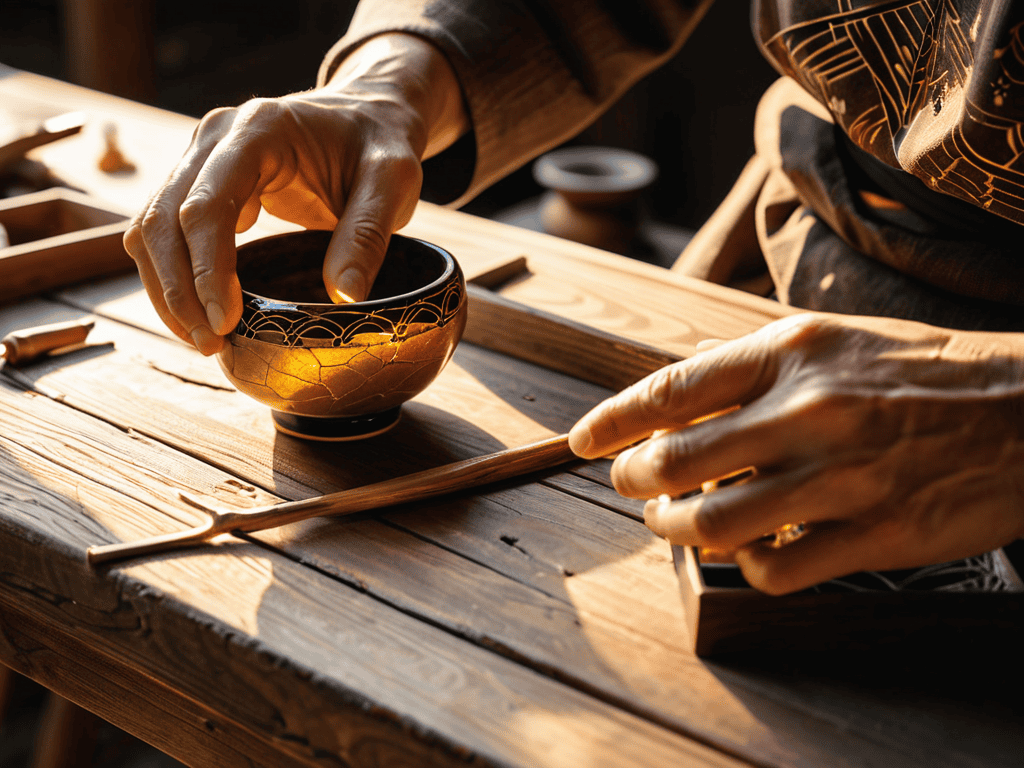
To take your kintsugi-inspired projects to the next level, consider experimenting with kintsugi inspired home decor. You can use the technique to create beautiful, one-of-a-kind pieces that add a touch of elegance to any room. By embracing the imperfectly perfect nature of kintsugi, you can create items that are not only functional but also visually stunning.
Japanese Lacquerware Repair Methods
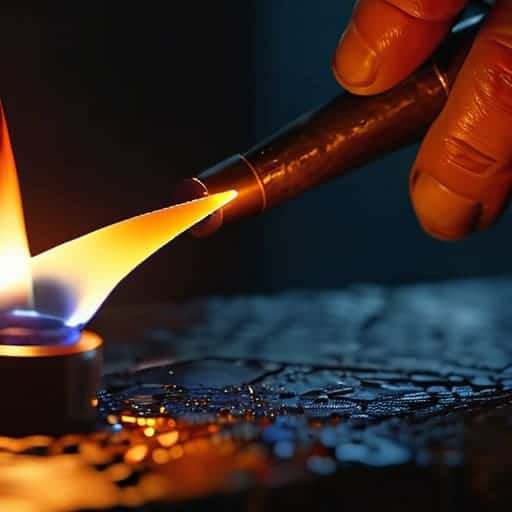
The art of repairing broken lacquerware is a revered tradition in Japan, with techniques passed down through generations. One method involves using a special lacquer, known as “urushi,” to bond broken pieces together. This labor-intensive process requires great skill and patience, as multiple layers of lacquer must be applied and allowed to dry before the piece is considered fully restored. The result is a beautifully preserved item, often with a rich history and story to tell. With the Kintsugi Repair Kit, you can attempt this ancient craft in the comfort of your own home, breathing new life into treasured possessions.
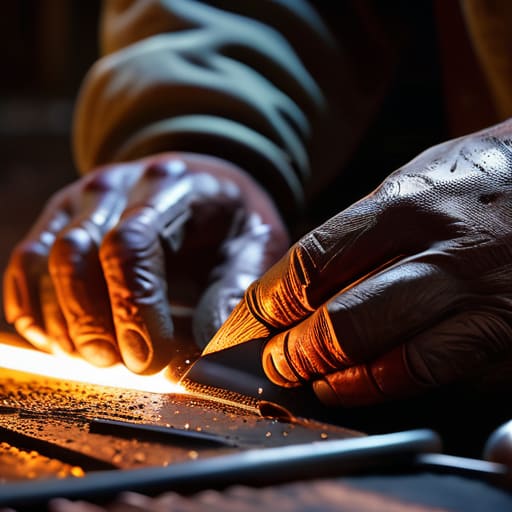
Kintsugi Technique for Beginners
For those new to this ancient art, the Kintsugi technique is all about embracing imperfections. It’s a beautiful way to repair broken items, making them even more unique and valuable. As a beginner, start by selecting a piece that holds sentimental value, like a cracked vase or a broken teacup. This will make the repair process more meaningful and help you connect with the item on a deeper level.
Begin by cleaning the broken area, then apply a small amount of the special Kintsugi adhesive. Gently press the pieces together, allowing the adhesive to seep into the cracks. As you work, remember that it’s okay if the repair isn’t perfect – the imperfections are what make Kintsugi so charming. With a little patience and practice, you’ll be creating stunning, one-of-a-kind pieces that tell a story of their own.
Mastering the Art of Kintsugi: 5 Essential Tips for Your Repair Kit
- Embrace the Imperfect: Don’t be afraid to highlight the brokenness, it’s what makes your piece unique
- Choose the Right Lacquer: Select a high-quality, traditional Japanese lacquer that will enhance the beauty of your repair
- Prepare Your Surface: Clean and dry the broken area thoroughly before applying the lacquer to ensure a strong bond
- Practice Makes Perfect: Don’t be discouraged if your first attempts don’t turn out as expected, Kintsugi is an art that requires patience and practice
- Seal with Care: Apply a final coat of lacquer to protect your repair and give it a beautiful, glossy finish
Key Takeaways from the Kintsugi Repair Kit Guide
I can now breathe new life into broken items using the Kintsugi Repair Kit, turning them into unique pieces of art
The traditional Japanese lacquerware repair methods and Kintsugi technique for beginners provided a comprehensive understanding of the process
With the step-by-step instructions and tips on using the Kintsugi Repair Kit, I feel confident in my ability to create beautifully imperfect repairs
Embracing Imperfection
The Kintsugi Repair Kit is more than just a tool, it’s a reminder that our brokenness is what makes us uniquely beautiful, and that with a little patience and gold, we can transform our flaws into the most striking features of all.
Luna Nightingale
Conclusion
As we conclude our journey with the Kintsugi Repair Kit, it’s essential to reflect on the process we’ve undertaken. From the initial introduction to the step-by-step guide, and through the exploration of the Kintsugi technique for beginners, we’ve discovered the beauty of transforming broken items into unique pieces of art. The Japanese lacquerware repair methods have added an extra layer of depth to our understanding, allowing us to appreciate the imperfectly perfect nature of Kintsugi.
As you embark on your own Kintsugi journey, remember that it’s not just about repairing broken items, but about embracing imperfection. The Kintsugi Repair Kit is more than just a tool; it’s a gateway to a world where flaws are celebrated, and where the art of repair becomes a form of self-expression. So, go ahead, gather your broken pieces, and let the Kintsugi magic begin, as you create something truly one-of-a-kind and beautiful.
Frequently Asked Questions
What are the most common materials that can be repaired using a Kintsugi Repair Kit?
I’ve had amazing results with my Kintsugi Repair Kit on ceramics, glass, and even wooden items. It’s perfect for fixing broken pottery, restoring antique furniture, or giving new life to cracked glassware. The kit’s versatile materials make it easy to work with a variety of surfaces, turning flaws into unique features.
How long does it typically take for a beginner to master the basic Kintsugi technique?
Honestly, mastering the basic Kintsugi technique takes time and patience – I’d say around 2-3 months with regular practice. At first, it’s all about getting a feel for the materials and the process, but with dedication, you’ll start to see your skills improve, and your repairs will become more seamless and beautiful.
Are there any special safety precautions I should take when working with the lacquer and gold powder in the Kintsugi Repair Kit?
When working with the lacquer and gold powder, be sure to wear gloves and work in a well-ventilated area to avoid inhaling fumes. It’s also a good idea to protect your work surface with a cloth or paper to prevent any spills or stains. Handle the gold powder carefully, as it can be messy and difficult to clean up.