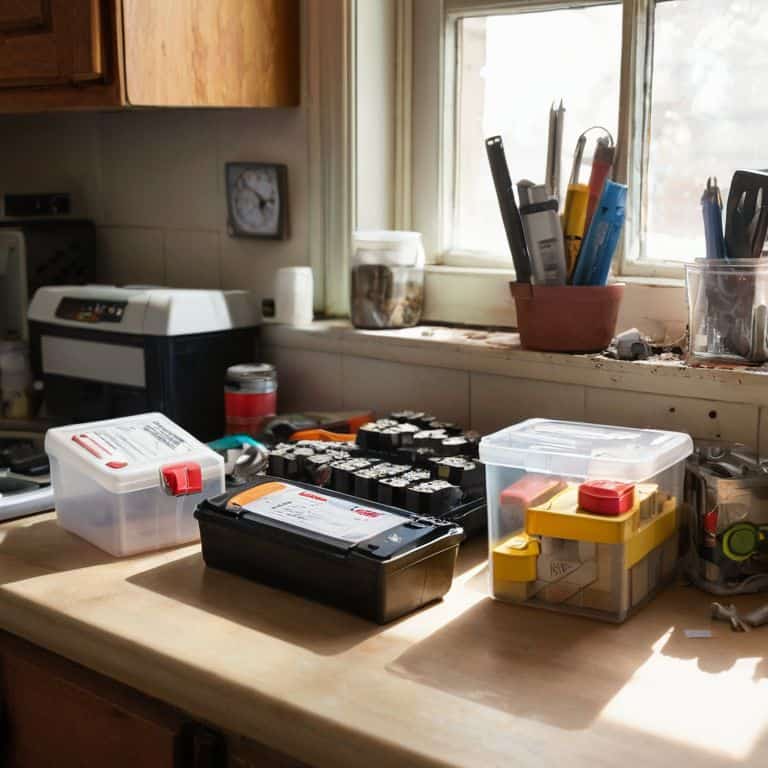
I still remember the day I decided to tackle the infamous junk drawer in my kitchen – it was a mess of tangled earbuds, expired coupons, and mysterious screws. As I dove in, I realized that how to organize your junk drawer once and for all wasn’t just about sorting items into neat categories, but about uncovering the story behind each misplaced treasure. The journey was frustrating at times, but it taught me that with a little creativity and patience, even the most chaotic spaces can be transformed into functional works of art.
In this article, I’ll share my hard-won tips and tricks for turning your junk drawer into a beautifully organized oasis. You’ll learn how to purge the unnecessary, assign a home to each item, and maintain your newly organized space over time. My goal is to empower you with the knowledge and confidence to tackle your own junk drawer, and to show you that organizing your space can be a fun and rewarding experience, rather than a daunting chore. By the end of this guide, you’ll be equipped with the skills to create a junk drawer that’s not only functional, but also reflects your unique personality and style.
Table of Contents
- Guide Overview: What You'll Need
- Step-by-Step Instructions
- Organize Your Junk Drawer
- Taming the Chaos: 5 Essential Tips to Organize Your Junk Drawer Once and for All
- Tackling the Chaos: 3 Key Takeaways to a Junk Drawer Makeover
- Taming the Chaos
- The Grand Finale of Junk Drawer Liberation
- Frequently Asked Questions
Guide Overview: What You'll Need
Total Time: 1 hour 15 minutes
Estimated Cost: $10 – $30
Difficulty Level: Easy
Tools Required
- Small Hammer (for tapping dividers into place)
- Tape Measure (for measuring the drawer)
- Level (for ensuring the dividers are straight)
- Pencil (for marking the drawer and dividers)
- Utility Knife (with extra blades)
Supplies & Materials
- Dividers or Small Bins (to separate items in the drawer)
- Adhesive-Backed Hooks (for hanging small items on the back of the drawer)
- Small Containers or Trays (for storing small items like paper clips or push pins)
- Drawer Liner (to protect the drawer from scratches and spills)
- Label Maker (to label the dividers and containers)
Step-by-Step Instructions
- 1. First, let’s take a deep breath and dive into the chaos of our junk drawer. We’re talking about the space that’s been driving us crazy for months, maybe even years. It’s time to turn it into a _sanctuary of organization_ where everything has its place and tells a story.
- 2. Next, we need to empty the drawer completely. Yes, you read that right – everything comes out. This is the fun part where we get to see all the hidden treasures and surprises that have been accumulating in there. Take a moment to _admire the chaos_ and think about how good it’ll feel to have it all sorted out.
- 3. Now that we have everything out, it’s time to categorize and purge. Go through each item and decide if it’s something you need, something you can donate, or something that’s just plain useless. Be _ruthless_ – if you haven’t used it in the past year, it’s probably safe to get rid of it.
- 4. With our items sorted, let’s think about the zones we want to create within our junk drawer. Maybe we need a zone for office supplies, another for tools, and a third for miscellaneous items like batteries and cords. Having these zones in mind will help us _visualize the final result_ and make the organizing process much smoother.
- 5. It’s time to choose our storage containers. This is where the fun really begins! We can use small baskets, bins, or even repurposed containers like old mason jars or wooden crates. The key is to find containers that fit our items neatly and _add a touch of personality_ to our drawer.
- 6. Now, let’s assign a home to each item. This is the step where we take our categorized items and place them into their respective zones and containers. Remember, the goal is to make sure everything has a _designated spot_ so that maintaining our newly organized junk drawer is easy.
- 7. As we’re putting everything back into the drawer, let’s not forget to add some labels. This will help us quickly identify what’s inside each container and _keep our zones organized_. We can use stickers, labels, or even paint to add a personal touch to our containers.
- 8. Finally, let’s step back and admire our handiwork. Our junk drawer has been transformed from a source of stress into a _testament to our creativity and organizational skills_. Remember, the key to maintaining this space is to make sure everything has its place and to schedule regular clean-outs to keep the clutter at bay.
Organize Your Junk Drawer
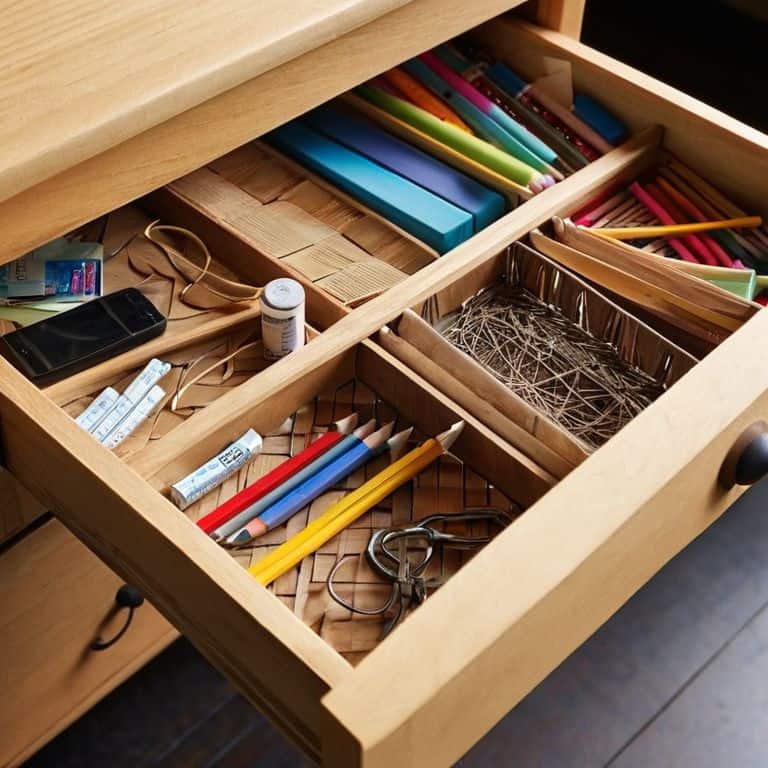
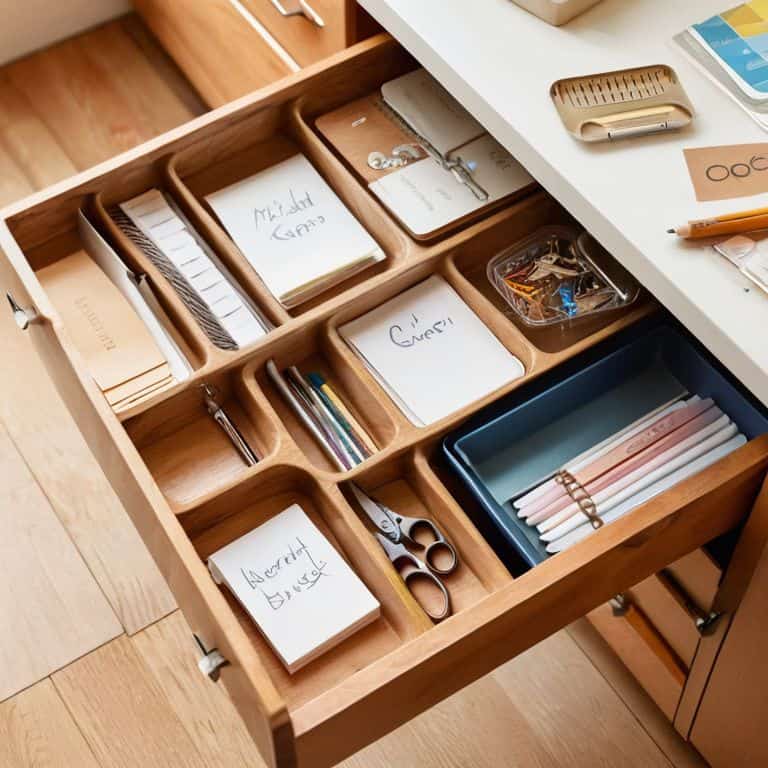
As I dove into organizing my own junk drawer, I realized that custom divider ideas can make all the difference. By creating separate compartments for different types of items, I was able to maximize the space and keep everything tidy. I used a combination of wooden dividers and small baskets to create a system that worked for me. It’s amazing how something as simple as a divider can help decluttering tips for beginners become a breeze.
When it comes to organizing small spaces, it’s all about being intentional with what you keep and where you put it. I like to think of my junk drawer as a treasure chest, where each item has a special story or purpose. By paring down my belongings and assigning a home for each item, I was able to create a sense of calm and control in my kitchen. Maximizing drawer space is all about finding creative ways to use the space you have, whether that means using stackable containers or installing a drawer organizer.
To keep my junk drawer organized, I’ve implemented a simple junk drawer maintenance routine. Each week, I take a few minutes to tidy up the drawer and make sure everything is still in its assigned place. It’s a small task that makes a big difference in the long run, and helps me avoid having to start from scratch with a big decluttering project. By staying on top of my junk drawer, I can focus on more fun projects, like scouting out unique furniture pieces at the flea market or tending to my urban garden.
Custom Divider Ideas
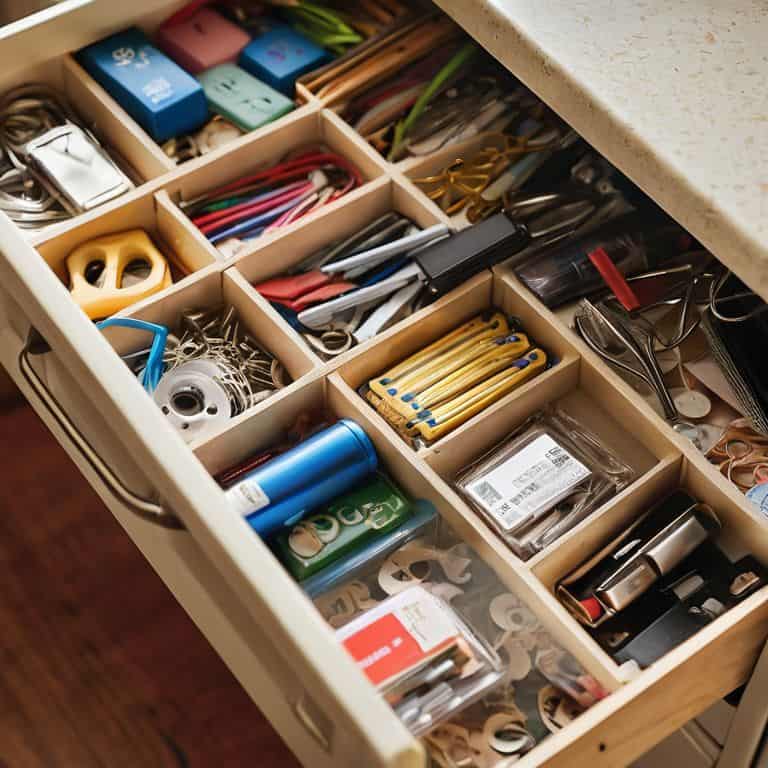
Now that we’ve explored some amazing storage solutions, let’s dive into the fun part – creating custom dividers that turn your junk drawer into a work of art. I love using reclaimed wood, colorful acrylic, or even vintage cardboard to separate my treasures. You can also repurpose old CD cases, cardboard tubes, or small plastic containers to create one-of-a-kind dividers.
Get creative and think outside the box (or drawer)! Use paint, markers, or stickers to add patterns, labels, or inspirational quotes to your dividers. This is where your personality shines, and your junk drawer starts telling its own story. I’ve even used my power tool, “Bertha,” to cut custom shapes from plywood, adding a touch of whimsy to my divider design. Remember, it’s all about having fun and making your space truly yours.
Junk Drawer Storage Solutions
Now that we’ve got our junk drawer organized, let’s talk about some clever storage solutions to keep it that way. I’m obsessed with using vintage containers and baskets to add some personality to my storage. For example, I found this amazing old tin lunchbox at a flea market that’s now perfect for storing my screws and nails. You can also repurpose old mason jars, wooden crates, or even tea tins to create a unique and functional storage system.
By using these creative storage solutions, you’ll not only keep your junk drawer tidy, but you’ll also add a touch of your personal style to the space. Plus, it’s a great way to upcycle old items and reduce waste. Get creative and have fun with it – your junk drawer will thank you!
Taming the Chaos: 5 Essential Tips to Organize Your Junk Drawer Once and for All
- Start with a clean slate: Empty your junk drawer completely, and sort items into categories like ‘keep,’ ‘donate,’ and ‘toss’ to get a clear picture of what you’re working with
- Assign a home for each item: Use dividers, baskets, or small containers to create separate spaces for similar items, making it easier to find what you need when you need it
- Implement the ‘one in, one out’ rule: To prevent clutter from building up again, make a rule that for every new item you add to your junk drawer, an old one must be removed or donated
- Utilize vertical space: Install hooks, a pegboard, or a small shelf to maximize the space in your junk drawer and keep frequently used items within easy reach
- Schedule regular ‘junk drawer audits’: Set a reminder to review the contents of your junk drawer every few months to ensure it stays organized and clutter-free, and make adjustments as needed
Tackling the Chaos: 3 Key Takeaways to a Junk Drawer Makeover
Transforming your junk drawer from a cluttered nightmare to a functional haven is all about embracing your personal style and telling the story of your space, one organized compartment at a time.
By incorporating custom divider ideas and repurposing items like old jars, crates, or even vintage suitcases, you can turn your junk drawer into a reflection of your creativity and a testament to the beauty of upcycled decor.
Remember, the journey to a perfectly organized junk drawer is just as important as the destination – it’s about having fun, being imaginative, and celebrating the quirks that make your home truly yours.
Taming the Chaos
The junk drawer isn’t just a space, it’s a storyteller – every scattered paper clip and lost screw tells a tale of its own; the key is to listen to its chaos and weave it into a narrative of order and beauty.
Maya Rivera
The Grand Finale of Junk Drawer Liberation
We’ve journeyed through the wild west of junk drawers together, and I hope you’re now equipped with the knowledge to tame the chaos. From custom divider ideas to clever storage solutions, we’ve explored it all. The key to maintaining your newly organized junk drawer is to schedule regular clean-outs and make adjustments as needed. Don’t be too hard on yourself if things get messy again – it’s all part of the process. Remember, the goal is to create a space that makes you smile, not to achieve some unrealistic standard of perfection. By implementing these simple yet effective strategies, you’ll be well on your way to a more peaceful and productive living space.
As you close the door on your now-organized junk drawer, I want to leave you with a final thought: your home is a reflection of your story. Every room, every shelf, and every drawer is an opportunity to express your unique personality and style. Don’t be afraid to get creative and make mistakes – they’re all part of the adventure. So go ahead, take a deep breath, and start telling your story, one room at a time. And when you’re ready for the next challenge, I’ll be here, cheering you on and sharing my own tales of DIY triumphs and tribulations.
Frequently Asked Questions
What are some creative ways to repurpose old items to use as dividers in my junk drawer?
I love repurposing old items as dividers – it adds a fun story to your junk drawer! Consider using old CD cases, wooden rulers, or even vintage postcards to separate your treasures. You can also upcycle cardboard tubes or small baskets to create unique dividers that reflect your personality. Get creative and have fun with it!
How can I maintain my newly organized junk drawer and prevent it from becoming cluttered again?
Now that your junk drawer is organized, let’s keep it that way! Set a reminder to tidy it up every few months, and make it a habit to put things back in their designated spots. I like to call it “junk drawer maintenance” – it’s like watering my urban garden, a little love goes a long way!
Are there any specific storage solutions that are best suited for small or unusually shaped junk drawers?
For those tiny or oddly shaped junk drawers, I swear by adjustable dividers and magnetic strips. They’re like the ultimate problem-solvers, helping you squeeze every last bit of storage out of that quirky space. Plus, they’re super easy to install and add a touch of personality to your drawer’s story!