I still remember the day I decided to tackle the blank wall in my living room – I wanted to create a gallery wall layout that would tell the story of my travels, my loved ones, and my passions. But, as I dove into the world of online tutorials and design blogs, I was overwhelmed by the plethora of “rules” and “formulas” for how to plan a gallery wall layout. It seemed like every expert had a different opinion on the “perfect” layout, and I found myself questioning my own creative vision. That’s when I realized that the true secret to a stunning gallery wall lies not in following a set of rigid guidelines, but in embracing your personal style and having fun with the process.
In this article, I’ll share my own experiences and tips on how to plan a gallery wall layout that reflects your unique story and aesthetic. I’ll walk you through my favorite techniques for choosing the right frames, arranging your pieces, and adding those special touches that make your gallery wall truly unforgettable. My goal is to empower you to take control of your creative vision and create a space that’s authentically yours. By the end of this guide, you’ll be equipped with the confidence and practical knowledge to turn any blank wall into a stunning work of art that tells your story.
Table of Contents
Guide Overview: What You'll Need
Total Time: 1 hour 30 minutes
Estimated Cost: $10 – $30
Difficulty Level: Easy
Tools Required
- Ruler (for measuring walls and frames)
- Pencil (for marking wall and frame positions)
- Level (for ensuring straight lines)
- Tape Measure (for measuring room dimensions and frame sizes)
- Template Paper (for creating frame templates)
Supplies & Materials
- Frames (various sizes and styles)
- Nails or Hanging Hooks (for securing frames to wall)
- Hanging Wire (for suspending frames from hooks)
- Wall Anchors (for supporting heavy frames)
- Graph Paper (for planning and visualizing layout)
Step-by-Step Instructions
- 1. First, let’s start by gathering inspiration for our gallery wall. I like to browse through my favorite design blogs, Pinterest, and even my own camera roll to find images that evoke the feeling I want to achieve in my space. Collecting these references will help me define the style, tone, and overall aesthetic of my gallery wall. I also love creating a mood board to visualize how all the pieces will come together.
- 2. Next, I begin by curating the content of my gallery wall. This is the fun part – gathering all the frames, artwork, and other decorative items I want to include. I consider the story I want to tell with my gallery wall and choose pieces that reflect my personality, travels, and interests. Don’t worry too much about the frames matching perfectly; a mix of old and new, sleek and ornate, can add visual interest to your wall.
- 3. Now, it’s time to measure and map out my wall. I use a trusty tape measure to record the width and height of my wall, as well as the location of any electrical outlets, windows, or doors. Then, I create a simple sketch of my wall, marking these important features. This will be my guide as I start planning the layout of my gallery wall. I also like to take a photo of my wall and use a photo editing app to superimpose frames and artwork, getting a sense of what the final result will look like.
- 4. With my measurements and inspiration in hand, I start playing with layouts. I use a combination of paper cutouts, frame templates, and even a digital tool or two to experiment with different arrangements. Don’t be afraid to think outside the box and try unusual configurations – this is where the magic happens, and your gallery wall starts to take on a life of its own. I often find myself tweaking and refining my design multiple times until it feels just right.
- 5. Once I have a layout I love, it’s time to create a template. I cut out paper templates of each frame and arrange them on the floor or a large table, using my sketch and measurements as a guide. This step helps me ensure that my design will translate to the wall seamlessly. I also double-check the spacing and balance of my frames, making any necessary adjustments to achieve a harmonious, visually appealing arrangement.
- 6. Now that I have my template in place, I start hanging my frames. I use a level, a pencil, and a trusty hammer (which I’ve named Bertha, by the way) to mark and hang each frame, one by one. It’s essential to take your time and work methodically, double-checking the placement of each frame as you go. If you’re feeling overwhelmed, consider enlisting a friend to lend a hand – and a second opinion.
- 7. The final step is stepping back and enjoying the fruits of my labor. I take a step back, admire my handiwork, and make any last-minute adjustments to the placement of my frames. This is also a great opportunity to add any finishing touches, like adjusting the frame levels or fluffing out any surrounding decorative elements. And just like that, my gallery wall is complete – a unique reflection of my personality and style, ready to be cherished for years to come.
Planning Your Gallery Wall
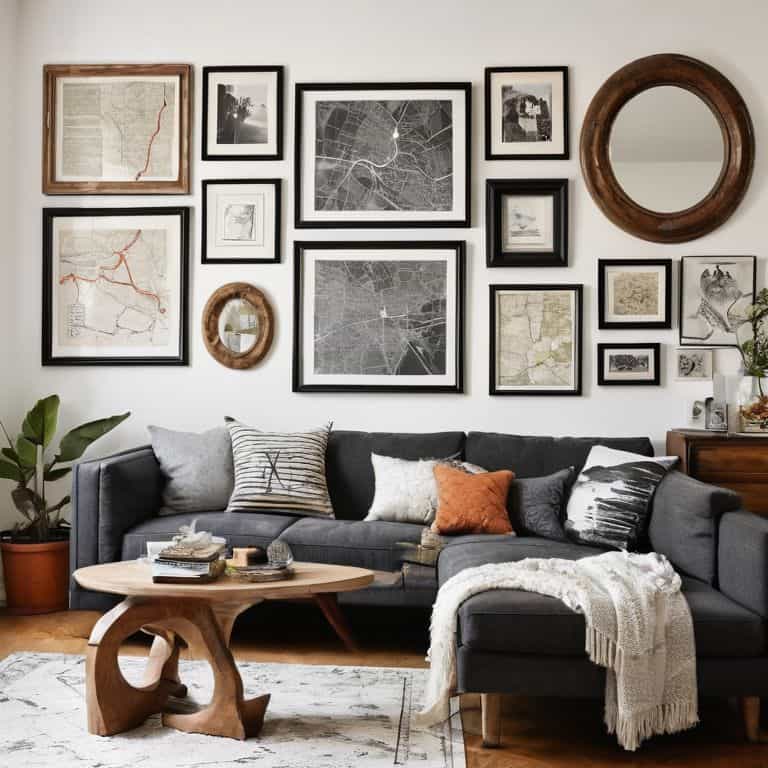
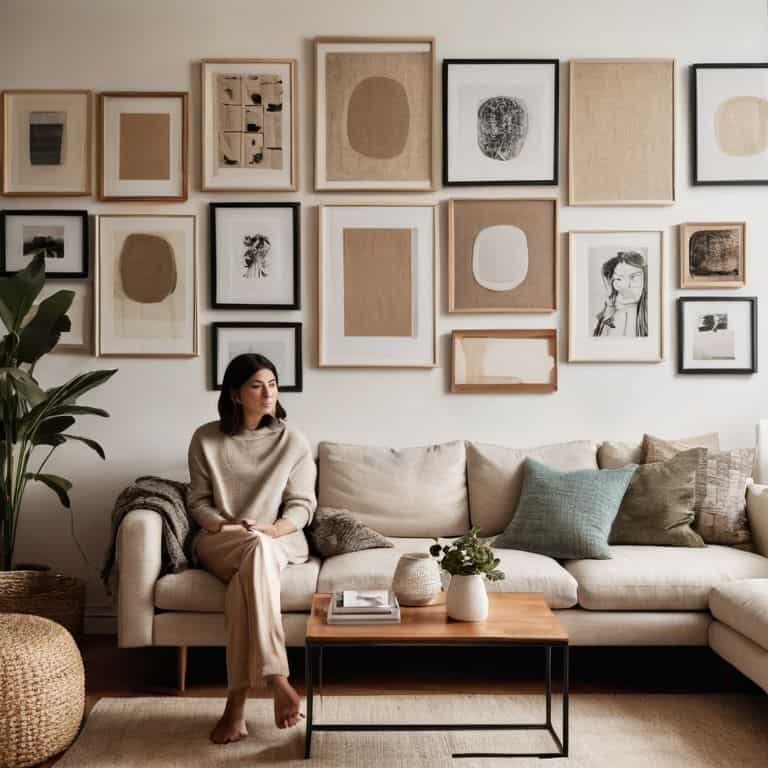
When it comes to creating a gallery wall with multiple frame sizes, the key is to balance the different elements. I like to start by identifying the largest piece, and then building around it with smaller frames. This helps to create a sense of harmony and visual flow. By mixing and matching frame styles and colors, you can add depth and interest to your gallery wall.
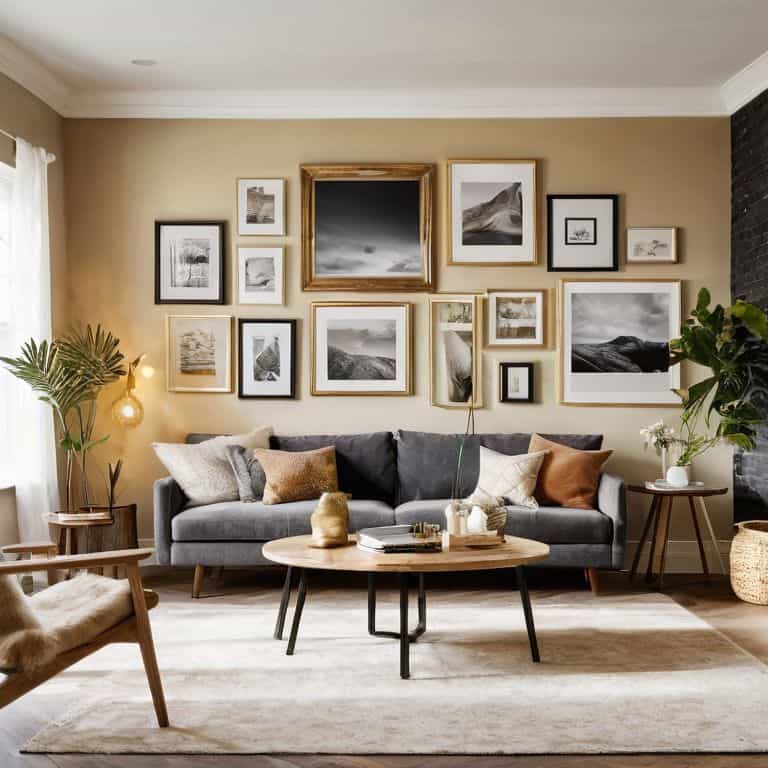
To take your gallery wall to the next level, consider designing a gallery wall around a statement piece. This could be a bold piece of art, a vibrant photograph, or a unique collectible. By using this statement piece as the focal point, you can create a sense of cohesion and tie the entire room together. Remember to measure and mark the walls carefully to ensure that your frames are evenly spaced and level.
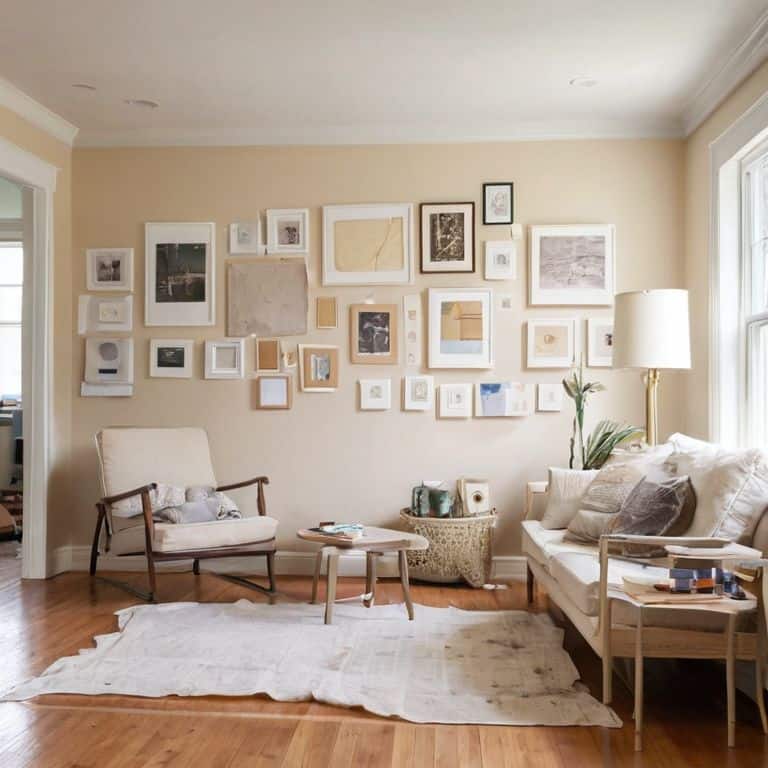
As you’re planning your gallery wall, don’t be afraid to use a gallery wall to enhance room decor. Think about the overall aesthetic you want to achieve in the room, and choose frames and artwork that complement it. By hanging a gallery wall with uneven frames, you can add a touch of whimsy and personality to the space. With a little creativity, your gallery wall can become a unique reflection of your personal style.
Measuring for a Masterpiece Layout
Now that we’ve got our frames and flair, let’s talk measurements. I like to think of this part as solving a fun puzzle – we get to figure out how all our unique pieces fit together to tell our story. To start, measure the width of your wall, from corner to corner or from one edge to the other, depending on where you want your gallery wall to live.
Next, measure each of your frames, including the width of any matte or border. Don’t worry too much about being perfect – we’re going for a visually appealing layout, not a math problem. I use a trusty notebook to jot down all my measurements, and then I start playing around with different arrangements on paper or even on the wall itself with some light pencil marks. It’s amazing how much easier it is to visualize your masterpiece when you have all the numbers in one place.
Mixing Frame Styles With Flair
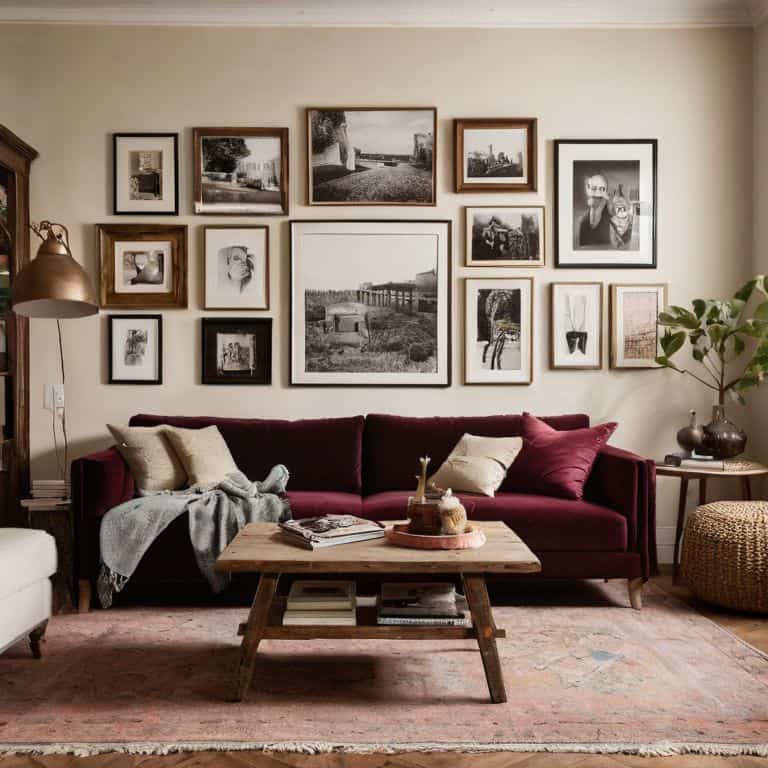
Now that we’ve got our plan in place, let’s talk about the fun part – mixing frame styles with flair! I love combining different textures, shapes, and sizes to add depth and visual interest to my gallery wall. It’s all about creating a unique story, and for me, that means blending vintage and modern pieces. I’ve got a mix of ornate gold frames, sleek black ones, and even some reclaimed wood frames that I found at a flea market.
When mixing frame styles, remember, there’s no one “right” way to do it – it’s all about experimenting and having fun. You can group similar frames together or scatter different ones throughout your layout. The key is to balance your pieces so that your wall feels curated, not chaotic. Think of it as a puzzle, and don’t be afraid to try out different combinations until you find the one that tells your story best.
Weaving Your Visual Tapestry: 5 Essential Tips for a Stunning Gallery Wall
- Start with a story, not a formula – think about the memories, themes, or emotions you want your gallery wall to evoke
- Play with frame styles, but don’t be afraid to mix and match – eclectic is elegant when done with intention
- Measure, measure, measure – but also leave room for a little serendipity and spontaneity in your layout
- Consider the negative space – sometimes what’s not on your wall is just as important as what is
- Step back, take a breath, and let your eyes be the guide – if it feels like home, it’s probably perfect
Bringing Your Gallery Wall to Life: 3 Essential Takeaways
Embracing eclectic frame styles and shapes can add a unique personality to your gallery wall, making it a true reflection of your story and space
Measuring your wall and planning your layout with precision is key to avoiding costly mistakes and ensuring your gallery wall is a masterpiece, not a mess
Remember, the true magic of a gallery wall lies in its ability to tell your story, so don’t be afraid to mix in personal items, colors, and textures that make your space uniquely, beautifully yours
The Heart of the Matter
A gallery wall is more than just a collection of frames – it’s a visual tapestry that weaves together the stories, memories, and passions of your life, so don’t be afraid to get creative and make it a masterpiece that’s uniquely yours!
Maya Rivera
Bringing Your Story to Life
As we’ve explored the world of gallery walls together, I hope you’ve picked up some essential tips to turn your blank spaces into stunning stories. From mixing frame styles with flair to carefully measuring for a masterpiece layout, every step is an opportunity to infuse your personality into your space. Remember, the key to a great gallery wall is not just about the frames or the photos, but about the story you’re telling through them. By embracing your unique style and having fun with the process, you’ll create a space that truly feels like home.
Now that you’re equipped with the knowledge to plan your perfect gallery wall, I want to leave you with a final thought: your home is a canvas, waiting for you to fill it with your personal masterpiece. Don’t be afraid to experiment, try new things, and make mistakes – they’re all part of the journey to creating a space that’s uniquely, beautifully yours. So go ahead, get creative, and start hanging your story for all to see!
Frequently Asked Questions
How do I choose the right frame styles to match my home's unique decor?
For me, choosing frame styles is all about mixing and matching to reflect my home’s quirky personality. I love combining vintage and modern frames, like pairing distressed wood with sleek metal, to add depth and visual interest. It’s all about creating a look that’s uniquely yours, so don’t be afraid to experiment and have fun with it!
What's the best way to ensure my gallery wall is level and evenly spaced?
For a level and evenly spaced gallery wall, I swear by my trusty laser level, Bertha! She helps me ensure everything is straight and true. I also use a measuring tape and a pencil to mark the spot where each piece will go, double-checking the math to get that perfect, evenly spaced look.
Can I use a mix of frame shapes and sizes to add visual interest to my gallery wall?
Absolutely, mix it up with different frame shapes and sizes to add visual interest – that’s where the magic happens. I love combining sleek squares, elegant ovals, and rustic rectangles to create a unique story on my walls. Just remember, the key is balance, so play around until it feels just right.