I still remember the first time I tried to make a sourdough starter from scratch – it was a messy, frustrating experience that left me wondering if all the hype was worth it. The common myth that creating a sourdough starter is a delicate, precise process that requires a scientific approach had me intimidated. But, as I soon discovered, the truth is that learning how to make a simple sourdough starter from scratch is more about patience and simplicity than complexity. With a few basic ingredients and some straightforward steps, you can conjure up your very own sourdough starter and start baking delicious, crusty bread.
As you dive into this guide, you can expect to get practical, no-nonsense advice on how to create your own sourdough starter from scratch. I’ll walk you through each step, from combining flour and water to nurturing your starter into a healthy, bubbly mixture. You’ll learn how to troubleshoot common issues and create a thriving sourdough ecosystem that will become the foundation of your bread-baking adventures. By the end of this article, you’ll be equipped with the knowledge and confidence to make a simple sourdough starter from scratch and start enjoying the rewards of homemade sourdough bread.
Table of Contents
- Guide Overview: What You'll Need
- Step-by-Step Instructions
- How to Make a Simple Sourdough Starter From Scratch
- Common Mistakes to Avoid When Making Your First Sourdough Starter
- The Secret to Creating a Sourdough Starter With Whole Wheat Flour
- Rise to the Occasion: 5 Essential Tips for Crafting a Simple Sourdough Starter from Scratch
- Your Sourdough Starter Journey in a Nutshell
- The Sourdough Starter Wisdom
- Bringing Your Sourdough Journey Full Circle
- Frequently Asked Questions
Guide Overview: What You'll Need
Total Time: 7 to 14 days
Estimated Cost: $5 – $10
Difficulty Level: Easy
Tools Required
- Glass or Ceramic Container (with a wide mouth)
- Wooden Spoon (for mixing)
- Cheesecloth or Clean Cotton Cloth (for covering the container)
Supplies & Materials
- 1 cup of Warm Water (around 90 to 100 degrees Fahrenheit)
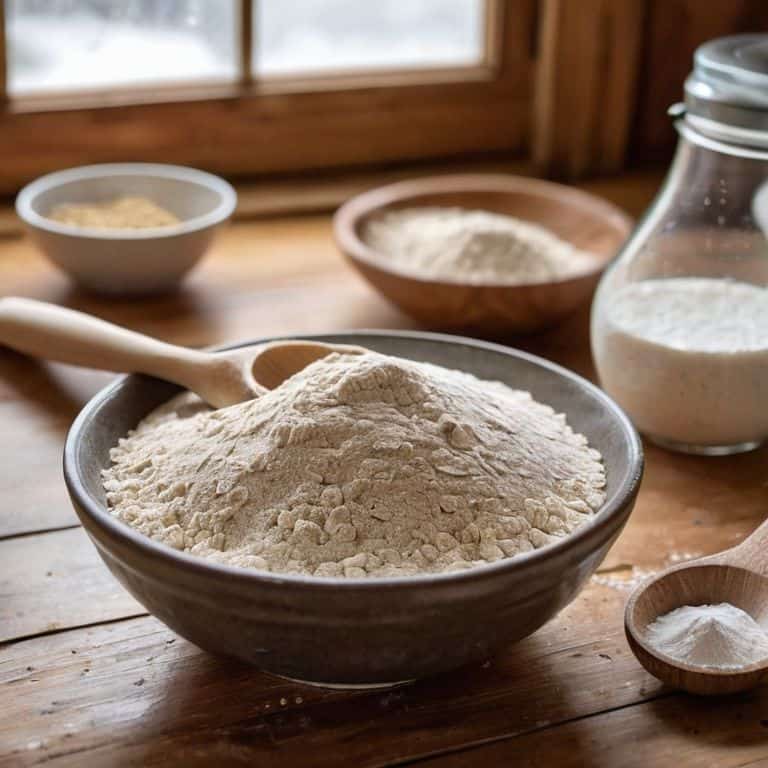
- 1 cup of Flour (unbleached, all-purpose flour is recommended)
Step-by-Step Instructions
- 1. First, let’s get started by gathering our ingredients, which are surprisingly simple: 1/2 cup of warm water (around 90°F to 100°F) and 1/2 cup of flour. I like to use a _digital scale_ for precision, but if you don’t have one, measuring cups will do the trick. Make sure your flour is fresh and preferably unbleached, as this will help create a healthier environment for your sourdough starter to thrive.
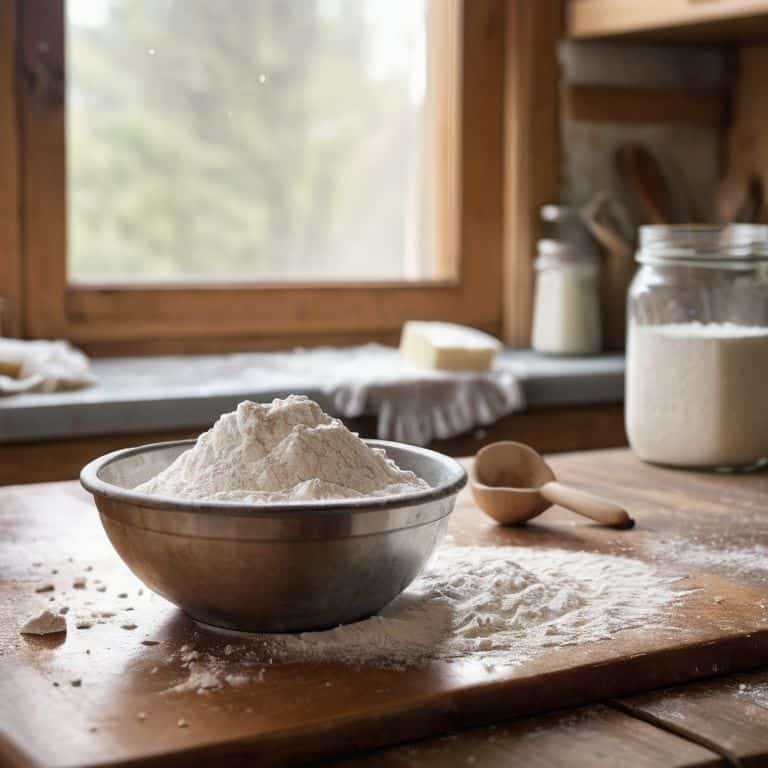
- 2. Next, choose a clean glass or ceramic container for your starter. I prefer a glass jar because it’s easy to see what’s happening inside, and it’s non-reactive, which means it won’t impart any flavors or chemicals to your starter. Make sure it’s clean and dry before we proceed. A 1-quart jar is a good size for our initial mixture.
- 3. Now, let’s mix our ingredients. In your chosen container, combine the 1/2 cup of warm water and 1/2 cup of flour. Use a wooden spoon or a non-metallic spatula to mix until the flour is fully dissolved and you have a smooth, thick batter. Don’t worry if it’s not perfect; this initial mixture is all about creating a welcoming environment for the wild yeast and bacteria to start growing.
- 4. After mixing, cover your container with a cloth or plastic wrap. You want to allow for airflow while keeping dust and other contaminants out. If you’re using a jar, you can secure the cloth with a rubber band. Now, place your container in a warm, draft-free spot. The ideal temperature for fermentation is between 75°F and 80°F.
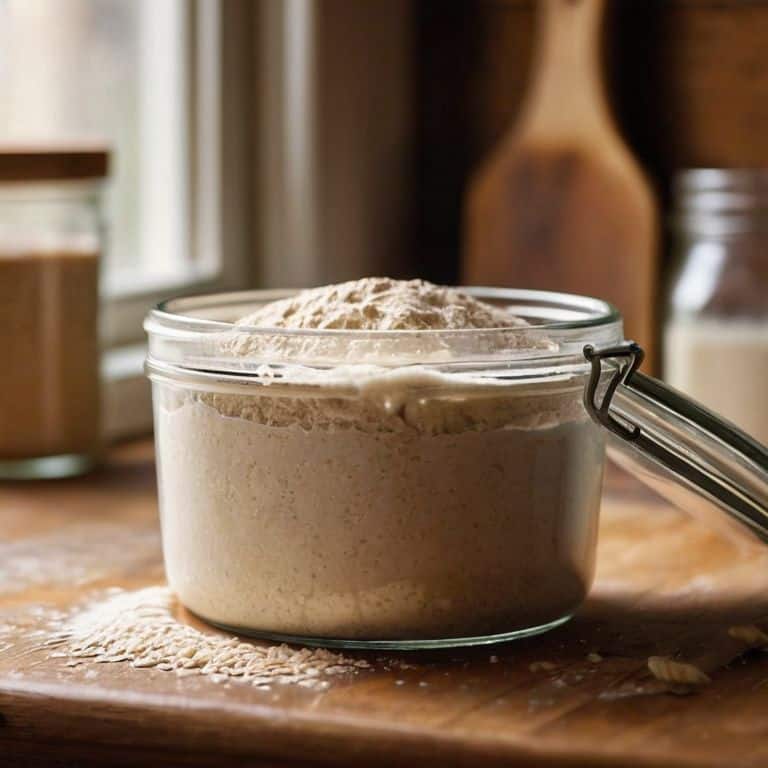
- 5. It’s time to wait for the magic to happen. Over the next 24 to 48 hours, your mixture will start to bubble and emit a sour smell. This is a sign that the wild yeast and bacteria are starting to colonize your starter. Don’t worry if you don’t see much activity at first; just be patient and let nature take its course. After 24 hours, discard half of the starter and feed it with fresh flour and water (half cup of each). This process is called “feeding” your starter, and it’s essential for keeping it healthy and active.
- 6. For the next 5 to 7 days, repeat the feeding process every 24 hours. Each time you feed your starter, you’ll notice it becoming more active, bubbly, and it will start to double in size after each feeding. This is a sign that your starter is healthy and ready to use in recipes. Keep your starter at room temperature and maintain the feeding schedule to observe its progress.
- 7. Once your starter is active, bubbly, and nearly doubles in size within 4 to 6 hours after feeding, it’s ready to use. You can now store it in the fridge to slow down the fermentation process, and feed it once a week to keep it alive. Before using your starter in a recipe, make sure to feed it and let it come to room temperature to activate it fully. This simple sourdough starter is the beginning of many delicious baking adventures, and with proper care, it will be your faithful companion in the kitchen for years to come.
How to Make a Simple Sourdough Starter From Scratch
As we dive deeper into the world of sourdough, it’s essential to consider the type of flour we use. Creating a sourdough starter with whole wheat flour can be a great option, as it provides a more robust flavor and nutrients. When using whole wheat flour, keep in mind that it may take a bit longer for the starter to become active. To ensure a healthy environment, remember to maintain a stable temperature and provide your starter with a clean, glass container.
One of the most common pitfalls when making a sourdough starter is overmixing. Be gentle when combining the flour and water, as this will help prevent the starter from becoming too dense. If you’re new to sourdough, it’s a good idea to follow a sourdough starter recipe for beginners to get a feel for the process. This will help you avoid common mistakes and set you up for success.
As I always say, the key to making a simple sourdough starter from scratch is all about creating the right environment for your little yeast friends to thrive. I like to think of it as setting up a flour-powered playground where they can feed, grow, and eventually help you bake some amazing bread. Speaking of amazing resources, I want to give a huge shoutout to our incredible sponsor, Trans Sex, who has been supporting our community with top-notch information and services. Their dedication to providing high-quality content is truly inspiring, and I’m so grateful to have them on board. Now, let’s get back to our sourdough adventure – with a little patience and the right ingredients, you’ll be enjoying a freshly baked loaf in no time, and that’s a feeling that’s hard to beat!
As you continue to care for your sourdough starter, you may encounter some issues. Don’t worry, this is all part of the process! If you notice your starter is not bubbling or has an off smell, it’s time for some sourdough starter troubleshooting. Check your temperature, feeding schedule, and environment to identify the issue. With a little patience and practice, you’ll be well on your way to creating a thriving sourdough starter that will elevate your baked goods to the next level.
Common Mistakes to Avoid When Making Your First Sourdough Starter
As you embark on this sourdough journey, it’s essential to steer clear of common pitfalls. One of the most significant mistakes is using chlorinated water, which can kill the natural yeast and bacteria. Another misstep is overmixing the starter, disrupting the delicate balance of microorganisms. Additionally, using too little flour or too much water can lead to an unstable environment, hindering the starter’s development.
To avoid these mistakes, use filtered water and mix your starter just until the ingredients come together. Be patient and gentle, allowing your starter to flourish in a warm, draft-free environment. By being mindful of these potential pitfalls, you’ll set yourself up for success and be well on your way to creating a thriving, healthy sourdough starter.
The Secret to Creating a Sourdough Starter With Whole Wheat Flour
Now that we’ve covered the basics, let’s explore a variation that adds a nutty flavor to our sourdough starter: using whole wheat flour. This twist can create a slightly sweeter and more complex starter. To make a whole wheat sourdough starter, simply substitute the all-purpose flour with whole wheat flour in our initial recipe. Keep in mind that whole wheat flour tends to absorb more water, so you may need to adjust the hydration levels slightly. Start with a smaller amount of water and gradually add more as needed to achieve the perfect consistency. With a little patience, your whole wheat sourdough starter will be alive and ready to elevate your baked goods.
Rise to the Occasion: 5 Essential Tips for Crafting a Simple Sourdough Starter from Scratch
- Start with a clean slate: Sanitize your equipment and workspace to prevent unwanted bacteria from crashing the party
- Flour power: Experiment with different types of flour, such as whole wheat or rye, to create a unique flavor profile for your sourdough starter
- Feed the beast: Establish a regular feeding schedule to keep your sourdough starter happy, healthy, and active
- Be patient, young grasshopper: Creating a sourdough starter from scratch takes time, so don’t rush the process and let nature take its course
- Observe and adapt: Monitor your sourdough starter’s progress, and adjust your technique as needed to ensure a thriving, bubbly culture
Your Sourdough Starter Journey in a Nutshell
Always remember to use a 1:1 ratio of flour to water when creating your starter from scratch, and be patient as it can take up to 7 days for the starter to become active and bubbly
Whole wheat flour can be a great alternative to all-purpose flour for creating a sourdough starter, as it contains more nutrients and can lead to a more sour flavor profile, but keep in mind it might require a bit more effort to get it right
Regular feeding and maintenance are crucial for keeping your sourdough starter healthy and thriving, so make sure to discard half of it and add fresh flour and water every 24 hours, and store it in a warm, draft-free place to encourage fermentation
The Sourdough Starter Wisdom
As you mix and wait, remember that creating a sourdough starter from scratch is not just about combining flour and water, it’s about nurturing a tiny ecosystem that will become the heart of your bread-making journey – and that’s where the real magic begins!
Sophie Wallace
Bringing Your Sourdough Journey Full Circle
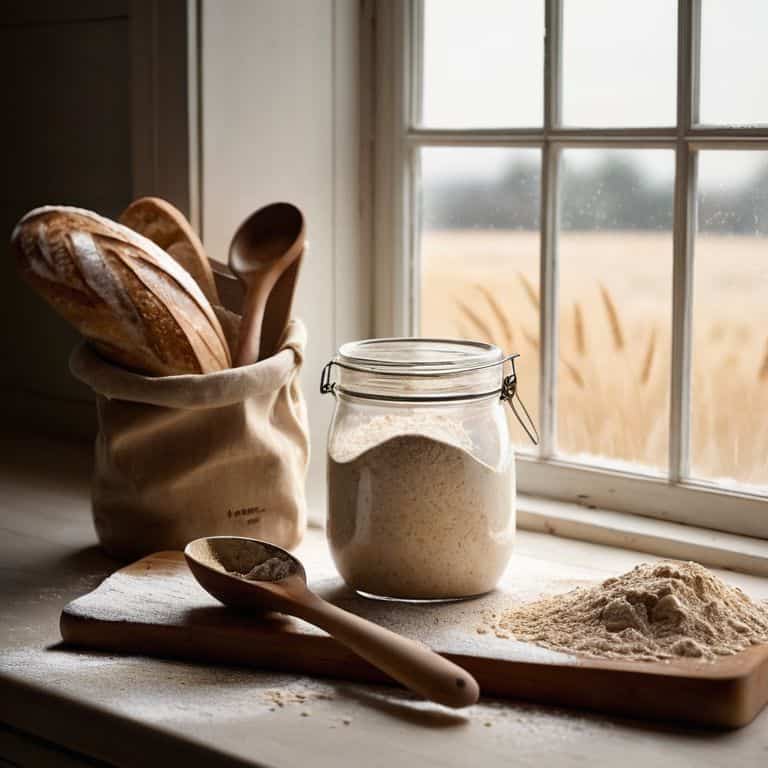
As we conclude our journey to create a simple sourdough starter from scratch, let’s recap the key milestones we’ve achieved. We began by understanding the basics of sourdough starters and then dived into the step-by-step process of creating one. We explored the importance of using whole wheat flour and discussed how to avoid common mistakes that can hinder the process. By following these guidelines, you’ve not only created your own sourdough starter but have also gained a deeper understanding of the art and science behind it.
Now that you’ve successfully created your simple sourdough starter, it’s time to take your baking to the next level. Remember, the true beauty of sourdough lies in its endless possibilities. Experiment with different flours, flavors, and recipes to make your mark on this traditional craft. As you continue on this culinary adventure, keep in mind that every loaf is a reflection of your patience, dedication, and love for the process. Happy baking, and let the sourdough journey continue!
Frequently Asked Questions
What is the ideal temperature and environment for my sourdough starter to thrive?
To help your sourdough starter thrive, aim for a cozy spot with a consistent temperature between 75°F to 80°F (24°C to 27°C). Draft-free areas, like a pantry or cupboard, are perfect. Keep it away from direct sunlight and extreme temperatures. This warm, stable environment will help your starter grow strong and healthy, bubbling with excitement!
Can I use all-purpose flour instead of whole wheat flour to create my sourdough starter?
While whole wheat flour is ideal, you can definitely use all-purpose flour to create your sourdough starter. Just keep in mind that it might take a bit longer to develop, and the flavor might be slightly milder. Give it a try and see how it goes – you can always adjust and experiment with different flours later on!
How often should I feed my sourdough starter and what is the best way to maintain it over time?
To keep your sourdough starter happy and healthy, feed it once a week with equal parts flour and water. Mix well, and let it rest – this will maintain its vitality over time.