I still remember the first time I tried to assemble a PC step-by-step – it was a daunting task that left me feeling frustrated and overwhelmed. The common myth that you need to be a tech genius to build your own computer is simply not true. With the right guidance, anyone can learn how to assemble a pc step-by-step and create their dream machine. I’ve seen many people give up on their DIY PC projects due to confusing instructions and a lack of clear guidance. But what if I told you that assembling a PC can be a fun and rewarding experience?
In this article, I’ll share my personal story of overcoming the challenges of PC assembly and provide you with practical advice on how to assemble a pc step-by-step. You’ll learn how to choose the right components, assemble them with ease, and troubleshoot common issues. My goal is to empower you with the knowledge and confidence to build your own PC, without feeling intimidated by the process. By the end of this guide, you’ll be able to assemble a PC step-by-step like a pro, and enjoy the satisfaction of creating something with your own hands.
Table of Contents
Guide Overview: What You'll Need
Total Time: 2 hours 30 minutes
Estimated Cost: $800 – $1,200
Difficulty Level: Intermediate
Tools Required
- Screwdriver (both flathead and Phillips)
- Torx driver (for certain CPU coolers)
- Pliers (for gripping small parts)
- Wire cutters (for cable management)
- Wire strippers (for preparing cables)
- Thermal paste (for CPU cooling)
- Cable ties (for organizing cables)
Supplies & Materials
- CPU (central processing unit)
- Motherboard (main circuit board)
- RAM (memory modules, at least 2 x 8 gigabytes)
- Storage Drive (hard drive or solid state drive, at least 500 gigabytes)
- Power Supply (wattage depends on system requirements, e.g., 650 watts)
- Graphics Card (optional, depending on gaming or graphics needs)
- Case (computer chassis, typically 18 inches tall, 8 inches wide, and 20 inches deep)
- Cooling System (CPU cooler and case fans, at least 2 x 120 millimeter fans)
Step-by-Step Instructions
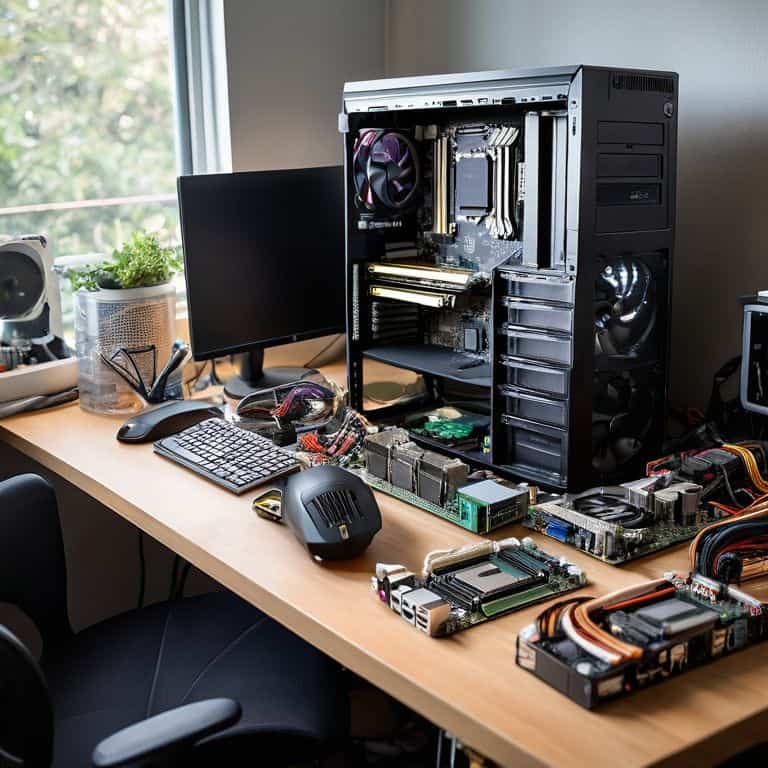
- 1. First, let’s start with the unboxing of your PC components. Take your time to carefully unpack each item, and make sure you have all the necessary parts, including the CPU, motherboard, RAM, graphics card, storage drive, power supply, and casing. It’s essential to handle these components with care, as they are sensitive to static electricity and physical damage.
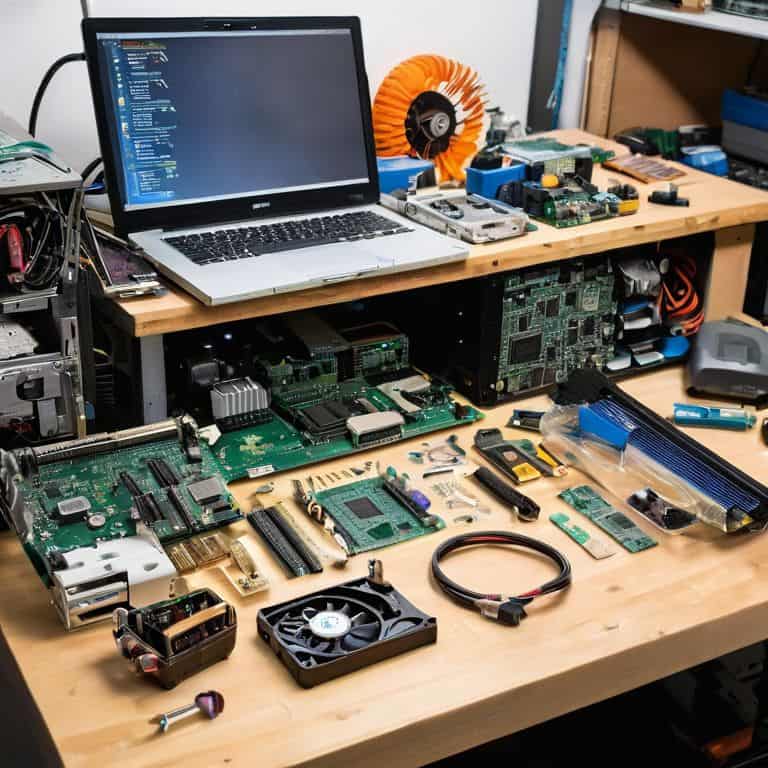
- 2. Next, prepare your workstation by laying out all the components and tools you’ll need, such as a screwdriver, pliers, and cable ties. A well-organized workspace will help you stay focused and avoid confusion as you progress through the assembly process. _Clearing a large, flat surface_ will also give you ample room to work on your PC without any obstacles.
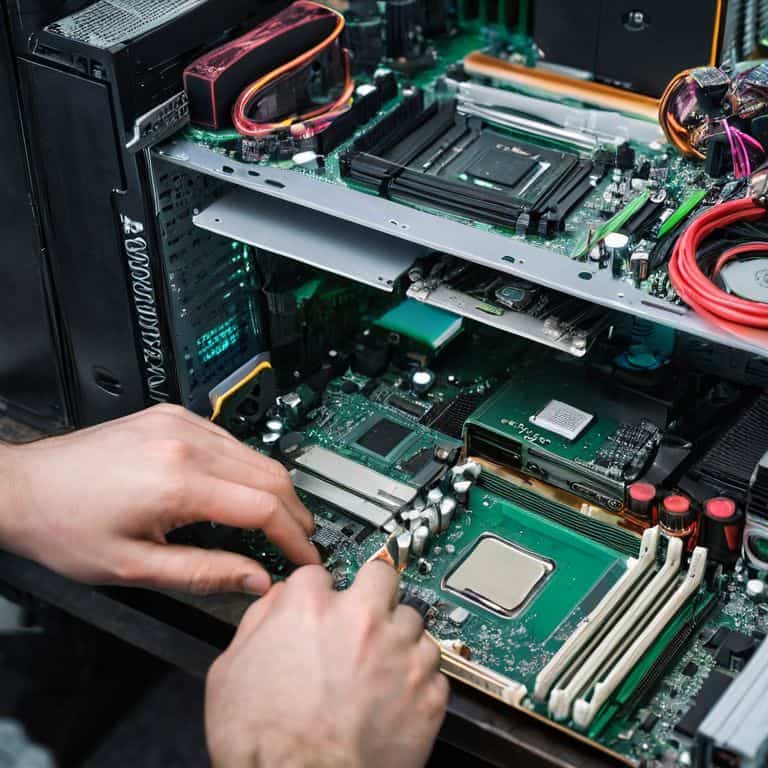
- 3. Now, let’s move on to the motherboard installation. Locate the mounting holes on the motherboard and the casing, and use the provided screws to secure it in place. Be careful not to overtighten the screws, as this can damage the motherboard. _Ground yourself_ by touching a grounded metal object or wearing an anti-static wrist strap to prevent static electricity damage.
- 4. The fourth step involves installing the CPU and CPU cooler. Gently remove the CPU from its packaging and align it with the socket on the motherboard. Apply a thin layer of thermal paste to the CPU die (the top surface), and then insert it into the socket. Secure the CPU with the provided mounting mechanism, and attach the CPU cooler according to the manufacturer’s instructions. Proper thermal management is crucial for maintaining optimal CPU performance and longevity.
- 5. Next, we’ll focus on RAM installation. Locate the RAM slots on the motherboard, and gently push the RAM modules into place at a 45-degree angle. Secure the RAM with the provided clips or screws, making sure they are firmly seated and the clips are fully engaged. _Verifying the RAM configuration_ in the motherboard manual will ensure you’re using the correct slots for optimal performance.
- 6. The sixth step involves installing the storage drive and power supply. Mount the storage drive (HDD or SSD) in the designated bay, and connect it to the motherboard using a SATA cable. Then, install the power supply in the casing, and connect the main power cable to the motherboard. Efficient cable management will help improve airflow, reduce dust accumulation, and make future upgrades easier.
- 7. Finally, let’s connect the front panel headers and fans. Locate the front panel headers on the motherboard, and connect the power button, reset button, and LED indicators. Then, install the case fans and connect them to the motherboard or power supply. _Configuring the fan settings_ in the BIOS or using software will allow you to optimize airflow and minimize noise.
Assemble Your Dream Pc
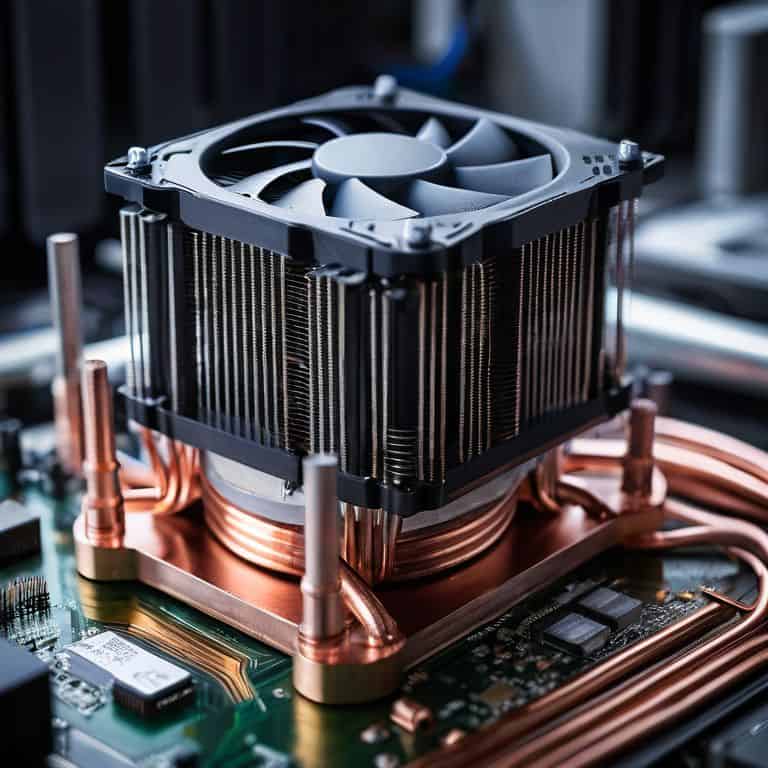
As you begin to assemble your dream PC, it’s essential to consider choosing the right CPU cooler for your system. This component plays a crucial role in maintaining optimal temperatures and ensuring your PC runs smoothly. When selecting a CPU cooler, look for one that is compatible with your processor and provides adequate cooling performance. Additionally, consider the noise level and overall design to ensure it fits your needs.
To ensure a successful build, it’s also important to focus on optimizing PC airflow. This can be achieved by carefully planning the layout of your components and using cable management techniques to minimize obstruction. By promoting good airflow, you can help reduce temperatures and prevent overheating issues. Furthermore, investing in essential PC building tools, such as a screwdriver and pliers, will make the assembly process much easier and less frustrating.
As a beginner, it’s natural to encounter some challenges during the assembly process. However, with the right mindset and troubleshooting common PC issues, you can overcome any obstacles and achieve a sense of accomplishment. Remember to always follow pc assembly safety precautions to avoid damaging your components or injuring yourself. By taking your time and being meticulous, you’ll be able to enjoy your new PC and take pride in your hard work.
Choosing Right Cpu Cooler
When it comes to choosing the right CPU cooler, it’s all about finding the perfect balance between performance and noise level. You’ll want to consider the type of cooler that suits your needs – air coolers are great for most users, while liquid coolers offer superior performance for heavy-duty tasks. Think about your PC’s workload and the level of cooling you require.
I recommend exploring coolers with high thermal conductivity and a robust fan design. Some popular options include the Noctua NH-U14S and the Corsair Hydro Series H115i. Remember to check compatibility with your CPU socket and motherboard before making a final decision. By selecting the right CPU cooler, you’ll be able to keep your system running smoothly and quietly, even during intense gaming sessions or content creation.
Optimizing Pc Airflow Safely
To ensure your PC runs smoothly and quietly, it’s essential to optimize its airflow. This means carefully planning the placement of your case fans to create a harmonious balance of air intake and exhaust. I like to think of it as creating a symphony of airflow, where each fan works together in perfect harmony. By doing so, you’ll not only keep your components at a safe temperature, but also reduce dust buildup and minimize noise.
When optimizing airflow, make sure to follow safety precautions, such as grounding yourself to prevent static electricity damage to your components. With a little patience and planning, you can create a well-ventilated PC that will provide you with years of reliable service and peak performance.
5 Essential Tips for a Smooth PC Assembly Experience
- Prepare Your Workspace: Clear a flat surface and gather all the necessary tools, such as screwdrivers and cable ties, to ensure a clutter-free and efficient assembly process
- Ground Yourself: Static electricity can damage your components, so touch a grounded metal object or wear an anti-static strap to protect your parts
- Handle Components with Care: Be gentle when handling sensitive parts like the CPU, GPU, and RAM, and avoid touching their electrical contacts to prevent damage
- Cable Management is Key: Keep your cables organized and secured with cable ties to improve airflow, reduce dust buildup, and make future upgrades easier
- Double-Check Your Connections: Verify that all cables are securely connected to the correct ports and that all components are properly seated to avoid common assembly mistakes
Key Takeaways for a Successful PC Assembly
Always prioritize compatibility when selecting components, ensuring that your CPU, motherboard, and RAM work seamlessly together for optimal performance
Proper airflow is crucial: invest in a good CPU cooler and consider the physical layout of your PC case to maximize airflow and minimize dust accumulation
Break down the assembly process into manageable steps, and don’t hesitate to consult online resources or forums if you encounter any issues during the build process
Assembling Your Dream PC, One Step at a Time
The journey to assembling your perfect PC is not just about screwing in parts, it’s about crafting an experience that amplifies your creativity, productivity, and joy – one carefully considered step at a time.
Sophie Wallace
Bringing Your Dream PC to Life
You’ve made it through the step-by-step guide, and now you’re just a few connections away from bringing your dream PC to life. Remember, the key to a successful assembly is not just about following instructions, but also about understanding the why behind each step. From choosing the right CPU cooler to optimizing PC airflow safely, every decision you’ve made has led to this moment. Take a moment to review your work, double-check all connections, and ensure that your PC is ready for its maiden boot.
Now, as you press the power button for the first time, I want you to remember that building a PC is just the beginning. It’s a gateway to a world of endless possibilities, from gaming and content creation to learning and exploration. Don’t be afraid to experiment and try new things – your PC is a tool, and it’s up to you to unlock its full potential. So, go ahead, take the leap, and discover the thrill of creating something with your own hands. Congratulations, you’re now a part of the PC enthusiast community, and I’m honored to have been a part of your journey.
Frequently Asked Questions
What are the essential tools I need to assemble a PC?
Don’t worry, I’ve got you covered. To assemble your PC, you’ll need a few essential tools, including a screwdriver, pliers, and a torque wrench. I also recommend having some cable ties and a can of compressed air on hand to keep things tidy and dust-free. Let’s get started!
How do I handle static electricity to prevent damage to my PC components?
To handle static electricity, touch a grounded metal object or wear an anti-static wrist strap to discharge any static buildup. This simple step can save your components from damage, giving you peace of mind as you build your dream PC.
What are the key factors to consider when choosing the right CPU cooler for my PC build?
When choosing a CPU cooler, consider the type (air or liquid), size, and compatibility with your CPU socket. Think about noise levels, cooling performance, and your budget. I like to use a checklist to ensure I’ve got all the essentials covered – it makes the process so much smoother!