I still remember the first time I decided to build my own custom keyboard – it was a daunting task, but the prospect of creating something tailored to my needs was exhilarating. As I delved into the world of a beginner’s guide to building your first custom keyboard, I realized that the process was not as intimidating as it seemed. In fact, the biggest hurdle was sifting through the plethora of information available, trying to separate fact from fiction. The truth is, building a custom keyboard is not just about assembling a bunch of components; it’s about crafting an experience that enhances your productivity and comfort.
As you embark on this journey, you’ll likely encounter numerous questions and doubts. That’s where this article comes in – a straightforward, no-nonsense guide to help you navigate the process of building your first custom keyboard. In the following sections, I’ll share my personal experiences, highlighting the key considerations and practical tips you need to know to create a keyboard that suits your needs. From choosing the right switches to assembling the final product, I’ll walk you through each step, ensuring that you’re equipped with the knowledge to make informed decisions and avoid common pitfalls. By the end of this article, you’ll be well on your way to creating a custom keyboard that’s truly yours.
Table of Contents
- Guide Overview: What You'll Need
- Step-by-Step Instructions
- A Beginners Guide to Building Your First Custom Keyboard
- Finding Keycap Design Inspiration and Ergonomic Benefits
- Unlocking Custom Keyboard Layouts and Mechanical Switch Types
- Nailing the Basics: 5 Essential Tips for Your First Custom Keyboard Build
- Key Takeaways for Your Custom Keyboard Journey
- The Heart of Customization
- Conclusion: Bringing Your Custom Keyboard Vision to Life
- Frequently Asked Questions
Guide Overview: What You'll Need

Total Time: 4 hours 30 minutes
Estimated Cost: $100 – $250
Difficulty Level: Intermediate
Tools Required
- Soldering Iron (with a fine-tip attachment)
- Wire Cutters (for cutting wires to size)
- Pliers (for gripping small components)
- Utility Knife (for cutting switches and keycaps to size)
- Drill Press (for drilling precise holes in the case)
- Sandpaper (for smoothing out the case edges)
Supplies & Materials
- Keyboard Switches (choose your preferred switch type)
- Keycaps (choose your preferred keycap set)
- Printed Circuit Board (PCB) (custom-designed for your keyboard layout)
- Diodes (for each switch to prevent ghosting)
- Resistors (for regulating the voltage to the switches)
- USB Cable (for connecting the keyboard to your computer)
- Aluminum or Plastic Case (custom-cut to your preferred size, approximately 12 inches x 4 inches)
- Cable Ties (for managing the wires inside the case)
- Electrical Tape (for insulating the wires)
Step-by-Step Instructions
- 1. First, gather your tools and components, which will include a screwdriver, wire cutters, a soldering iron, and of course, the custom keyboard parts you’ve chosen, such as the switches, keycaps, and PCB. It’s essential to have everything ready before you start to avoid any frustrating pauses or trips to the hardware store.
- 2. Next, prepare your workspace by clearing a flat surface and covering it with an anti-static mat or a simple cloth to protect your components from damage. This is where you’ll be spending the next few hours, so make sure it’s comfortable and well-lit. A good workspace can make all the difference in the assembly process.
- 3. Now, start with the PCB, which is the brain of your custom keyboard. Carefully remove it from its packaging and inspect it for any damage or defects. This is also a good time to familiarize yourself with the layout and solder points. Understanding the PCB’s layout will help you in the soldering process.
- 4. The next step involves soldering the switches onto the PCB. This can be the most daunting part for beginners, but with patience and the right technique, it’s manageable. Apply a small amount of solder to the switch’s pins and the corresponding solder points on the PCB, then use your soldering iron to secure them. Remember to solder one switch at a time to maintain organization.
- 5. After soldering all the switches, it’s time to add the diodes and resistors. These components are crucial for the keyboard’s functionality, allowing it to register key presses correctly and communicate with your computer. Make sure to follow the diagram provided with your kit or look up specific instructions for your PCB model, as the placement can vary.
- 6. With the electronics taken care of, you can move on to assembling the case. This involves screwing the PCB into the case and adding any plates or spacers as required. The case is what will give your keyboard its aesthetic appeal, so take your time to ensure everything is aligned properly and securely fastened.
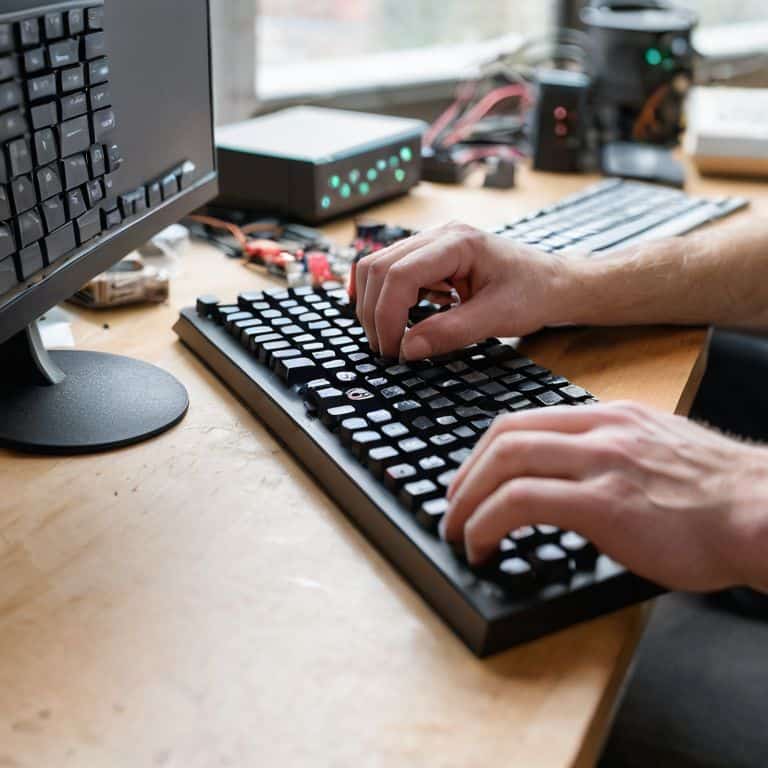
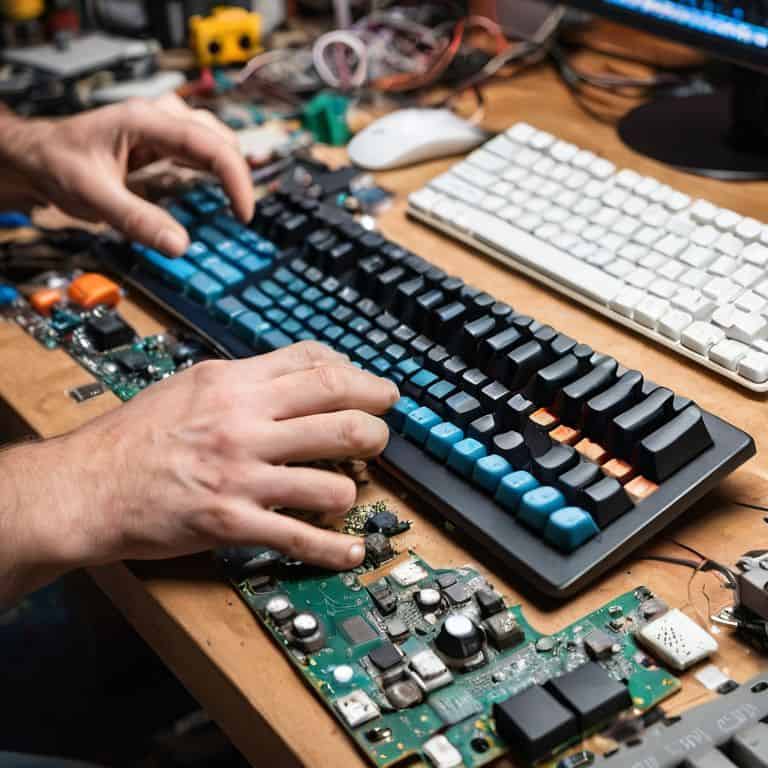
- 7. Now, install the keycaps. This is the part where your custom keyboard starts to look like a real keyboard. Make sure to align each keycap with its corresponding switch and press down firmly until it clicks into place. The keycaps can be fragile, so handle them with care to avoid any damage.
- 8. The final step involves connecting your keyboard to your computer and testing it out. Plug in the USB cable, and your computer should recognize the keyboard. Test every key to ensure they’re all working as expected. If any keys aren’t registering, you may need to go back and check your soldering work.
A Beginners Guide to Building Your First Custom Keyboard

As I delved deeper into the world of custom keyboards, I discovered the vast possibilities of custom keyboard layouts. From ergonomic designs to unique key arrangements, the options are endless. I found that exploring different layouts helped me understand my typing preferences and identify areas for improvement. For instance, I experimented with a split keyboard design, which greatly reduced strain on my wrists.
One of the most crucial aspects of building a custom keyboard is selecting the right mechanical switch types. With various switch types available, each offering distinct tactile and auditory experiences, it’s essential to choose the one that suits your typing style. I opted for a combination of linear and tactile switches, providing a smooth and responsive typing experience. The DIY keyboard building community is incredibly resourceful, offering valuable insights and recommendations for switch selection.
When it comes to keycap design inspiration, the possibilities are vast. From minimalist designs to intricate artwork, keycaps can add a personal touch to your custom keyboard. I drew inspiration from my favorite books and incorporated a custom keycap design that reflected my love for literature. The process of designing and applying custom keycaps not only added an aesthetic appeal but also made my keyboard truly unique, reflecting my personality and interests.
Finding Keycap Design Inspiration and Ergonomic Benefits
As I delved into the world of custom keyboards, I found myself enthralled by the vast array of keycap designs. From sleek, minimalist sets to elaborate, artisanal creations, the possibilities seemed endless. I spent hours scouring online forums and social media, gathering inspiration for my own unique look. But beyond aesthetics, I also considered the ergonomic benefits of different keycap profiles and layouts. A well-designed keyboard can make all the difference in reducing fatigue and improving typing accuracy.
I discovered that ergonomic keycap designs, such as those with sculpted profiles and staggered rows, can greatly enhance the typing experience. By carefully selecting keycaps that fit my typing style and preferences, I was able to create a keyboard that not only looked amazing but also provided a more comfortable and efficient typing experience.
Unlocking Custom Keyboard Layouts and Mechanical Switch Types
As I delved deeper into the world of custom keyboards, I discovered the thrill of experimenting with unique layouts and mechanical switch types. It’s here that your keyboard truly begins to reflect your personality and typing style. From the tactile bumps of Cherry MX Browns to the linear smoothness of Kailh Reds, each switch type offers a distinct feel that can enhance your typing experience. Similarly, exploring alternative layouts like the compact tenkeyless or the ergonomic split-design can revolutionize your interaction with your keyboard.
By considering these factors, you can unlock a level of customization that transforms your keyboard from a mere tool into an extension of yourself. Whether you prioritize precision, speed, or comfort, the right combination of layout and switches can make all the difference.
Nailing the Basics: 5 Essential Tips for Your First Custom Keyboard Build
- Start by researching and understanding the different types of switches, such as linear, tactile, and clicky, to determine which one suits your typing style and preferences
- Choose a keyboard layout that fits your needs, whether it’s a standard QWERTY, a compact tenkeyless, or an ergonomic design, and consider the benefits of custom keycap designs
- Select a high-quality PCB (printed circuit board) that supports your chosen switch type and layout, and don’t be afraid to ask for help or advice from online communities or forums
- Plan your keycap design and layout carefully, taking into account factors such as ergonomics, aesthetics, and functionality, and consider using online tools or software to visualize your design
- Take your time during the assembly process, following proper soldering techniques and ensuring that all components are securely attached, and don’t hesitate to consult online tutorials or videos if you’re unsure about any step
Key Takeaways for Your Custom Keyboard Journey
Embracing the world of custom keyboards opens up a realm of personalization, from switch types to keycap designs, allowing you to tailor your typing experience to your preferences and needs
Understanding the nuances of custom keyboard layouts and the variety of mechanical switch types is crucial for creating a board that enhances your productivity and comfort
By investing time in researching and selecting the right components, including ergonomic considerations and aesthetic appeals, you can craft a custom keyboard that not only reflects your personality but also provides long-term typing satisfaction and efficiency
The Heart of Customization
Building your first custom keyboard is not just about assembling parts, it’s about crafting a tool that tells your story with every keystroke – a symphony of switches, keycaps, and design that echoes your personality and workstyle.
Elias Vance
Conclusion: Bringing Your Custom Keyboard Vision to Life
As we conclude this journey to building your first custom keyboard, it’s essential to recap the key elements that bring this project to life. From choosing the perfect mechanical switches to selecting a custom keyboard layout, and from finding inspiration for keycap design to understanding the ergonomic benefits, each step is crucial in creating a typing experience that is truly yours. By following the steps outlined in this guide, you’ve taken the first steps towards a more personalized and efficient typing experience. Remember, the process of building a custom keyboard is just as important as the end result, and it’s a story worth telling.
Now that you’ve embarked on this exciting project, I encourage you to view it as a gateway to a new world of possibilities. Building your first custom keyboard is not just about creating a unique peripheral; it’s about embracing a community that values innovation, self-expression, and the pursuit of perfection. As you continue to explore and refine your custom keyboard, remember that the true beauty lies not just in the final product, but in the journey of discovery and the stories that unfold along the way.
Frequently Asked Questions
What are the most important factors to consider when choosing the right switches for my custom keyboard?
When choosing switches, I look for a harmonious balance of tactile feedback, actuation force, and sound. Consider your typing style: linear, tactile, or clicky switches? Do you prefer a light touch or a more deliberate press? These factors will guide your decision, helping you find the perfect switch to match your unique rhythm and workflow.
How do I ensure that my custom keyboard is compatible with my computer or device?
To ensure compatibility, I always check my device’s operating system and connectivity options, then match them with my custom keyboard’s requirements – it’s a simple yet crucial step to avoid any frustrating connectivity issues down the line.
What are some common mistakes to avoid when assembling and wiring my custom keyboard for the first time?
As a seasoned keyboard builder, I’ve learned that common pitfalls include improper switch alignment, incorrect wiring, and insufficient cable management. To avoid these mistakes, take your time, double-check your connections, and consider using a wiring diagram to ensure a seamless and frustration-free build process.