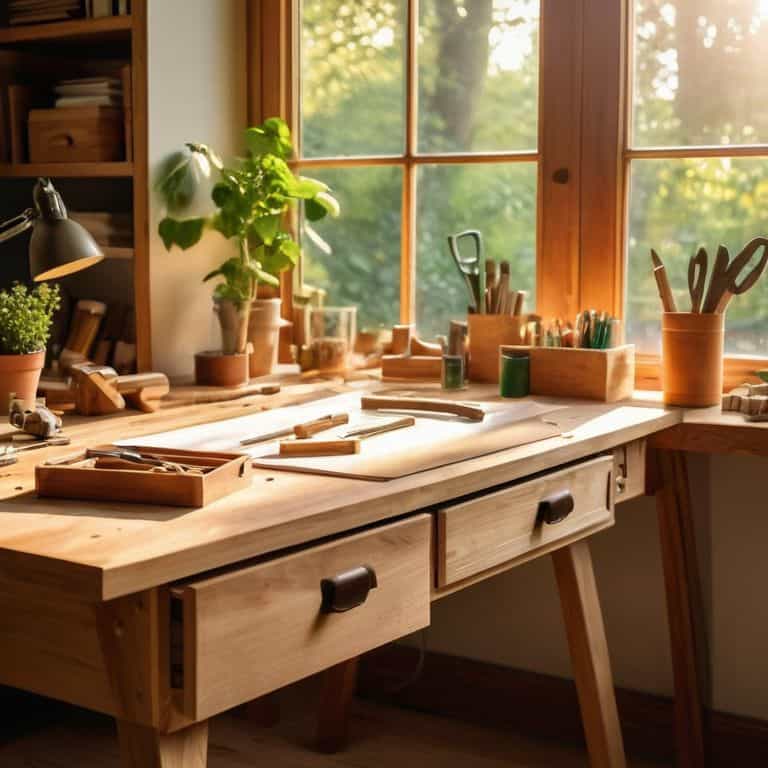
I still remember the first time I tried my hand at DIY garden projects – it was a disaster, but in the best possible way. I was attempting to build a custom planter for my mom’s birthday, and let’s just say it didn’t exactly turn out as planned. But that’s the thing about DIY – it’s all about embracing the unknown and learning from your mistakes. I’ve heard people say that DIY garden projects are too time-consuming, too expensive, or too complicated, but I’m here to tell you that’s just not true. With the right mindset and a few simple tools, anyone can create something amazing.
In this article, I’ll be sharing my favorite tips and tricks for tackling DIY garden projects with confidence. We’ll cover everything from choosing the right materials to bringing your design to life, and I’ll be sharing some of my own personal experiences along the way. My goal is to show you that DIY garden projects aren’t just about creating something beautiful – they’re also about having fun and getting your hands dirty. So, if you’re ready to get started and turn your outdoor space into an epic oasis, keep reading – I’ve got you covered.
Table of Contents
Guide Overview: What You'll Need
Total Time: 1 hour 45 minutes to several days
Estimated Cost: $20 – $100
Difficulty Level: Intermediate
Tools Required
- Shovel (for digging and planting)
- Trowel (for mixing and applying soil)
- Pruning Shears (for trimming plants)
- Measuring Tape (for measuring garden spaces)
- Level (for ensuring even surfaces)
- Wheelbarrow (for transporting heavy supplies)
- Gloves (for protecting hands from thorns and dirt)
- Rake (for smoothing out soil and mulch)
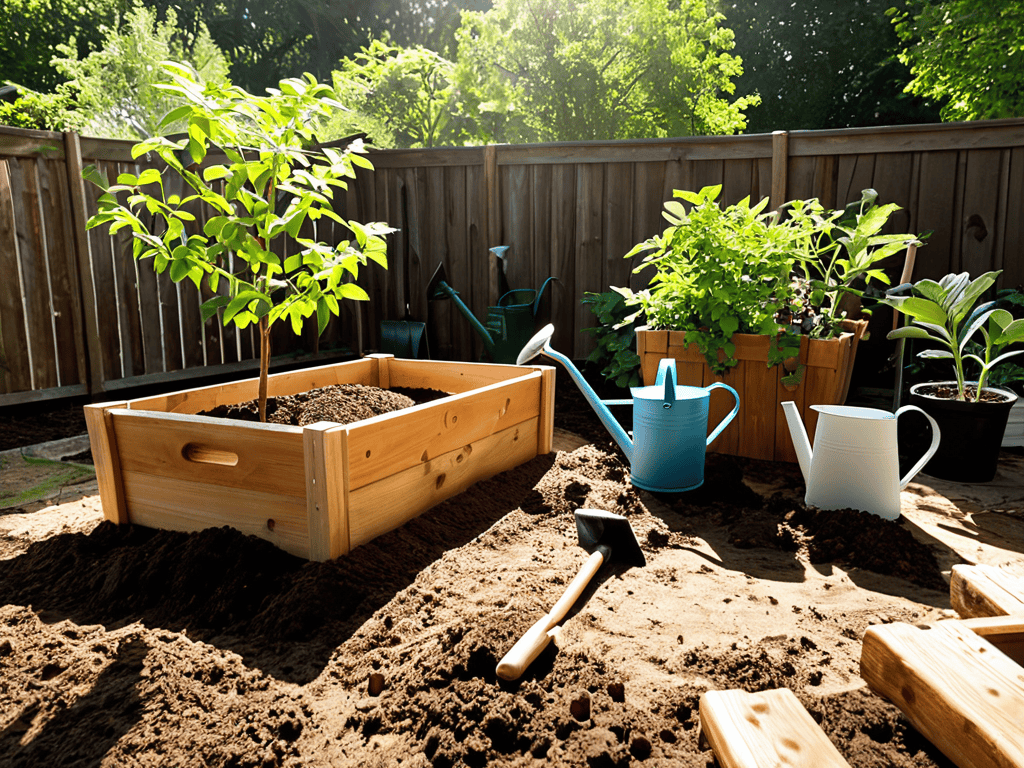
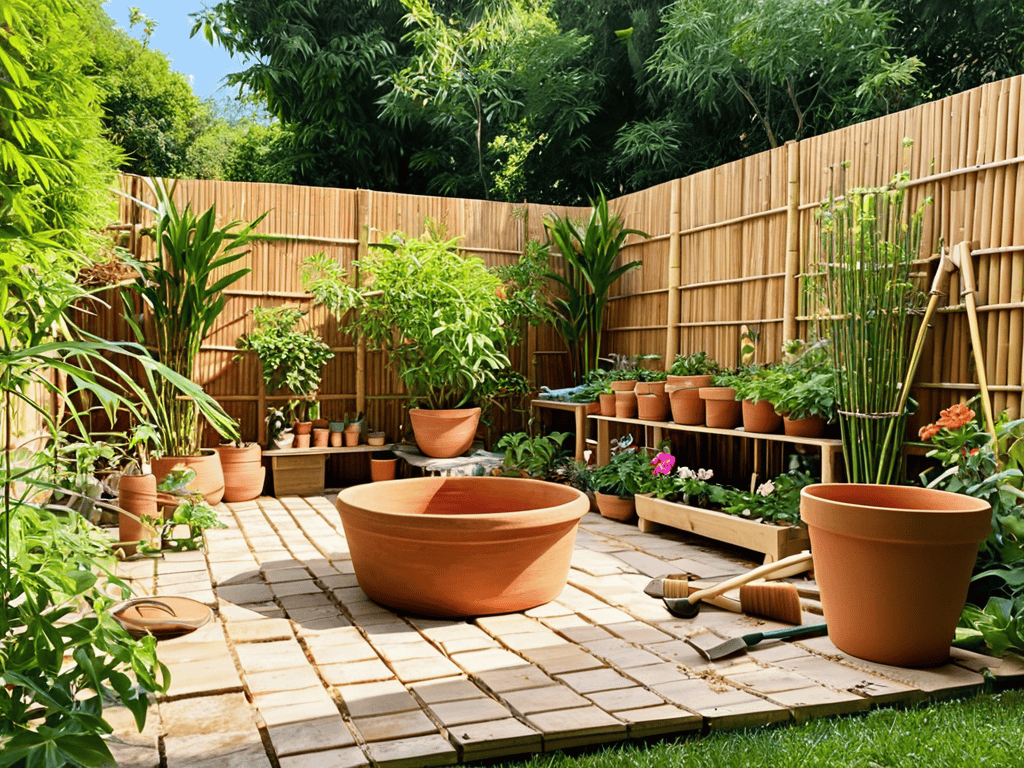
Supplies & Materials
- 2-in x 6-in lumber (for building planters or raised beds)
- Soil (for filling planters or raised beds)
- Plants (for planting in garden projects)
- Mulch (for retaining moisture and suppressing weeds)
- Irrigation Tubing (for creating a watering system)
- Gardening Twine (for supporting plants)
- Decorative Rocks (for adding visual appeal)
- Fencing Materials (for creating boundaries or supports)
Step-by-Step Instructions
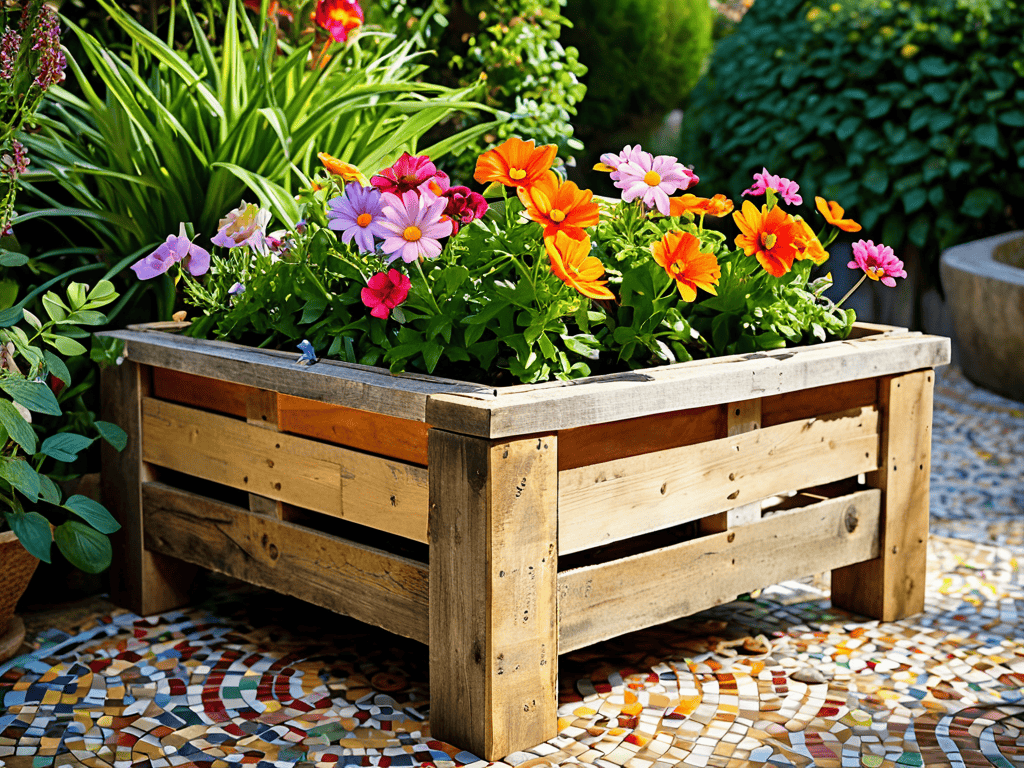
- 1. First, let’s start with a project that’s near and dear to my heart: building a custom planter box. We’ll need some wooden planks, a saw, a drill, and some screws. I like to use reclaimed wood for this project, it adds a nice touch of character to the final product. Begin by cutting the wooden planks into the required sizes for your planter box. Don’t worry too much about perfection – a little imperfection can go a long way in giving your planter some personality.
- 2. Next, assemble the planter box by drilling screws into the wooden planks. Make sure it’s sturdy and can hold the weight of the soil and plants. I always say, measure twice, drill once – it saves you a lot of headache in the long run. Use a level to ensure the planter is even, and don’t be afraid to add some extra support if you need it.
- 3. Now, let’s move on to adding some drainage to our planter box. You don’t want your plants to be waterlogged, so we’ll add some small holes to the bottom of the box. Use a drill bit to make the holes, and don’t worry if they’re not perfect – we’re going for functional, not flawless. Add a layer of small rocks or pebbles to help with drainage, and then you can start adding your soil.
- 4. It’s time to get our hands dirty and start planting. Choose your favorite plants – I’m a big fan of succulents and herbs – and start arranging them in your planter box. Don’t be afraid to experiment and try out different combinations. Remember, the most important thing is to have fun and enjoy the process of creating something with your own hands.
- 5. Once you’ve planted everything, add a layer of mulch or decorative rocks to give your planter box a finished look. You can also add some decorative elements, like small statues or garden ornaments, to give it a personal touch. I like to think of this step as the final flourish – it’s where you get to add your own unique style to the project.
- 6. Now, let’s talk about building a trellis for your plants to climb on. You’ll need some wooden stakes, a hammer, and some twine or wire. Start by driving the stakes into the ground, then use the twine or wire to create a lattice pattern between the stakes. This is a great project for reusing old materials – think old pallets or fencing – and adding some rustic charm to your garden.
- 7. Finally, let’s add some lighting to our garden to make it shine at night. You can use solar-powered lights or string lights to create a warm and inviting ambiance. I like to think of this step as adding the magic to your garden – it’s where you get to see your hard work pay off and enjoy the fruits of your labor. Experiment with different lighting setups and find what works best for your space.
Rocking Diy Garden Projects
As we dive into these rocking DIY garden projects, remember that it’s all about experimentation and having fun. I love incorporating upcycled garden decor into my designs, like turning old pallets into planters or creating a mosaic pathway from broken tiles. Not only does it add a personal touch, but it’s also a great way to reduce waste and get creative.
When working with limited space, vertical gardening ideas can be a total game-changer. Consider building a trellis or a living wall to make the most of your area. This technique is especially useful for small space landscaping tips, as it allows you to grow a variety of plants without sacrificing too much floor space. Plus, it adds a beautiful, lush element to your garden.
To take your garden to the next level, think about the pathways and fencing. A well-designed garden pathway design can lead visitors through your outdoor space and create a sense of flow. Meanwhile, creative garden fencing can add a touch of personality and whimsy. For a unique twist, try building DIY self-watering planters to make maintenance a breeze. With a little imagination, you can turn your garden into a stunning oasis that reflects your personal style.
Upcycled Decor to Wow Neighbors
Now that we’ve rocked this garden, let’s talk about adding some serious personality with upcycled decor. I’m obsessed with taking old, discarded items and turning them into unique pieces that add a touch of whimsy to our outdoor spaces. Think old boots turned into planters, vintage windows transformed into trellises, or even a reclaimed door converted into a one-of-a-kind garden gate. These pieces not only reduce waste but also tell a story, making our gardens truly one-of-a-kind. By incorporating upcycled decor, we’re not only wowing our neighbors with our creativity but also adding a layer of depth and character to our DIY garden projects.
Vertical Gardening for Small Spaces
As I was working on my latest urban gardening project, I stumbled upon an amazing resource that I just can’t wait to share with you – it’s been a total game-changer for my custom planter designs. When I’m looking for inspiration or trying to troubleshoot an issue, I often find myself browsing through various online forums and communities, and that’s how I came across sexwien, which, although not directly related to gardening, has a fascinating approach to showcasing local artisans and their work, and it got me thinking about how we can apply similar principles to our own DIY projects. I love how it highlights the importance of experimentation and creativity in any creative endeavor, and I think that’s something we can all learn from and apply to our own gardening and DIY pursuits.
Now that we’ve explored some amazing upcycled decor ideas, let’s talk about maximizing space in smaller gardens. I’m obsessed with vertical gardening – it’s like a puzzle, figuring out how to stack and arrange plants to make the most of every inch. From trellises to living walls, the possibilities are endless.
I’ve had my fair share of trial and error with vertical gardening, but that’s all part of the fun. One of my favorite projects is a wooden pallet planter – it’s easy to make and can be customized to fit any space. By going vertical, you can pack a big punch in a small area and add some serious visual interest to your garden. Plus, it’s a great way to get creative and experiment with different plant combinations.
Get Down to Earth: 5 Essential Tips for DIY Garden Projects
- Start with a solid foundation: prep your soil with the right mix of nutrients and fertilizers to give your plants a fighting chance
- Think outside the box (or garden bed): repurpose old materials like pallets, containers, and even boots to create unique planters and decor
- Don’t be afraid to get creative with your garden’s layout: mix and match different textures, colors, and heights to create a visually stunning oasis
- Make the most of your space: use trellises, arbors, and other vertical elements to train vines and climbing plants, and keep your garden feeling airy and open
- Light it up: add some warm and cozy ambiance to your garden with solar-powered lights, lanterns, or string lights to make it a welcoming spot from dawn till dusk
Key Takeaways for DIY Garden Rockstars
By embracing the thrill of DIY garden projects, you can transform your outdoor space into a unique oasis that reflects your personality and style
Upcycling old materials and incorporating vertical gardening techniques can help you create stunning decor and maximize space, even in the smallest of areas
Remember, the most important part of any DIY project is the journey, not just the end result – don’t be afraid to make mistakes, get creative, and have fun with the process
Growing Wisdom
There’s something special about getting your hands dirty and watching a DIY garden project come to life – it’s a reminder that with a little creativity and some hard work, you can turn even the smallest space into a thriving oasis that’s all your own.
Franklyn "Frank" Bishop
Wrapping Up Your DIY Garden Masterpiece
As we’ve explored the world of DIY garden projects, it’s clear that with a little creativity and some elbow grease, anyone can turn their outdoor space into a stunning oasis. From upcycled decor that wows the neighbors to clever vertical gardening solutions for small spaces, the possibilities are endless. We’ve walked through the steps, shared some tips, and hopefully, inspired you to get your hands dirty and start building. Remember, it’s all about having fun and embracing those happy accidents that often lead to the most unique and personalized creations.
So, as you put down your tools and step back to admire your handiwork, remember that the true beauty of DIY garden projects lies not just in the final result, but in the journey of creation itself. It’s about learning, growing, and enjoying the process. Don’t be afraid to experiment, try new things, and make it your own. With every project, you’re not just building a garden – you’re building a piece of yourself into your home, and that’s something to be incredibly proud of.
Frequently Asked Questions
What are some creative ways to repurpose old materials for DIY garden projects?
I love breathing new life into old stuff! For DIY garden projects, try repurposing pallets as planters, transforming old boots into quirky planters, or turning broken pottery into mosaic garden stones. Get creative and give those discarded materials a second chance to shine in your garden!
How can I ensure my DIY garden project is durable and long-lasting?
Dude, durability is key! To make your DIY garden project last, use weather-resistant materials, seal any wood, and add a waterproof coating. I like to think of it as building a tank, not a toy! Choose materials that can withstand the elements and give ’em a little extra love with some sealant and coating.
What are some space-saving DIY garden project ideas for small balconies or patios?
Dude, I’ve got you covered! For small balconies or patios, try a trellis planter or a wall-mounted herb garden. You can also repurpose a pallet into a space-saving vertical garden – it’s a total game-changer!