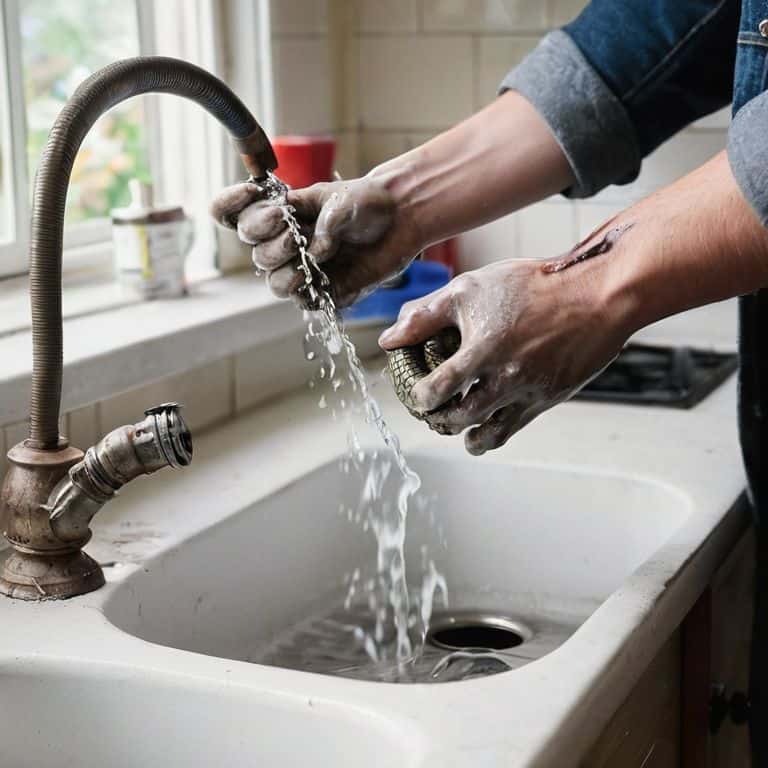
I still remember the first time I had to deal with a clogged drain in my own workshop – it was a real nightmare. I was in the middle of a project, and suddenly, my sink was overflowing with murky water. I had to put my leatherworking tools aside and figure out how to unclog the drain. That’s when I realized that a good a guide to unclogging a drain is essential for any DIY enthusiast or homeowner. We’ve all been there – standing in front of a sink full of dirty water, wondering what to do next.
In this article, I’ll share my personal experience and practical tips on how to unclog a drain without calling a plumber. You’ll learn how to identify the cause of the clog, choose the right tools for the job, and get your drain flowing again in no time. My goal is to provide you with a straightforward, no-nonsense guide that will save you time, money, and frustration. So, let’s dive in and get our hands dirty – it’s time to tackle that clogged drain and get back to our projects!
Table of Contents
Guide Overview: What You'll Need
Total Time: 30 minutes to 1 hour
Estimated Cost: $10 – $30
Difficulty Level: Easy
Tools Required
- Plunger with a good seal
- Drain Snake also known as an auger
- Baking Soda for natural cleaning method
- Hot Water for rinsing the drain
- Gloves for protecting hands
Supplies & Materials
- Baking Soda 1 cup
- Vinegar 1 cup
- Plumber’s Snake 10 feet long
- Drain Cleaner optional, use with caution
Step-by-Step Instructions
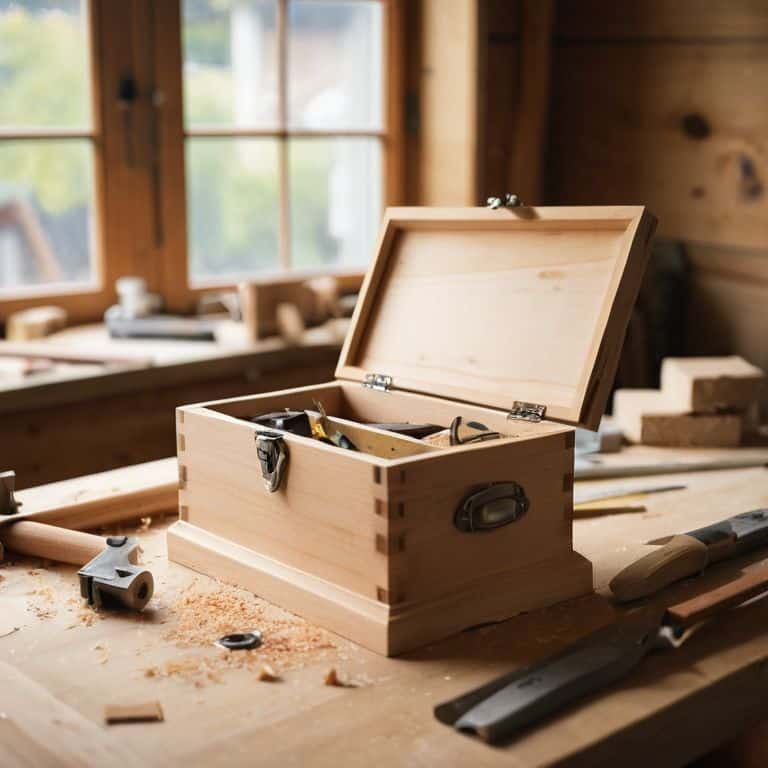
- 1. First, let’s get ready to rumble – or should I say, unclog that drain! Before we dive in, make sure you’ve got your trusty toolbox by your side, filled with essentials like a plunger, drain snake, and some baking soda. Yes, you read that right – baking soda, the ultimate multi-tasker in the world of DIY.
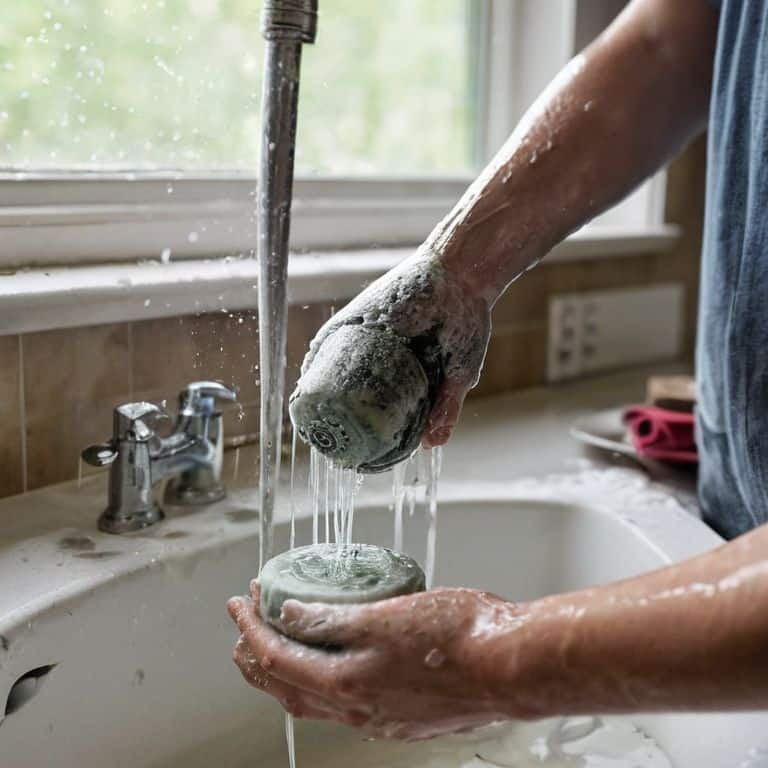
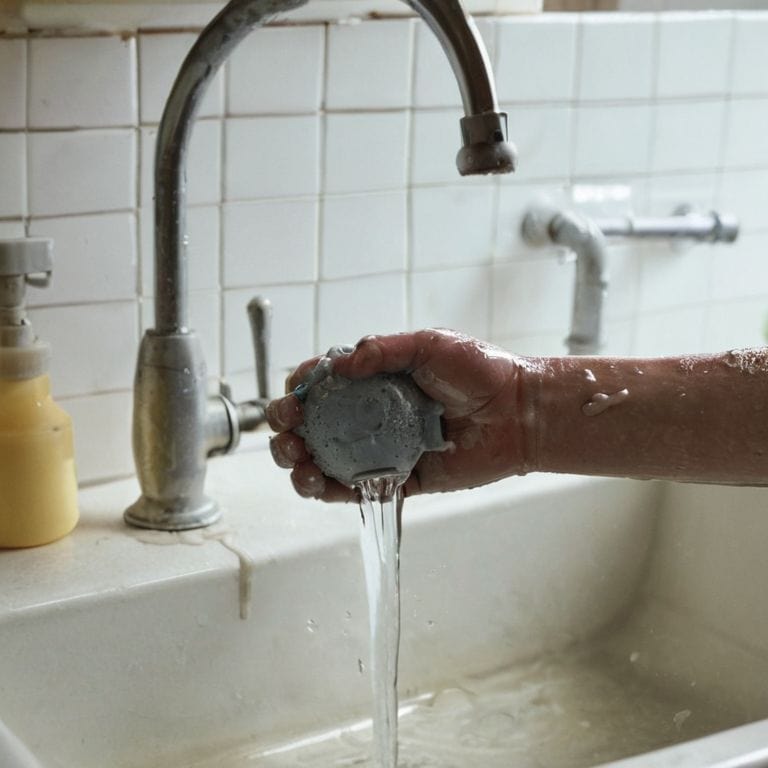
- 2. Now, let’s talk about the plunger method. This is usually the first line of defense when it comes to unclogging drains. To do this, ensure the water in the sink or tub is deep enough to cover the plunger’s rim. Then, apply a thin layer of petroleum jelly to the rim of the plunger to create a better seal. With a firm grip, push down slowly and then pull up sharply, repeating this motion several times until you feel the clog give way.
- 3. If the plunger doesn’t do the trick, it’s time to bring in the big guns – the drain snake, also known as an auger. This tool allows you to reach deep into the pipes to break up or retrieve clogs that are further down the line. Feed the snake into the drain and rotate it as you push it further into the pipe. When you feel resistance, you’ve likely found the clog. Hold the snake firmly in place and pull it back out, hopefully bringing the clog with it.
- 4. For those tougher clogs, we can try using chemical drain cleaners. However, use these with caution and always follow the instructions on the label. It’s also a good idea to wear gloves and safety goggles to protect yourself from any splashes. Pour the recommended amount of cleaner down the drain and let it sit for the specified time before rinsing with hot water.
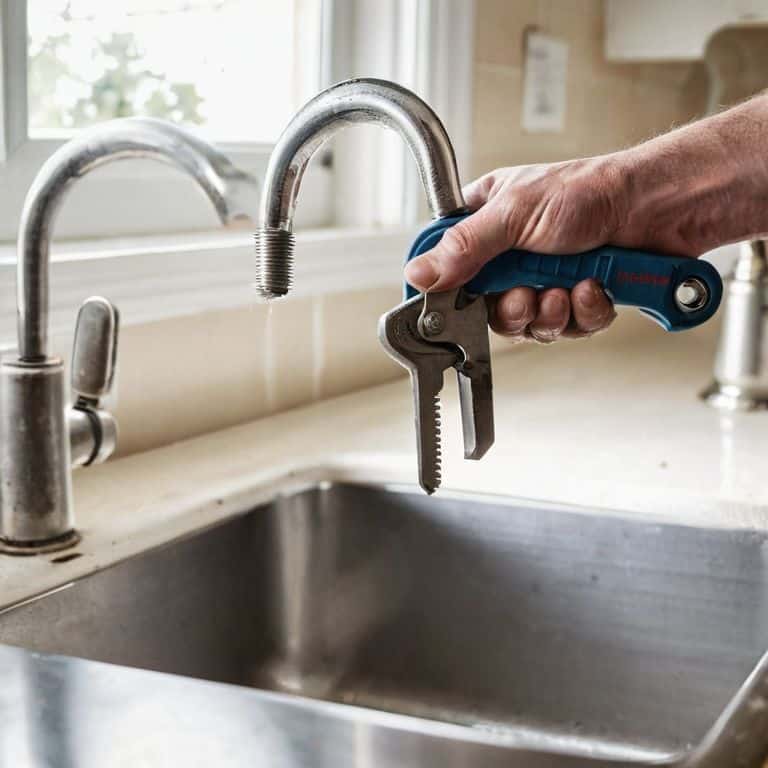
- 5. Sometimes, the clog is not in the drain itself but in the P-trap, the curved pipe under the sink. To access this, you’ll need to get under the sink and use a wrench to loosen the slip nuts that hold the P-trap in place. Be prepared for some water to spill out, so have a bucket ready. Once you’ve removed the P-trap, use a small brush or your drain snake to clean out any debris.
- 6. If you’re dealing with a clog caused by grease or fat, a natural method using baking soda and vinegar can be very effective. Pour 1/2 cup of baking soda down the drain, followed by 1 cup of vinegar. The mixture will fizz and bubble, helping to break down the grease. Let it sit for a few hours or overnight before rinsing with hot water.
- 7. Finally, to prevent future clogs, consider implementing a maintenance routine. This can be as simple as running hot water through your drains once a week or using a natural drain cleaner on a monthly basis. For kitchen sinks, be mindful of what you put down the drain, avoiding foods like bacon fat and rice, which can easily clog your pipes. By taking these small steps, you can save yourself a lot of trouble in the long run.
Unclog Like a Pro
Now that we’ve got the basics covered, let’s talk about how to take your drain unclogging game to the next level. One of my favorite methods is using natural drain cleaning methods, like pouring hot water down the drain to loosen up any debris. It’s a simple trick, but it can make a big difference. I also recommend investing in the best plumbing snake for beginners, it’s a handy tool that can help you tackle even the toughest clogs.
When it comes to preventing clogged drains in the future, it’s all about maintenance. I like to use homemade drain cleaner recipes to keep my drains flowing smoothly. A mixture of baking soda and vinegar can work wonders in keeping your drains clear. Just be sure to follow the instructions carefully and take the necessary chemical drain cleaner safety precautions.
To really become a pro at unclogging drains, you need to be prepared for anything. That’s why I always keep a few essential tools on hand, like a plunger and a drain snake. And, of course, a good soundtrack to keep me motivated. By following these tips and practicing your skills, you’ll be well on your way to becoming a drain unclogging master. Remember, unclogging a drain with baking soda is just one of the many tricks up your sleeve.
Homemade Drain Cleaner Recipes
Now that we’ve covered the natural methods, let’s get creative with some homemade drain cleaner recipes. I’m talking about mixing and matching common household ingredients to create a potent unclogging cocktail. My personal favorite is a combo of baking soda, vinegar, and lemon juice – it’s like a party in your pipes! Simply pour 1/2 cup of baking soda down the drain, followed by 1 cup of vinegar and a squeeze of lemon juice. Let it fizz and bubble for a bit before rinsing with hot water.
These homemade recipes are not only effective but also eco-friendly and budget-friendly. Plus, they’re a great way to avoid harsh chemicals and keep your pipes smelling fresh. I’ve got a few more recipes up my sleeve, from borax and salt to hydrogen peroxide and cream of tartar. Experiment with different combos to find what works best for you – and don’t be afraid to get a little messy and have some fun with it!
Natural Drain Cleaning Methods
Now that we’ve tackled the tough stuff, let’s talk about keeping your drains flowing freely without harsh chemicals. I’m a big fan of using natural methods to clean my drains, like pouring baking soda down the drain, followed by some hot water and a squeeze of fresh lemon juice. It’s like a detox for your pipes! Another trick I swear by is using a mixture of vinegar and water to break down any grease or grime. Not only are these methods better for the environment, but they’re also gentler on your pipes and can save you from calling a plumber. Plus, they’re a great way to maintain your drains and prevent clogs from forming in the first place.
Drain Unclogging Done Right: 3 Key Takeaways
Always remember, prevention is key: regular maintenance and checks can save you from the hassle of dealing with a clogged drain in the first place
Natural and homemade cleaning methods can be just as effective as commercial products, and they’re often better for the environment and your wallet
Unclogging a drain is not just about fixing the problem, it’s about having the confidence to tackle DIY projects and gaining a sense of accomplishment from doing it yourself
Drain Wisdom
Unclogging a drain isn’t just about fixing a problem, it’s about understanding that every clog is an opportunity to get your hands dirty and learn something new – and that’s where the real magic happens!
Franklyn "Frank" Bishop
Wrapping Up Your DIY Drain Victory
We’ve covered a lot of ground in this guide, from the basic steps to unclog your drain like a pro, to exploring natural drain cleaning methods and even whipping up your own homemade drain cleaner recipes. The key takeaway is that you don’t have to be a plumbing expert to tackle clogged drains. With the right tools, a bit of patience, and a willingness to get your hands dirty, you can save money and feel a sense of accomplishment by doing it yourself.
As you put the plunger away and admire your handiwork, remember that every small DIY victory counts. It’s not just about fixing a drain; it’s about embracing the spirit of self-sufficiency and empowering yourself to tackle any project that comes your way. So, go ahead, take on that next DIY challenge, and remember, I’m right here in the workshop with you, cheering you on every step of the way!
Frequently Asked Questions
What are some common mistakes to avoid when using chemical drain cleaners?
Whoa, hold up, buddy! When using chemical drain cleaners, beware of overusing them, as they can damage pipes and cause more harm. Also, never mix different chemicals, and always follow the instructions to the letter. Trust me, I’ve learned from my mistakes – let’s avoid those nasty chemical burns and ruined pipes, okay?
Can I use baking soda and vinegar to unclog a drain with standing water?
Absolutely, buddy! Baking soda and vinegar are a killer combo for tackling standing water in your drain. Pour 1/2 cup of baking soda down the drain, followed by 1 cup of vinegar. Let it fizz and bubble for a bit, then rinse with hot water. It’s like a mini science experiment, and it might just save you from calling a plumber!
How often should I maintenance clean my drains to prevent clogs from forming in the first place?
Dude, maintenance is key! I recommend cleaning your drains every 1-2 months, depending on usage. Run some hot water, then pour in a mix of baking soda and vinegar – it’s like a detox for your pipes! This simple routine will keep those pesky clogs at bay and save you from future headaches.