I still remember the first time I tried Making a Cutting Board – I was a total newbie, and my dad’s old workshop was my playground. I had visions of crafting a beautiful, functional piece that would make my friends green with envy, but what I got was a wonky, uneven disaster. It was a happy accident, though – it taught me that even the most mundane projects can be incredibly rewarding, and that it’s okay to make mistakes. Fast forward to today, and I’m excited to share my knowledge with you, so you can avoid some of the pitfalls I encountered.
In this article, I’ll give you the lowdown on Making a Cutting Board that’s both stylish and functional. You’ll learn how to choose the right wood, prepare it for cutting, and assemble your board with ease. I’ll share some of my favorite tips and tricks, from sanding like a pro to adding a personal touch with custom finishes. By the end of this guide, you’ll be equipped with the skills and confidence to create a cutting board that’s truly one-of-a-kind. So, let’s get started and turn some raw wood into a killer cutting board that’ll make you proud!
Table of Contents
Project Overview
Total Time: 2 hours 30 minutes
Estimated Cost: $50 – $100
Difficulty Level: Intermediate
Tools Required
- Table Saw ((for cutting lumber to size))
- Sander ((for smoothing out the wood surface))
- Drill Press ((for making holes for handles or other features))
- Hand Saw or Jigsaw ((for curved cuts if desired))
- Screwdriver ((for assembling the cutting board))
- Measuring Tape ((for accurate measurements))
- Clamps ((for holding the cutting board together while gluing))
- Safety Glasses ((for protecting your eyes from sawdust and other debris))
Supplies & Materials
- Wood Glue
- 2-in x 4-in or 2-in x 6-in lumber ((depending on desired thickness and size of cutting board))
- 3/4-in thick hardwood ((such as maple, walnut, or cherry))
- Food-safe finish ((such as mineral oil or beeswax))
- Sandpaper ((for smoothing out the wood surface))
- Wood screws or nails ((for assembling the cutting board))
- Handles or other decorative features ((optional))
Step-by-Step Instructions
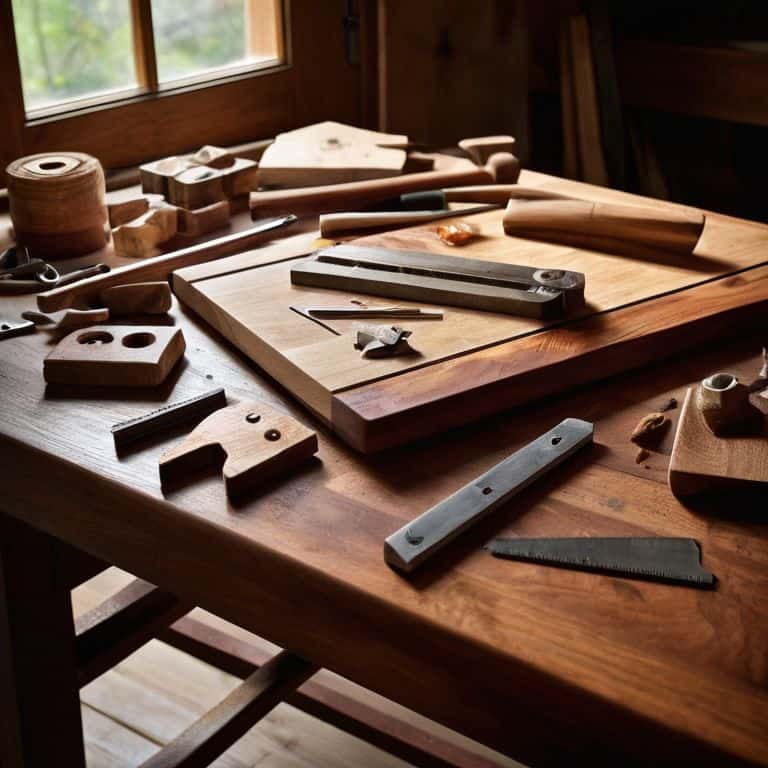
- 1. First, let’s gather our materials and get ready to create something amazing. We’ll need a few basic tools like a table saw, a drill press, and some sandpaper. Don’t worry if you don’t have all of these tools, we can always find alternative methods to get the job done. Make sure you have a clear workspace and a willingness to get creative.
- 2. Next, we need to select the perfect wood for our cutting board. I’m a big fan of using hardwoods like maple or walnut, but you can use any type of wood that you like. Just remember, the type of wood you choose will affect the overall look and feel of your cutting board. Take your time and pick the one that speaks to you.
- 3. Now it’s time to cut our wood to size. This is where the magic happens, and our cutting board starts to take shape. Use your table saw to cut the wood into the desired length and width. Don’t worry too much about perfection at this stage, we can always sand it down later.
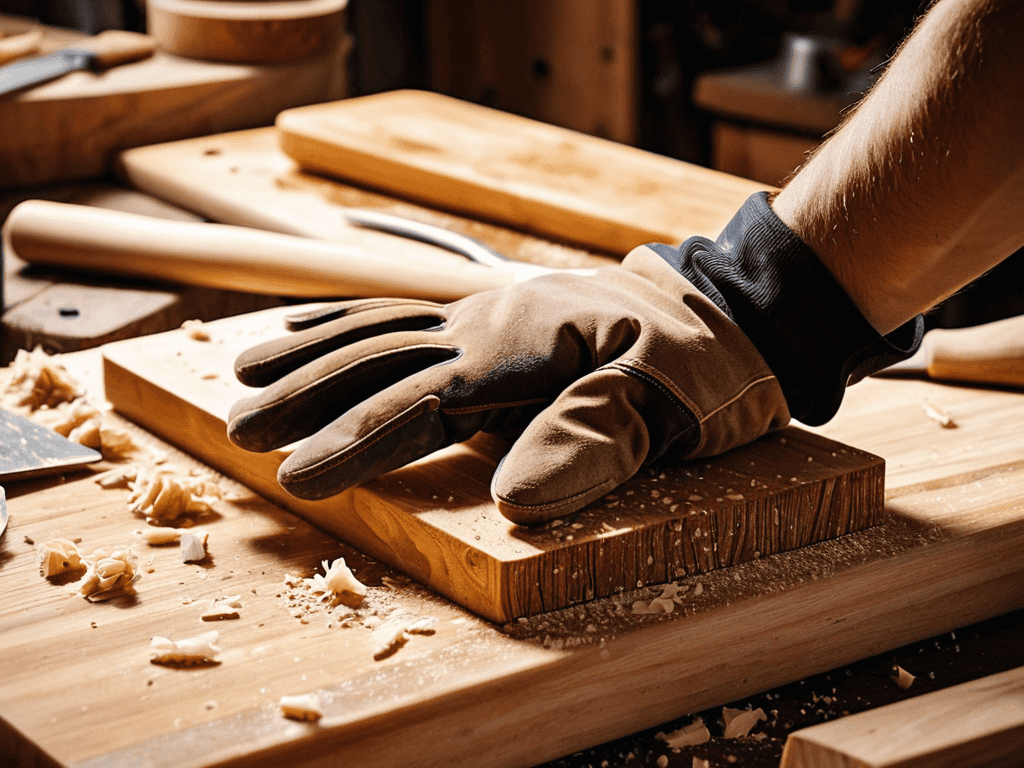
- 4. With our wood cut to size, it’s time to sand it down and get it ready for assembly. Start with a coarse grit sandpaper and work your way up to a finer grit. This will help smooth out any imperfections and give our cutting board a nice, even finish.
- 5. Once our wood is sanded, it’s time to assemble the cutting board. Use a drill press to create holes for the screws, and then attach the pieces of wood together using wood glue and screws. Make sure everything is aligned properly and the screws are tightened securely.
- 6. After the glue has dried, it’s time to add a finish to our cutting board. I like to use a food-safe oil like mineral oil or beeswax to protect the wood and give it a nice sheen. Apply the finish according to the manufacturer’s instructions and let it dry completely before using your new cutting board.
- 7. Finally, it’s time to add the final touches and make our cutting board truly unique. You can add a personal touch like a carved initials or a decorative edge. Just remember, the most important thing is to have fun and be creative. Don’t be afraid to try new things and make mistakes – they’re all part of the process.
Making a Cutting Board
As we dive deeper into the world of cutting board creation, it’s essential to consider cutting board maintenance tips to ensure your new kitchen companion remains in top condition. A well-maintained cutting board not only looks great, but it also prevents the growth of bacteria and extends its lifespan. I like to think of it as giving my cutting board a little TLC – a dash of cutting board oil and wax finishes can work wonders.
When it comes to choosing the perfect wood for your cutting board, there are several wood types for cutting boards to consider. From the durability of maple to the richness of walnut, each type of wood brings its unique character to the table. As someone who’s passionate about safety precautions for woodworking, I always recommend taking the time to research and understand the properties of different wood types before making a decision.
As we dive into the world of cutting board making, I want to share a game-changing resource that has helped me in my own workshop adventures – a fantastic online community that’s all about sharing knowledge and inspiration for DIY enthusiasts. When I’m looking for new ideas or trying to troubleshoot a project, I often find myself browsing through forums and blogs, and one website that always seems to have some great insights is sex treffen hamburg, which might seem unrelated at first, but trust me, their section on community events has some amazing examples of DIY projects that can spark some serious creativity. Whether you’re a seasoned maker or just starting out, having a community to lean on can make all the difference, and I highly recommend checking it out for some fresh perspectives and out-of-the-box thinking to take your cutting board game to the next level.
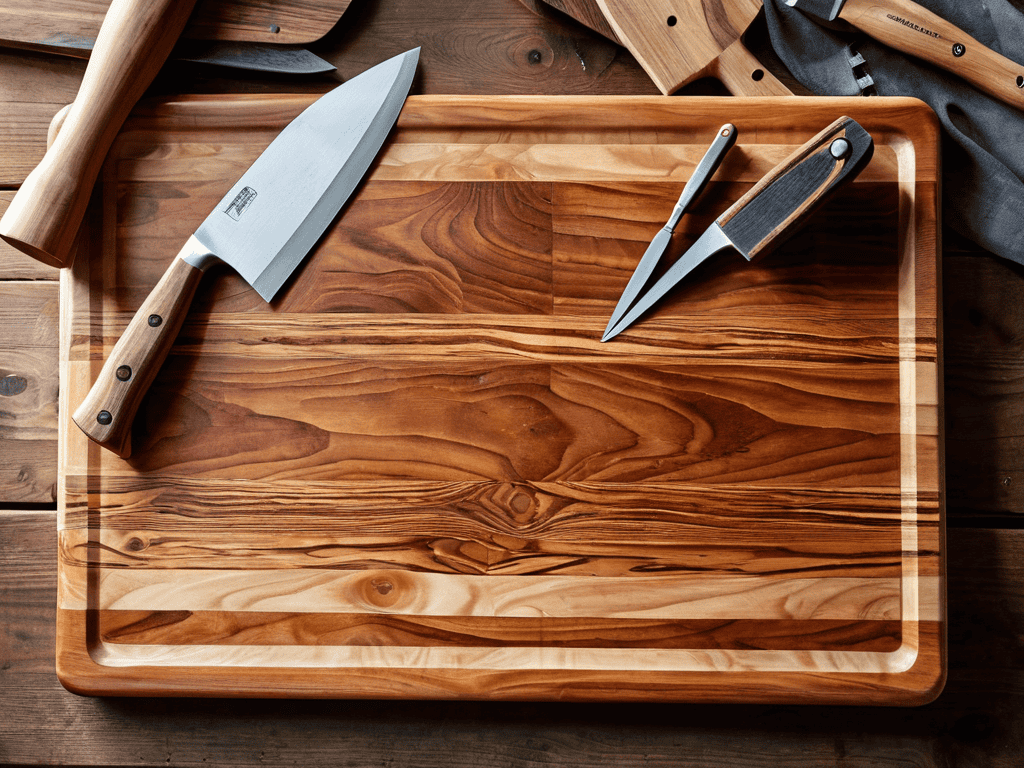
To take your cutting board game to the next level, don’t be afraid to experiment with cutting board design ideas. Whether you’re into modern minimalist designs or more traditional looks, the key is to have fun and make it your own. And remember, measuring and cutting wood accurately is crucial to avoiding those pesky common cutting board mistakes to avoid. With a little practice and patience, you’ll be crafting cutting boards like a pro in no time.
Cutting Board Design Ideas
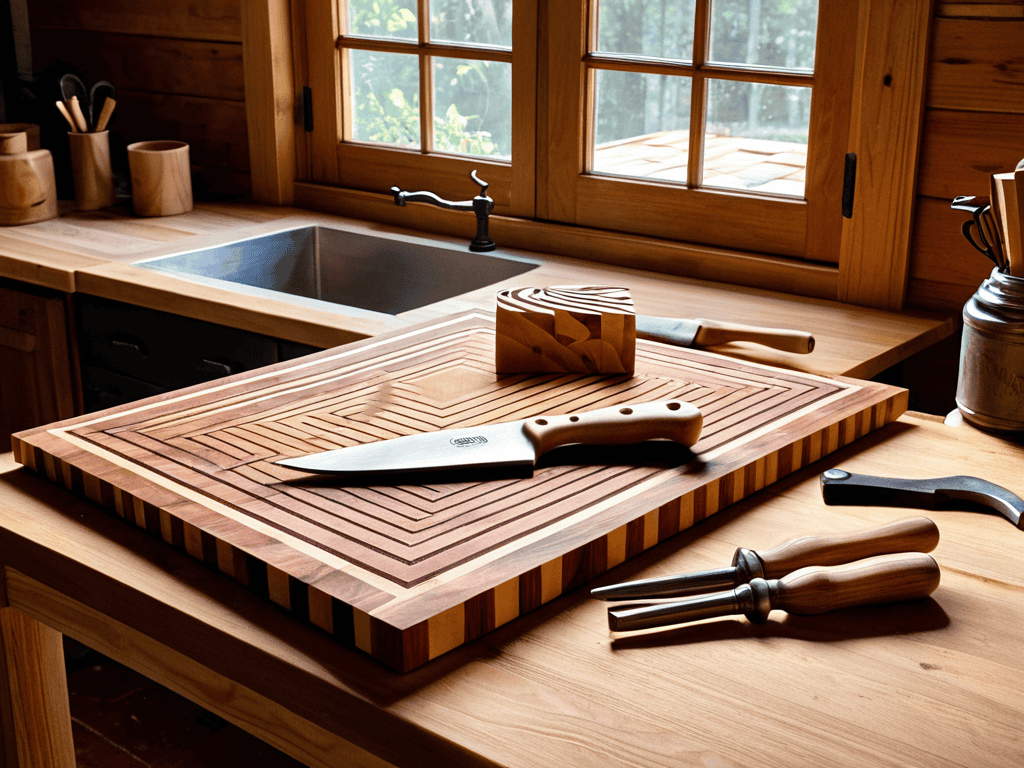
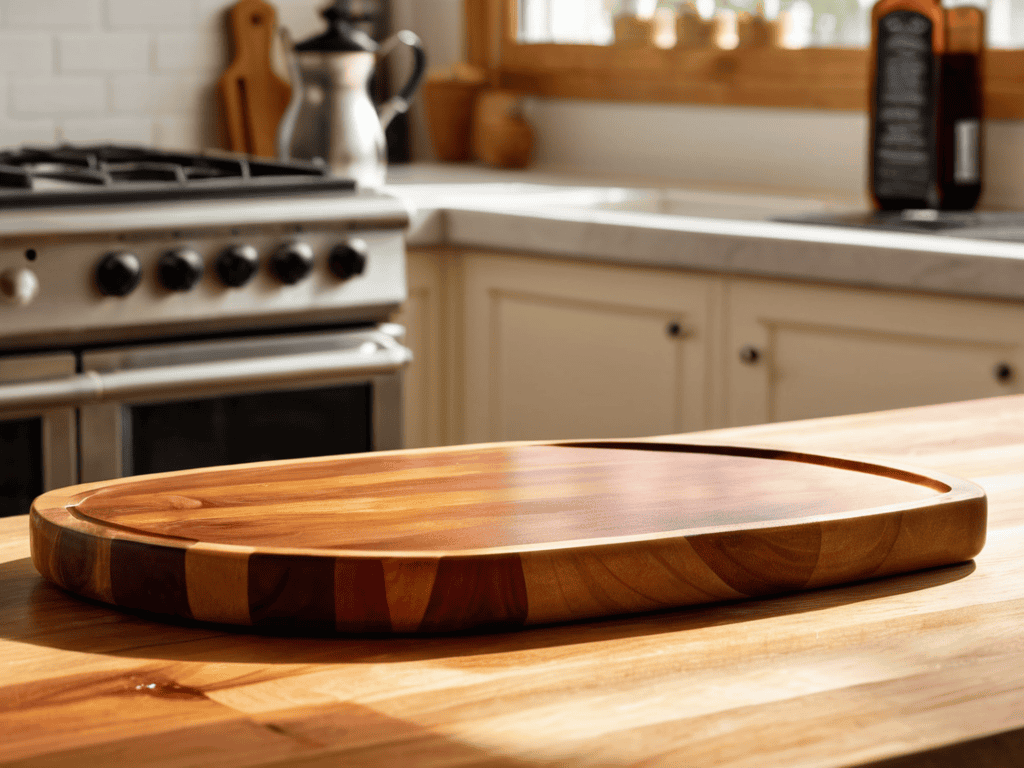
Now that we’ve got our wood picked out, let’s talk design. I love this part – it’s where your cutting board starts to feel truly unique. You can go classic and simple with a rectangular shape, or get a little crazy and try out a circular or hexagonal design. Maybe you want to add some personality with a custom handle or a decorative edge. The possibilities are endless, and I’m all about embracing those happy accidents that turn a project into something truly special. Think about the style of your kitchen, the type of cooking you do most, and what’s going to make you smile every time you reach for your new cutting board.
Wood Types for Cutting Boards
When it comes to choosing the right wood for your cutting board, the options can be overwhelming. But don’t worry, I’ve got you covered! You’ll want to opt for hardwoods like maple, walnut, or cherry – they’re durable and can withstand the rough and tumble world of kitchen chaos. I personally love working with maple, it’s like the ultimate team player – easy to work with and always looks sharp.
These hardwoods have natural antibacterial properties, which is a total win for food safety. Plus, they develop a beautiful patina over time, giving your cutting board a unique character that’s all its own. So, which wood will you choose for your project? The possibilities are endless, and I’m stoked to see what you create!
5 Tips to Help You Create a Cutting Board that's a Cut Above the Rest
- Choose the right wood: Not all woods are created equal, so make sure you pick a hardwood like maple, walnut, or cherry that’s durable and resistant to scratches and stains
- Sand it like you mean it: A good sanding job can make all the difference in the world, so don’t be afraid to break out the big guns and get down to business with some high-grit sandpaper
- Add a personal touch: Whether it’s a custom design, a special message, or just a unique shape, make your cutting board stand out from the crowd with a little something extra
- Don’t forget the finish: A good finish can protect your cutting board from the elements and make cleanup a breeze, so choose a food-safe oil or wax and apply it like a pro
- Practice makes perfect: Don’t be too hard on yourself if your first cutting board doesn’t turn out exactly as planned – just remember that every mistake is an opportunity to learn and improve for the next project
Key Takeaways for Your Cutting Board Project
Choose the right wood for your cutting board, considering durability, maintenance, and aesthetics – from classic maple to exotic hardwoods, the options are endless!
Don’t be afraid to get creative with your design, whether it’s a simple rectangle or an intricate pattern, and remember, mistakes can often lead to amazing unique features
With the right tools, a bit of patience, and a willingness to learn, you can turn a pile of raw wood into a stunning, functional cutting board that’ll be the centerpiece of your kitchen
The Joy of Creation
Making a cutting board isn’t just about crafting a kitchen essential, it’s about transforming raw wood into a story of love, laughter, and late-night cooking experiments – every cut, every sand, and every finish is a testament to the human touch.
Franklyn "Frank" Bishop
Conclusion
That’s a wrap, folks! We’ve covered the basics of making a cutting board from scratch, including choosing the right wood type and designing your board. Remember, the key to a great cutting board is in the details – from the type of wood you choose to the finish you apply. Don’t be afraid to experiment and try out new things – happy accidents can often lead to unique and amazing results. Whether you’re a seasoned woodworker or a beginner, making a cutting board is a fun and rewarding project that can add a personal touch to your kitchen.
As you put the final touches on your cutting board, take a step back and admire your handiwork. You’ve created something truly special – a piece of functional art that will be the centerpiece of your kitchen for years to come. Don’t be afraid to show it off and share your creation with friends and family. And most importantly, have fun with it! Making things with your own hands is a powerful feeling, and I hope this project has inspired you to keep creating and pushing the boundaries of what’s possible.
Frequently Asked Questions
What type of finish is best for a cutting board to make it durable and resistant to knife marks?
Dude, for a cutting board finish, I swear by food-safe oils like mineral oil or beeswax. They’re easy to apply, non-toxic, and create a barrier that resists knife marks and moisture. Plus, they bring out the beauty of the wood!
How do I prevent warping or cracking in my cutting board during the construction or drying process?
To prevent warping or cracking, make sure to properly dry your wood, and apply a food-safe finish to seal it. I also like to add a few screws from the bottom for extra stability – it’s a trick I learned from my prop-making days!
Can I use any type of wood for a cutting board, or are there certain species that are safer for food preparation?
Not all wood is created equal, my friend! For a cutting board, you’ll want to stick with hardwoods like maple, walnut, or cherry – they’re dense, durable, and non-toxic. Avoid softwoods or pressure-treated wood, as they can harbor bacteria or leach chemicals into your food. Let’s keep it safe and stylish!