I still remember the first time I tried to build a workbench – it was a disaster. I had all the right tools, but I was missing one crucial thing: a clear plan. I ended up with a wobbly, uneven mess that was more suited for the landfill than my workshop. But that’s exactly why I’m excited to share with you how to build a simple workbench from 2x4s. It’s a project that’s deceptively simple, yet incredibly rewarding. With the right guidance, you can create a sturdy, reliable workbench that will be the heart of your DIY endeavors.
In this article, I’ll walk you through the entire process, from planning to completion. You’ll get honest, no-nonsense advice on how to choose the right materials, assemble the frame, and add a durable top. I’ll share my favorite tips and tricks for making the process smoother, and show you how to troubleshoot common issues that might arise. By the end of this guide, you’ll be confident in your ability to build a simple workbench from 2x4s that will serve you well for years to come. So, let’s get started and turn that pile of lumber into a workspace that’s truly yours.
Table of Contents
Guide Overview: What You'll Need
Total Time: 2 hours 30 minutes
Estimated Cost: $50 – $100
Difficulty Level: Intermediate
Tools Required
- Circular Saw (for cutting 2x4s)
- Drill (with screwdriver and drill bits)
- Tape Measure (for measuring and marking lumber)
- Square (for ensuring accurate corners)
- Clamp (for holding pieces together during assembly)
- Sandpaper (for smoothing out wood surfaces)
- Level (for ensuring the workbench is level)
Supplies & Materials
- 2×4 Lumber (for the frame and shelves)
- Wood Screws (2.5 inches or 3 inches long)
- Wood Glue (for reinforcing joints)
- Plywood or MDF (for the work surface, 3/4 inch thick)
Step-by-Step Instructions
- 1. First, let’s gather our materials and make sure we have everything we need to build this simple workbench. We’ll need 2×4 lumber for the frame, some 3/4 inch plywood for the top, and a few screws to hold it all together. I like to lay out all my tools and materials before starting a project, it helps me get in the right mindset and ensures I don’t have to make any last-minute trips to the hardware store.
- 2. Next, we need to cut our 2x4s to size. This is where the project really starts to take shape, and I love seeing all the individual pieces come together. We’ll need four legs, two aprons, and two shelves, so make sure to double-check your measurements before making any cuts. I always say, measure twice, cut once – it’s a simple rule, but it can save you a lot of headache in the long run.
- 3. Now it’s time to assemble the frame. This is the part of the project where things can get a little tricky, but don’t worry, we’ll take it one step at a time. Use your screws to attach the aprons to the legs, making sure everything is square and level. I like to use clamps to hold everything in place while I screw it together, it helps keep things nice and tight.
- 4. With the frame assembled, it’s time to attach the plywood top. This is where our workbench really starts to take shape, and I love seeing the finished product come together. Use your screws to attach the plywood to the frame, making sure to space them out evenly. I like to use a drill bit with a countersink, it helps the screws sit flush with the surface of the plywood.
- 5. Next, we need to add some support brackets to the shelves. This will help keep everything nice and sturdy, and prevent the shelves from sagging under the weight of our tools. Cut your 2x4s to size, and attach them to the shelves using screws. Make sure they’re evenly spaced, and that the shelves are level.
- 6. Now it’s time to add some finishing touches. I like to add a coat of paint or stain to my workbench, it helps protect the wood and gives it a nice finish. You can also add some trim or molding to the edges of the plywood, it helps give the workbench a more polished look.
- 7. Finally, let’s put it all together and make sure everything is working as it should. Attach the shelves to the frame, and make sure they’re level. Add any tools or accessories you need, and you’re ready to start working on your next project. I love the feeling of standing back and admiring my work, it’s a great sense of accomplishment, and a reminder that with a little bit of effort, we can create something truly amazing.
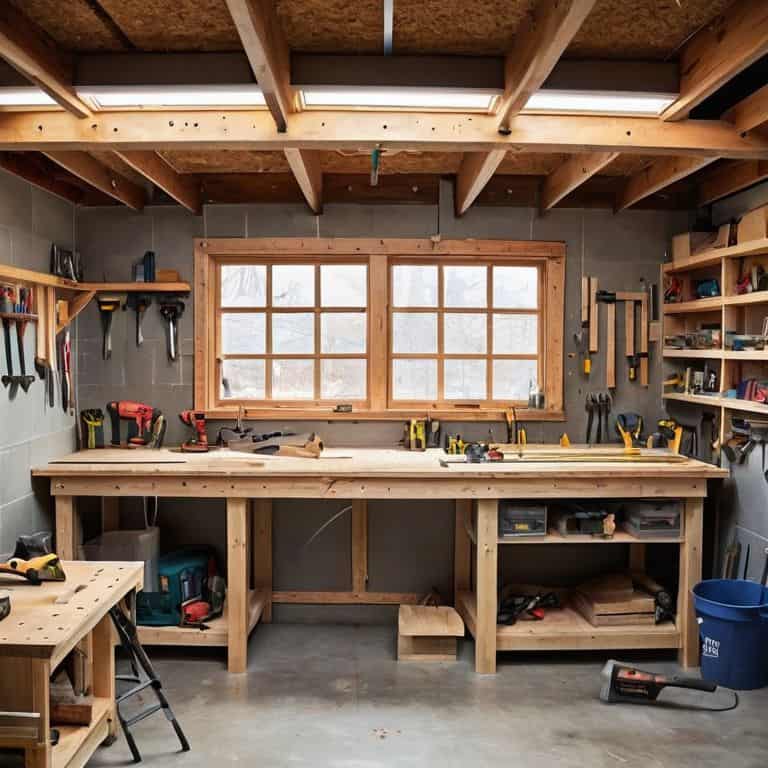
Build Simple Workbench
As we dive into building a workbench for beginners, it’s essential to remember that the key to a successful project is in the details. I always say, the most important part of learning is making mistakes, and trust me, you’ll make some along the way. But that’s where the magic happens, and you’ll be surprised at how a simple fix can turn into a clever solution. When it comes to simple workbench designs, I’m a fan of keeping it, well, simple. You don’t need a ton of fancy features to get started, just a solid foundation and some 2×4 workbench plans free online to guide you.
Now, let’s talk about workbench height adjustment. This is a crucial aspect to consider, especially if you’re planning on using your workbench for various projects. You want to be able to adjust the height to suit your needs, whether you’re working on a small craft or a large-scale build. I like to add a simple mechanism that allows me to adjust the height with ease. It’s all about creating a comfortable and efficient workspace. And, let’s not forget about workbench organization ideas – a well-organized workbench is a happy workbench, right?
As you’re building your workbench, keep in mind some essential workbench safety features. This includes adding a vice, ensuring the workbench is stable and level, and having a clear workspace. I also like to add some personal touches, like a built-in tray for my tools or a small shelf for my favorite reference books. Remember, the goal is to create a space that inspires creativity and productivity, so don’t be afraid to get creative and make it your own. With these tips and a bit of patience, you’ll be well on your way to creating a workbench that will be your new best friend in the workshop.
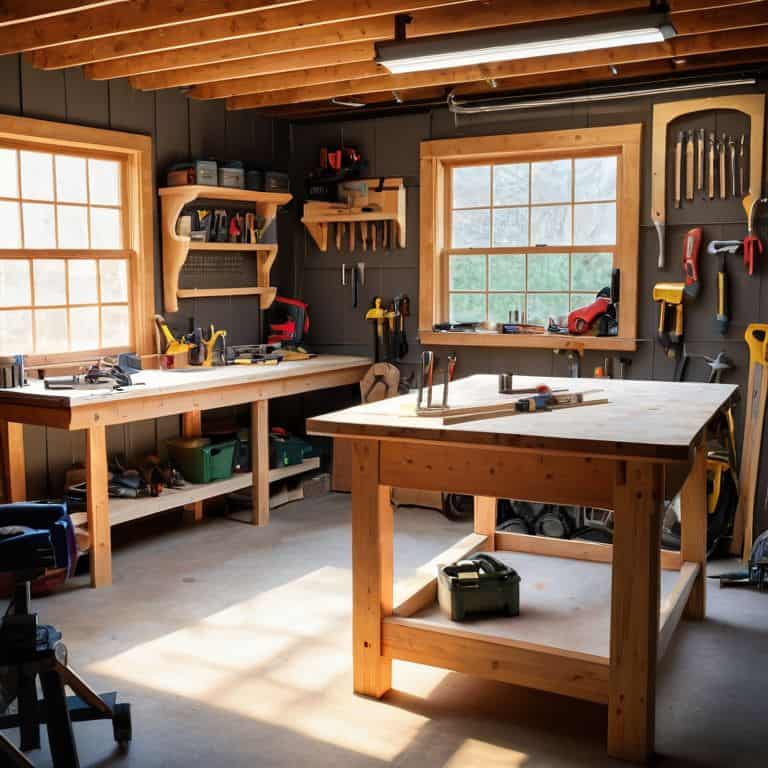
2×4 Workbench Plans Free
Now that we’ve got our workbench built, let’s talk about the plans that made it all possible. I’m a big believer in sharing the love, so I’m happy to provide you with free 2×4 workbench plans that you can use to create your own masterpiece. These plans are tried and true, and they’re perfect for beginners and seasoned DIYers alike. With these plans, you’ll be able to create a sturdy and reliable workbench that’ll be the envy of all your friends.
You can find the plans on my website, along with some other cool projects and tutorials. Just head on over, download the plans, and get ready to start building. I’ve included detailed measurements, material lists, and step-by-step instructions to make the process as smooth as possible. Happy building!
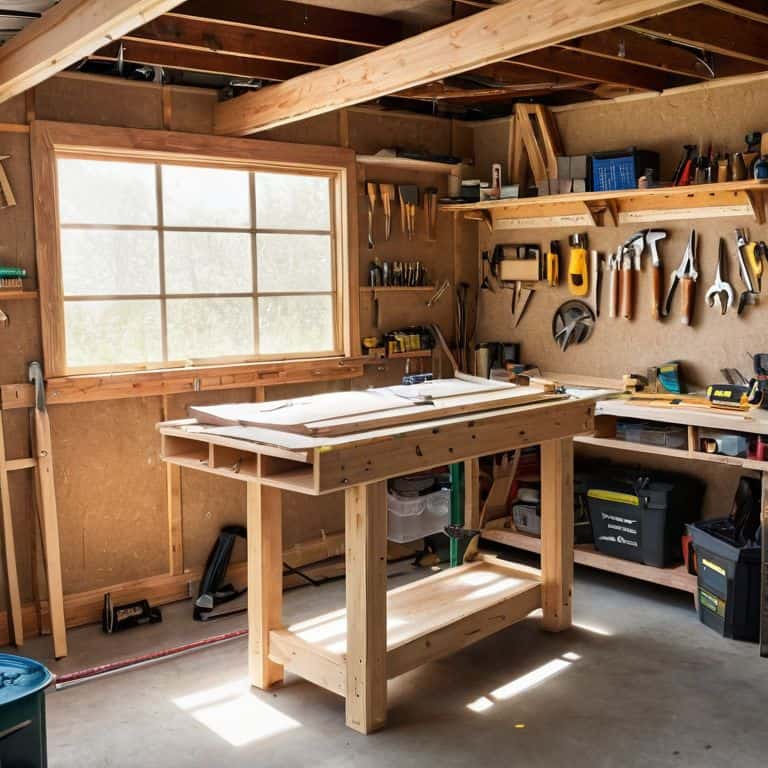
Workbench Height Adjustment
Now that we’ve got our workbench frame built, let’s talk about one of the most important aspects: height adjustment. You want your workbench to be at a comfortable height, so you’re not straining your back or stretching to reach your tools. I like to keep mine around 34-36 inches high, but hey, it’s all about what works for you.
When it comes to adjusting the height, you can use leg extenders or add removable feet to give you some extra lift. This way, you can customize the height to fit your needs, whether you’re working on a project that requires a lot of stooping or one that needs you to stand tall. Trust me, your back (and your projects) will thank you for taking the time to get this just right.
5 Essential Tips to Nail Your 2×4 Workbench Build
- Measure Twice, Cut Once: Double-check your cuts before slicing into that precious 2×4 lumber – trust me, it saves headaches and materials!
- Choose the Right Screws: Don’t skimp on the hardware, folks! Use sturdy screws that’ll keep your workbench stable and secure for years to come
- Add Some Personal Touches: This is your workbench, after all! Consider adding a vice, some storage, or even a built-in lighting system to make it truly yours
- Don’t Forget the Finishing Touches: Sand it down, add a coat of finish, and maybe even throw some decorative trim on there – it’s the little details that make your workbench go from ‘meh’ to ‘wow’
- Experiment and Have Fun: Remember, mistakes are just happy accidents waiting to happen! Don’t be afraid to try new things and make this project your own – it’s all part of the DIY journey, baby!
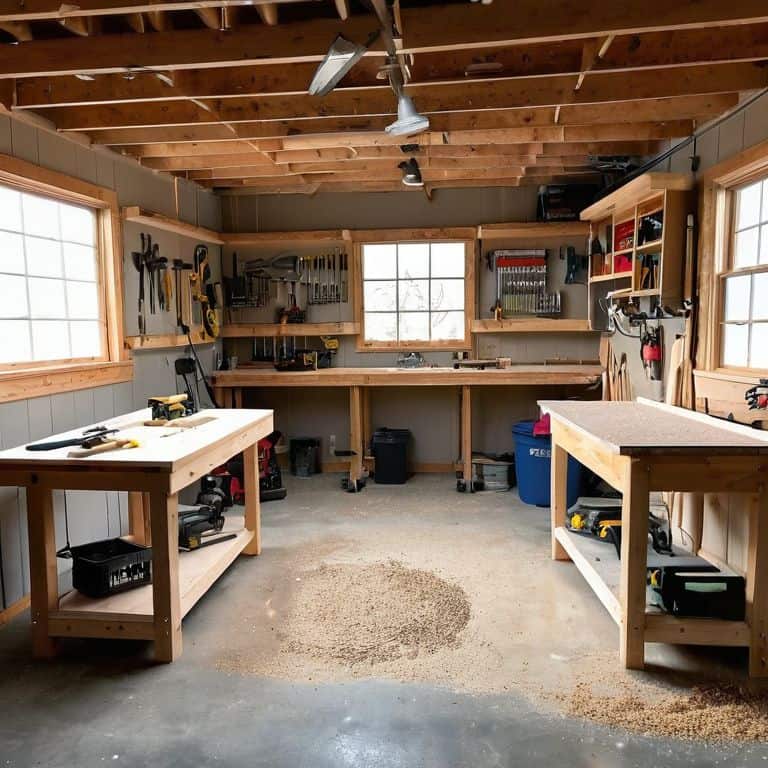
Key Takeaways for Your Epic 2×4 Workbench Build
Always remember, the most important part of any DIY project is the journey, not just the destination – don’t be too hard on yourself if things don’t turn out perfectly, those ‘happy accidents’ can often lead to the coolest features
Keep your workspace organized, but don’t stress if it gets a little chaotic – that’s where the magic happens, and a good soundtrack can make all the difference in your productivity and mood
Building a simple workbench from 2x4s is just the beginning; it’s a gateway to a world of DIY possibilities, from restoring vintage tools to creating your own custom planters – the key is to have fun and keep experimenting
Wrapping Up Your Epic 2×4 Workbench Build
As we conclude this journey of building a simple workbench from 2x4s, let’s take a moment to reflect on the process. We’ve covered the main step-by-step instructions, dived into the ‘Build Simple Workbench’ section, explored ‘2×4 Workbench Plans Free’, and even discussed ‘Workbench Height Adjustment’. It’s amazing how something as straightforward as a workbench can become a symbol of creativity and a foundation for countless projects to come. Remember, the goal was not just to build a workbench, but to enjoy the ride, learn from our mistakes, and maybe even discover a new passion.
Now that you’ve completed your workbench, it’s time to think about what’s next. Perhaps you’re eager to start that woodworking project you’ve been putting off, or maybe you’re inspired to try your hand at restoring some vintage tools. Whatever it is, remember that the joy of making is just as important as the end result. So, go ahead, fire up your power tools, turn up the music, and get ready to create something truly amazing. Your workshop, your rules, your creations – the world is waiting to see what you’ll build next!
Frequently Asked Questions
What type of screws or nails are best to use when assembling the 2×4 workbench frame?
Ah, great question, buddy! For assembling the 2×4 workbench frame, I recommend using 3-inch wood screws. They provide a solid hold and can withstand the weight and stress of your projects. You can also use 16d nails, but screws give you a bit more flexibility and are easier to adjust if needed.
How much weight can a simple 2×4 workbench safely hold?
Dude, that’s a great question! A simple 2×4 workbench can safely hold around 200-300 pounds, depending on the design and construction. But, let’s be real, if you’re planning on throwing heavy machinery or a small car on it, you might want to consider beefing it up with some extra support!
Are there any specific 2×4 workbench designs or plans that are better suited for small workshops or garages?
Dude, for small workshops or garages, I’m a huge fan of compact folding designs or wall-mounted workbenches made from 2x4s. They save space and still pack a punch. I’ve got a sweet design on my channel that folds up against the wall when not in use – it’s a total game-changer for tiny workshops!