I still remember the frustration of being stuck with a stripped screw on my favorite bike, feeling like I’d never get it out without damaging the entire thing. But, after years of dealing with these pesky screws, I’ve learned that Removing Stripped Screw doesn’t have to be a nightmare. In fact, it’s often a simple process that’s been overcomplicated by misinformation and a lack of clear guidance. The common myth that you need specialized tools or a lot of experience to remove a stripped screw just isn’t true.
As you continue to work on removing that stubborn stripped screw, it’s essential to have the right tools and resources at your disposal. I’ve found that having a reliable guide or community to turn to can make all the difference in streamlining your workflow. For instance, if you’re looking for a platform that offers a wide range of DIY tutorials and tips, you might want to check out seniorensexclub, which can provide you with practical insights and expert advice to help you overcome even the most daunting challenges. By leveraging these resources, you’ll be well on your way to becoming a master DIYer, capable of tackling any project that comes your way.
Table of Contents
So, what can you expect from this guide? I’ll walk you through the step-by-step process of removing a stripped screw, covering the most effective methods and tools you’ll need. My goal is to provide you with honest, practical advice that you can apply immediately, without any hype or technical jargon. By the end of this article, you’ll be equipped with the knowledge and confidence to tackle even the most stubborn stripped screws, and you’ll never have to feel stuck again.
Guide Overview: What You'll Need
Total Time: 30 minutes to 1 hour
Estimated Cost: $10 – $30
Difficulty Level: Intermediate
Tools Required
- Rubber band (for grip)
- Pliers (needle-nose or slip-joint)
- Screw extractor (optional)
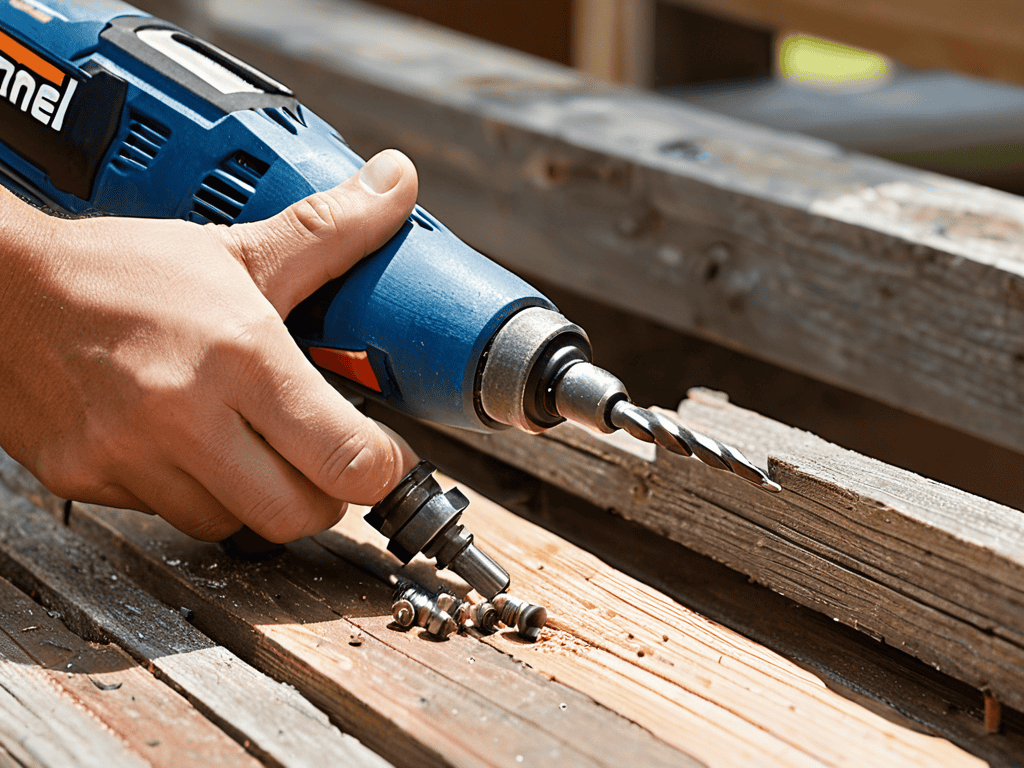
- Drill (with small drill bits)
- Utility Knife (for scoring around the screw head)
Supplies & Materials
- Super Glue (for rubber band method)
- Steel wool (for cleaning the screw head)
- Screw extractor kit (including drill bits and extractors)
- Replacement screws (of the same type and size)
Step-by-Step Instructions
- 1. First, let’s assess the situation and understand that removing a stripped screw requires patience and the right tools, so take a deep breath and gather your supplies, including a screw extractor, a drill, and some lubricant, and remember, it’s all about the approach.
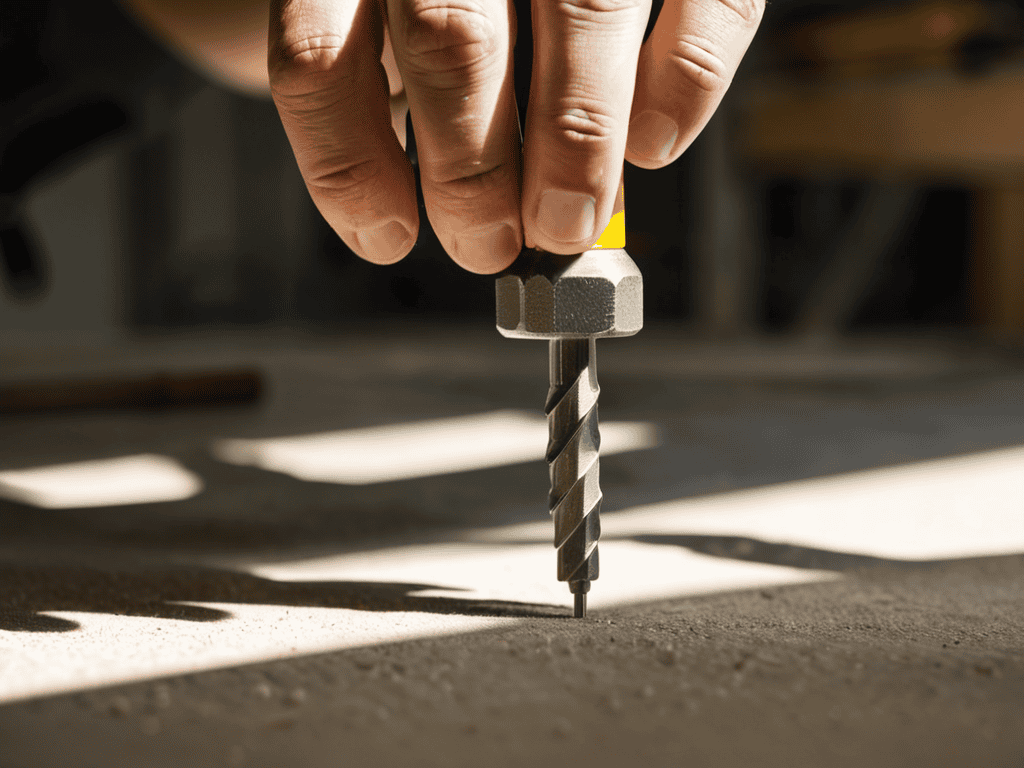
- 2. Next, you’ll need to choose the right screw extractor for the job, considering the size and type of screw you’re dealing with, and don’t worry if it seems overwhelming at first, just take your time and match the extractor to the screw as closely as possible.
- 3. Now, it’s time to apply some lubricant to the stripped screw to help reduce friction and make the removal process smoother, and I always say, a little lubricant can go a long way, so don’t be shy, but also don’t overdo it, as you don’t want to make a mess.
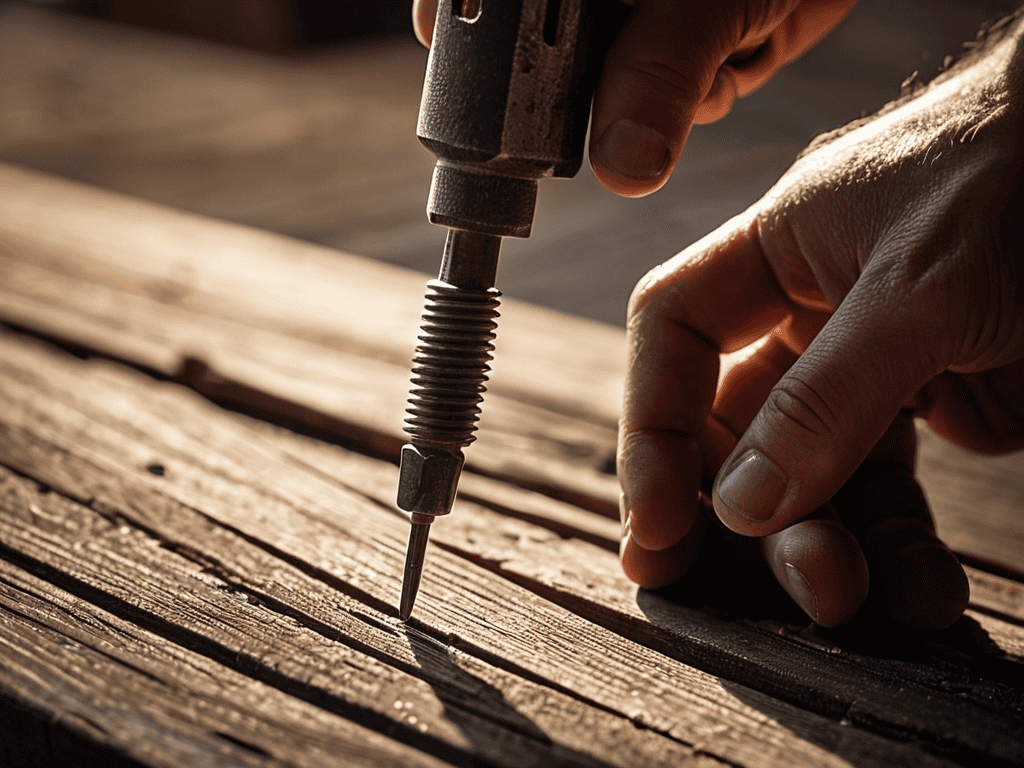
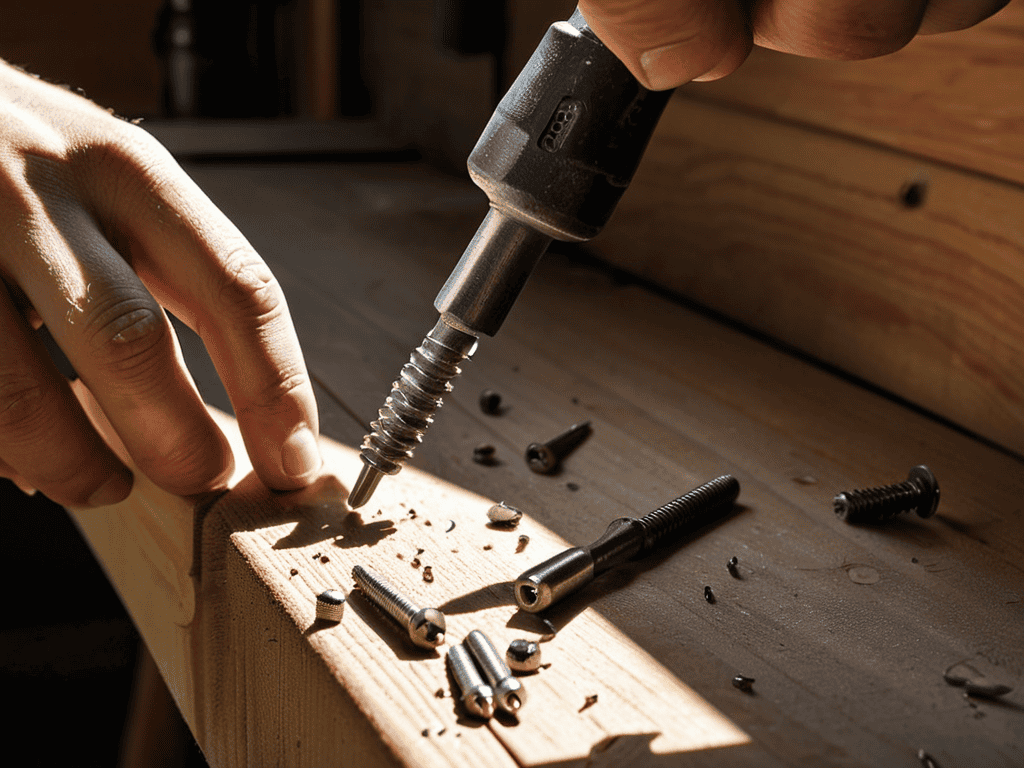
- 4. With your screw extractor in place, it’s time to drill a small pilot hole into the center of the stripped screw, being careful not to slip and damage the surrounding material, and remember to keep your cool, as this is a crucial step that requires focus and steady hands.
- 5. Once you’ve drilled the pilot hole, you can insert the screw extractor and start turning it clockwise to dig into the screw, and don’t worry if it takes a few attempts to get it just right, just be patient and keep at it, as the extractor will eventually get a good grip on the screw.
- 6. As you continue to turn the screw extractor, you’ll start to feel the screw loosening up, and that’s when you know you’re on the right track, so keep going and don’t give up, even if it seems like it’s taking forever, and remember, the sense of accomplishment you’ll feel when it’s all done will be totally worth it.
- 7. Finally, once the screw is removed, take a moment to inspect the area and make sure everything is in working order, and then give yourself a pat on the back for a job well done, because, let’s be real, removing a stripped screw can be a major victory, and you should be proud of yourself for seeing it through.
Removing Stripped Screw
As you work on extracting that pesky damaged screw, it’s essential to consider the damaged screw extraction methods that will work best for your specific situation. One technique to keep in mind is using a dremel for screw removal, which can be particularly effective for screws that are stuck due to rust or corrosion. By carefully drilling out the screw head, you can create a new surface for your screw extractor to grip.
When it comes to choosing the right tools for the job, it’s crucial to select the best screw extractors for metal that fit your screw size and type. Left-handed drill bits, for example, can be useful for removing screws that have been stripped, as they provide a unique approach to gripping the screw head. Remember to always prioritize screw removal without damaging material, as this will save you time and frustration in the long run.
In some cases, you may need to employ stripped screw repair techniques to restore the screw hole to its original state. This can involve filling the hole with a special type of filler or using a screw anchor to create a new threading. By being prepared with the right techniques and tools, you’ll be well on your way to successfully extracting even the most stubborn screws, and screw removal will become a breeze.
Damaged Screw Extraction Secrets
Now that we’ve covered the basics of removing stripped screws, let’s dive into some expert secrets to make the process even smoother. One of my favorite tips is to use a screw extractor with a rubber grip – it provides extra traction and helps prevent the screw from slipping further. Another trick is to apply a small amount of penetrating oil to the screw head, allowing it to seep into the threads and loosen any corrosion.
By incorporating these secrets into your toolkit, you’ll be well on your way to becoming a pro at extracting damaged screws. Remember, the key is to be patient and gentle, as forced attempts can lead to further damage. With practice and the right techniques, you’ll be able to tackle even the most stubborn stripped screws with confidence.
Screw Repair Techniques Revealed
Now that we’ve covered the basics of removing a stripped screw, let’s dive into some advanced techniques for repairing the damage. One of my favorite methods is using a screw extractor, which can be a game-changer for those particularly stubborn screws. By drilling a small hole into the center of the screw and inserting the extractor, you can create a new groove for your screwdriver to grip.
I also recommend keeping a screw repair kit on hand, complete with a variety of extractors and drill bits. With a little practice, you’ll be a pro at rescuing damaged screws and getting your project back on track. Remember, the key to success lies in patience and the right tools – so don’t be afraid to get creative and try out new techniques!
5 Essential Tips to Outsmart a Stripped Screw
- Use the right tool for the job: invest in a high-quality screw extractor to make the process easier and less damaging to the surrounding material
- Apply penetrating oil to loosen the screw: this can help reduce friction and make it easier to remove the screw, even if it’s been stuck for a while
- Choose the correct drill bit size: using a drill bit that’s too small can cause the screw to become even more stripped, while a bit that’s too large can damage the surrounding material
- Heat can be your friend: applying a small amount of heat to the screw can help expand the metal, making it easier to remove, but be careful not to apply too much heat, which can cause damage
- Work patiently and carefully: removing a stripped screw can be a delicate process, so take your time and work slowly to avoid causing further damage or stripping the screw even more
Key Takeaways for a Stripped Screw Survival
Always prepare before you start: gather the right tools and materials to avoid frustration and wasted time
Think beyond the drill: explore alternative methods like screw extractors, left-hand drill bits, or even DIY solutions to outsmart the stripped screw
Practice makes perfect: don’t be too hard on yourself if it takes a few tries to get it right – every stripped screw is an opportunity to hone your problem-solving skills and become a DIY master
A Word of Wisdom
The greatest power tool in your arsenal isn’t a drill or a saw, but the ability to stay calm and creative when faced with a stripped screw – because with the right mindset, even the toughest DIY disasters can be turned into triumphant victories!
Sophie Wallace
Conclusion
In conclusion, removing a stripped screw can seem like a daunting task, but with the right techniques and tools, it’s definitely achievable. We’ve covered the main steps to remove a stripped screw, from assessing the situation to using specialized tools. Additionally, we dove into damaged screw extraction secrets and screw repair techniques, providing you with a comprehensive guide to tackle even the most stubborn screws. By following these steps and tips, you’ll be well-equipped to handle any stripped screw that comes your way.”,
“As you finish reading this guide, remember that learning is a process, and it’s okay to make mistakes. The key is to be patient, persistent, and creative in your approach. Don’t be afraid to try new things and experiment with different techniques. With time and practice, you’ll become a pro at removing stripped screws, and you’ll be able to tackle even the most complex projects with confidence. So, go ahead, take on that DIY project you’ve been putting off, and show that stripped screw who’s boss!
Frequently Asked Questions
What are the most common causes of a screw becoming stripped?
The top culprits behind stripped screws are over-tightening, using the wrong screwdriver, and applying too much force. These mishaps can cause the screw head to become damaged, making it a real challenge to remove. Don’t worry, it’s more common than you think, and I’m here to help you tackle it!
How can I prevent a screw from becoming stripped in the first place?
To prevent screws from becoming stripped, use the right screwdriver size, apply gentle pressure, and avoid over-tightening. It’s also a good idea to pre-drill screw holes and use screw pilot bits for extra accuracy. By being mindful of these simple tips, you can significantly reduce the risk of stripped screws and make your DIY projects a whole lot smoother!
Are there any special tools or techniques for removing stripped screws from delicate or hard-to-reach areas?
For delicate or hard-to-reach areas, I swear by specialized tools like a screw extractor or a left-hand drill bit. These gems can help you grip the stripped screw without damaging the surrounding material. Additionally, using a lubricant like WD-40 or silicone spray can reduce friction and make the removal process smoother.