I still remember the day I decided to tackle my first DIY project – a simple bookshelf that turned out to be not so simple. I had heard that knowing how to start a DIY project was all about following a strict set of rules and protocols, but as I dove in, I realized that wasn’t entirely true. In fact, the most important step was often the one that got overlooked: embracing the unknown. As someone who’s passionate about making complex topics feel simple and fun, I’m excited to share my journey with you and show you that how to start a DIY project is more about sparking your curiosity than following a formula.
As we explore the world of DIY together, I want to promise you one thing: no fluff, just practical advice. In this guide, you’ll learn the essential steps to get your project off the ground, from figuring out what sparks your curiosity to taking that first, often daunting, step. We’ll break down the process into manageable, bite-sized chunks, and I’ll share my favorite tips and tricks for making the journey enjoyable, not overwhelming. By the end of this article, you’ll be equipped with the confidence and knowledge to tackle your own DIY project, and maybe, just maybe, you’ll discover a new passion that will stay with you for years to come.
Table of Contents
Guide Overview: What You'll Need
Total Time: 1 hour 30 minutes
Estimated Cost: $20 – $50
Difficulty Level: Easy
Tools Required
- Tape Measure for measuring spaces
- Level for ensuring even surfaces
- Pencil for marking materials
- Work Light for illuminating work areas
Supplies & Materials
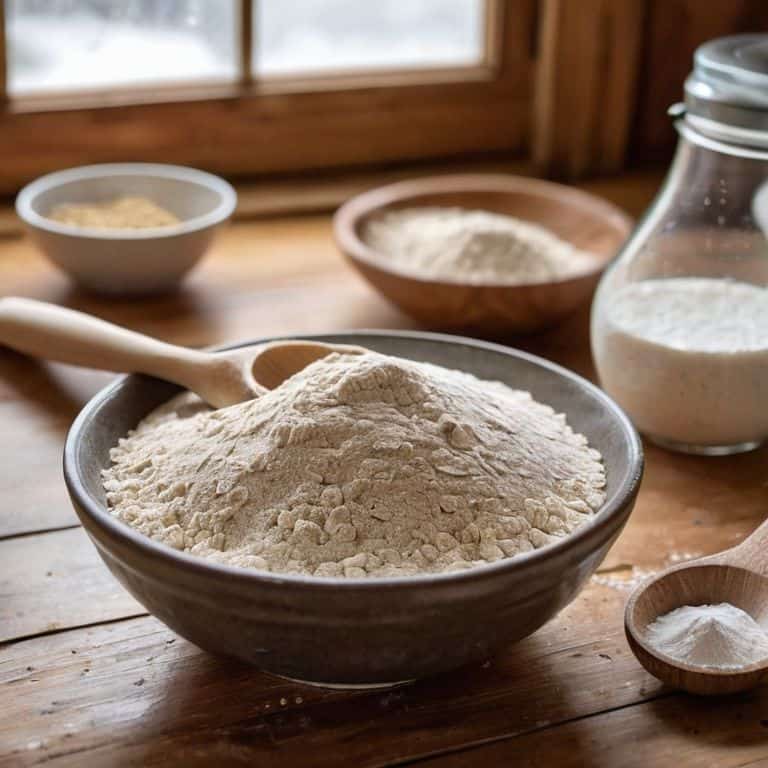
- 2-in x 4-in lumber for framing or support
- Sandpaper for smoothing surfaces
- Paint for finishing touches
- Decorative items such as pictures or plants
Step-by-Step Instructions
- 1. First, let’s spark some creativity by brainstorming ideas for your DIY project. Take a few minutes to think about what you’re passionate about, what problems you’d like to solve, or what you’ve always wanted to try. Write down your ideas in a notebook or open a note-taking app on your phone – don’t worry too much about feasibility at this stage, just let your imagination run wild.
- 2. Next, narrow down your options by considering your skills, budget, and the time you have available. Ask yourself questions like: What can I realistically accomplish with my current skills and resources? What materials will I need, and where can I find them? Make a list of pros and cons for each idea to help you make a decision.
- 3. Now that you have a few ideas to choose from, it’s time to define your project scope. What exactly do you want to achieve with your DIY project? What are your goals, and what does success look like? Try to be as specific as possible – instead of “I want to build a piece of furniture,” say “I want to build a wooden coffee table with storage.
- 4. With your project scope clearly defined, it’s time to gather inspiration and resources. Look for tutorials, videos, and blogs that can help you learn new skills and get a better understanding of what’s involved. Collect reference images, take notes, and start creating a mood board or vision board to visualize your project.
- 5. Once you have a good understanding of what you need to do, it’s time to create a detailed plan. Break down your project into smaller, manageable tasks, and estimate the time and materials required for each one. Make a schedule and set realistic deadlines – don’t be too hard on yourself, but try to create a sense of momentum and progress.
- 6. As you start working on your project, remember to take it one step at a time. Don’t be afraid to make mistakes or try new things – it’s all part of the learning process. Keep track of your progress, take photos, and make notes on what works and what doesn’t. This will help you stay organized and make adjustments as needed.
- 7. Finally, celebrate your small wins along the way. Completing a DIY project can be a long and sometimes challenging journey, but it’s essential to acknowledge and celebrate your progress. Whether it’s completing a difficult task or simply having fun with the process, take time to reflect on what you’ve achieved and enjoy the sense of satisfaction that comes with creating something with your own hands.
How to Start a Diy Project
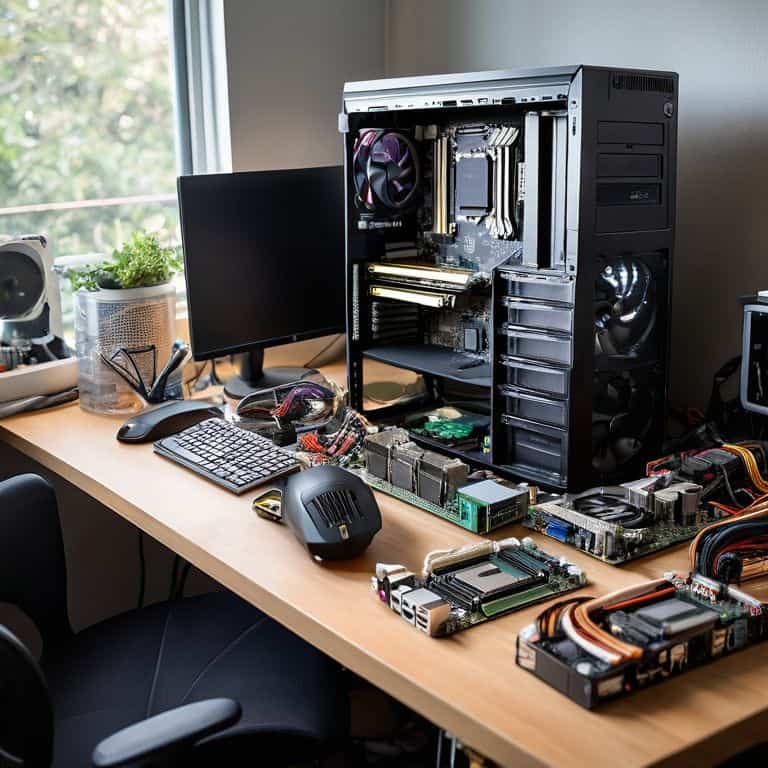
As you embark on your DIY journey, it’s essential to have a clear understanding of the process. Planning a DIY woodworking project can be overwhelming, but breaking it down into smaller tasks makes it more manageable. Start by gathering essential tools for beginners, such as a hammer, tape measure, and level. Having the right tools will give you the confidence to tackle more complex tasks.
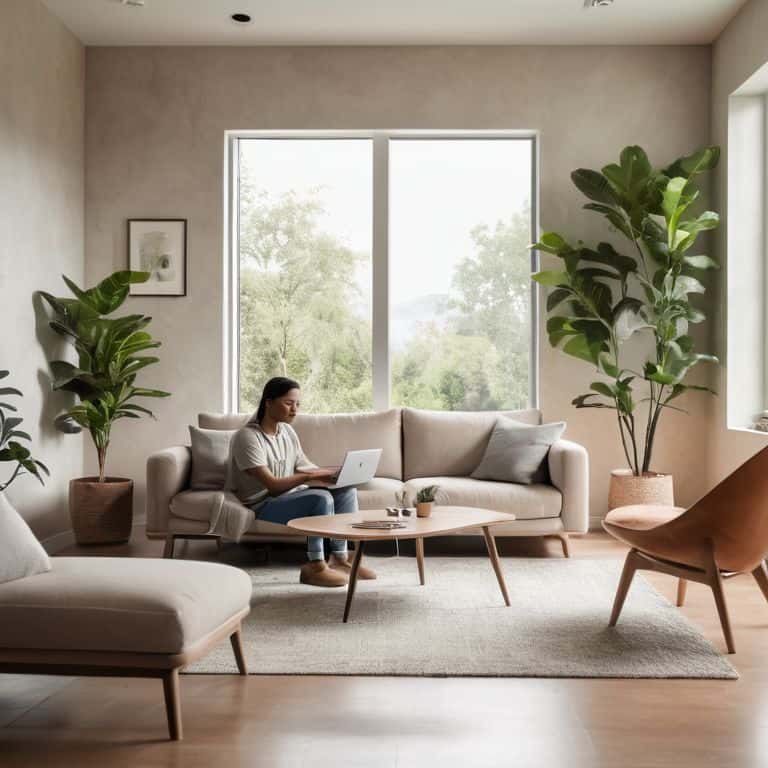
When working on a project, it’s crucial to consider your budget. DIY home decor ideas on a budget can be just as stylish and functional as their expensive counterparts. Look for ways to upcycling old furniture ideas, such as repurposing an old pallet into a coffee table. Not only will this save you money, but it will also add a unique touch to your space.
To ensure the success of your project, it’s vital to be aware of common DIY mistakes to avoid. One of the most significant errors is poor measurement, which can lead to costly mistakes. Take your time, and double-check your measurements before proceeding. By following these tips and staying organized with DIY project management tips, you’ll be well on your way to creating something truly remarkable.
Avoiding Common Diy Mistakes
As you embark on your DIY journey, it’s essential to be aware of common pitfalls that can derail your project. One of the most significant mistakes is not planning ahead, which can lead to wasted materials, time, and frustration. To avoid this, take a step back and visualize your project from start to finish. Consider factors like budget, space, and the tools you’ll need. A little upfront planning can save you a lot of headaches down the line.
By being mindful of these potential missteps, you can set yourself up for success and ensure a smooth, enjoyable experience. Remember, DIY is all about experimentation and learning, so don’t be too hard on yourself if things don’t go exactly as planned. With patience, persistence, and the right mindset, you’ll be well on your way to creating something truly amazing.
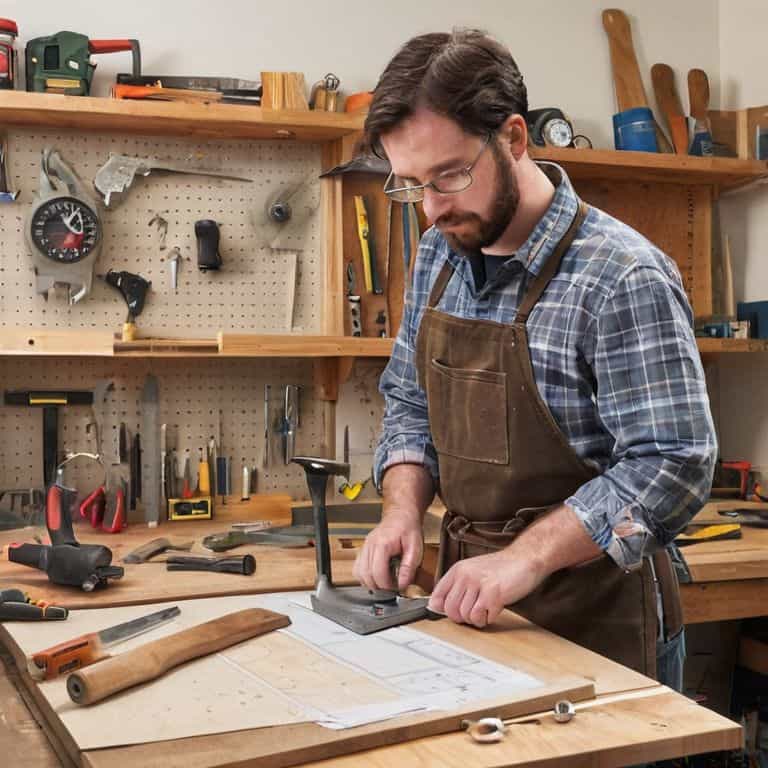
Essential Tools for Diy Beginners
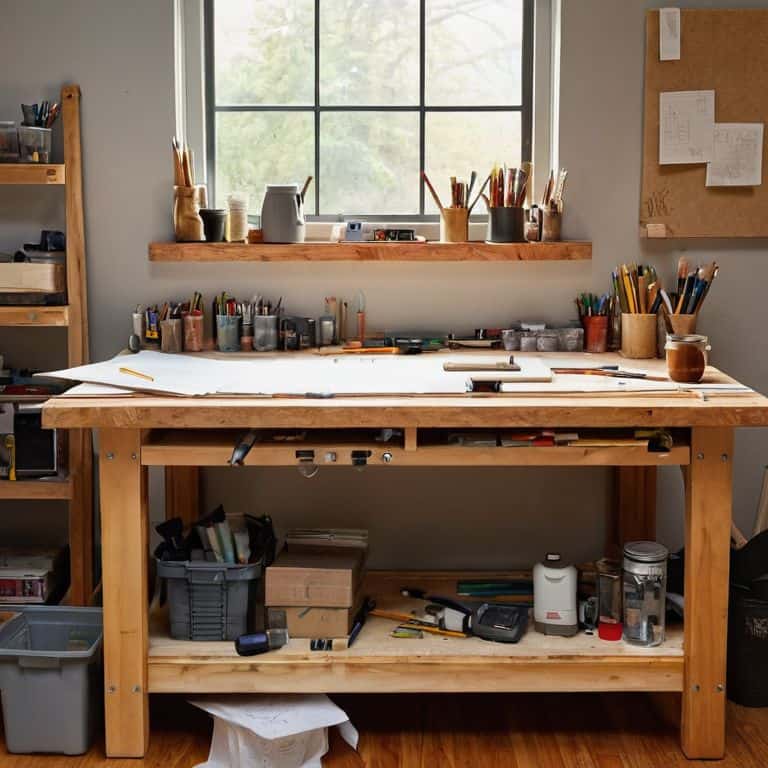
As a DIY beginner, having the right tools can make all the difference. You don’t need to break the bank, but investing in a few essentials will get you started on the right foot. I always recommend beginning with the basics: a hammer, tape measure, level, and a reliable pencil. These will be your go-to friends for measuring, marking, and building.
For more intricate projects, consider adding a utility knife, wire cutters, and a drill to your toolkit. Don’t worry if you’re not sure what each tool does – you’ll learn as you go, and that’s the best part of the DIY journey!
5 Thrilling Tips to Kickstart Your DIY Adventure
- Set Clear Goals: Define What Sparks Your Curiosity
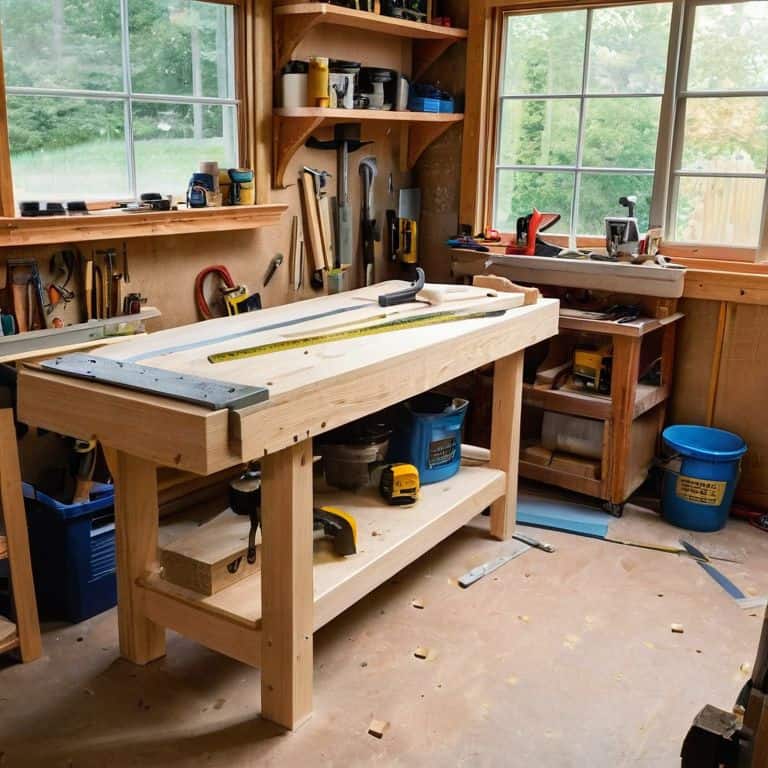
- Prepare a Dedicated Workspace: Where Creativity Meets Clarity
- Gather Inspiration: Browse, Collect, and Combine Ideas That Excite You
- Start Small: Break Down Big Projects into Manageable, Fun Tasks
- Experiment and Learn: Don’t Be Afraid to Try New Things and Make Mistakes
Bringing Your DIY Vision to Life: 3 Key Takeaways
Start by sparking your curiosity and taking the first step, no matter how small it seems – it’s the beginning of an exciting DIY journey
Equip yourself with the essential tools and knowledge to avoid common mistakes and ensure a smooth, enjoyable process from start to finish
Break down your project into manageable, bite-sized tasks to maintain momentum and experience the thrill of turning your DIY dreams into tangible realities
Igniting the Spark
The most powerful tool in any DIY project isn’t a hammer or a saw, but the courage to take that very first step, because it’s in the act of beginning that we unlock the true potential of our creativity and turn dreams into tangible realities.
Sophie Wallace
Bringing Your DIY Vision to Life
As we’ve explored the world of DIY projects, it’s clear that starting small and being prepared is key. From gathering your essential tools to avoiding common mistakes, each step is crucial in turning your ideas into reality. By following these guidelines and maintaining a curious, adventurous spirit, you’ll be well on your way to creating something truly unique and meaningful. Remember, the journey of a DIY project is just as important as the outcome, so enjoy the process and learn from your mistakes.
Now that you have the foundation to begin your DIY journey, it’s time to unleash your creativity and bring your vision to life. Whether you’re a seasoned maker or a beginner, the world of DIY is full of endless possibilities and opportunities for growth. So, take a deep breath, roll up your sleeves, and dive into your next project with enthusiasm and curiosity. With persistence and patience, you’ll find that the sense of accomplishment and pride in your work is truly unbeatable.
Frequently Asked Questions
What are some creative ways to come up with DIY project ideas?
Let’s spark some creativity. I love brainstorming DIY ideas by browsing Pinterest, thrift stores, or nature walks. You can also try flipping through home decor magazines, asking friends for their wish lists, or even repurposing old items you’d otherwise toss. The key is to stay curious and have fun – your next project is just a spark away!
How do I determine the budget and timeline for my DIY project?
Let’s get down to business – determining your budget and timeline is as easy as asking yourself two simple questions: What’s the maximum I’m willing to spend, and how many hours can I realistically dedicate to this project each week? Write down your answers, and you’ll have a solid foundation to build on!
What safety precautions should I take when starting a DIY project for the first time?
When starting your first DIY project, safety always comes first. Wear protective gear like gloves and goggles, and ensure your workspace is well-ventilated and clear of clutter. Double-check your power tools and materials for any damage, and never work when tired or distracted. Let’s get started safely and have fun!