I still remember the first time I tried to build a desk from scratch – it was a disaster. I had no idea what I was doing, and my lack of experience showed in the final product. But, as I always say, making mistakes is the best part of learning. That’s why I’m excited to share my guide on how to build a desk with you, so you can avoid the pitfalls I fell into. I’ve spent years honing my skills, and now I’m confident that with the right tools and a bit of patience, anyone can create a beautiful, functional desk.
In this article, I’ll walk you through the entire process, from planning to completion, and share my favorite tips and tricks for making it a fun and rewarding experience. You’ll get honest, no-hype advice on how to choose the right materials, use your power tools effectively, and bring your design to life. By the end of this guide, you’ll be equipped with the knowledge and confidence to build a desk that you’ll be proud to show off. So, let’s get started and turn that pile of raw wood into your dream desk!
Table of Contents
Guide Overview: What You'll Need
Total Time: 4 hours
Estimated Cost: $100 – $200
Difficulty Level: Intermediate
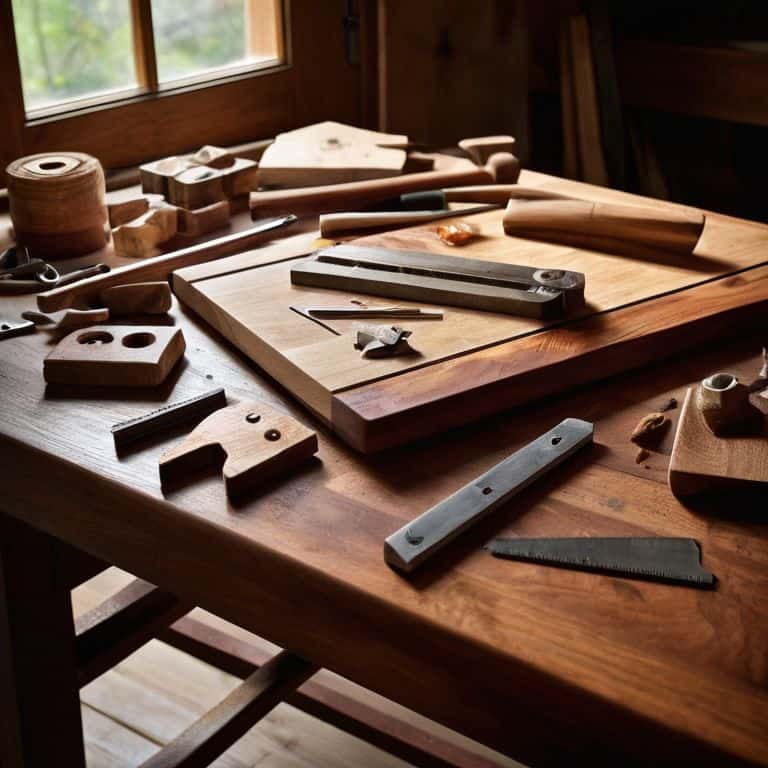
Tools Required
- Circular Saw (for cutting lumber)
- Drill Press (for precise drilling)
- Hand Saw (for cutting curves or small pieces)
- Sander (for smoothing out wood surfaces)
- Tape Measure (for accurate measurements)
- Level (for ensuring the desk is even)
- Clamp (for holding pieces together while gluing)
- Hammer (for tapping pieces into place)
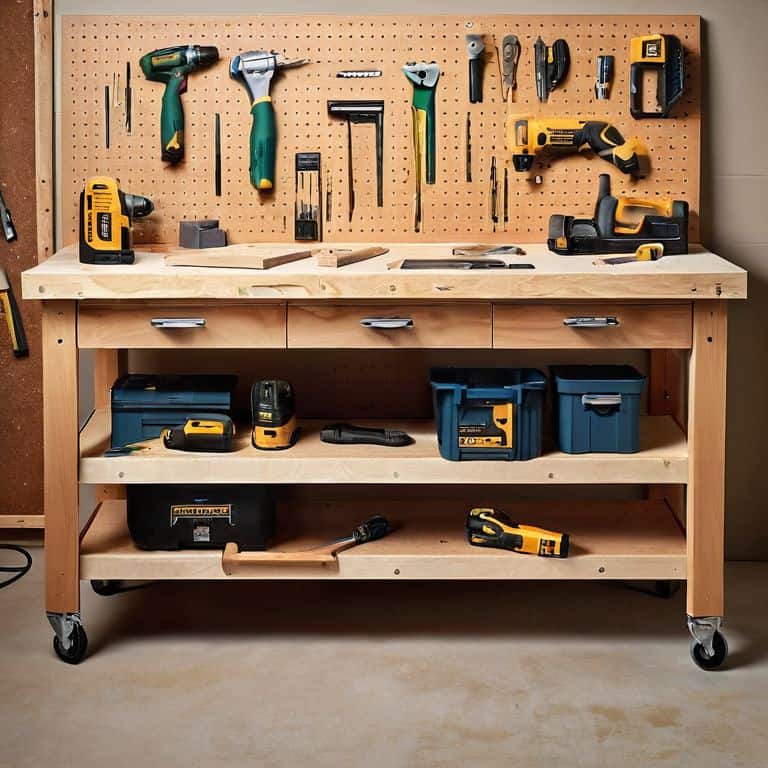
Supplies & Materials
- 2-in x 4-in lumber (for the frame)
- 3/4-in plywood (for the desktop and shelves)
- Wood Glue (for bonding pieces together)
- 2 1/4-in wood screws (for assembling the frame)
- 1 1/4-in wood screws (for attaching the desktop and shelves)
- Wood filler (for filling any gaps or holes)
- Sandpaper (for smoothing out the wood surface)
- Paint or stain (for finishing the desk)
- Polyurethane (for protecting the finish)
Step-by-Step Instructions
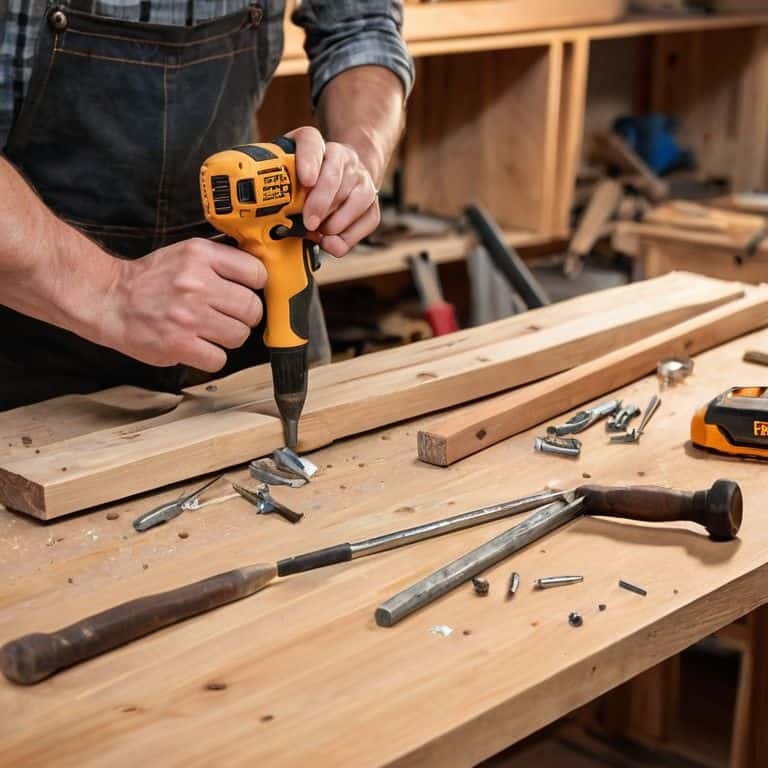
- 1. First, let’s gather our materials and get our workspace ready. We’ll need a few power tools like a circular saw, drill press, and sander, as well as some basic hand tools like a tape measure, square, and clamps. I like to think of this step as the prep work that sets us up for success in the build process.
- 2. Next, we’ll cut the legs and frame of our desk using our circular saw. This is where the magic happens, and our desk starts to take shape. Make sure to double-check your measurements and cut lists to avoid any mistakes. I always say, measure twice, cut once to save yourself some headaches down the line.
- 3. Now it’s time to assemble the frame of our desk using our drill press and some wood screws. This is a great opportunity to get a feel for how the desk will come together and make any necessary adjustments. Don’t be afraid to get a little creative with your screw placement – it’s not about making it perfect, it’s about making it functional and fun.
- 4. With our frame assembled, we can start thinking about the desktop itself. We’ll cut our desktop material to size using our circular saw, and then sand it down to a smooth finish using our sander. I love this part of the process because it’s where we get to see the raw materials transform into something truly beautiful.
- 5. Once our desktop is sanded and ready to go, we can attach it to our frame using some wood glue and screws. Make sure everything is properly aligned and secure before moving on to the next step. This is where our desk really starts to feel like a solid, sturdy piece of furniture.
- 6. Next, we’ll add any additional features we want, like drawers or shelves. This is a great opportunity to get fancy and add some personality to our desk. Don’t be afraid to try something new and experiment with different designs – it’s all part of the fun of building.
- 7. Finally, we’ll add a finish to our desk to protect it from scratches and spills. I like to use a water-based polyurethane because it’s easy to apply and dries quickly. Once our finish is dry, we can add any final touches, like hardware or decorative trim, and our desk is complete. It’s a great feeling to step back and admire our hard work, knowing we built something with our own two hands.
How to Build a Desk
As we dive into the world of DIY desk building, it’s essential to consider the type of material you’ll be working with. I’m a big fan of reclaimed wood desk ideas, as they add a unique touch to any workspace. Not only is it eco-friendly, but it also tells a story. When working with reclaimed wood, keep in mind that it may have imperfections, but that’s what makes it charming. You can also experiment with industrial pipe furniture to give your desk a rugged, urban feel.
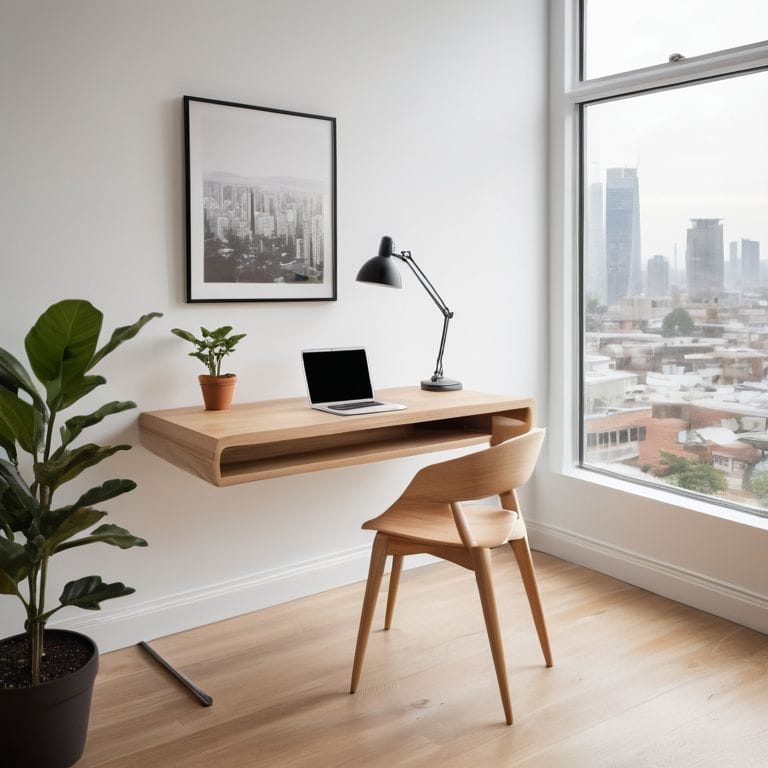
When designing your custom desk, think about the ergonomic desk design. You want to ensure that your workspace is comfortable and promotes good posture. Consider the height and position of your monitor, keyboard, and chair. A well-designed desk can boost your productivity and reduce eye strain. Don’t be afraid to get creative and try out new things – it’s all part of the process.
As you’re building, remember to keep your workspace organized with diy desk organization tips. This will help you stay focused and avoid clutter. You can use baskets, trays, or even repurposed containers to keep your tools and materials within reach. With a little patience and practice, you’ll be enjoying your new custom desk in no time, and you can even explore space saving desk solutions to make the most of your area.
Custom Desk Plans for Beginners
Now that we’ve got the basics covered, let’s talk about customizing your desk plan to fit your unique style and needs. As a beginner, it’s easy to get overwhelmed by all the options, but trust me, this is where the magic happens. Think about what you’ll be using your desk for – will you be working on a computer, crafting, or maybe even restoring vintage tools like I do? Consider the space where your desk will live and how you can make it fit seamlessly into your workflow.
I love creating custom plans that incorporate fun features like built-in cable management, secret storage compartments, or even a built-in planter (because, why not?). The key is to keep it simple, yet functional. Don’t be afraid to experiment and try out new ideas – remember, mistakes are just happy accidents waiting to happen. With a little creativity, you can turn your desk into a one-of-a-kind masterpiece that reflects your personality and style.
Reclaimed Wood Desk Ideas Unleashed
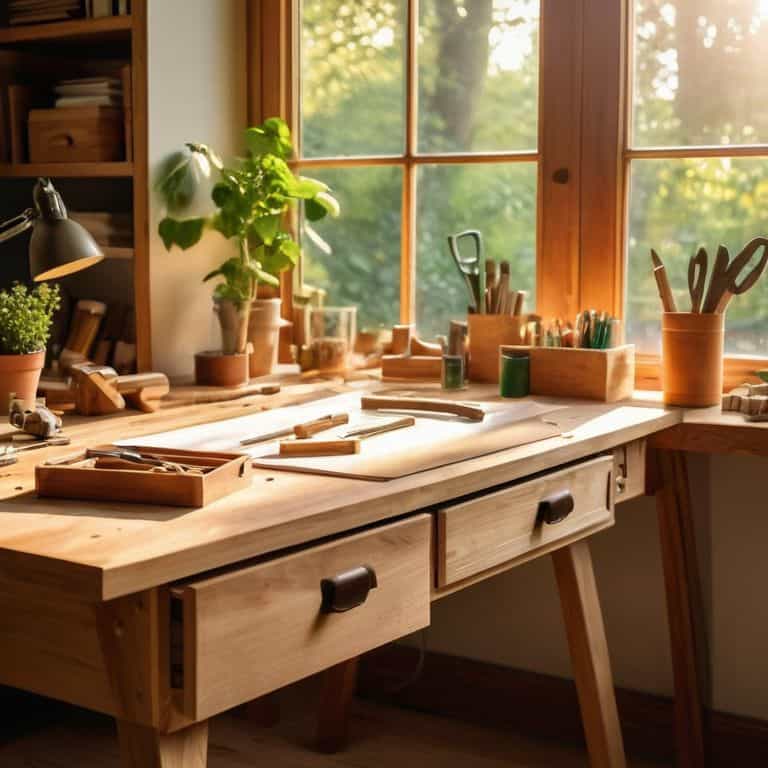
Now that we’ve got the basics covered, let’s talk about taking your desk build to the next level with reclaimed wood. I’m obsessed with the character it adds to a piece – all those imperfections and stories embedded in the wood. For a truly unique desk, consider using reclaimed wood for the top or shelves. You can find some amazing pieces at salvage yards or even just by asking friends and family if they have any old wood lying around. Just remember, the more beat-up the wood, the more personality your desk will have!
5 Essential Tips to Help You Nail Your Desk Build
- Measure Twice, Cut Once: Don’t skip the crucial step of double-checking your measurements before cutting any wood – trust me, it’s a game-changer
- Choose the Right Wood for the Job: Select a type of wood that fits your style, budget, and the intended use of your desk – I personally love working with reclaimed wood for a unique touch
- Pre-Drill Your Screw Holes: This simple trick will save you from splitting the wood and make the assembly process a whole lot smoother – take it from someone who’s been there
- Add Some Personal Flair: Don’t be afraid to get creative and add your own personal touches to the design – it’s your desk, after all, and it should reflect your personality
- Work with a Soundtrack: Building something can be a therapeutic process, and the right tunes can make all the difference – I always have a playlist ready to go in my workshop, and I think you should too
Key Takeaways to Get You Building
Remember, the most important part of any DIY project is the journey, not just the end result – don’t be afraid to make mistakes and learn from them
Customizing your desk with reclaimed wood or unique materials can add a personal touch and make your workspace truly one-of-a-kind
Building something with your own hands, like a desk, can be incredibly rewarding and is a great way to unleash your creativity and have fun while making something truly useful
Wrapping Up Your Dream Desk Build
As we conclude this hands-on journey of building a desk, let’s take a moment to recap the key points we’ve covered. From choosing the perfect materials to bringing your custom desk plans to life, every step has been crucial in creating a space that reflects your personality and work style. We’ve explored the world of reclaimed wood, unleashing its potential to create unique and sustainable desk designs. By following these steps and embracing the process, you’ve not only built a functional piece of furniture but also developed a sense of accomplishment and pride in your craftsmanship.
Now, as you sit at your newly built desk, surrounded by the tools and memories of your creative journey, remember that the true beauty of DIY projects lies not just in the end result, but in the process of creation itself. It’s about the lessons learned, the mistakes made, and the innovations discovered along the way. So, don’t be afraid to take on the next project, to experiment, and to push the boundaries of what you thought was possible. Happy building, and I’ll see you in the next project at Frank’s Workshop!
Frequently Asked Questions
What type of wood is best suited for a beginner to use when building a desk?
For a beginner, I recommend starting with pine or spruce – they’re softwoods that are easy to work with and super affordable. Plus, they can add a nice rustic touch to your desk. Just remember, the most important thing is to choose a wood that you’re stoked about working with, and don’t be afraid to experiment and make it your own!
How do I ensure my desk is level and stable during the building process?
Whoa, great question! To keep your desk level and stable, I always use a combination of clamps, shims, and a trusty level tool. Check it frequently as you build, and don’t be afraid to make adjustments on the fly – it’s all part of the process, and we can troubleshoot together!
Can I customize the size and shape of my desk to fit a specific space or need?
Absolutely, my friend! Customizing your desk’s size and shape is where the magic happens. Think about the space where your desk will live and what you’ll be using it for. Want a corner desk? A standing desk? The possibilities are endless. Let’s chat about your vision and make it a reality!