I still remember the day I decided to create my first sourdough starter – it was a game-changer for my baking. I had heard that making a sourdough starter from scratch was a daunting task, but I was determined to learn. That’s why I’m excited to share with you a beginner’s guide to a sourdough starter, a journey that will take you from novice to expert in no time. As a former recipe tester, I’ve seen my fair share of failed attempts and frustrations, but with the right guidance, you’ll be baking delicious sourdough bread in no time.
In this article, I promise to take the mystery out of creating a sourdough starter, providing you with step-by-step instructions and practical tips to ensure your success. You’ll learn how to create a healthy, thriving starter that will become the foundation of your sourdough baking adventures. From understanding the importance of mise en place to troubleshooting common issues, I’ll share my expertise with you, so you can focus on what matters most – baking delicious bread. By the end of this guide, you’ll be equipped with the knowledge and confidence to create your own sourdough starter and start baking like a pro.
Table of Contents
- Guide Overview: What You'll Need
- Step-by-Step Instructions
- A Beginners Guide to a Sourdough Starter
- 5 Essential Tips for a Thriving Sourdough Starter
- Key Takeaways for Your Sourdough Journey
- The Heart of Sourdough
- Conclusion: Rising to the Occasion with Your New Sourdough Starter
- Frequently Asked Questions
Guide Overview: What You'll Need
Total Time: 7 days
Estimated Cost: $5 – $10
Difficulty Level: Easy
Tools Required
- Glass or Ceramic Container with a wide mouth
- Wooden Spoon for mixing
- Cheesecloth or Clean Cotton Cloth for covering the container
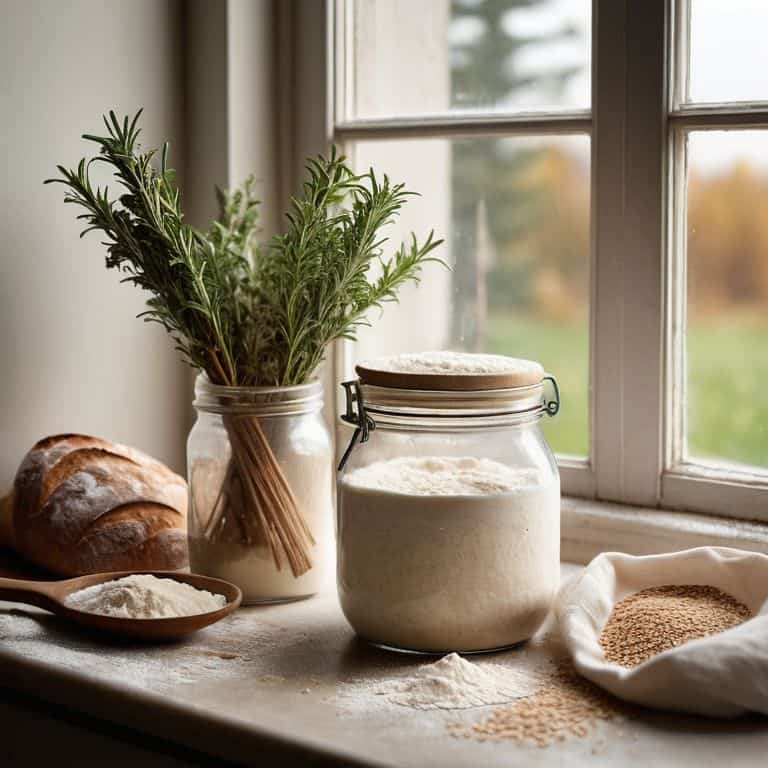
Supplies & Materials
- 1 cup of Warm Water around 90 degrees to 100 degrees Fahrenheit
- 1 cup of Flour unbleached, all-purpose flour
Step-by-Step Instructions
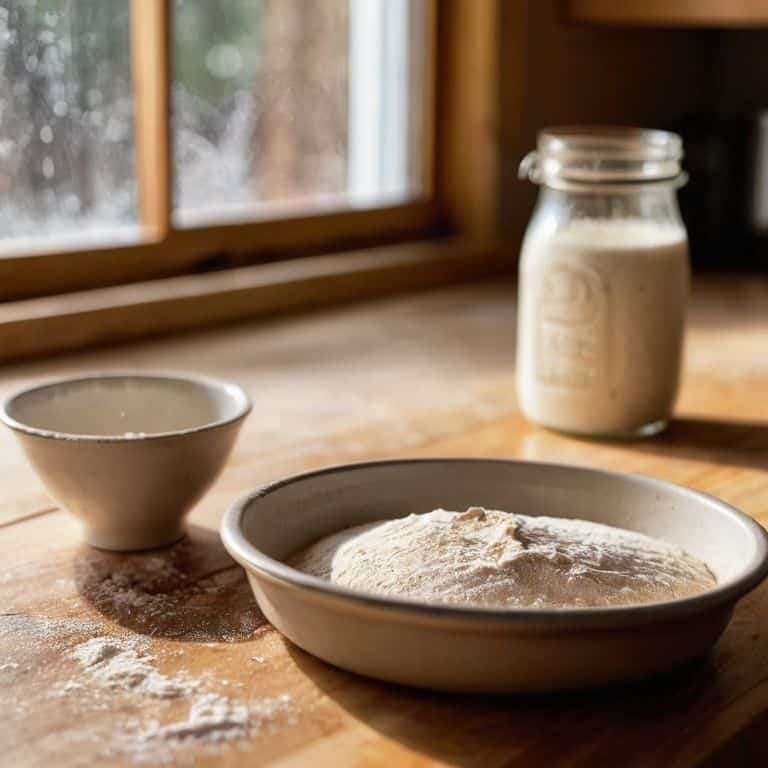
- 1. First, let’s start by understanding the basics of a sourdough starter. It’s essentially a natural yeast culture that will help your bread rise, giving it that unique flavor and texture. To begin, you’ll need a clean glass or ceramic container, a wooden spoon, and some patience. In a large mixing bowl, combine 1/2 cup of warm water (around 90°F to 100°F) with 1/2 cup of flour. I like to use a high-protein flour, such as bread flour or all-purpose flour with a high protein content, as it will help create a stronger gluten structure.
- 2. Next, mix the water and flour together until they form a smooth, thick batter. You can use a wooden spoon or a whisk to achieve this. It’s essential to make sure there are no lumps in the mixture, as this can affect the overall quality of your starter. Once you’ve achieved a lump-free batter, cover the bowl with a cloth or plastic wrap and let it rest in a warm, draft-free place for 24 to 48 hours. This step is crucial, as it allows the wild yeast and bacteria to start fermenting, which will eventually become your sourdough starter.
- 3. After 24 to 48 hours, your mixture should have started to bubble and emit a sour smell. This is a sign that the wild yeast and bacteria are active and starting to ferment. Now, it’s time to feed your starter. Discard half of the mixture and add another 1/2 cup of flour and 1/2 cup of warm water. Mix well and cover the bowl again. This process is called refreshing your starter, and it’s essential to do it regularly to keep the yeast and bacteria healthy and active.
- 4. For the next 5 to 7 days, you’ll need to repeat the process of discarding half of the starter and feeding it with fresh flour and water every 24 hours. This will help your starter become more robust and active, producing more bubbles and a tangier flavor. Be patient, as this process can take some time. It’s also important to note that you should use a digital scale to measure your ingredients accurately, as this will affect the overall consistency of your starter.
- 5. As you continue to feed and refresh your starter, you’ll start to notice it becoming more vibrant and frothy. This is a sign that it’s becoming healthier and more active. After 5 to 7 days, your starter should be almost double in size, with a thick, creamy texture and a tangy aroma. Congratulations, you now have a fully functional sourdough starter that’s ready to use in your favorite recipes!
- 6. To maintain your starter and keep it healthy, you’ll need to continue feeding it regularly. You can store it in the fridge to slow down the fermentation process, and feed it once a week. Before using your starter in a recipe, make sure to refresh it by discarding half of it and feeding it with fresh flour and water. This will ensure it’s active and ready to go.
- 7. Finally, it’s essential to remember that creating a sourdough starter is a journey, not a destination. It takes time, patience, and practice to develop a healthy, active starter. Don’t be discouraged if your starter doesn’t turn out as expected at first. With time and practice, you’ll become more comfortable and confident in creating and maintaining your very own sourdough starter. Happy baking!
A Beginners Guide to a Sourdough Starter
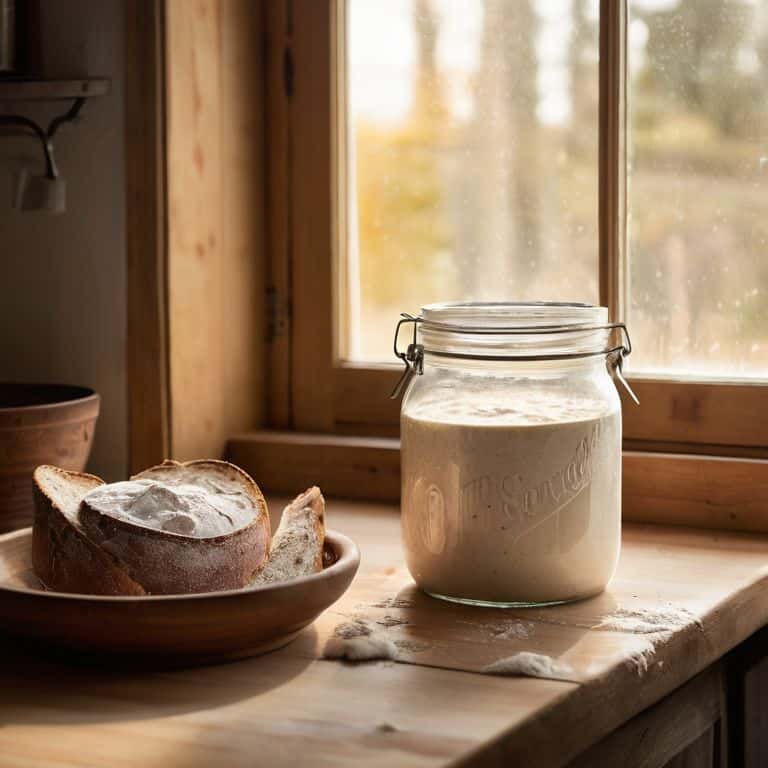
As you embark on this journey of creating a sourdough starter from scratch, it’s essential to understand the process of fermentation. This natural process is what gives sourdough its unique flavor and texture. Understanding sourdough starter fermentation is key to maintaining a healthy starter. With a little patience and practice, you’ll be able to recognize the signs of a thriving starter, from the bubbles on its surface to the tangy aroma that fills your kitchen.
To keep your sourdough starter happy and healthy, it’s crucial to establish a sourdough starter maintenance schedule. This can be as simple as feeding your starter once a week, or as frequent as once a day, depending on how often you plan to bake. By doing so, you’ll ensure that your starter remains active and ready to use in your favorite recipes. Whether you’re a beginner or an experienced baker, having a well-maintained starter is the key to unlocking the full potential of sourdough.
As you become more comfortable with your sourdough starter, you can start experimenting with converting recipes to sourdough. This can be a fun and creative process, and with a little practice, you’ll be able to adapt your favorite recipes to use your sourdough starter. Remember to always keep an eye on your starter’s activity level and adjust your recipes accordingly. With time and practice, you’ll become a pro at baking with sourdough, and the rewards will be well worth the effort.
Creating a Sourdough From Scratch
Creating a sourdough from scratch is an exhilarating experience, and I’m thrilled to guide you through it. To begin, you’ll need to mix equal parts of flour and water in a clean glass or ceramic container. I recommend using a wooden spoon or spatula for this process, as metal can inhibit the natural fermentation. In a small bowl, combine 1/2 cup of warm water (around 90°F to 100°F) with 1/2 cup of flour. Mix until smooth, then transfer the mixture to your container. Cover it with a cloth or plastic wrap and let it rest in a warm, draft-free place for 24 to 48 hours. This initial step is crucial, as it allows the wild yeast and bacteria to start colonizing your mixture.
Understanding Sourdough Fermentation Secrets
Now that we’ve covered the basics of creating your sourdough starter from scratch, let’s dive into the fascinating world of sourdough fermentation. This natural process is what sets sourdough apart from other types of bread, giving it that unique tang and chew. As your starter begins to bubble and emit a sour aroma, you’ll know that the wild yeast and bacteria are hard at work, breaking down the sugars and producing lactic acid.
Understanding the fermentation process is key to successfully maintaining your sourdough starter. It’s a delicate balance of time, temperature, and feeding, but don’t worry, with a little practice, you’ll get the hang of it. I’ll share my tips and tricks for coaxing the best out of your starter, from the ideal feeding schedule to the perfect environment for fermentation to thrive.
5 Essential Tips for a Thriving Sourdough Starter
- Start with a clean environment and equipment to prevent contamination and ensure your starter gets off to a healthy beginning
- Use a glass or ceramic container for your starter, as metal can inhibit the fermentation process
- Maintain a consistent temperature between 75°F to 80°F (24°C to 27°C) for optimal fermentation and a happy, bubbly starter
- Feed your starter regularly, using a 1:1:1 ratio of flour, water, and starter, to keep it active and robust
- Be patient and observe your starter daily, as it can take up to 7-10 days for it to become fully active and ready for baking
Key Takeaways for Your Sourdough Journey
By following the step-by-step guide, you’ll be able to create your very own sourdough starter from scratch, unlocking the secrets to delicious homemade bread
Understanding the fermentation process is crucial to successfully cultivating your sourdough starter, and with the right techniques, you’ll be able to harness its full potential
With patience, practice, and the right guidance, you’ll be well on your way to becoming a sourdough expert, capable of baking a variety of delicious treats that will impress friends and family alike
The Heart of Sourdough
A sourdough starter is more than just a mixture of flour and water – it’s a gateway to a world of experimentation, patience, and delicious reward, where every loaf tells a story of love, care, and the simple joy of creation.
Julia Ashwood
Conclusion: Rising to the Occasion with Your New Sourdough Starter
As we conclude this journey to creating your very first sourdough starter, let’s briefly recap the key points that have brought you to this moment. From understanding the basics of sourdough fermentation to the meticulous process of creating your starter from scratch, every step has been crucial in preparing you for the world of sourdough baking. Remember, patience and consistency are your best friends when it comes to nurturing your starter, and with time, you’ll find that the rewards are well worth the effort.
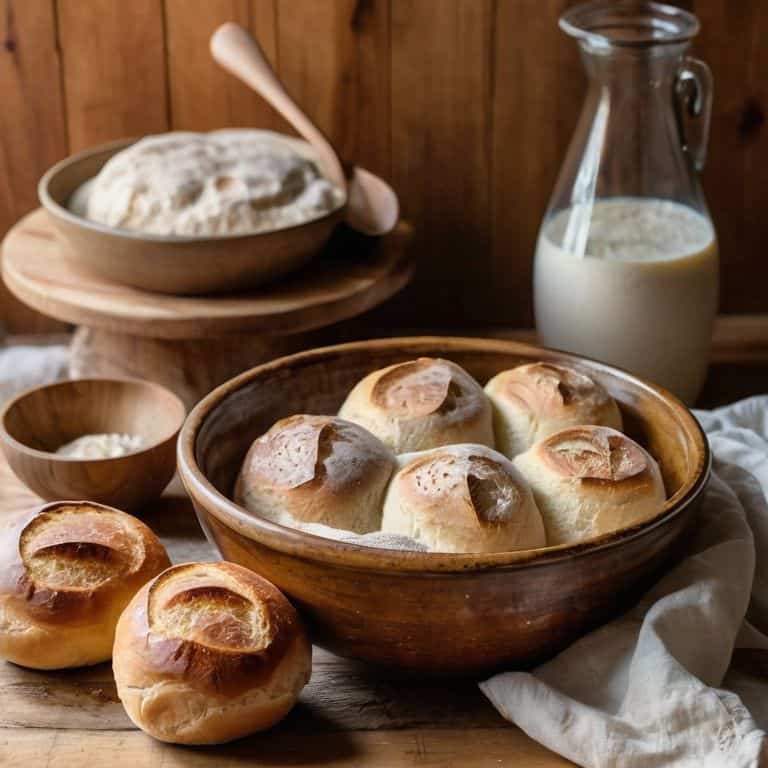
Now, as you embark on this new adventure, filled with the possibilities of freshly baked sourdough bread, keep experimenting and pushing boundaries. Don’t be afraid to try new recipes and flavors, and always remember that the joy of baking lies not just in the end result, but in the process itself. With your new sourdough starter by your side, you’re not just a beginner anymore; you’re a baker on a mission to create something truly special, one loaf at a time.
Frequently Asked Questions
What is the ideal temperature and environment for my sourdough starter to thrive?
For your sourdough starter to thrive, it needs a warm and cozy environment. I recommend keeping it at room temperature, around 75°F to 78°F (24°C to 25°C), in a draft-free spot. This will help the wild yeast and bacteria grow and flourish, giving your bread that perfect tang and texture.
How often should I feed my sourdough starter and what type of flour is best to use?
To keep your sourdough starter happy and healthy, feed it once a day with a mixture of equal parts flour and water. I recommend using unbleached, all-purpose flour for feeding, as it provides the perfect balance of nutrients. You can also experiment with whole wheat or rye flour for added depth of flavor, but all-purpose flour is a great starting point.
What are some common mistakes to avoid when creating a sourdough starter from scratch and how can I troubleshoot if mine isn't activating properly?
Don’t worry, I’ve got you covered. Common mistakes include using chlorinated water, overmixing, or not maintaining the right temperature. If your starter isn’t activating, check the temperature, feeding schedule, and make sure you’re using the right flour. Let’s troubleshoot together and get that starter bubbling in no time.