I still remember the first time I tried to build a simple bookshelf – I was a total newbie, and let’s just say it was a good thing my dad was there to supervise (and save me from myself). The myth that you need to be a master carpenter to create something amazing is just that – a myth. With some basic tools and a bit of patience, you can turn a pile of lumber into a stunning piece of furniture that’ll make you proud. So, if you’re looking for a guide on how to build a simple bookshelf, you’re in the right place.
In this article, I’ll share my honest, no-hype advice on how to create a beautiful bookshelf that fits your style and space. You’ll get practical tips on everything from measuring and cutting your wood to assembling and finishing your masterpiece. My goal is to make the process of building a simple bookshelf fun and accessible, so you can enjoy the satisfaction of creating something with your own hands. By the end of this guide, you’ll be equipped with the knowledge and confidence to tackle your own DIY project and create a unique piece of furniture that reflects your personality.
Table of Contents
Guide Overview: What You'll Need
Total Time: 2 hours 30 minutes
Estimated Cost: $50 – $100
Difficulty Level: Intermediate
Tools Required
- Circular Saw (for cutting lumber)
- Drill (with screwdriver bits)
- Tape Measure (for measuring and marking lumber)
- Level (for ensuring the bookshelf is level)
- Hammer (for tapping screws into place)
- Screwdriver (for driving screws)
- Sandpaper (for smoothing out wood surfaces)
Supplies & Materials
- 2-in x 4-in lumber (for the frame)
- 3/4-in plywood (for the shelves)
- Wood screws (for assembling the frame)
- Wood glue (for reinforcing joints)
- Sand (for weight and stability)
- Paint or stain (optional, for finishing the bookshelf)
- Decorative trim (optional, for covering edges)
Step-by-Step Instructions
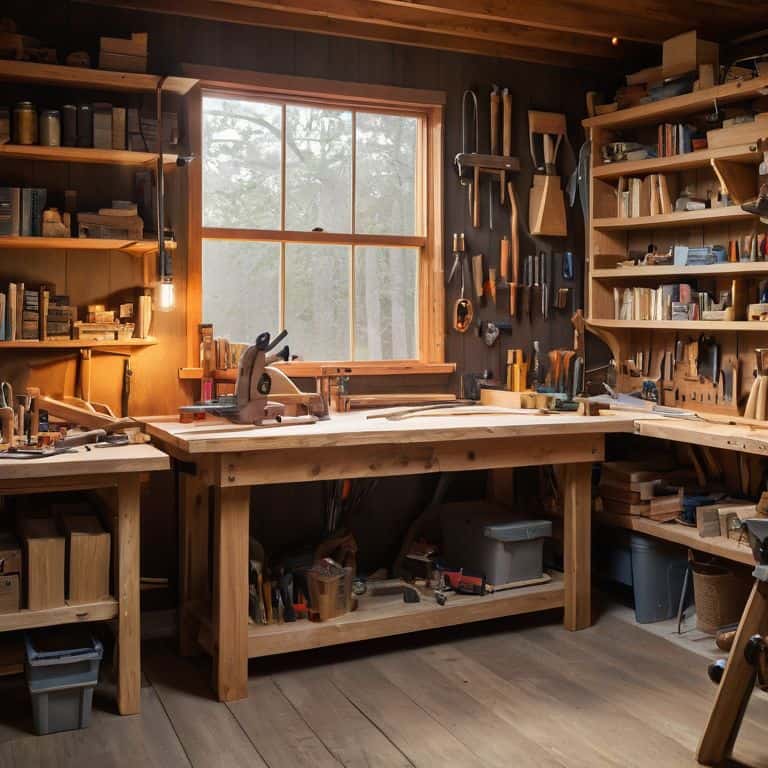
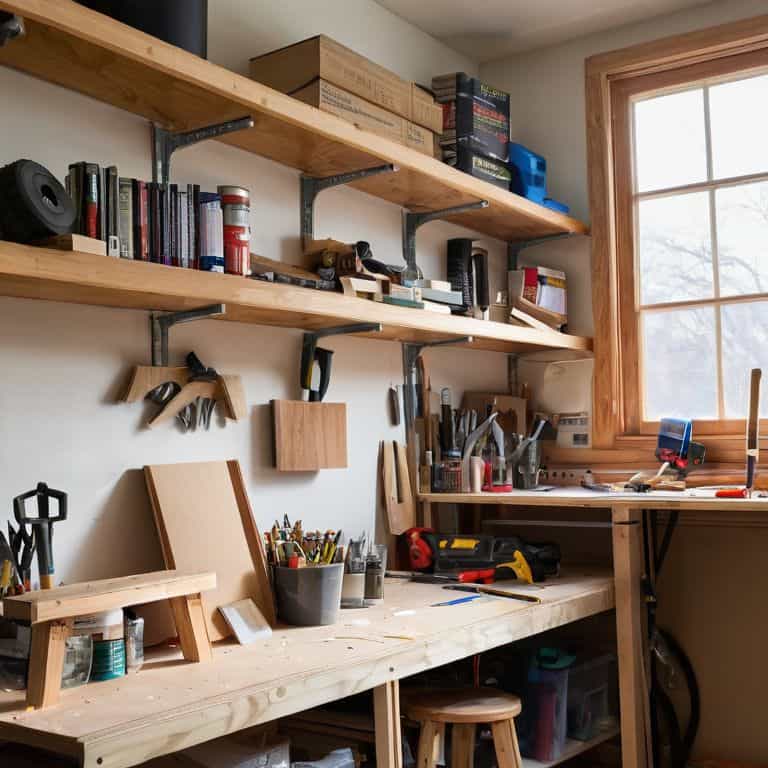
- 1. First, let’s get our materials ready – we’ll need some 2×4 lumber for the shelves and frame, 3/4 inch plywood for the shelf boards, a drill press, a circular saw, a sander, and some wood screws. Make sure you’ve got a clear workspace, like my organized chaos workshop, where you can move around comfortably without bumping into things.
- 2. Next, we’ll start by cutting the frame pieces – use your circular saw to cut four pieces of 2×4 lumber to the same height, which will be the vertical supports of our bookshelf. Don’t worry too much about precision at this stage; we can always sand down any rough edges later.
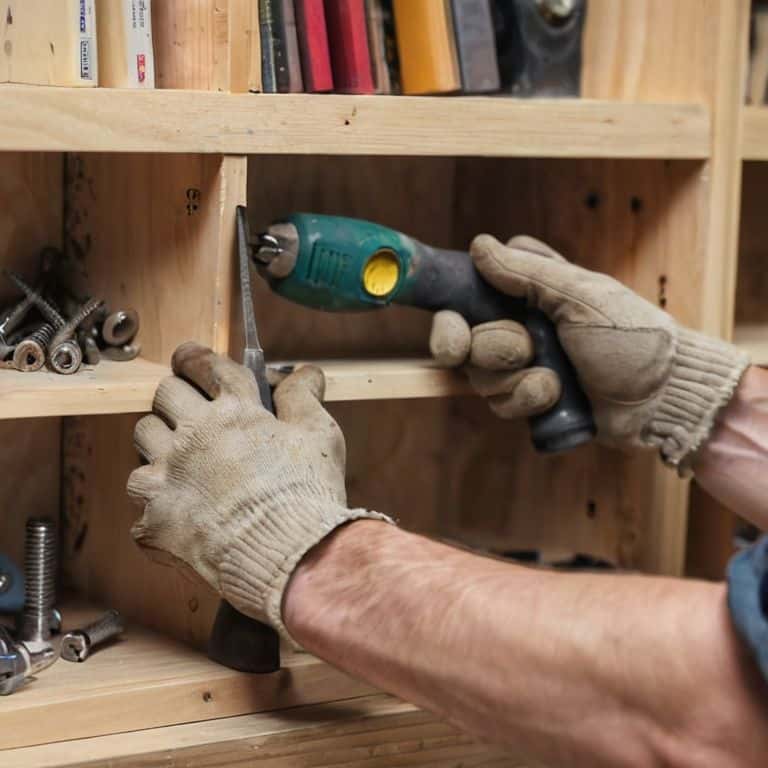
- 3. Now, let’s assemble the frame – use your drill press to screw the sides together, forming a rectangular shape. This is where things start to take shape, and it’s exciting to see our bookshelf come to life. Remember, making mistakes is all part of the process, so don’t stress if things aren’t perfect.
- 4. With the frame in place, it’s time to add the shelf boards – cut your 3/4 inch plywood to the appropriate size using your circular saw, and then sand them down to smooth out any rough edges. I like to think of this step as adding the magic to our bookshelf, where it starts to look like a real piece of furniture.
- 5. We’re getting close – now we need to attach the shelf boards to the frame. Use your wood screws to secure the boards to the frame, making sure they’re evenly spaced and level. This is where your attention to detail really pays off, as a sturdy and even shelf is what will make your bookshelf truly functional.
- 6. Next up, let’s add some supports to the shelves to prevent them from sagging under the weight of our books. Cut some additional 2×4 lumber to fit between the shelves, and screw them into place. This step is all about reinforcing the structure, so don’t be shy with the screws.
- 7. Finally, let’s finish and decorate our bookshelf – apply a stain or paint that matches your room’s decor, and add any decorative trim or hardware you like. This is the final flourish, where you get to see your bookshelf come together and add your personal touch to make it truly unique.
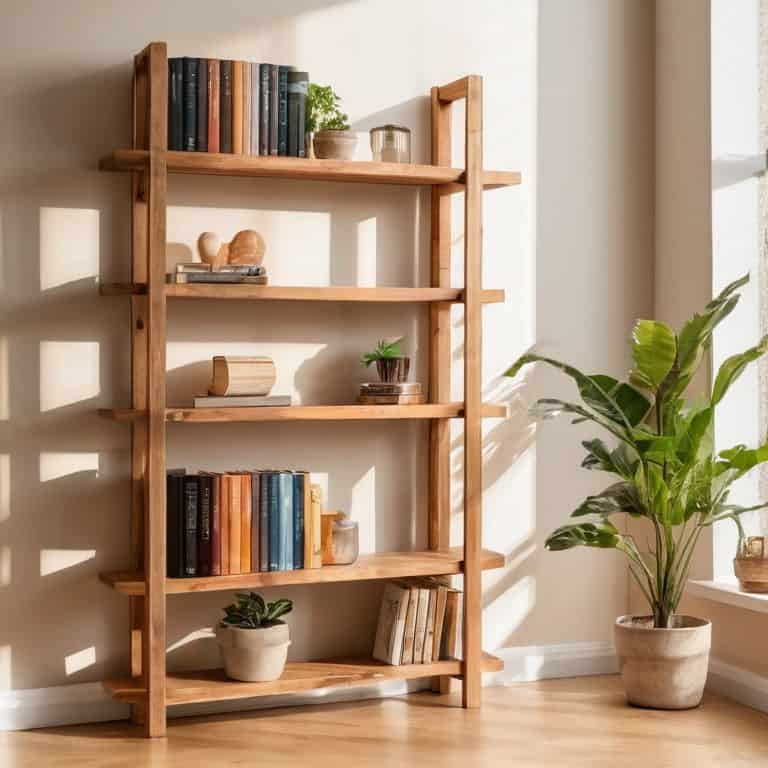
Build Simple Bookshelf
As we dive into the world of DIY bookshelves, I want to share some easy bookshelf plans for beginners that’ll get you started on the right foot. One of the most important things to consider is the type of material you’ll be using – I’m a big fan of building a bookcase with plywood because it’s affordable, durable, and easy to work with. When it comes to designing your bookshelf, think about the space where it’ll be living – simple bookshelf designs for small spaces can be a game-changer for cozy rooms or apartments.
When it comes to bringing your bookshelf to life, don’t be afraid to get creative with bookshelf organization ideas and tips. Consider adding adjustable shelves to make the most of your space – a diy bookshelf with adjustable shelves is a great way to keep your books, decor, and other treasures organized and within reach. Plus, it’s a great way to add some visual interest to your bookshelf.
As you start gathering your materials, keep an eye on those bookshelf materials and costs – you’d be surprised at how quickly things can add up. To stay on budget, consider repurposing or upcycling old materials to create a one-of-a-kind bookshelf that reflects your personal style. With a little bit of creativity and some easy bookshelf plans, you can create a beautiful and functional bookshelf that’ll be the envy of all your friends.
Easy Plans for Beginners Start
Easy Plans for Beginners Start
Now that we’ve got our materials and tools ready, let’s dive into the fun part – bringing our bookshelf to life. For beginners, I recommend starting with a simple design and gradually adding your own twist as you gain confidence. Don’t worry if things don’t turn out perfectly at first; that’s all part of the process. I always say, the best projects are the ones with a few happy accidents.
As we begin, remember to take your time and enjoy the process. We’ll start by assembling the frame, then move on to adding the shelves. I’ll share some tips and tricks I’ve learned along the way to make things easier for you. With these easy plans, you’ll be on your way to creating a bookshelf that’s not only functional but also reflects your personal style.
Plywood Bookcase for Small Spaces
Now that we’ve got our bookshelf basics covered, let’s talk about a game-changer for small spaces: plywood bookcases. I mean, who says you need a ton of room to have a killer library? With plywood, we can create a sleek, modern storage solution that fits snugly into even the coziest of nooks. Plus, it’s a great way to add some industrial chic to your decor. I’ve worked with plywood on plenty of projects, and I can tell you, it’s a versatile and budget-friendly material that’s perfect for DIY newbies and veterans alike.
For a plywood bookcase, you’ll want to opt for a thinner plywood, around 1/4 inch, to keep things lightweight and easy to maneuver. You can use a simple design, like a box shelf or a leaning bookcase, to maximize your space without sacrificing style. Trust me, with a few power tools and some careful planning, you can create a plywood bookcase that’s both functional and fashionable – and it’ll be a total showstopper in your small space!
5 Essential Tips to Help You Nail That Simple Bookshelf Build
- Measure Twice, Cut Once: Double-check your measurements before cutting any wood to avoid costly mistakes and ensure a snug fit
- Choose the Right Wood: Select a type of wood that suits your needs, from sturdy oak to sleek plywood, and don’t be afraid to mix and match for a unique look
- Sand, Sand, Sand: Don’t skip the sanding process – it’s crucial for a smooth finish and will make your bookshelf look like a pro built it
- Add Some Personality: Don’t be afraid to get creative with your bookshelf design – add some decorative trim, use bold colors, or incorporate vintage hardware to make it truly one-of-a-kind
- Work Safely and Have Fun: Remember to wear protective gear, keep your workspace clean, and blast your favorite tunes – building something with your own hands should be enjoyable, so don’t stress too much about perfection!
3 Key Takeaways to Get You Building
Remember, making mistakes is all part of the fun – don’t be too hard on yourself if things don’t turn out exactly as planned, because that’s where the magic happens!
With the right tools and a bit of patience, you can turn a pile of raw wood into a functional and rad bookshelf that’ll be the envy of all your friends and family
Most importantly, building something with your own hands is an incredible feeling, so don’t be afraid to get creative, experiment with new materials, and make that bookshelf truly one-of-a-kind
Building Wisdom
The best bookshelf is the one you’d never want to fill, because the act of building it was so much fun, you’re already thinking about the next project!
Franklyn "Frank" Bishop
Wrapping Up Your Bookshelf Build
We’ve covered a lot of ground in this tutorial, from preparing your materials to assembling the final product. Remember, the key to a successful bookshelf build is to take your time and not be too hard on yourself if things don’t turn out exactly as planned. Embracing the unexpected is all part of the DIY experience, and it’s often where the most character and charm are added to your project. By following these steps and staying committed, you’ve transformed a pile of raw wood into a beautiful, functional piece of furniture that will hold your favorite books, decorations, and more.
As you step back to admire your handiwork, remember that the joy of making is just as important as the end result. Don’t be afraid to experiment with new designs, materials, and techniques in your future projects. Whether you’re a seasoned maker or just starting out, the sense of pride and accomplishment that comes from creating something with your own hands is truly unbeatable. So keep on building, and don’t hesitate to share your creations with the world – you never know who you might inspire to pick up a hammer and get creative!
Frequently Asked Questions
What type of wood is best suited for building a simple bookshelf?
Dude, for a simple bookshelf, I’m all about using pine or spruce – they’re easy to work with, budget-friendly, and look awesome when stained or painted. Plus, they’re super versatile, so you can get creative with the design. Just remember, the type of wood you choose will affect the overall vibe of your bookshelf, so pick one that fits your style!
How do I ensure my bookshelf is level and securely attached to the wall?
Whoa, great question, friend! To keep your bookshelf from becoming a wobbly disaster, make sure to grab a level and check it’s perfectly horizontal. Then, anchor it to the wall with some sturdy brackets or screws – trust me, you don’t want it tipping over!
What are some creative ways to customize my bookshelf, such as adding decorative trim or unique hardware?
Time to get creative, friend! Add some personality to your bookshelf with decorative trim, unique hardware, or even a pop of paint. Think metal brackets, carved wood accents, or bold color blocks. The possibilities are endless, and I love seeing what you guys come up with – let’s make it rad!