I still remember the first time I attempted to decorate cookies with royal icing – it was a disaster! I had heard that mastering a guide to royal icing for cookies was all about trial and error, but I was determined to crack the code. As a former recipe tester, I’ve always been fascinated by the science behind baking, and royal icing is no exception. With its delicate balance of sugar, water, and food coloring, it’s a decorating technique that requires patience, practice, and a willingness to learn.
In this article, I’ll share my hard-won expertise on how to create beautiful, professional-looking cookies using royal icing. You’ll learn the basics of royal icing, from preparing the perfect consistency to troubleshooting common mistakes. My goal is to empower you with the knowledge and confidence to take your cookie decorating skills to the next level, and to make the process enjoyable and stress-free. Whether you’re a beginner or an experienced baker, I’ll provide you with practical tips and tricks to help you achieve stunning results with a guide to royal icing for cookies.
Table of Contents
Guide Overview: What You'll Need
Total Time: 2 hours 30 minutes
Estimated Cost: $10 – $20
Difficulty Level: Intermediate
Tools Required
- Electric Mixer (for mixing royal icing)
- Piping Bags (for decorating cookies)
- Piping Tips (various sizes and shapes)
- Measuring Cups (for accurate measurements)
- Measuring Spoons (for precise measurements)
- Spatula (for scraping the sides of the bowl)
- Wax Paper (for piping icing borders and designs)
- Cookie Sheet (for drying decorated cookies)
- Turntable (optional, for displaying cookies)
Supplies & Materials
- Powdered Sugar (also known as confectioner’s sugar)
- Meringue Powder (or egg whites)
- Water (for thinning royal icing)
- Food Coloring (for coloring royal icing)
- Flavor Extracts (optional, for flavoring royal icing)
- Cookies (sugar cookies or other types for decorating)
Step-by-Step Instructions
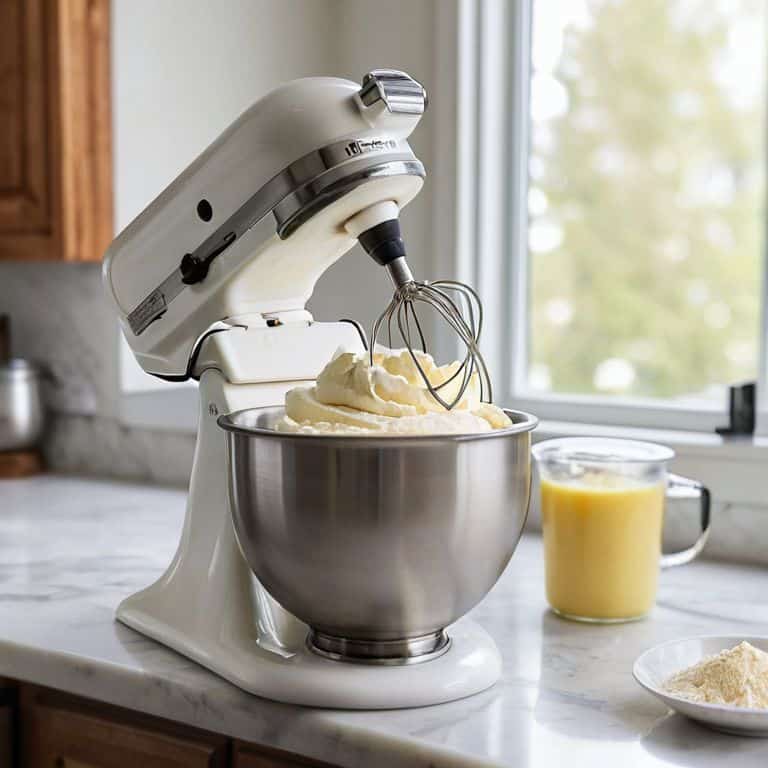
- 1. To begin our royal icing journey, let’s start with the foundation: making the icing itself. In a large mixing bowl, whisk together 1 cup of powdered sugar, 2 tablespoons of meringue powder, and 2 tablespoons of water until you get a smooth, lump-free mixture. I like to think of this step as the _starting point_ for all our decorating adventures.
- 2. Next, we need to add flavor and color to our icing. You can use a few drops of extract, such as almond or vanilla, to give your icing a unique taste. For coloring, use high-quality food dyes to achieve the desired hues. Remember, a little goes a long way, so start with a small amount and gradually add more until you reach the perfect shade. I find that _testing the color_ on a small, inconspicuous area of the cookie is crucial.
- 3. Now that we have our icing ready, it’s time to prepare our cookies for decorating. Make sure they are completely cool, as any moisture can affect the icing’s consistency. If you’re using a template or stencil, place it on the cookie to help you achieve the desired design. I love _getting creative_ with different shapes and patterns.
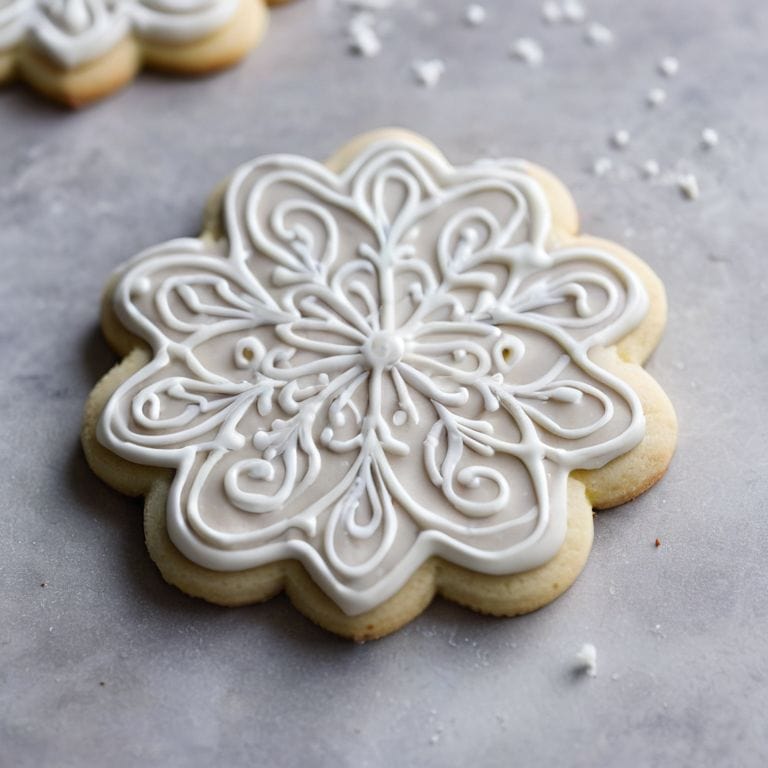
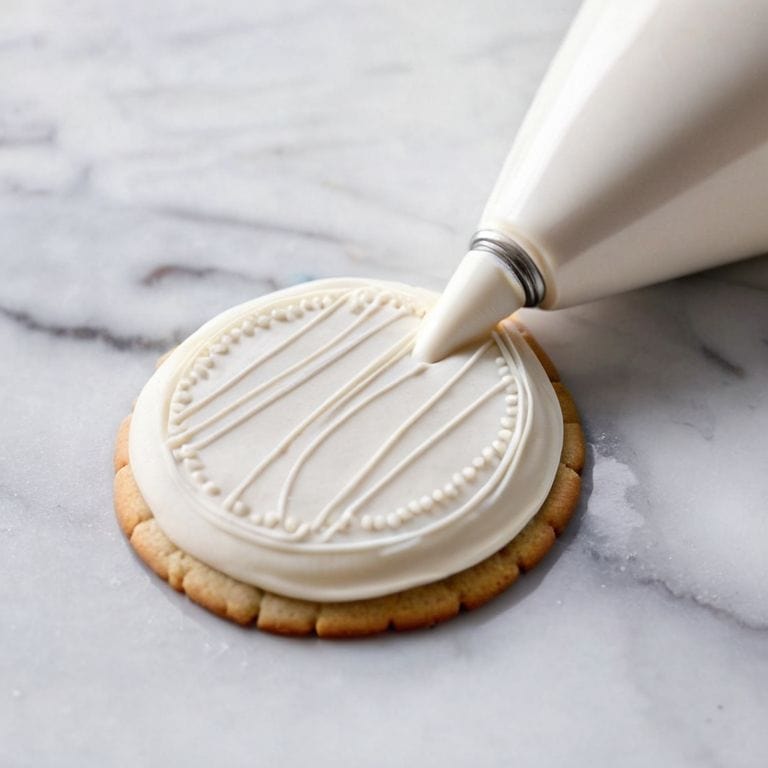
- 4. With our cookies prepared, we can start piping the icing onto them. Use a piping bag fitted with a small round tip to create _intricate details_ and outlines. Start by piping a border around the edge of the cookie to create a clean frame for your design. This is where the magic happens, and your cookies start to look like _edible masterpieces_.
- 5. Once you have the outline in place, you can start filling in the design with flood icing, which is a thinner version of the royal icing. To make flood icing, simply add a little more water to the royal icing mixture until it reaches the desired consistency. Use a spoon or a piping bag with a larger tip to fill in the design, making sure to cover the entire area evenly. I find that _working in small sections_ helps prevent the icing from setting too quickly.
- 6. As you work on your design, remember to allow each section to set before moving on to the next. This is crucial to prevent the colors from bleeding or the icing from becoming too runny. You can use a fan or a hairdryer on a low setting to speed up the process, but be careful not to _overdry_ the icing. I like to think of this step as the _patience test_, where you get to see your design come together slowly but surely.
- 7. Finally, to add the finishing touches to your decorated cookies, you can use a small paintbrush to apply luster dust or edible glitter to specific areas of the design. This will give your cookies a _touch of luxury_ and make them truly special. Remember to handle the cookies gently to avoid smudging the icing, and store them in an airtight container to keep them fresh for a longer period. I love _displaying my creations_ on a decorative plate or tray to show off my hard work.
A Guide to Royal Icing for Cookies
As I delve deeper into the world of royal icing, I want to share some royal icing consistency tips that have helped me achieve perfectly decorated cookies. The key is to find the right balance between thin and thick icing, allowing for smooth piping and even flooding. When it comes to piping techniques for beginners, I always recommend starting with a simple round tip and practicing basic borders and lines.
One of my favorite techniques is flooding with royal icing, which can add a beautiful, smooth finish to your cookies. To achieve this, make sure your icing is at the right consistency, and use a small offset spatula to spread it evenly. For a more vibrant look, try tips for coloring royal icing using high-quality food dyes or gel colors. This will help you create a wide range of colors and shades to match your cookie decorating ideas.
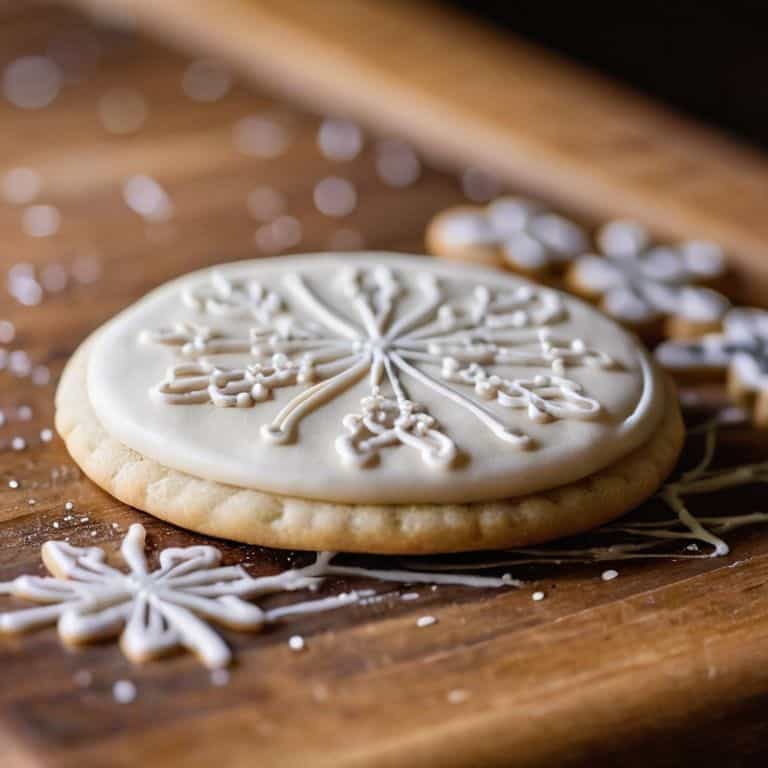
When it comes to cookie decorating ideas for holidays, the possibilities are endless. From intricate designs to simple, yet elegant patterns, royal icing can help you create truly unique and delicious treats. I’ve even developed a special royal icing recipe for sugar cookies that’s perfect for holiday baking. By following these tips and practicing your piping skills, you’ll be well on your way to creating stunning, professionally decorated cookies that are sure to impress.
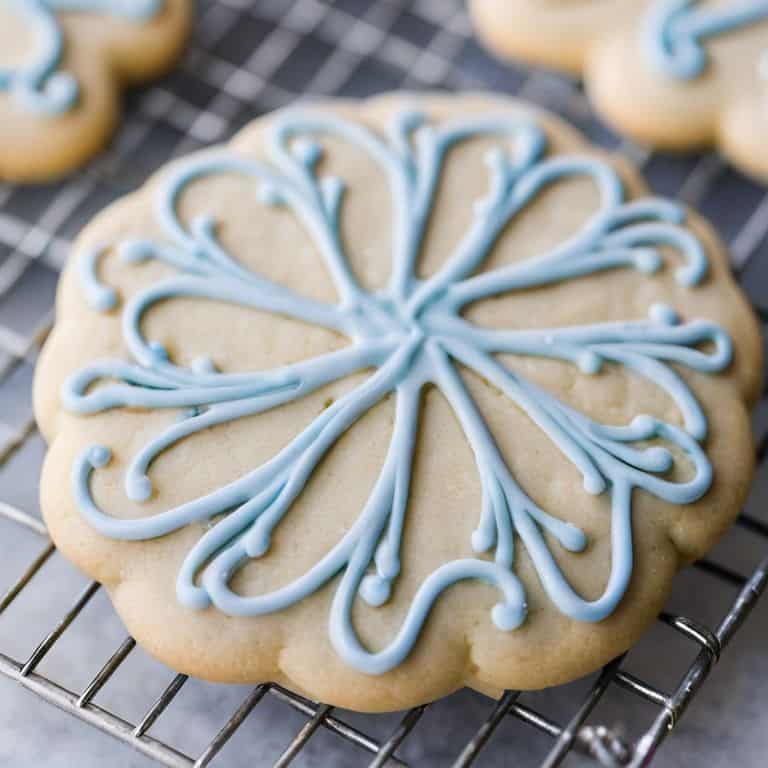
Piping Techniques for Sugar Cookie Perfection
To achieve sugar cookie perfection, mastering piping techniques is essential. I recommend starting with a simple round tip to create borders and details. Hold the piping bag at a 90-degree angle to the cookie, with the tip just above the surface. Squeeze the bag gently, allowing the icing to flow smoothly. For more intricate designs, try using a smaller tip or experimenting with different piping motions, such as zigzags or swirls.
As you practice, remember to maintain consistent pressure and icing flow. This will help you achieve crisp, clean lines and beautiful patterns. Don’t be afraid to experiment and try new things – it’s all part of the fun! With a little patience and practice, you’ll be piping like a pro in no time, and your sugar cookies will be truly unforgettable.
Royal Icing Consistency Tips for Beginners
When working with royal icing, achieving the perfect consistency is key. As a beginner, it’s essential to understand that the consistency of your icing will determine the outcome of your decorations. If the icing is too thin, it will be difficult to control, while icing that’s too thick won’t pipe smoothly. I like to think of it as finding the “goldilocks zone” – not too runny, not too stiff, but just right.
To test the consistency, I use the “10-second test”: drag a knife or spatula through the icing, and if it takes around 10 seconds for the line to disappear, you’re good to go! If it’s too thin, add a little more powdered sugar; if it’s too thick, add a tiny bit of water. Remember, it’s all about balance, and with a little practice, you’ll be a pro at getting your royal icing just right.
Mastering Royal Icing: 5 Essential Tips for Cookie Decorating
- Start with the right consistency: Thin royal icing for flooding and thick for details to achieve a smooth, even finish
- Use the right piping tools: Invest in a variety of round and star tips to create different designs and patterns
- Color with caution: Add a little food coloring at a time to achieve the desired hue, as it’s easier to add more color than it is to take it away
- Practice, practice, practice: Don’t be discouraged if your first attempts at piping royal icing don’t turn out perfectly – it takes time and patience to develop the skill
- Let it set: Allow royal icing to dry completely before serving or storing cookies to prevent smudging and ensure a professional finish
Key Takeaways for Mastering Royal Icing
Consistency is key: achieving the right royal icing consistency is crucial for smooth piping and even drying, so don’t be afraid to adjust the mixture until it’s just right
Piping techniques can make or break your design: from simple dots and lines to intricate borders and patterns, practicing your piping skills will elevate your cookie decorating to the next level
Practice makes perfect: don’t be discouraged if your first attempts at royal icing don’t turn out as expected – with time and patience, you’ll develop the skills and confidence to create stunning, professional-looking cookies
The Heart of Royal Icing
The art of working with royal icing is not just about following a recipe, but about understanding the delicate dance between sugar, water, and time – with every brushstroke and piped border, you’re telling a story that’s as much about the cookie as it is about the person who decorated it.
Julia Ashwood
Conclusion: Mastering the Art of Royal Icing
As we conclude this journey through the world of royal icing, I hope you’ve gained a deeper understanding of the importance of consistency and how to achieve it. From the initial steps of preparing your icing to the final touches of decorating your cookies, every detail matters. By mastering the techniques outlined in this guide, such as piping techniques and color management, you’ll be well on your way to creating beautifully decorated cookies that are almost too pretty to eat. Remember, practice makes perfect, so don’t be discouraged if your first attempts don’t turn out exactly as you hoped – with time and patience, you’ll develop the skills and confidence to create stunning works of art.
As you continue to experiment and refine your royal icing skills, I encourage you to think outside the box and try new, innovative designs. Whether you’re decorating cookies for a special occasion or simply for the joy of it, the process of creating something beautiful and delicious is a rewarding experience that can bring people together. So, go ahead, get creative, and make the world a sweeter place, one cookie at a time!
Frequently Asked Questions
What is the best way to store royal icing to keep it fresh and prevent it from drying out?
To keep royal icing fresh, I store it in airtight containers in the fridge for up to 3 days. Before storing, I press plastic wrap directly onto the icing’s surface to prevent drying out. When I’m ready to use it, I let it come to room temperature and give it a good stir.
How do I achieve a smooth, even consistency when coloring my royal icing?
To achieve a smooth, even consistency when coloring your royal icing, I recommend adding a tiny amount of gel or paste food coloring at a time, mixing thoroughly between each addition. This will help you reach the perfect hue without thinning out the icing, ensuring it remains pipable and vibrant.
Can I make royal icing ahead of time and refrigerate or freeze it for later use on cookies?
Yes, you can make royal icing ahead of time. I recommend preparing it up to a week in advance and storing it in an airtight container in the fridge. Alternatively, you can freeze it for up to 2 months. Just be sure to bring it to room temperature and mix well before using.