I still remember the day my partner and I moved into our quirky old house, feeling like kids in a candy store, but also overwhelmed by the chaos that surrounded us. As I delved into the world of how to organize your home, I realized that it wasn’t just about tidy spaces, but about creating a sense of calm and a reflection of our personalities. The myth that organizing has to be a daunting, expensive task is one I’m eager to debunk. With a little creativity and resourcefulness, anyone can turn their space into a peaceful retreat that tells their story.
In this article, I’ll share my favorite tips and tricks for how to organize your home, from simple storage solutions to designing a layout that flows with your daily routine. I’ll take you through my own journey of transforming our house, room by room, and show you that it’s possible to create a beautiful, functional space without breaking the bank. My goal is to inspire you to see organizing not as a chore, but as an opportunity to unleash your personal style and make your house truly feel like home. By the end of this guide, you’ll be equipped with the practical advice and motivation you need to start your own organizing adventure.
Table of Contents
- Guide Overview: What You'll Need
- Step-by-Step Instructions
- How to Organize Your Home
- My Top 5 Favorite Tips to Turn Your Space into a Peaceful Retreat
- My Top 3 Takeaways for a Beautifully Organized Home
- A Home That Tells Your Story
- Embracing the Journey to a Beautifully Organized Home
- Frequently Asked Questions
Guide Overview: What You'll Need
Total Time: 4 hours to several days
Estimated Cost: $50 – $200
Difficulty Level: Intermediate
Tools Required
- Label Maker (for labeling storage containers)
- Measuring Tape (for measuring spaces)
- Step Stool (for reaching high shelves)
- Storage Bins (various sizes)
Supplies & Materials
- Shelving Units (custom or pre-made)
- Hooks (for hanging items like bikes or bags)
- 2-in x 4-in lumber (for building custom shelves or dividers)
- Stackable Plastic Bins (for storing items like clothes or toys)
Step-by-Step Instructions
- 1. First, let’s start with the big picture: take a step back and look at your home as a whole. Walk through each room, and make a mental note (or write it down, if you’re like me and love lists!) of what you love about the space, and what’s driving you a little crazy. This is your chance to dream big and think about what you want your home to feel like – cozy and inviting, calm and peaceful, or fun and playful?
- 2. Next, gather your trustiest sidekicks: a few boxes, some labels, and a marker. I like to name my power tools, and I’ve even given my label maker the nickname “Labelina” – it’s all about making the process fun! Start going through each room, and begin sorting items into categories: keep, donate, sell, and toss. Be ruthless – if you haven’t used it in a year, it’s probably safe to say you won’t miss it.
- 3. Now it’s time to declutter and purge. This is the part where most people get overwhelmed, but I say, let’s make it a game! Set a timer for 20 minutes, and challenge yourself to fill up one box with items to donate or toss. Take a break, then come back to it – you’ll be surprised at how much you can get done in short bursts. Remember, every item you remove creates space for something new and exciting to come in.
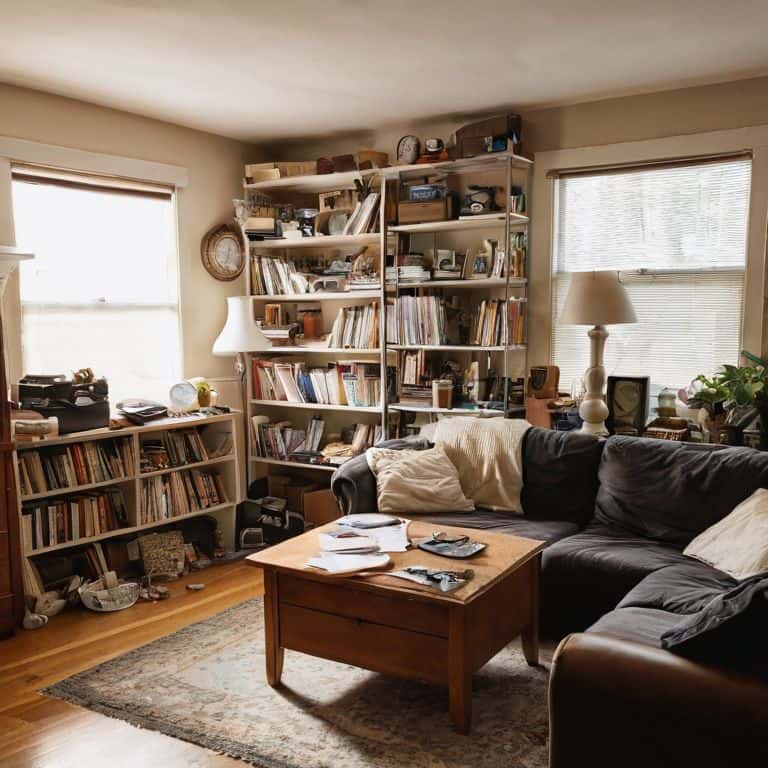
- 4. Once you’ve decluttered, it’s time to think about functional zones. What activities do you want to happen in each room? For example, in my living room, I have a reading nook with a comfy chair and a good light source, and a creative corner with my DIY projects and art supplies. Think about how you can create zones that make sense for your lifestyle, and start arranging your furniture and decor accordingly.
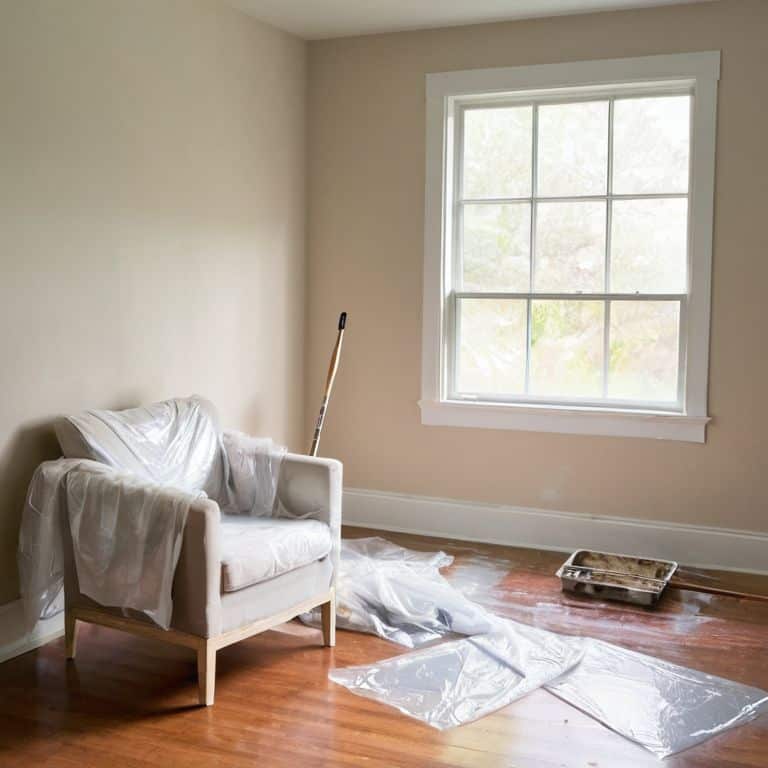
- 5. Now we’re getting to the fun part – decorating and styling! This is where you get to tell your story and make your space truly unique. I love scouring flea markets for one-of-a-kind pieces, and I’ve even been known to upcycle old items into something entirely new. Don’t be afraid to experiment and try out new things – it’s all part of the adventure!
- 6. As you’re putting everything back together, remember to label and sign your territory. I use Labelina to label all my storage bins and shelves, so I can easily find what I need. You can also add personal touches like photos, artwork, or special mementos to make each space feel truly yours. This is your chance to make it personal and create a home that reflects your personality and style.
- 7. Finally, take a step back and admire your handiwork! You’ve worked hard to create a space that tells your story, and it’s time to celebrate. Take some before-and-after photos to commemorate your journey, and don’t be afraid to show off your new space to friends and family. Remember, your home is a reflection of you, and it’s okay if it’s not perfect – it’s beautifully imperfect, just like you.
How to Organize Your Home
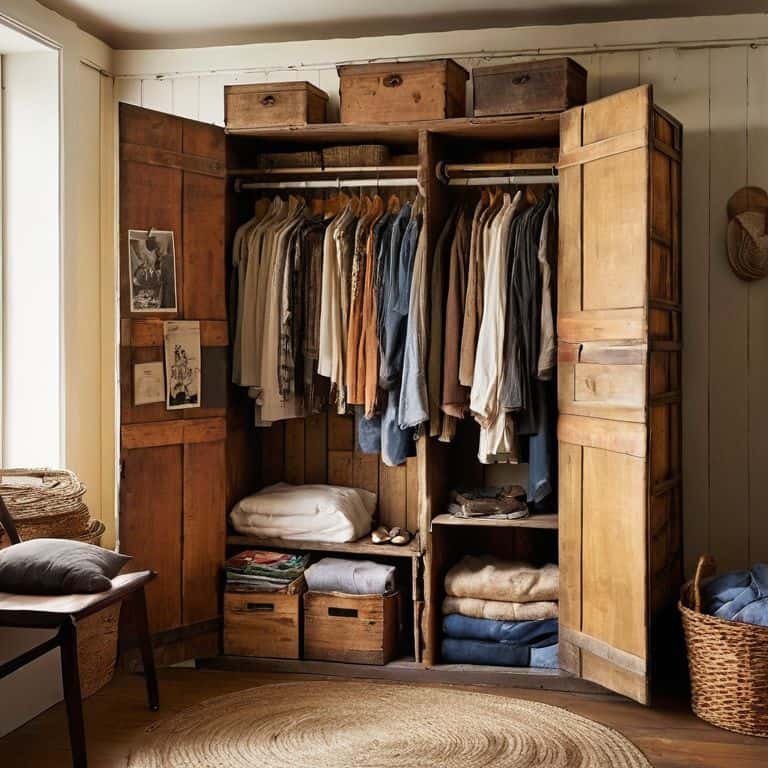
As I delved into the world of minimalist living tips, I realized that it’s not just about getting rid of clutter, but also about creating a space that tells your story. For me, custom storage solutions for closets have been a game-changer. I’ve used old crates and wooden boxes to create a unique storage system that not only keeps my belongings organized but also adds a touch of personality to my room.
When it comes to home decluttering challenges, I’ve found that it’s essential to start small. Begin with one area or room at a time, and work your way up. This approach helps to avoid feeling overwhelmed and makes the process more manageable. I’ve also discovered that productivity hacks for cleaning can make a significant difference. Breaking down larger tasks into smaller, more manageable chunks, and setting aside dedicated time for cleaning has helped me stay on top of my cleaning schedule.
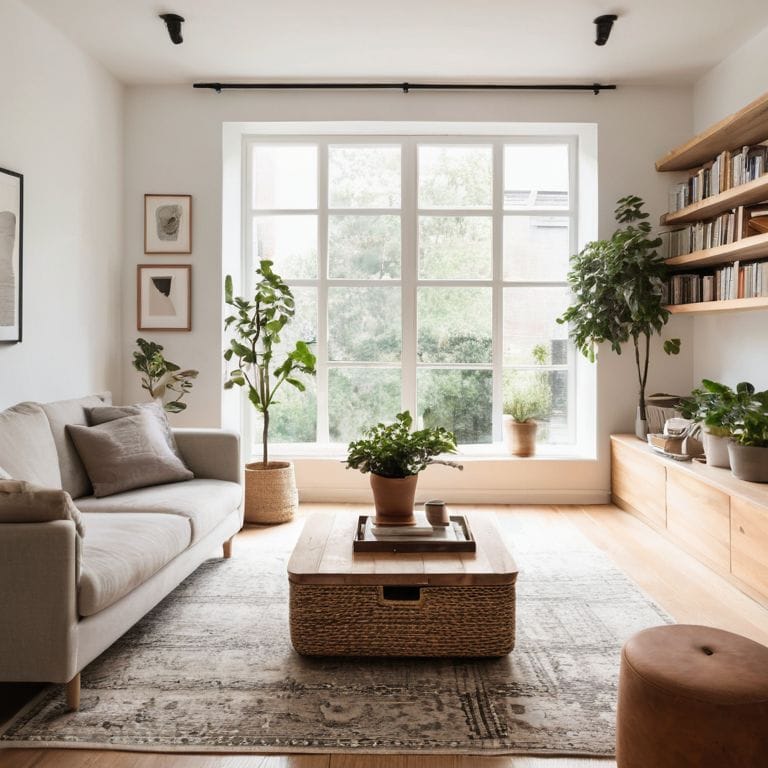
For those living in organizing a small apartment, it’s crucial to be mindful of the space you have available. Consider using multi-functional furniture pieces or investing in sustainable organization methods that promote eco-friendly living. By adopting these strategies, you can create a peaceful and organized living space that reflects your personal style and values.
Minimalist Living Tips for Beginners
As I began my own organizing journey, I realized that embracing minimalist living wasn’t about depriving myself of things I loved, but about surrounding myself with only what brought joy and served a purpose. For beginners, I recommend starting small – begin with one area or category of items, like your bookshelf or kitchen utensils. Take everything out, and then put back only what you truly need or love. It’s a simple yet powerful exercise that helps you see what’s truly important to you.
Remember, minimalist living is a personal journey, not a competition. Don’t compare yourself to others; focus on creating a space that reflects your unique story and style. And hey, it’s okay to keep that quirky vintage chair – it’s all about balance and intention. By embracing minimalist principles, you’ll be amazed at how much more breathing room you’ll have, both physically and mentally.
Sustainable Organization for Small Spaces
As I’ve learned from my own tiny patio garden, small spaces require creative solutions. For me, sustainable organization is all about reusing and repurposing items I already have. I love giving new life to old furniture finds from the flea market – it’s amazing how a fresh coat of paint can turn a cluttered corner into a charming storage nook. My trusty power tool, “Bertha,” has helped me upcycle everything from wooden crates to vintage suitcases into functional storage units.
By embracing this mindset, you can turn your small space into a cozy, eco-friendly haven. Consider swapping single-use storage bins for woven baskets or repurposed containers. Every small change adds up, and before you know it, your tiny space will be telling a story of its own – one of simplicity, sustainability, and style.
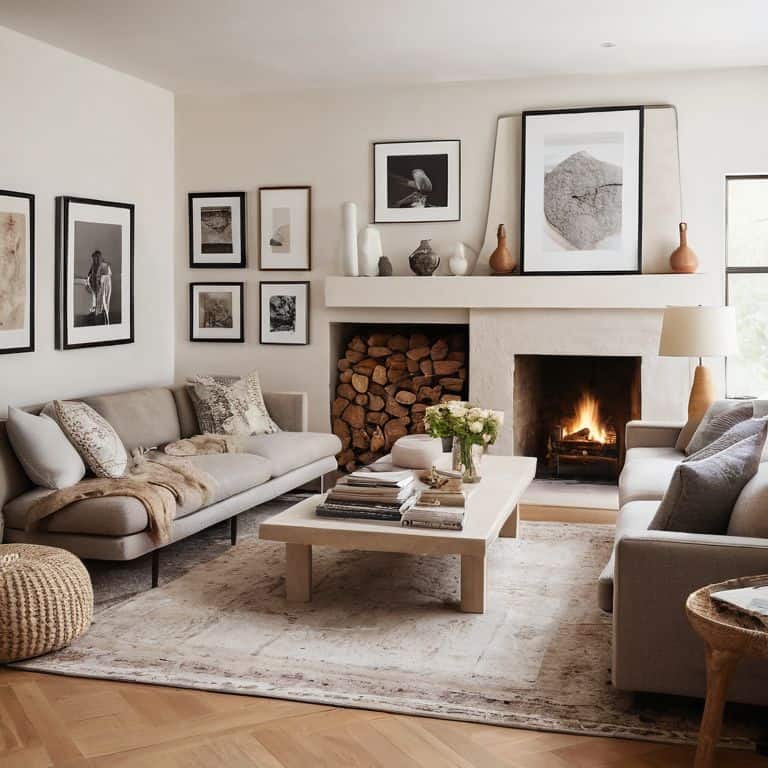
My Top 5 Favorite Tips to Turn Your Space into a Peaceful Retreat
- Start with a story: Before you begin organizing, think about the story you want your space to tell – what kind of vibe do you want to create, and what memories do you want to make?
- Give everything a home: Assign a designated spot for each item, making it easier to find what you need and put things back in their place
- Edit, curate, and display: Don’t be afraid to get rid of items that no longer serve you, and showcase the things that bring you joy and tell your story
- Use vertical space: Make the most of your walls by using shelves, hooks, and baskets to keep your belongings organized and out of the way
- Make it a ritual: Set aside time each week to maintain your space, and make it a mindful, enjoyable experience – put on some music, light a candle, and savor the feeling of a peaceful, organized home
My Top 3 Takeaways for a Beautifully Organized Home
As I look back on our home’s transformation, I’m reminded that it’s all about telling your story – not someone else’s. Don’t be afraid to add personal touches that make your space feel like you!
Embracing minimalist living and sustainable organization practices doesn’t have to break the bank. Get creative with thrift store finds, repurposed items, and DIY projects to make your space shine!
Remember, organizing your home is a journey, not a destination. It’s okay to take it one step at a time, and to make mistakes along the way. The most important thing is to have fun and make your space a reflection of your unique personality and style.
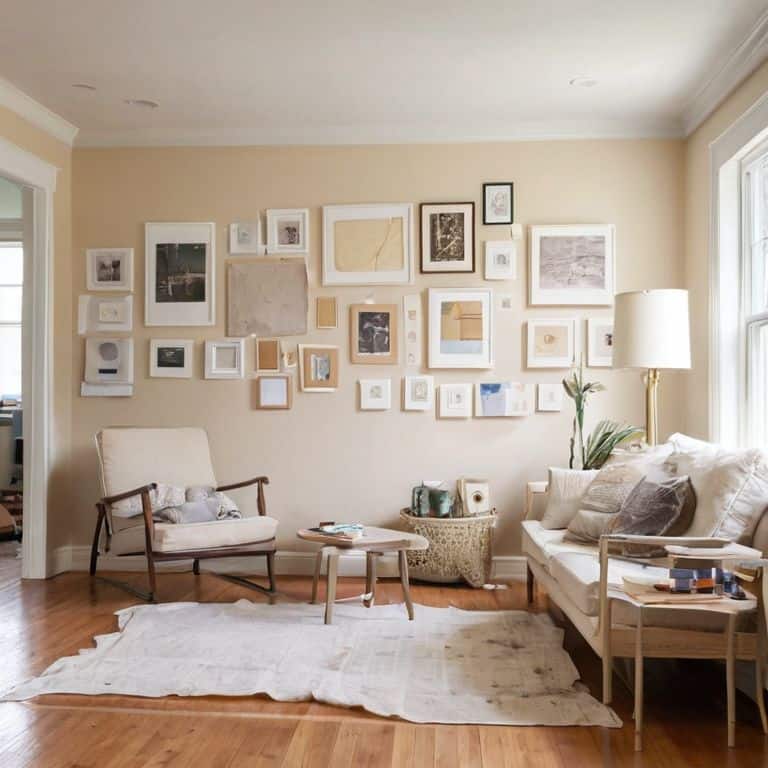
A Home That Tells Your Story
The most beautiful homes aren’t just organized, they’re curated – every item, every decor, every corner tells a piece of your story, so don’t just tidy up, tell a tale!
Maya Rivera
Embracing the Journey to a Beautifully Organized Home
As we’ve explored the world of home organization together, I hope you’ve picked up a few essential tips to make your space feel more like you. From embracing minimalist living to finding creative solutions for sustainable organization, our journey has been about more than just decluttering – it’s been about crafting a home that tells your unique story. Whether you’re a beginner or a seasoned DIY enthusiast, the key takeaway is that organizing your home is a process, and it’s okay to take it one step at a time.
So, as you close this chapter and embark on your own organizing adventure, remember that the goal isn’t perfection – it’s creating a space that inspires you. Don’t be afraid to experiment, to try new things, and to make mistakes. Your home is a reflection of your personality, your values, and your dreams. By embracing this journey, you’re not just organizing your space – you’re writing the next chapter of your story, one beautifully organized room at a time.
Frequently Asked Questions
How can I balance my desire for a unique, personalized space with the need for a clutter-free and organized home?
For me, it’s all about blending personality with functionality. I like to think of it as “curated clutter” – showcasing my favorite treasures while keeping the rest tucked away. It’s okay to have a few special items out, as long as they tell a story and bring you joy.
What are some creative ways to repurpose old or thrifted items to use as storage or organization solutions in my home?
I love giving old treasures new life! Think beyond the norm – like turning vintage suitcases into storage ottomans or using mason jars as desk organizers. I once repurposed an old ladder as a bookshelf, and it’s now my favorite conversation starter. Get creative and scour those thrift stores for unique gems to tell your home’s story!
How can I maintain my newly organized space over time and prevent clutter from building up again?
Now that your space is organized, let’s talk maintenance! I like to schedule regular “tidy dates” with myself to keep clutter at bay. Set a reminder to review your space every few weeks, and make adjustments as needed. It’s all about creating habits that stick, like putting things back in their designated spot, and being mindful of new items you bring in.