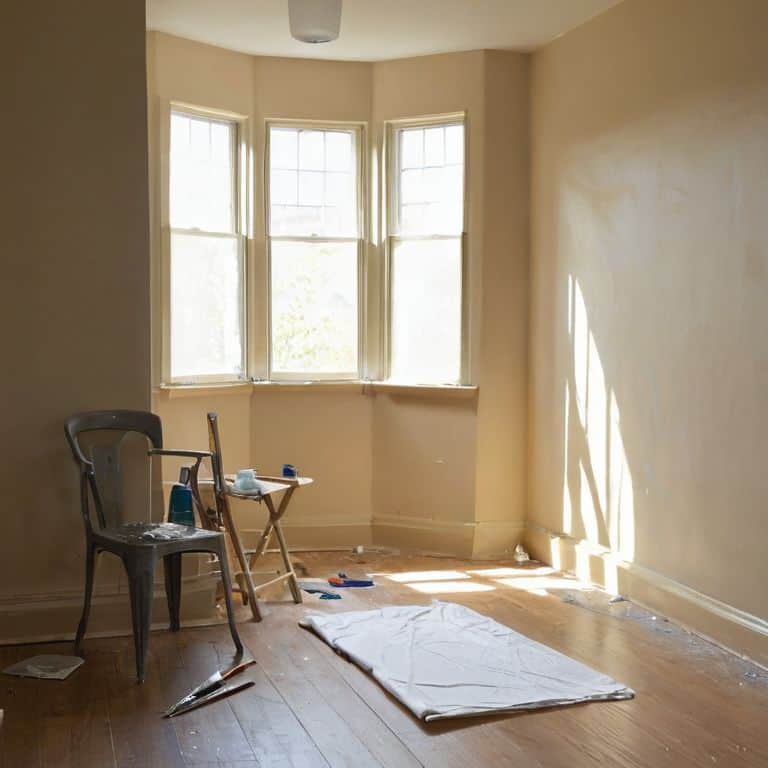
I still remember the first time I attempted to paint a room in my quirky old house – it was a disaster. The walls looked like a mess, and I ended up with more paint on myself than the ceiling. But that’s when I realized that learning how to paint a room isn’t about following a set of strict rules; it’s about embracing the process and having fun with it. As I delved deeper into the world of DIY home renovation, I discovered that the key to a successful paint job lies in the preparation and the personal touch you bring to the project. Whether you’re a seasoned pro or a beginner, how to paint a room can seem daunting, but it doesn’t have to be.
In this article, I’ll share my honest, no-hype advice on how to paint a room that reflects your unique style and personality. From choosing the perfect color palette to adding those special touches that make a room truly yours, I’ll guide you through the process with practical tips and before-and-after photos. My goal is to empower you to take on this project with confidence, to see it as an opportunity to tell your story through the walls of your home. So, let’s get started on this creative adventure together, and turn your space into a beautiful reflection of you.
Table of Contents
Guide Overview: What You'll Need
Total Time: 4 hours 30 minutes
Estimated Cost: $50 – $100
Difficulty Level: Intermediate
Tools Required
- Paint Roller (with extension pole)
- Paintbrushes (various sizes)
- Paint Tray
- Drop Cloths (for floor protection)
- Sandpaper (for light surface preparation)
- Tape (for trimming and edges)
- Ladder (sturdy, 6 feet tall)
- Cleaning Rags
Supplies & Materials
- Paint (choose your color and finish)
- Primer (optional, depending on wall condition)
- Paint Roller Covers (extra, for smooth finish)
- Painter’s Tape (for sharp edges and lines)
- Spackling Compound (for filling small holes)
- Masking Film (for protecting windows and doors)
Step-by-Step Instructions
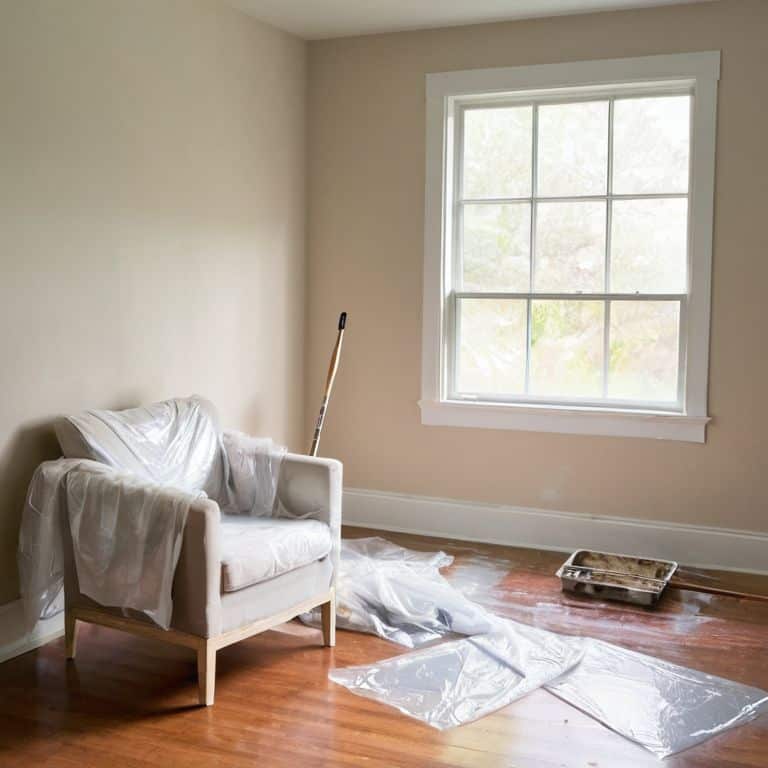
- 1. First, let’s prep the space by clearing out any furniture, curtains, or rugs that could get in the way of our painting party. This will give us a clean slate to work with and prevent any unwanted paint spills or stains. I like to think of this step as setting the stage for our creative adventure.
- 2. Next, we need to wash the walls to remove any dirt, grime, or grease that might be lurking on the surface. This will ensure that our paint adheres evenly and looks its best. I use a mixture of soap and water to give my walls a good scrub, and then let them dry completely before moving on to the next step.
- 3. Now it’s time to fix any holes or cracks in the walls. I like to use a joint compound to fill in any gaps, and then sand it down to a smooth finish. This will give us a solid foundation for our paint to adhere to, and prevent any unsightly bumps or bubbles from forming.
- 4. With our walls all fixed up, it’s time to tape off the trim. I use a high-quality painter’s tape to protect my baseboards, moldings, and any other areas that I don’t want to get paint on. This can be a bit of a tedious step, but trust me, it’s worth it in the end to get a crisp, clean line.
- 5. Next up, we need to prime the walls (if necessary). If you’re using a dark color or covering up a light color, or if your walls have a glossy finish, you’ll want to use a primer to ensure that your paint goes on evenly and looks its best. I like to use a low-VOC primer that’s gentle on the environment and my lungs.
- 6. Now it’s time to get painting! I like to start by cutting in around the edges of the room, using a small brush to paint a border around the trim and any areas that my roller can’t reach. This will give me a clean line and prevent any paint from getting on the trim or other areas that I’ve taped off.
- 7. With my edges all painted, it’s time to roll on the color. I use a high-quality roller extension pole to reach the high areas of the room, and work in sections to ensure that my paint goes on evenly. I like to use a “W” or “M” pattern to spread the paint, working in slow, steady strokes to cover the entire wall.
- 8. Finally, it’s time to remove the tape and take a step back to admire our handiwork. I like to remove the tape slowly and carefully, to avoid pulling off any of the fresh paint. And then, it’s time to touch up any areas that might need a little extra attention, and voila! Our room is transformed.
Painting Your Haven
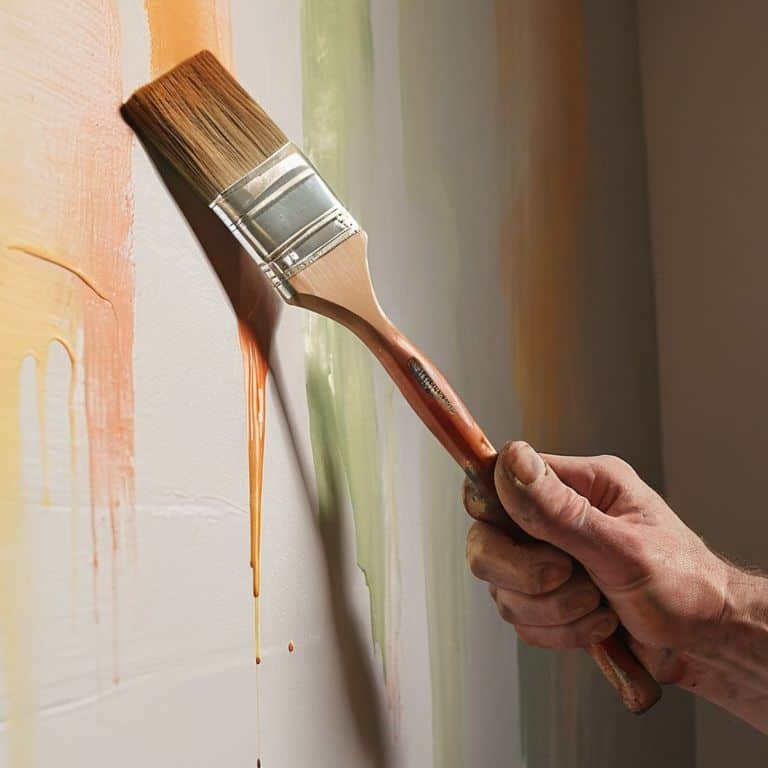
As I delve into the world of painting, I’ve discovered that painting techniques for a smooth finish can make all the difference. It’s not just about slapping on some paint and calling it a day – it’s about creating a masterpiece that reflects your personality. I like to think of it as bringing your walls to life, one brushstroke at a time. When it comes to choosing the right paintbrush, I always opt for high-quality ones that will give me a seamless finish.
Preparing your walls for painting is also crucial. It’s essential to clean and prime your walls before applying the first coat of paint. This ensures that your paint adheres evenly and lasts longer. I’ve learned that common painting mistakes to avoid include not allowing the first coat to dry completely before applying the second coat. This can lead to a messy and uneven finish.
To achieve a beautiful, professional-looking finish, consider color selection tips for interior walls. Think about the mood and atmosphere you want to create in your space. Do you want it to be calming and serene, or vibrant and energetic? By choosing the right color, you can transform your room into a haven that reflects your unique style. With a little patience and practice, you can create a space that’s truly yours, and that’s what painting is all about – making your house a home.
Brushing Away Common Painting Mistakes
As I reflect on my own painting adventures, I’ve learned that it’s often the unexpected mishaps that lead to the most beautiful, unique touches in our little home. My partner still teases me about the time I accidentally got paint on the trim – it ended up being a happy accident that added a charming, rustic feel to our living room. To brush away common mistakes, remember that it’s all about perspective: a little extra paint here, a missed spot there, can become a deliberate design choice with the right attitude.
I’ve found that having a “mistake jar” helps – whenever I make a mistake, I write it down and put it in the jar. Later, I reflect on how I can turn those mistakes into something intentional and beautiful. It’s all about embracing the journey, not just the end result.
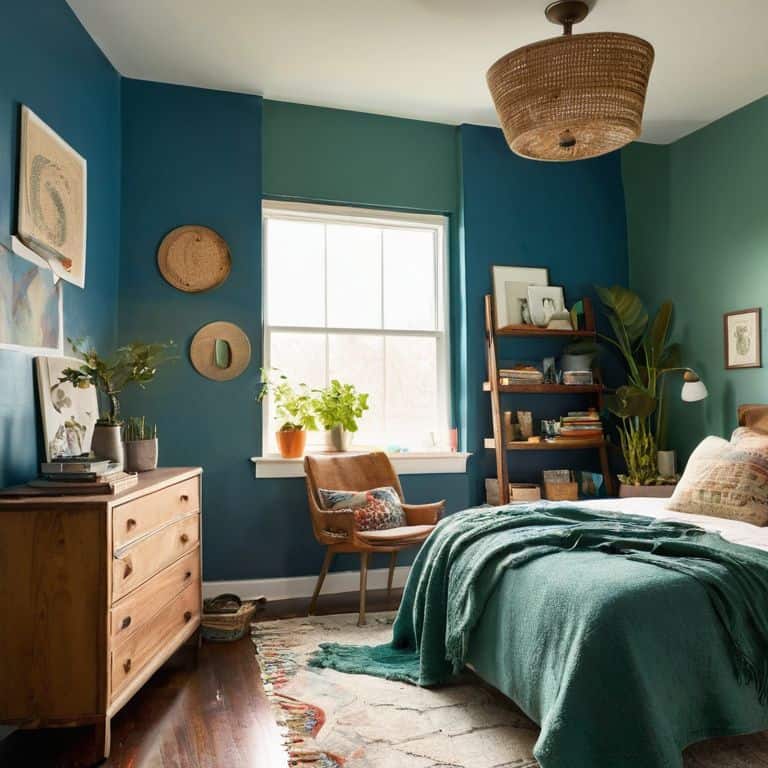
Choosing Colors for Soulful Walls
Choosing colors for your walls is where the magic happens. It’s like picking the perfect protagonist for your room’s story. I love scouring paint swatches, imagining how each hue will bring my space to life. Earthy tones for a cozy vibe, or maybe a soft peach to evoke a sense of serenity? The options are endless, and that’s what makes it so exciting. I like to think of my power tool, Bertha the brush, as my trusty sidekick in this process.
As I ponder colors, I consider the room’s purpose and the emotions I want to evoke. For my own bedroom, I chose a soothing blue that reminds me of lazy summer skies. It’s amazing how a simple coat of paint can transform a room into a reflection of your personality.
Painting Like a Pro: 5 Tips to Transform Your Space
- Let natural light be your guide: When testing out paint samples, place them near a window to see how the color changes throughout the day
- Get your surface ready: Cleaning the walls and filling any holes or cracks will ensure a smooth, even finish that makes your paint job look like a pro did it
- Choose the right brush for the job: I like to think of my brushes as characters in a story – each one has its own unique personality and specialty, so pick the one that fits your paint and surface best
- Work in sections, not circles: Divide your wall into manageable chunks, and complete each one at a time to avoid streaks and uneven coverage – it’s like solving a fun puzzle
- Seal the deal: Applying a clear coat of varnish after the paint is dry will protect your walls from scuffs and stains, and give your room a beautiful, professional finish that tells a story of love and care
Bringing It All Together: 3 Key Takeaways
Your walls are a canvas, waiting for a story: remember, the right color can transform your space and reflect your personality, so don’t be afraid to experiment and find the perfect hue
A smooth finish is just a brush away: by avoiding common painting mistakes and taking your time, you can achieve professional-looking results without breaking the bank or hiring a pro
Painting is just the beginning: once you’ve finished, stand back and admire your handiwork – your newly painted room is a blank slate, ready for you to add decor, furniture, and all the personal touches that make a house a home
Painting with Passion
A room is not just a space, it’s a canvas waiting for the brushstrokes of your personality, and with every coat of paint, you’re not just covering walls, you’re uncovering the story of your home.
Maya Rivera
Bringing Your Vision to Life
As we’ve explored the world of painting your room, remember that it’s all about embracing your personal style and having fun along the way. From choosing the perfect colors that reflect your personality to brushing away common mistakes, every step is an opportunity to make your space truly unique. Don’t be afraid to experiment and try new things – it’s all part of the journey to creating a room that tells your story. Whether you’re a seasoned DIY enthusiast or a beginner, the most important thing is to enjoy the process and be proud of what you’ve accomplished.
As you put down your paintbrush and step back to admire your handiwork, remember that your home is a reflection of you. It’s a place where memories are made, and stories are told. So, don’t be afraid to get creative, try new things, and make your space truly yours. With a little patience, imagination, and elbow grease, you can turn any room into a beautiful, functional, and meaningful space that brings you joy and comfort. Happy painting, and I’ll see you in the next chapter of our home renovation adventures!
Frequently Asked Questions
What's the best way to prepare my walls for painting, especially if they have holes or cracks?
Time to get those walls ready for their close-up. For holes and cracks, I swear by spackling compound and a putty knife – it’s like a warm hug for your walls. Sand it down, and you’re all set for a fresh coat of paint. I call my trusty putty knife ‘Patch’ – she’s a game-changer!
How can I ensure a smooth, even finish when painting over a dark color with a lighter one?
To achieve a smooth finish when painting over a dark color with a lighter one, I swear by primer! It’s like a magic eraser for your walls. Apply a coat or two, and you’ll be amazed at how effortlessly your new lighter hue glides on, covering up the old dark shade like it was never there.
Are there any specific painting techniques or tools that can help me achieve a professional-looking result without hiring a pro?
Oh, I’m so glad you asked! My trusty sidekicks, Bertha the brush and Sammy the roller, help me achieve pro-looking results. I swear by techniques like cutting in, feathering, and using a microfiber roller for a smooth finish. These simple tricks make all the difference in giving your walls a polished, professional look without breaking the bank!