I still remember the thrill of building my first custom PC – the rush of picking out the perfect components, the satisfaction of seeing it all come together. But then came the daunting task of how to install windows on a custom-built pc, and I felt like I was staring up at a mountain. I’d heard the horror stories about tedious installations, confusing settings, and the frustration of troubleshooting. But here’s the truth: with the right guide, installing Windows can be a breeze.
In this article, I’ll walk you through the straightforward, step-by-step process of bringing your custom PC to life with Windows. You won’t find any confusing jargon or technical overload here – just honest, practical advice to get you up and running in no time. I’ll share my own experiences, tips, and tricks to make the installation process feel like a fun, rewarding adventure. By the end of this guide, you’ll be confident in your ability to install Windows on your custom-built PC and start exploring all the amazing things it can do. So, let’s dive in and unlock the full potential of your dream machine!
Table of Contents
Guide Overview: What You'll Need

Total Time: 2 hours 30 minutes
Estimated Cost: $100 – $300
Difficulty Level: Intermediate
Tools Required
- Screwdriver (both flathead and Phillips)
- Torx driver (for certain CPU coolers)
- Pliers (for gripping small parts)
- Thermal paste applicator (for CPU cooler installation)
- Cable ties (for cable management)
- Anti-static wrist strap (for protecting components from static electricity)
Supplies & Materials
- Windows operating system installation media (on USB drive or CD/DVD)
- Product key (for Windows operating system activation)
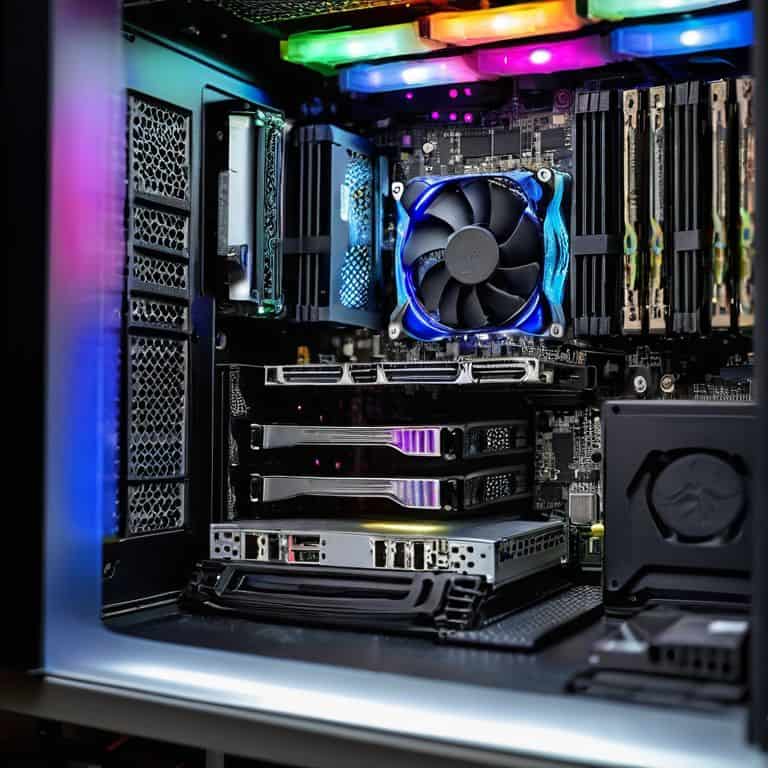
- Custom-built PC hardware (including CPU, motherboard, RAM, storage, and power supply)
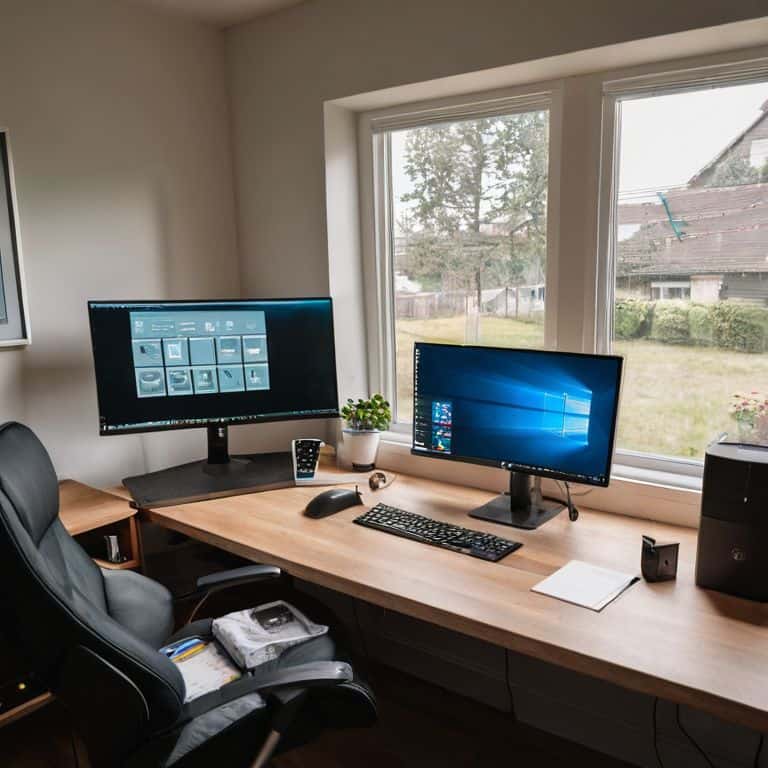
- Monitor (for displaying the installation process)
- Keyboard and mouse (for input during installation)
Step-by-Step Instructions
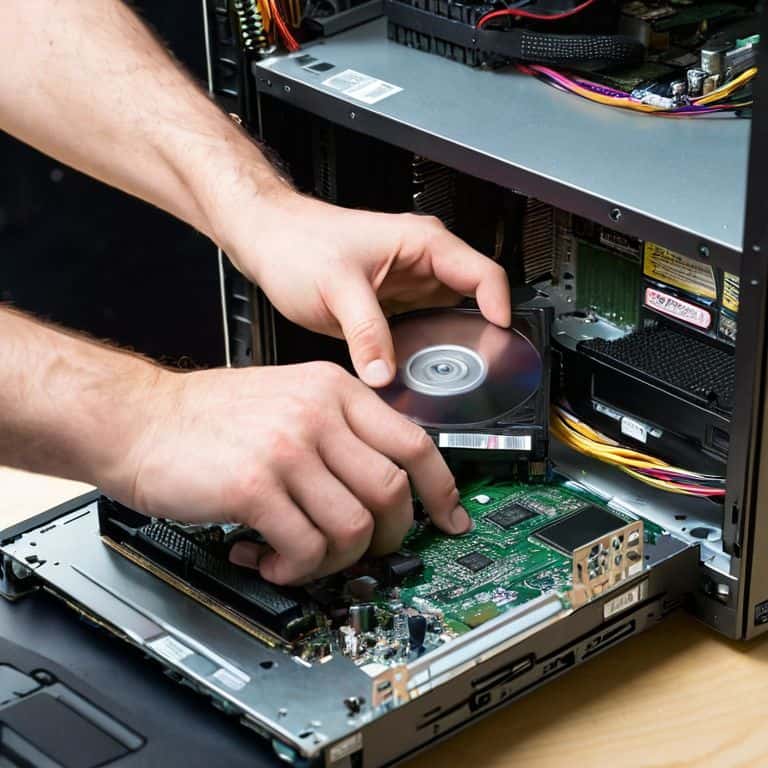
- 1. First, let’s get started with the basics: make sure you have all the necessary components and tools ready, including your custom-built PC, the Windows installation media (either a USB drive or a CD/DVD), and a keyboard and mouse. It’s also a good idea to have a monitor connected to your PC to see what you’re doing.
- 2. Next, insert the Windows installation media into your PC. If you’re using a USB drive, plug it into a free USB port. If you’re using a CD/DVD, insert it into your PC’s optical drive. Then, restart your PC and enter the BIOS settings (usually by pressing F2, F12, or Del during boot-up) to set the USB drive or optical drive as the first boot device.
- 3. Now, save and exit the BIOS settings. Your PC will restart and begin loading the Windows installation media. You’ll see a prompt asking you to select your language, time and currency format, and keyboard or input method. Choose the options that apply to you and click “Next” to continue.
- 4. The next step is to accept the license terms. Read through the terms and conditions, check the box to accept them, and click “Next” to proceed. Don’t worry, it’s standard stuff – just the usual legal jargon.
- 5. You’ll then be asked if you want to upgrade or perform a custom installation. Since this is a custom-built PC, choose the “Custom: Install Windows only (advanced)” option. This will allow you to start with a clean slate and install Windows from scratch.
- 6. Now, you’ll need to partition the hard drive. If you have a brand new hard drive, you’ll see an option to create a new partition. Click on that, and then choose the size of the partition (you can use the default size or specify a custom size). If you have an existing partition, you can choose to delete it and create a new one.
- 7. The installation process will then begin, and you’ll see a progress bar indicating how much time is left. This might take a while, so be patient and grab a snack or drink while you wait. Once the installation is complete, your PC will restart, and you’ll be prompted to create a user account and set up your Windows environment.
Unlock Your Dream Pc
As you bring your custom PC to life, it’s essential to consider the windows installation requirements that will make your system run smoothly. This includes ensuring your PC meets the minimum system requirements, such as sufficient RAM and a compatible processor. By double-checking these requirements, you’ll avoid potential issues during the installation process.
When it comes to troubleshooting, being prepared is key. Booting from a USB drive can be a lifesaver if your system fails to boot from the primary drive. Having a backup plan in place will save you time and frustration in the long run. Additionally, familiarizing yourself with common issues that may arise during the installation process will help you navigate any challenges that come your way.
To get the most out of your custom PC, especially if you’re building a gaming pc, it’s crucial to optimize windows for gaming. This can be achieved by adjusting settings, updating drivers, and ensuring your system is running with the latest updates. By taking these extra steps, you’ll be able to unlock your PC’s full potential and enjoy a seamless gaming experience.
Booting From Usb the First Step
Now that we have all the requirements in place, it’s time to bring your custom PC to life. To start the Windows installation process, you’ll need to boot from the USB drive containing the installation files. This is a crucial step, as it tells your PC to use the USB drive as the primary source for booting up. Make sure your USB drive is plugged in and your PC is set to boot from USB in the BIOS settings. Save your changes and exit the BIOS menu – your PC will now restart and boot from the USB drive, launching the Windows installation process.
As your PC boots up, you’ll see the Windows logo appear on the screen, followed by a prompt to select your language and other preferences. Don’t worry, we’ll get to those details in a bit. For now, let’s focus on getting the installation underway. With your PC booting from the USB drive, you’re one step closer to unlocking your dream machine.
Windows Installation Requirements Revealed
To unlock your dream PC, you’ll need to make sure you have the right keys to get started. This means checking off a few essential requirements for a smooth Windows installation. First, ensure your custom-built PC meets the minimum system requirements for the version of Windows you’re about to install. This includes having a compatible processor, enough RAM, and sufficient storage space.
I’ve found that having a clear checklist can make all the difference, so take a moment to review the specifics for your Windows version and compare them with your PC’s specs. This simple step can save you from potential headaches down the line and get you gaming, creating, or productivity-soaring in no time.
5 Essential Tips to Ensure a Smooth Windows Installation on Your Custom-Built PC
- Prepare Your Hardware: Before starting the installation process, double-check that all your custom-built PC’s components are compatible with Windows and properly connected
- Choose the Right Windows Version: Select a Windows version that suits your needs, considering factors such as 32-bit vs 64-bit, Home vs Pro, and any specific features you require
- Create a Bootable USB Drive: Use a reliable tool to create a bootable USB drive with the Windows installation media, and ensure it’s set as the first boot device in your BIOS settings
- Partition Your Hard Drive Wisely: Plan your hard drive partitions carefully, considering the size of your Windows installation, any data you want to store, and potential future upgrades or dual-boot configurations
- Activate Windows Promptly: After installation, activate your Windows copy as soon as possible to avoid any limitations or reminders, and explore the various activation methods available, including digital licenses and product keys
Your Dream PC is Now a Reality: 3 Key Takeaways
By following the step-by-step guide, you’ve successfully installed Windows on your custom-built PC, unlocking a world of endless possibilities for gaming, creativity, and more
Remember to always verify your system’s specifications against the Windows installation requirements to ensure a seamless and trouble-free installation process
With your new PC up and running, don’t forget to explore the numerous features and settings that Windows has to offer, from performance optimization to security enhancements, to get the most out of your dream machine
Installing Windows with Ease
The key to a seamless Windows installation on your custom PC is not just about following steps, but about understanding the story behind each click, and that’s where the real magic happens, making you the master of your digital domain.
Sophie Wallace
Bringing Your Dream PC to Life
You’ve made it through the journey of installing Windows on your custom-built PC, and I’m thrilled to have been your guide. We’ve covered the essential Windows installation requirements, from ensuring your PC meets the minimum specs to successfully booting from a USB drive. You’ve also learned how to navigate the installation process with ease, overcoming any obstacles that came your way. By following these steps and checking off each task, you’ve turned a complex process into a series of manageable, bite-sized challenges. This approach is key to making learning feel like a fun, rewarding adventure.
Now that you’ve unlocked your dream machine, it’s time to unleash your creativity and make the most of your new PC. Whether you’re a gamer, content creator, or simply someone who loves technology, your custom-built PC is a blank canvas waiting for you to bring it to life. Remember, the true power of learning lies not just in the destination, but in the journey itself. So, go ahead, explore, experiment, and push the boundaries of what your PC can do. With your new skills and confidence, the possibilities are endless, and I’m honored to have been a part of your learning adventure.
Frequently Asked Questions
What are the minimum system requirements for installing Windows on a custom-built PC?
To install Windows on your custom-built PC, you’ll need a 64-bit CPU, 2 GB of RAM, and 20 GB of free disk space. Don’t worry, most modern PCs exceed these requirements! Just ensure your CPU supports PAE, NX, and SSE2, and you’re good to go. I’ve got a handy checklist in the next section to help you double-check.
How do I ensure my custom-built PC's BIOS is set to boot from the USB drive with the Windows installation media?
Time to get your BIOS in check. To set your custom-built PC to boot from the USB drive, restart your PC, press the key to enter BIOS settings (usually F2, F12, or Del), and look for the Boot Options or Boot Order menu. Select your USB drive as the first boot device, save changes, and exit – your PC will now prioritize booting from the USB drive with the Windows installation media.
What are the potential issues I might encounter during the Windows installation process on my custom-built PC and how can I troubleshoot them?
Don’t worry, I’ve got you covered. Potential issues might include driver problems, boot errors, or activation issues. If you encounter any, try restarting, checking your USB drive, or verifying your product key. I’ll provide a troubleshooting checklist to help you overcome these hurdles and get your dream PC up and running smoothly.