I still remember the first time I tried to paint a vintage dresser without sanding it – let’s just say it was a hot mess. I had no idea that learning how to sand furniture before painting would become one of the most crucial skills in my DIY toolkit. Fast forward to today, and I’m excited to share my journey with you, from the frustrations of a rough finish to the joy of a silky smooth surface. My friends and I have spent countless hours in the workshop, experimenting with different techniques and tools to get that perfect finish, and I’m here to share those secrets with you.
In this article, I’ll cut through the noise and give you the lowdown on sanding – no fancy jargon or intimidating instructions. You’ll learn the simple, practical steps to transform your old furniture into a stunning work of art. From choosing the right sandpaper to avoiding common mistakes, I’ll walk you through the process with the same enthusiasm and energy that I bring to my own projects. So, if you’re ready to unlock the full potential of your DIY skills and create something truly amazing, let’s dive in and explore the world of how to sand furniture before painting together!
Table of Contents
Guide Overview: What You'll Need
Total Time: 1 hour 30 minutes to 3 hours
Estimated Cost: $20 – $50
Difficulty Level: Intermediate
Tools Required
- Sandpaper various grits (80, 120, 220)
- Sander optional, e.g., orbital or belt sander
- Dust mask for protection from dust
- Safety goggles for eye protection
- Clamps for holding furniture in place
- Putty knife for filling gaps or holes
Supplies & Materials
- Wood filler for filling gaps or holes
- Sandpaper sheets for hand sanding
- Sanding blocks for flat surfaces, e.g., 6 inches x 3 inches
- Tack cloth for wiping away dust and debris
- Primer optional, for painting
Step-by-Step Instructions
- 1. First, let’s get our workspace ready – clear the area around the furniture piece you want to sand, and cover the floor with a drop cloth to catch all the dust and debris. I like to think of this step as setting the stage for a smooth sanding experience. Make sure you have all your sanding tools and materials within arm’s reach to avoid any last-minute scrambles.
- 2. Next, we need to prepare our furniture for sanding by removing any hardware, such as knobs or handles. This will give us a clean slate to work with and prevent any damage to the hardware. I’m a big fan of using a cordless drill for this step, as it makes the process much quicker and easier. Take a moment to inspect the furniture for any loose joints or areas that may need extra attention.
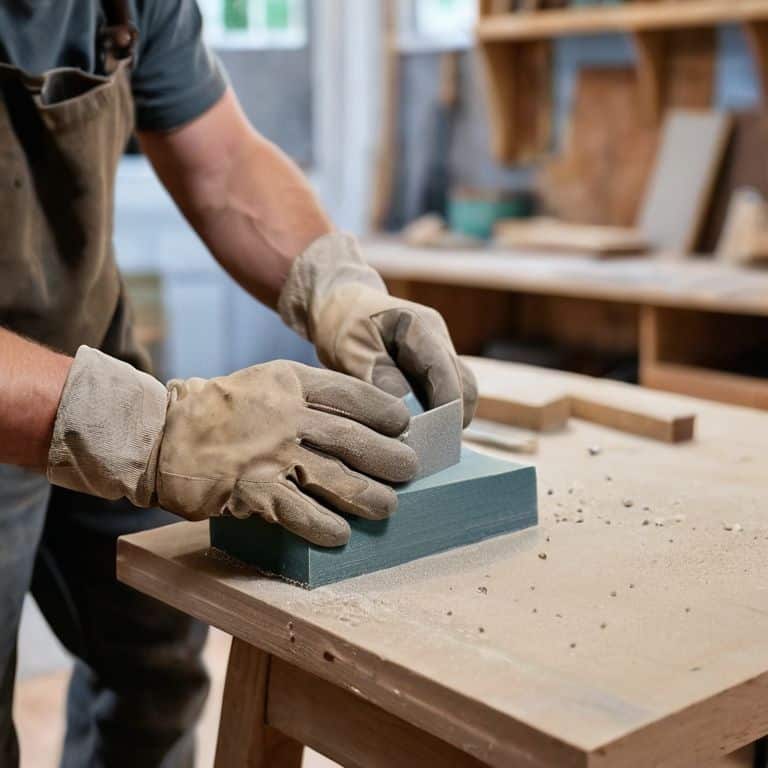
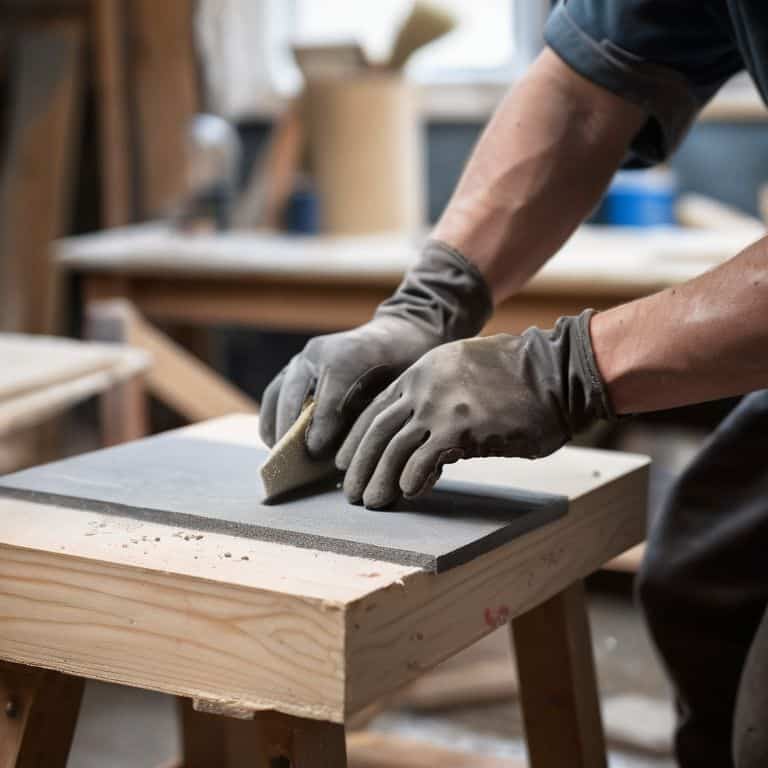
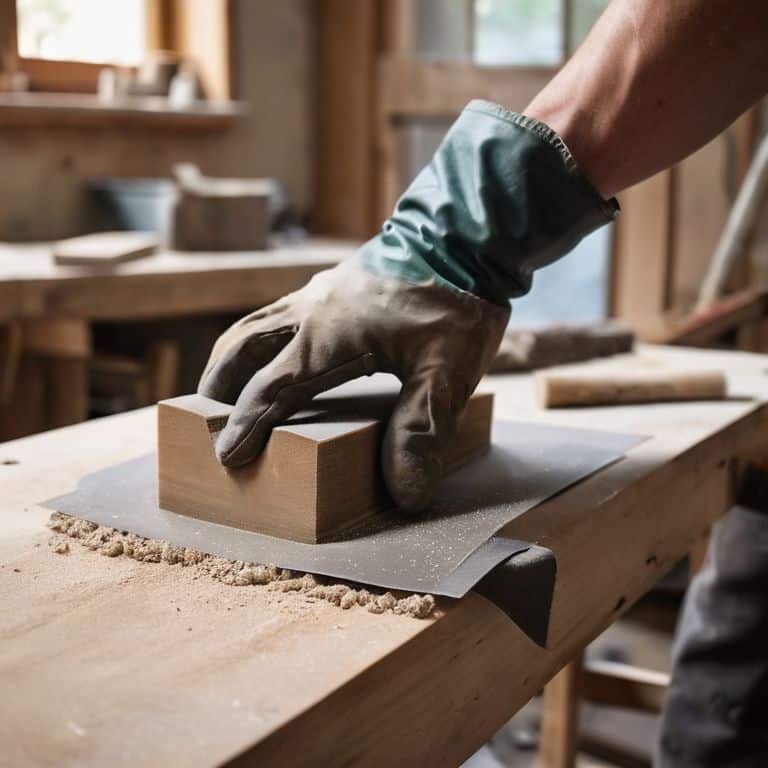
- 3. Now it’s time to start sanding, and we’ll begin with a coarse-grit sandpaper (about 80-100 grit) to remove any old finish, dirt, or imperfections. I like to use a random orbital sander for this step, as it helps to prevent scratches and provides a more even sanding experience. Work in small sections, and apply moderate pressure – don’t press too hard, as this can create uneven surfaces.
- 4. Once we’ve sanded the entire piece with the coarse-grit sandpaper, it’s time to move on to a finer grit (120-150) to smooth out the surface. This is where the magic happens, and our furniture starts to feel like silk. Be sure to sand in the direction of the wood grain to avoid creating scratches or swirl marks. I like to think of this step as the detailing phase, where we’re really focusing on bringing out the natural beauty of the wood.
- 5. As we continue to sand, it’s essential to clean the surface regularly to remove any dust or debris. This will help us get a better feel for the surface and ensure that we’re not sanding over any imperfections. I use a combination of compressed air and a tack cloth to clean the surface – it’s a game-changer for getting into all the nooks and crannies.
- 6. With our finer grit sandpaper, we’ll repeat the process of sanding in small sections, working our way up to an even higher grit (220-240) for an ultra-smooth finish. This is where patience comes into play, as we’re really refining the surface and preparing it for paint. Take your time, and don’t be afraid to take a step back and inspect your work – it’s all part of the creative process.
- 7. Finally, after we’ve completed the sanding process, it’s time to wipe down the surface one last time to remove any remaining dust or debris. I like to use a damp cloth for this step, as it helps to raise the wood grain and give us a better surface for painting. And that’s it – our furniture is now ready for paint, and we can move on to the next exciting step in our DIY project: adding a fresh new finish.
Sanding Secrets Exposed
As we dive deeper into the world of furniture restoration, I want to share some sanding secrets that’ll take your projects to the next level. One of the most important things to keep in mind is the type of sandpaper you’re using. I always recommend starting with a coarse grit and working your way up to a finer one for a silky smooth finish. When it comes to smoothing out wood, it’s all about the progression of grits.
Now, I know some of you might be thinking, “Frank, what about common mistakes when sanding furniture?” Well, let me tell you, my friends, one of the biggest mistakes is not using the right technique. You want to sand with the wood grain, not against it. This will help prevent scratches and uneven surfaces. And, if you do encounter any imperfections, don’t be afraid to break out the wood filler. It’s a game-changer for achieving a professional finish.
When preparing wooden surfaces for paint, it’s essential to remember that furniture sanding techniques for beginners are all about patience and practice. Don’t be discouraged if it takes a few tries to get the hang of it. With the right tools and a bit of know-how, you’ll be creating stunning pieces of furniture in no time. Just remember to always clean your surface thoroughly after sanding to remove any dust or debris, and you’ll be ready to apply that first coat of paint like a pro.
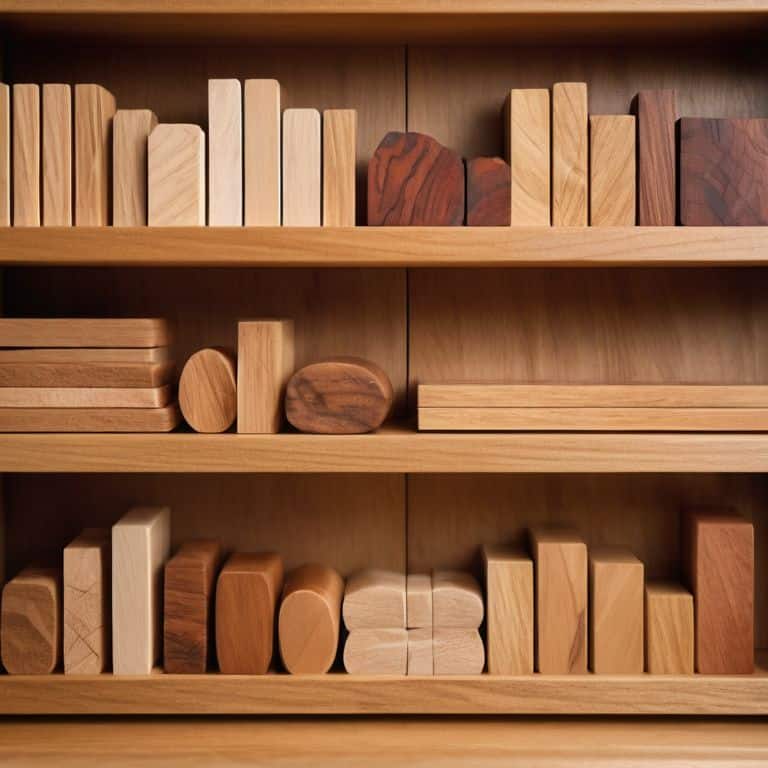
Best Sandpaper for Smoothing Wood Surfaces
When it comes to smoothing out wood surfaces, the right sandpaper can be a total game-changer. I’m talking about the difference between a rough, splintery finish and a silky smooth one that’s just begging for paint. For me, it’s all about the grit – I like to start with a coarse 80-100 grit to knock out any major imperfections, then move on to a finer 220 grit for a super smooth finish.
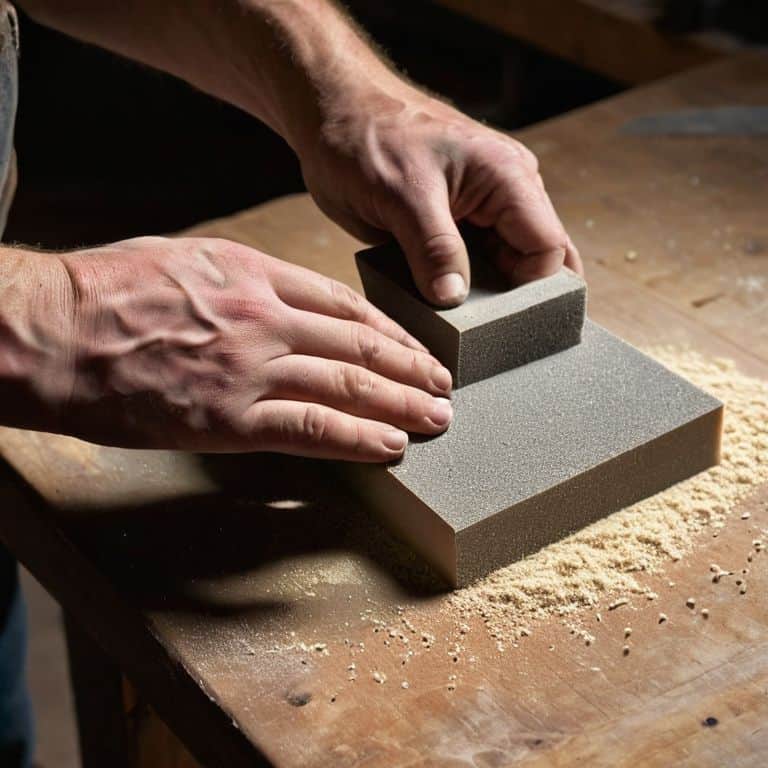
My go-to sandpaper is usually a high-quality aluminum oxide or silicon carbide – these guys are the real MVPs when it comes to cutting through wood without leaving scratches or marks. And don’t even get me started on the importance of using the right sanding block – it makes all the difference in keeping your sandpaper flat and preventing uneven wear. Trust me, buddy, with the right sandpaper and a little bit of elbow grease, you’ll be amazed at how smooth you can get your wood surfaces.
Furniture Sanding Techniques for Beginners
Now that we’ve uncovered some sanding secrets, let’s dive into some techniques perfect for beginners. When I’m working with a new piece, I like to start with a coarse grit sandpaper – think 80 or 100 – to really grind down those rough edges. From there, I move on to a finer grit, like 220, to smooth things out. It’s all about progression, my friend!
Remember, sanding is all about feel and sound – if it feels rough or sounds like it’s scratching, you know you need to switch to a higher grit. Don’t be afraid to experiment and find what works best for you and your project. And hey, if you make a mistake, that’s okay! It’s all part of the process, and I’ve learned some of my best tricks from happy accidents.
Sanding Like a Pro: My Top 5 Tips to Get You Started
- Always start with a coarse grit sandpaper to remove any old finishes or imperfections, then work your way up to finer grits for a silky smooth finish
- Use a sanding block to keep your sandpaper flat and prevent uneven sanding – it’s a total game-changer, trust me!
- Don’t be afraid to get a little aggressive with your sanding, especially when removing old paint or varnish – just be sure to wear a mask and safety goggles, buddy!
- Work in small sections, about 4×4 feet at a time, to maintain even coverage and avoid missing any spots – it’s all about the details, my friend!
- Take breaks and step back to admire your work – sanding can be therapeutic, but it’s also important to rest your hands and eyes to avoid fatigue and maintain your momentum
Key Takeaways to Get You Sanding Like a Pro
Always remember to start with a coarse grit sandpaper and work your way up to finer grits for a silky smooth finish – it’s all about building up to that perfect surface
Don’t be afraid to experiment with different sanding techniques, like circular motions or using a sanding block, to find what works best for your project and your style
Keep in mind that sanding is just the beginning – it’s all about setting yourself up for a successful paint job, so take your time, blast some tunes, and enjoy the process of transforming that old furniture into something totally awesome
Wrapping Up: You're Ready to Rock
We’ve covered a lot of ground in this guide, from the basics of sanding furniture to some sneaky tips and tricks that’ll make your next project a real showstopper. Remember, sanding is all about the prep work – it’s what sets you up for success when it comes time to paint. We’ve talked about the best sandpaper for smoothing out wood surfaces, and some essential furniture sanding techniques for beginners. Whether you’re a seasoned pro or just starting out, I hope you’ve picked up some valuable insights to help you take your DIY game to the next level.
So, what are you waiting for? Get out there and start sanding! The feeling of creating something with your own hands is like no other, and I’m always excited to see what amazing projects you’ll come up with. Don’t be afraid to make a few mistakes along the way – they’re all part of the process, and you never know what cool, unexpected things might come out of them. Happy building, and I’ll catch you in the next tutorial!
Frequently Asked Questions
What's the best way to sand curved or intricate furniture pieces without damaging the surface?
For curved or intricate pieces, I swear by flexible sanding strips or foam sanding pads – they conform to weird shapes and get into tight spots without scratching the surface. Plus, they’re super gentle, so you can sand with confidence!
How do I know when I've sanded enough and it's time to move on to painting?
Dude, you’ll know you’ve sanded enough when the surface feels silky smooth to the touch and the old finish is completely gone. Do a quick wipe-down with a tack cloth to check for any remaining dust or debris. If it’s clean and even, you’re golden – time to break out the paint and get creative!
Can I use a power sander for the entire sanding process or are there situations where hand-sanding is still necessary?
Hey, don’t get too attached to that power sander, my friend! While it’s a beast for big surfaces, there are times when hand-sanding is still the way to go – like getting into tight spaces or smoothing out intricate details. Think of it as a one-two punch: power sand for the heavy lifting, and hand-sand for the finesse work.