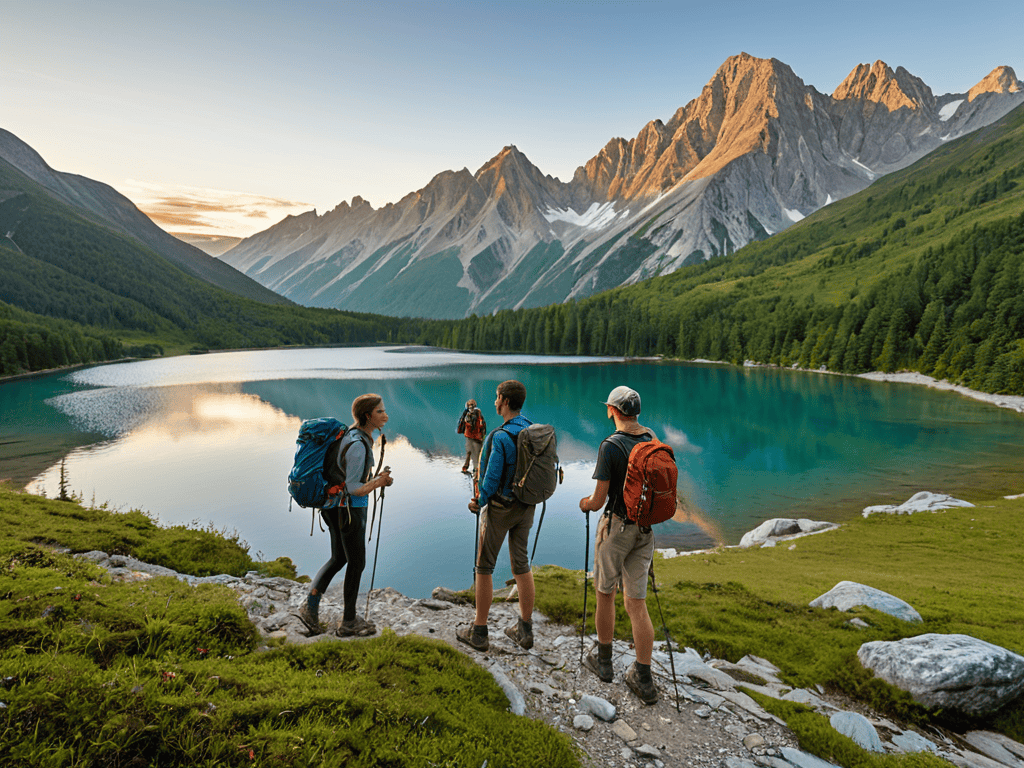
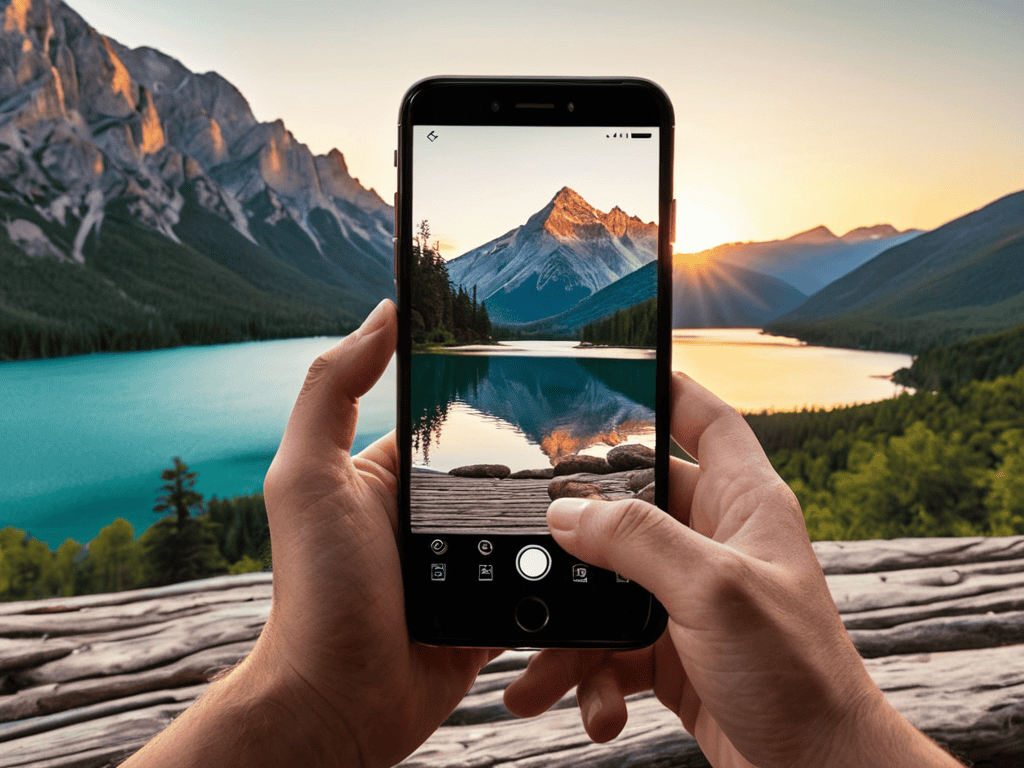
I still remember the moment I realized that I didn’t need a bulky camera to capture stunning travel photos. I was on a trip to Japan, and all I had with me was my smartphone. But with a little practice and patience, I was able to take photos that looked like they belonged in a travel magazine. The secret to taking the best travel photography tips for smartphone users lies not in the equipment, but in the technique. For years, I’ve been experimenting with different methods, and I’ve learned that with the right approach, you can turn your smartphone into a powerful tool for capturing unforgettable moments.
In this article, I’ll share my honest and no-nonsense advice on how to take your travel photography to the next level using just your smartphone. You won’t find any technical jargon or complicated tutorials here. Instead, I’ll provide you with practical tips and tricks that you can apply immediately, whether you’re a beginner or an experienced photographer. From composition and lighting to editing and storytelling, I’ll cover everything you need to know to start taking stunning travel photos that will make your friends and family jealous. So, if you’re ready to unlock the full potential of your smartphone camera, let’s get started!
Table of Contents
Guide Overview: What You'll Need
Total Time: 1 hour 30 minutes
Estimated Cost: free – $100
Difficulty Level: Easy
Tools Required
- Smartphone (with a good camera)
- Tripod (for stability, optional)
- Portable Power Bank (for extra battery life)
- Camera Apps (such as ProCam or Adobe Lightroom Mobile)
Supplies & Materials
- Spare Memory Cards (or cloud storage subscription)
- Phone Lens Cleaning Kit (for maintaining camera lens quality)
- Travel Adapter (for charging in foreign outlets)
Step-by-Step Instructions
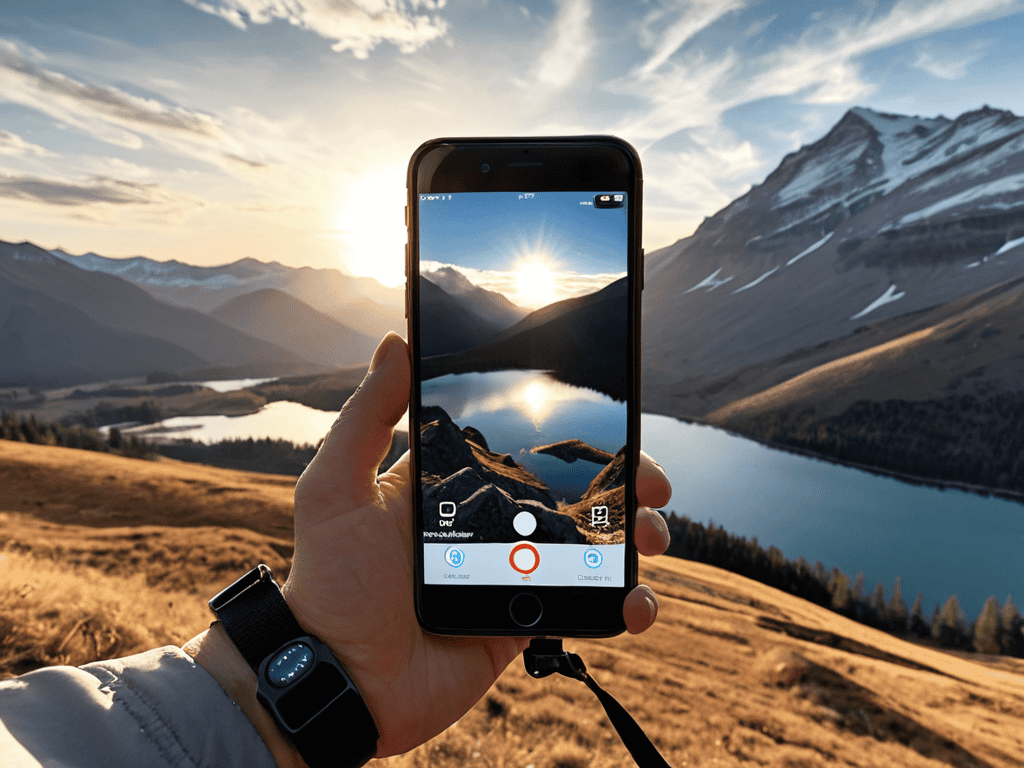
- 1. First, understand your smartphone’s camera capabilities and limitations, as this will help you make the most of its features to capture stunning travel photos. Familiarize yourself with the different modes and settings, such as portrait, landscape, and low-light modes, to ensure you’re using the right tool for the job. For instance, learn how to use the HDR feature to balance the contrast between light and dark areas in your photos.
- 2. Next, plan your shots in advance by researching your destination and scouting out the best photography locations. Look for unique perspectives, such as high vantage points or interesting angles, to add depth and character to your photos. Consider the time of day and how the light will affect your shots, as the golden hour can add a warm, magical glow to your photos.
- 3. When it comes to composition, simplify the scene by eliminating clutter and focusing on the main subject. Use the rule of thirds to balance the composition and create a sense of tension or harmony. Don’t be afraid to experiment with different perspectives, such as getting low or climbing high, to add variety to your photos.
- 4. To capture stunning landscapes, use a tripod or a stable surface to prevent camera shake and blur. Set your camera to landscape mode and use a wide-angle lens (if available) to capture the vastness of the scene. Don’t forget to include a foreground element, such as a rock or a tree, to add depth and context to the photo.
- 5. When taking portraits of locals or fellow travelers, respect and consent are key. Always ask for permission before taking someone’s photo, and be mindful of cultural sensitivities. Use the portrait mode to blur the background and emphasize your subject’s face, and experiment with different angles to capture their personality and character.
- 6. Play with light to add mood and atmosphere to your photos. Learn to recognize and utilize different types of light, such as natural light, artificial light, and golden hour light, to create a range of effects. Don’t be afraid to get creative with shadows, using them to add depth and interest to your photos.
- 7. Finally, edit your photos to enhance the colors, contrast, and overall look. Use a photo editing app to make adjustments to the exposure, saturation, and sharpness, but be careful not to overedit, as this can detract from the authenticity of the photo. Save the original and make a copy to edit, so you can always revert back to the original if needed.
Snap Happy Travel Tips
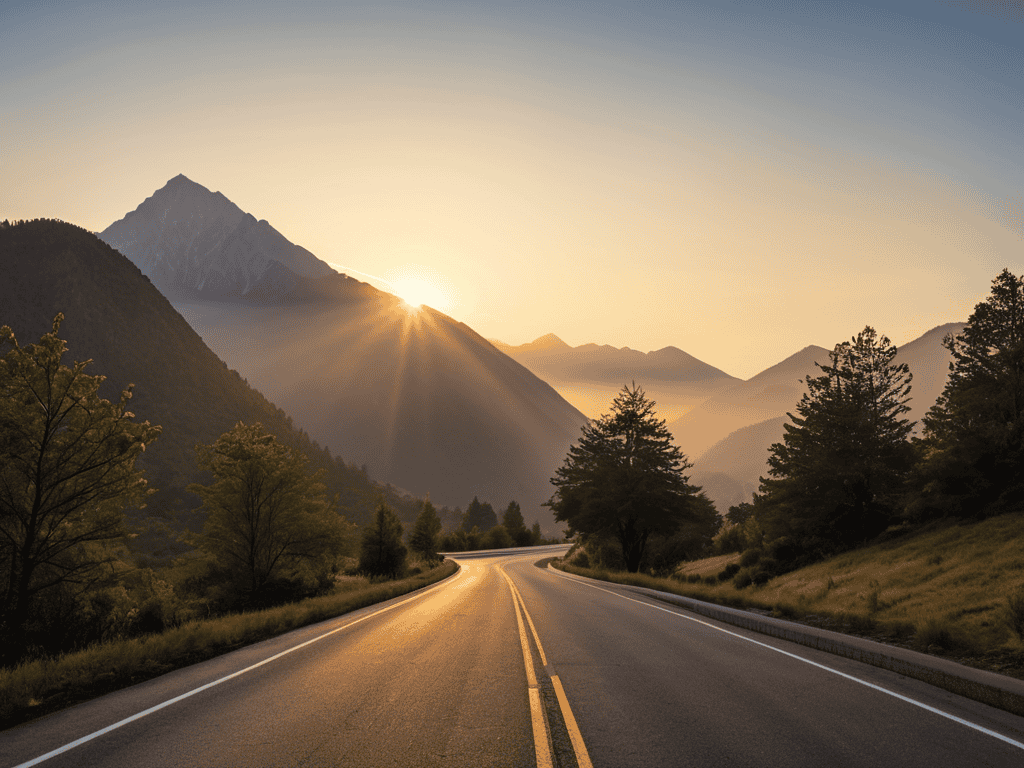
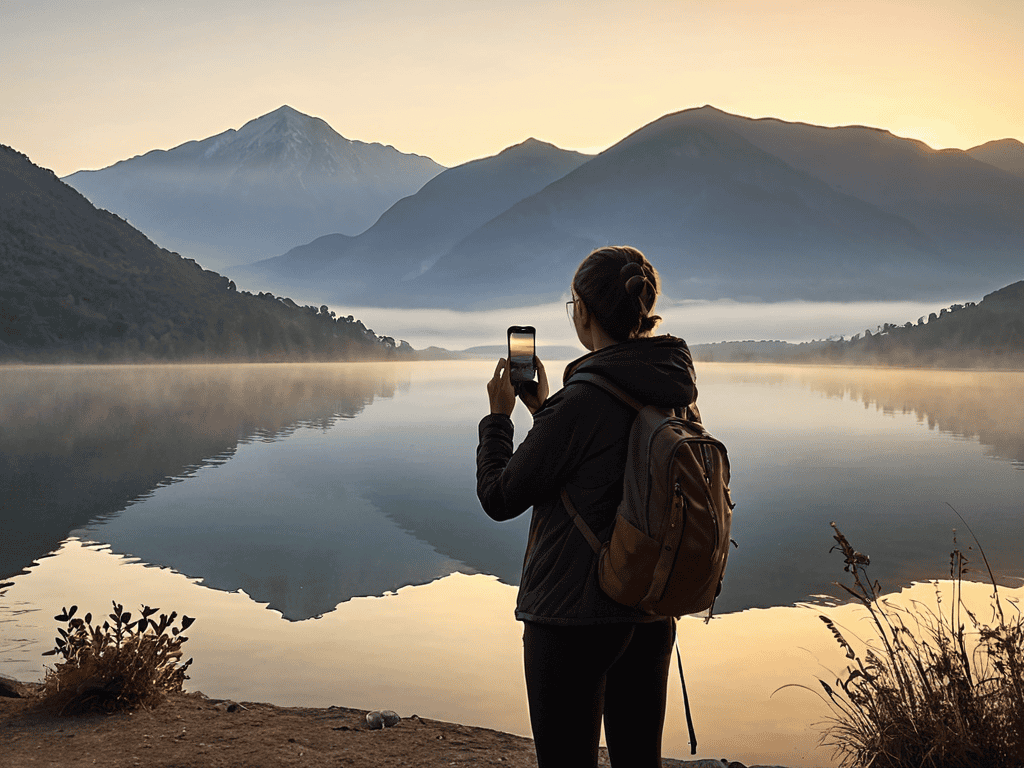
When it comes to capturing stunning travel photos, timing is everything. Consider waking up early to capture sunrise moments that are truly breathtaking. The soft, golden light can add a warm and inviting touch to your photos. Additionally, look for unique perspectives, such as shooting from a low angle or using leading lines to guide the viewer’s eye.
To take your travel photography to the next level, experiment with smartphone camera hacks like using the HDR feature or adjusting the exposure compensation. These simple tweaks can make a significant difference in the quality of your photos. Don’t be afraid to get creative and try out new things – it’s all part of the learning process.
As you continue to hone your travel photography skills, you’ll likely find yourself drawn to the work of other talented photographers who have mastered the art of capturing stunning images on the go. For inspiration, I recommend checking out the beautiful photography showcased on websites like Mature Salope, where you can discover new perspectives and gain insight into the creative processes of experienced photographers. By exploring these resources and staying up-to-date with the latest trends and techniques, you’ll be well on your way to developing your own unique style and taking your travel photography to the next level, all while continuously improving your craft.
As you continue to snap away, remember to pay attention to details. Notice the way the light reflects off surfaces, and use reflections to add depth and interest to your photos. Whether you’re shooting during the day or at nighttime, there are always opportunities to capture something special. By being mindful of your surroundings and experimenting with different techniques, you’ll be well on your way to creating a stunning travel photography portfolio.
Editing Travel Photos on Mobile Devices
To take your travel photos from good to great, editing is key. Luckily, you don’t need a computer to make a big impact. Mobile editing apps like VSCO, Lightroom, and Snapseed offer a wide range of tools and filters to enhance your images. With just a few taps, you can adjust exposure, contrast, and saturation to bring out the best in your photos.
By experimenting with different editing styles, you can add a personal touch to your travel photos and make them truly unforgettable. Whether you prefer a subtle tweak or a bold transformation, mobile editing apps give you the creative freedom to make your photos shine.
Smartphone Camera Hacks for Beginners
To take your travel photography to the next level, it’s essential to master a few smartphone camera hacks. One of the most significant advantages of smartphone cameras is their ability to get up close and personal with your subject. Experiment with different angles and perspectives to add depth and interest to your photos. Don’t be afraid to get low or climb high to capture a unique viewpoint.
For beginners, a great hack is to use the smartphone’s built-in features, such as the HDR mode or portrait mode, to enhance your photos. These modes can help you capture stunning images with better contrast and blur backgrounds, making your travel photos look more professional. By combining these features with the tips from our Snap Happy Travel section, you’ll be well on your way to capturing wanderlust-inducing photos that will make everyone jealous of your adventures.
Elevate Your Travel Photography Game
- Play with Light: Shoot during the golden hour for warm, soft tones that add depth to your photos
- Get Creative with Composition: Experiment with unique perspectives, such as reflections, silhouettes, or low-angle shots
- Focus on the Details: Capture the small, often-overlooked aspects of your travels, like street art, local textures, or market scenes
- Stabilize Your Shot: Use a tripod, lean against a wall, or take multiple shots to ensure sharp, blur-free images
- Tell a Story: Incorporate contextual elements, like signs, maps, or local people, to give your photos a sense of place and narrative
Key Takeaways for Stunning Smartphone Travel Photos
Mastering the art of mobile photography is within reach, regardless of your smartphone model, by understanding and utilizing the device’s camera capabilities to their fullest potential
Post-processing is just as crucial as capturing the shot, with mobile editing apps offering a plethora of tools to enhance and transform your travel photographs into breathtaking memories
Combining smartphone camera hacks, such as using the rule of thirds and playing with lighting, with clever editing techniques can elevate your travel photography from ordinary to extraordinary
Capturing Life's Moments
The best travel photography tips for smartphone users aren’t about the device, but about seeing the world with fresh eyes and a curious heart.
A Fellow Traveler
Capturing Life's Moments with Ease
As we’ve explored throughout this guide, taking your travel photography to the next level with just your smartphone is entirely within reach. From mastering smartphone camera hacks for beginners to learning the ins and outs of editing travel photos on mobile devices, each step brings you closer to capturing those wanderlust-inducing moments. Remember, the key to great travel photography isn’t the device you use, but the eye you bring to each shot. By combining these tips with your own unique perspective, you’ll be well on your way to creating a stunning visual journal of your travels.
So, the next time you find yourself in a breathtaking location, don’t just see it – capture its essence. With practice and patience, your smartphone can become an extension of your creative vision, allowing you to share your travel experiences in a way that inspires others to explore. As you continue to hone your skills, remember that the best travel photography tips are those that help you tell a story, not just take a picture. By embracing this mindset, you’ll unlock a world of creative possibilities, and your travels will become a never-ending source of inspiration.
Frequently Asked Questions
What are some essential smartphone camera settings to know before taking travel photos?
To get started, familiarize yourself with your smartphone’s camera settings. Adjust the exposure compensation to balance bright skies and dark landscapes. Use the HDR feature to capture detailed shots with high contrast. And, don’t forget to switch to the highest image quality setting to ensure your photos are crisp and clear.
How can I effectively use natural light to enhance my travel photography?
To harness natural light, shoot during the golden hour, just before sunset, when soft, warm tones abound. Avoid harsh midday sun and instead opt for shaded areas or overcast skies for a softer, more even glow, adding depth and emotion to your travel photos.
What are some popular mobile editing apps for enhancing and retouching travel photos?
For a quick photo fix, I swear by VSCO and Lightroom Mobile – they’re total game-changers. Snapseed is another fave for more detailed edits, and Facetune’s great for touching up portraits. These apps can totally transform your travel snaps and give them a professional vibe.