I still remember the excitement of unboxing my first smart TV, only to be met with a daunting manual and a plethora of confusing settings. This experience sparked my mission to simplify the process of how to set up a new smart tv, making it accessible to everyone. I’ve seen many people struggle with the initial setup, feeling overwhelmed by the numerous options and technical jargon. However, the truth is that setting up a smart TV can be a relatively straightforward process, as long as you have a clear guide to follow.
In this article, I’ll walk you through the step-by-step process of setting up your new smart TV, cutting through the confusion and providing you with practical, no-nonsense advice. You can expect to learn how to connect your TV to the internet, set up your favorite streaming services, and optimize your picture and sound settings. By the end of this guide, you’ll be enjoying your favorite shows and movies in no time, without having to deal with frustrating technical issues. My goal is to empower you with the knowledge and confidence to take control of your smart TV, and make the most out of its features and capabilities.
Table of Contents
Guide Overview: What You'll Need
Total Time: 1 hour 15 minutes
Estimated Cost: $0 – $100
Difficulty Level: Easy
Tools Required
- Screwdriver (for mounting the TV)
- HDMI cables (for connecting devices)
- Power strip (for managing cords)
- Level (for ensuring the TV is straight)
- Measuring tape (for measuring the TV and mounting area)
Supplies & Materials
- TV mount (wall mount or stand)
- TV power cord
- Remote control batteries
- HDMI splitter (optional)
- Wire ties (for cable management)
Step-by-Step Instructions
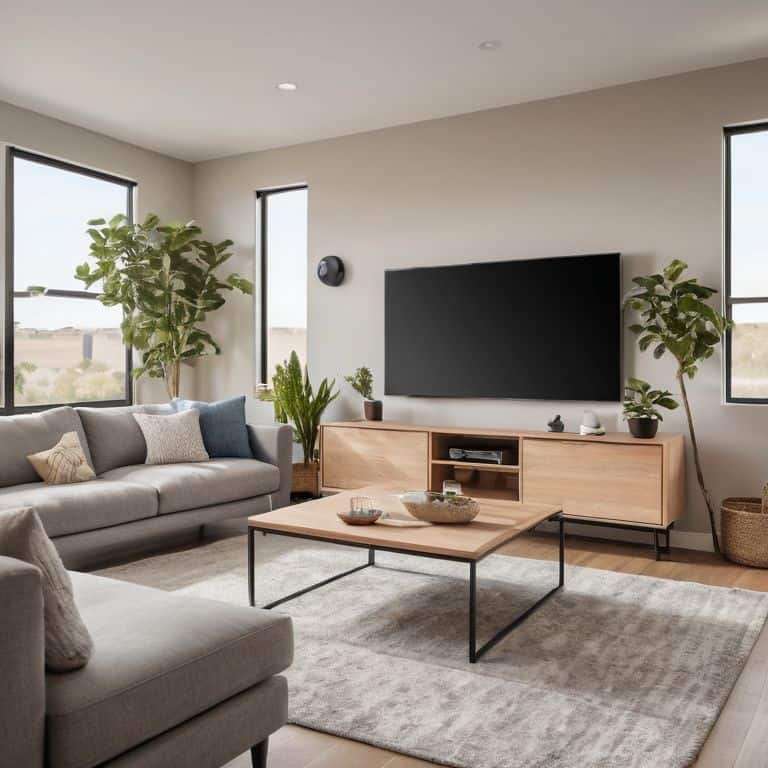
- 1. First, let’s get started with the physical setup of your new smart TV – this is usually the easiest part. Carefully remove the TV from its packaging and place it on a stable surface, making sure it’s level and secure. Take a moment to appreciate the sleek design and slim profile of your new TV.
- 2. Next, we need to connect the TV to a power source. Locate the power cord and plug it into a nearby outlet. Make sure the outlet is not overloaded and can provide a stable power supply. You should see some lights or a display on the TV indicating that it’s receiving power.
- 3. Now it’s time to connect your TV to the internet. You’ll need to decide whether to use a wired or wireless connection. If you choose to use a wired connection, locate an available Ethernet port on your router and connect it to the TV using an Ethernet cable. For a wireless connection, go to the TV’s settings menu and select the Wi-Fi network you want to connect to.
- 4. After connecting to the internet, you’ll need to activate your TV’s operating system. This process usually involves accepting the terms and conditions, selecting your language and region, and creating a user account. Take your time and read through each step carefully, as you’ll need to agree to the terms of service and privacy policy.
- 5. Once the operating system is activated, you can start setting up your TV’s various features, such as the picture and sound settings. You can usually find these settings in the TV’s menu, and they’ll allow you to customize the picture and sound quality to your liking. Don’t worry if you’re not sure what each setting does – you can always experiment and adjust them later.
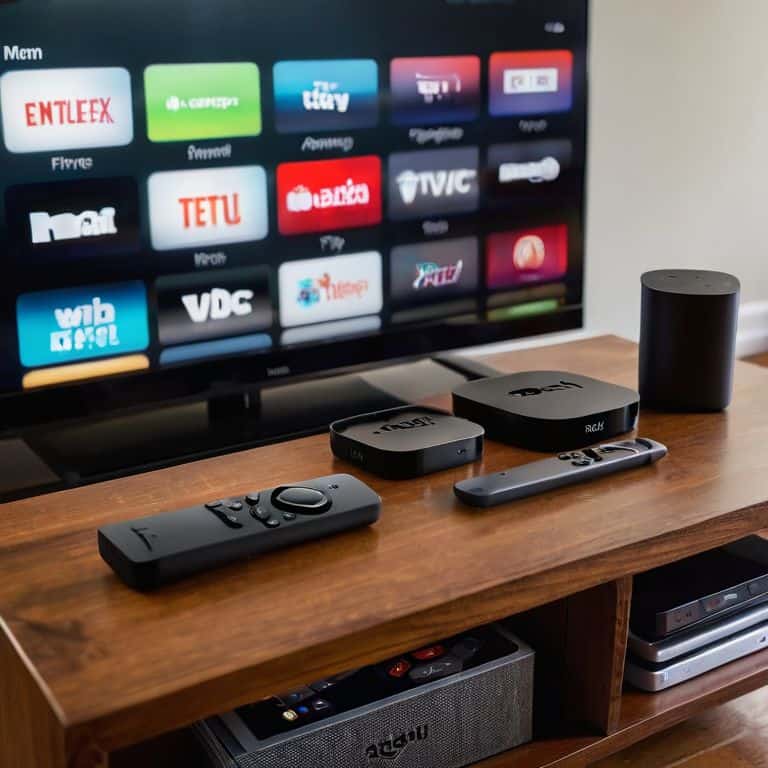
- 6. Now it’s time to connect any external devices you want to use with your TV, such as a Blu-ray player, gaming console, or soundbar. Make sure you have the right cables and connectors, and follow the manufacturer’s instructions for connecting each device. You may need to configure the TV’s input settings to recognize each device.
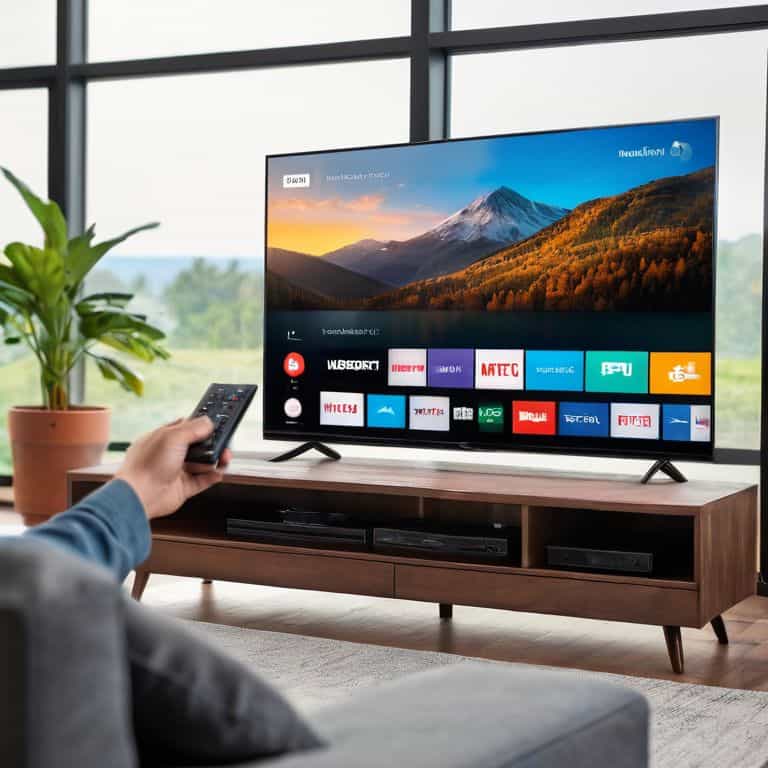
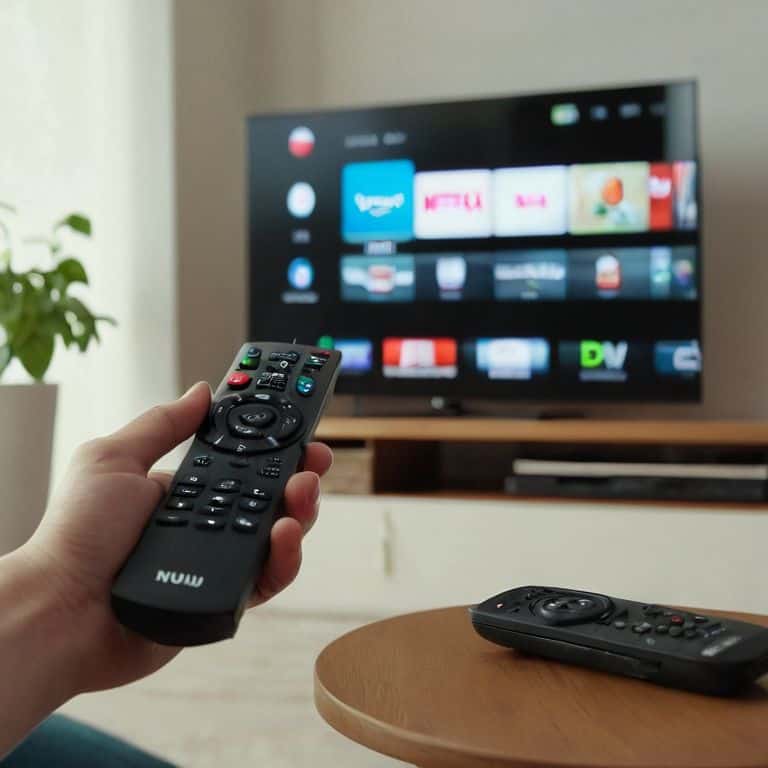
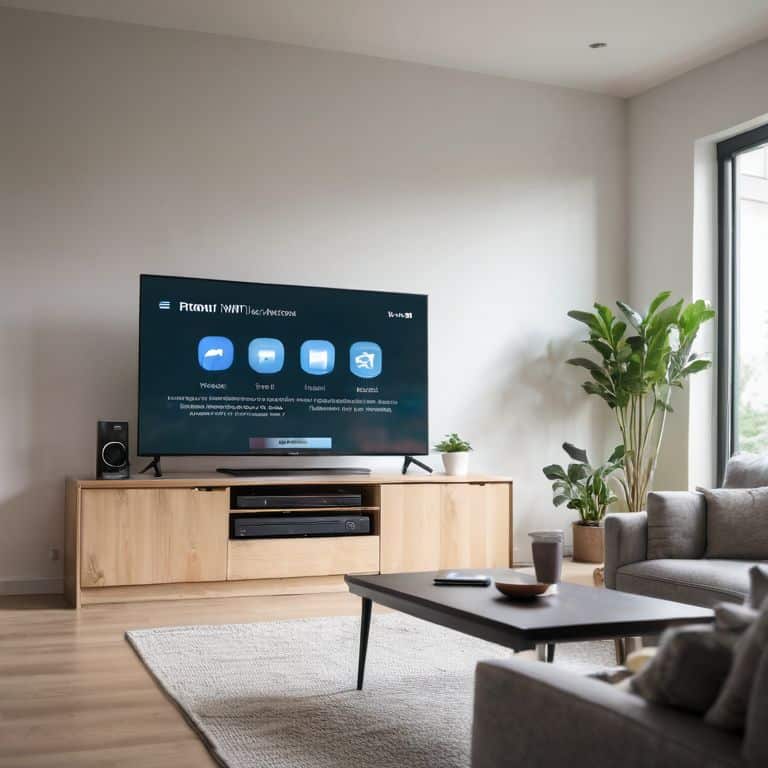
- 7. Finally, let’s talk about streaming services and how to access them on your new smart TV. Most modern TVs come with popular streaming services like Netflix, Hulu, and Amazon Prime pre-installed. You can usually find these apps in the TV’s app store or menu, and you’ll need to sign in with your account credentials to start streaming your favorite shows and movies. Be sure to check the system requirements for each app to ensure you have the latest version and any necessary updates.
Mastering Smart Tv Setup
As you’ve completed the initial setup, it’s time to fine-tune your smart TV experience. One crucial aspect is connecting your smart TV to WiFi, which enables you to access a wide range of downloadable apps, enhancing your entertainment options. To ensure a seamless connection, I recommend checking your router’s placement and updating your smart TV’s software to the latest version.
When it comes to optimizing picture settings, it’s essential to understand the various modes available, such as movie or game mode. Experimenting with these settings will help you find the perfect balance for your viewing preferences. Additionally, organizing your smart TV’s home screen can greatly improve your overall experience. By categorizing and prioritizing your favorite apps, you’ll be able to navigate and find what you need quickly.
To take your smart TV experience to the next level, consider setting up voice control, which allows for hands-free navigation and content search. If you encounter any issues during this process, don’t hesitate to consult your user manual or online resources for troubleshooting smart TV connectivity issues. By mastering these advanced features, you’ll be well on your way to creating a personalized and enjoyable viewing experience.
Connecting to Wifi for Endless Entertainment
Now that we’ve got the basics covered, let’s dive into connecting your smart TV to WiFi. This is where the real fun begins, as you’ll unlock access to all your favorite streaming services. To get started, grab your TV remote and navigate to the settings menu – it’s usually marked with a little gear icon. From there, select “Network” or “WiFi” and choose your network from the list of available options. If you don’t see your network, don’t worry, just select “Add Network” and enter your WiFi password.
Once you’re connected, you’ll be prompted to agree to the terms of service for your TV’s operating system. Take a quick read through, then click “Agree” to move forward. Your TV will then update its list of available apps, and you can start downloading your favorites, like Netflix or Hulu. Remember to have your WiFi password handy, as you’ll need it to complete the connection. With your TV connected to WiFi, you’ll be all set for endless entertainment – from streaming your favorite shows to playing games online.
Optimizing Settings for a Stunning Picture
To get the most out of your new smart TV, let’s dive into optimizing its settings for a stunning picture. I’ll walk you through this process step by step, so don’t worry if you’re not familiar with the technical terms. First, navigate to the TV’s settings menu and look for the “Picture” or “Display” section. Here, you can adjust settings like brightness, contrast, and color temperature to your liking.
I recommend starting with the preset picture modes, such as “Movie” or “Game,” and then making adjustments from there. Remember, the key is to find a balance that works for you, so take your time and experiment with different settings. By doing so, you’ll be able to enjoy your favorite shows and movies with a picture that’s tailored to your preferences.
Smart TV Setup Essentials: 5 Tips to Get You Started
- Ensure your TV is updated to the latest firmware before connecting any devices to guarantee compatibility and security
- Use a wired Ethernet connection for the initial setup if possible, to minimize Wi-Fi connectivity issues and ensure a stable connection
- Take the time to customize your smart TV’s picture settings for each input, as the default settings may not be optimal for your viewing environment
- Be mindful of the types of data you allow your smart TV to collect, and adjust the privacy settings accordingly to maintain control over your personal data
- Regularly review and update your smart TV’s app library to ensure you have access to the latest streaming services and features, and to avoid potential security vulnerabilities
Key Takeaways for a Seamless Smart TV Experience
Ensure a stable internet connection by carefully following the WiFi setup process to unlock your smart TV’s full potential
Optimize your TV’s picture settings for a stunning visual experience by adjusting parameters such as brightness, contrast, and color calibration
Regularly update your smart TV’s software and apps to enjoy the latest features, security patches, and performance enhancements
Setting Up Your Smart TV with Ease
The key to a seamless smart TV setup isn’t about being a tech genius, it’s about taking it one step at a time and remembering that every great viewing experience starts with a single connection.
Leo Maxwell
You're Now a Smart TV Master
As we wrap up this journey of setting up your new smart TV, let’s take a moment to recap the key milestones. We started with the basics of unboxing and physically setting up your TV, then moved on to mastering the smart TV setup through connecting to Wi-Fi for endless entertainment and optimizing settings for a stunning picture. These steps are crucial for unlocking the full potential of your smart TV, and by following them, you’ve not only set up your device but also gained a deeper understanding of how to get the most out of it.
Now that you’ve completed the setup and explored the advanced features, remember that the world of smart TVs is constantly evolving. Stay curious, keep exploring, and don’t hesitate to experiment with new settings. Your smart TV is more than just a device; it’s a gateway to entertainment, information, and connection. Enjoy your new favorite hangout, and happy viewing!
Frequently Asked Questions
What if my smart TV doesn't detect my Wi-Fi network?
Don’t worry, it’s an easy fix. Have you tried restarting your router and smart TV? Sometimes, a simple reboot can resolve connectivity issues. If that doesn’t work, ensure your Wi-Fi network is visible and selected in your TV’s settings. Check for any typos in your Wi-Fi password, too. If you’re still having trouble, let’s dive deeper into troubleshooting together.
How do I know which picture mode is best for my viewing habits?
Don’t worry, choosing the right picture mode can be a bit overwhelming. I recommend experimenting with the different modes, such as Movie, Game, or Standard, to see which one looks best to your eyes. You can also check your TV’s user manual or manufacturer’s website for recommendations based on your viewing habits.
Can I connect my smart TV to a wired internet connection instead of Wi-Fi?
Absolutely, you can connect your smart TV to a wired internet connection for a more stable and faster experience. Simply locate the Ethernet port on the back of your TV, plug in a cable, and connect it to your router. This can be a great option if you have a lot of devices competing for Wi-Fi bandwidth or if you’re experiencing connectivity issues.