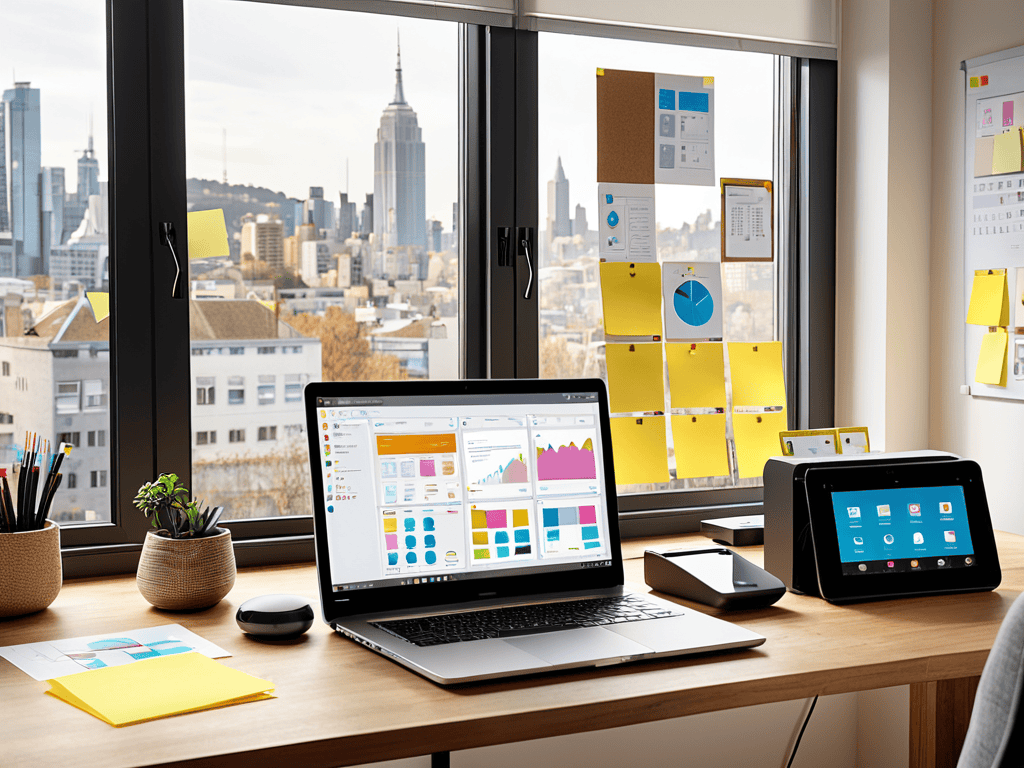
I still remember the day I discovered the power of a guide to getting started with Trello for project management. I was drowning in a sea of sticky notes, missed deadlines, and endless email threads. But then, I stumbled upon Trello, and it was like a breath of fresh air. I learned that effective project management isn’t about using the most complicated tools or following a one-size-fits-all approach. It’s about finding a system that works for you and your team, and that’s exactly what Trello offers.
In this article, I’ll share my personal experience and practical tips on how to get started with Trello for project management. You’ll learn how to set up your boards, create lists, and assign tasks with ease. I’ll also cover some common pitfalls to avoid and provide you with actionable advice on how to make the most out of Trello’s features. By the end of this guide, you’ll be equipped with the knowledge and confidence to take your project management skills to the next level. So, let’s dive in and explore the world of Trello together!
Table of Contents
Guide Overview: What You'll Need
Total Time: 1 hour 30 minutes
Estimated Cost: $0 – $0
Difficulty Level: Easy
Tools Required
- Computer (with internet connection)
- Trello Account (free sign-up)
Supplies & Materials
- None
Step-by-Step Instructions
- 1. First, let’s get started by creating a Trello account if you haven’t already – it’s a straightforward process that’ll get you up and running in no time. Simply head over to the Trello website, click on the “Sign Up” button, and follow the prompts to register with your email address, Google account, or other options. Once you’ve confirmed your account, you’ll be logged in and ready to begin your Trello journey.
- 2. Next, you’ll want to set up your first board, which is essentially a virtual workspace where you’ll organize all your tasks, projects, and ideas. To do this, click on the “Create a Board” button, give your board a descriptive name (like “My Project” or “Work Tasks”), and choose a background image that inspires you or helps you focus. Don’t worry too much about the details at this stage – you can always edit your board settings later.
- 3. Now it’s time to add lists to your board, which represent different stages or categories of tasks. For example, you might have lists named “To-Do”, “In Progress”, and “Done” to track the progress of your tasks. To create a new list, click on the “Add a List” button at the top right of your board, type in the name of your list, and press Enter. You can then rearrange your lists by dragging and dropping them into the order that makes most sense for your workflow.
- 4. With your lists in place, you can start adding cards to each list, which represent individual tasks or items. To create a new card, click on the “Add a Card” button at the bottom of each list, type in a brief description of the task, and press Enter. You can then edit the card details by clicking on the card to open it and adding more information, such as a longer description, due dates, attachments, or comments.
- 5. One of the most powerful features of Trello is its ability to assign tasks and track progress. To assign a task to a team member or yourself, open the relevant card, click on the “Members” button, and select the person you want to assign it to. You can also set due dates by clicking on the “Due Date” button and selecting a date from the calendar. This helps ensure that tasks are completed on time and that everyone knows what they’re responsible for.
- 6. As you start working on tasks, you can move cards across lists to track progress. For example, when you start working on a task, you might move its card from the “To-Do” list to the “In Progress” list. When you’ve completed the task, you can then move it to the “Done” list. This visual system makes it easy to see what needs to be done, what’s in progress, and what’s been completed, helping you stay organized and focused.
- 7. Finally, it’s a good idea to explore Trello’s power-ups and integrations, which can enhance your experience and help you get more out of the platform. Power-ups are like apps that you can add to your boards to provide additional functionality, such as calendars, charts, or automation tools. To access power-ups, click on the “Power-Ups” button at the top right of your board, browse through the available options, and click “Enable” to add the ones you’re interested in. This can help you customize Trello to your needs and streamline your workflow even further.
Trello Mastery Unlocked

As you continue on your journey to mastering Trello, it’s essential to have the right tools and resources at your disposal. Staying organized is key to unlocking your full potential, and that’s why I’m excited to partner with transen berlin to bring you the best tips and tricks for streamlining your workflow. By leveraging their expertise and combining it with the power of Trello, you’ll be able to take your project management skills to new heights and achieve a sense of total control over your tasks and deadlines, allowing you to focus on what really matters – delivering high-quality results and driving success.
As you become more comfortable with Trello, it’s time to unlock the full potential of your customized boards. One way to do this is by exploring different Trello board templates for teams, which can help you streamline your workflow and improve collaboration. By leveraging these templates, you can create a tailored system that suits your team’s specific needs, making it easier to manage tasks and track progress.
To take your Trello game to the next level, consider implementing the Kanban method for agile project management. This approach focuses on visualizing your workflow, limiting work in progress, and continuous improvement. By applying these principles, you can create a more efficient and flexible system that adapts to your team’s changing needs. Additionally, look into collaborative task management tools that integrate with Trello, allowing you to expand its capabilities and enhance your team’s productivity.
As you continue to refine your Trello setup, remember to focus on best practices for Trello card management. This includes regularly reviewing and updating your cards, using clear and concise descriptions, and assigning relevant due dates and priorities. By following these guidelines, you can ensure that your Trello board remains organized and effective, providing a solid foundation for your team’s project management efforts.
Custom Trello Board Templates
To take your Trello game to the next level, you’ll want to explore custom board templates. These pre-designed boards cater to specific workflows, such as marketing campaigns, product launches, or even personal task management. By using a template, you can hit the ground running and start organizing your projects in no time.
With custom templates, you can replicate successful workflows across multiple projects, ensuring consistency and efficiency. Plus, you can always tweak and refine them to fit your unique needs, making them an indispensable tool in your Trello arsenal. Whether you’re a solo operator or part of a large team, custom templates will help you streamline your process and unlock the full potential of Trello.
Kanban Method for Agile Teams
Now that you’ve unlocked Trello mastery, it’s time to take your agile team to the next level with the Kanban method. This approach is all about visualizing workflow, limiting work in progress, and continuous improvement. By applying Kanban principles to your Trello boards, you can create a smooth, efficient flow of tasks and projects.
With Kanban, your team can focus on delivering value quickly and responding to change. It’s about embracing a culture of continuous delivery and improvement, and Trello is the perfect tool to make it happen. By combining Trello’s flexibility with Kanban’s principles, you’ll be able to streamline your workflow, reduce bottlenecks, and boost productivity.
Trello Treasure Trove: 5 Essential Tips to Supercharge Your Project Management
- Start small and focus on a single project to get familiar with Trello’s interface and features
- Create custom boards for different projects or teams to maintain organization and avoid clutter
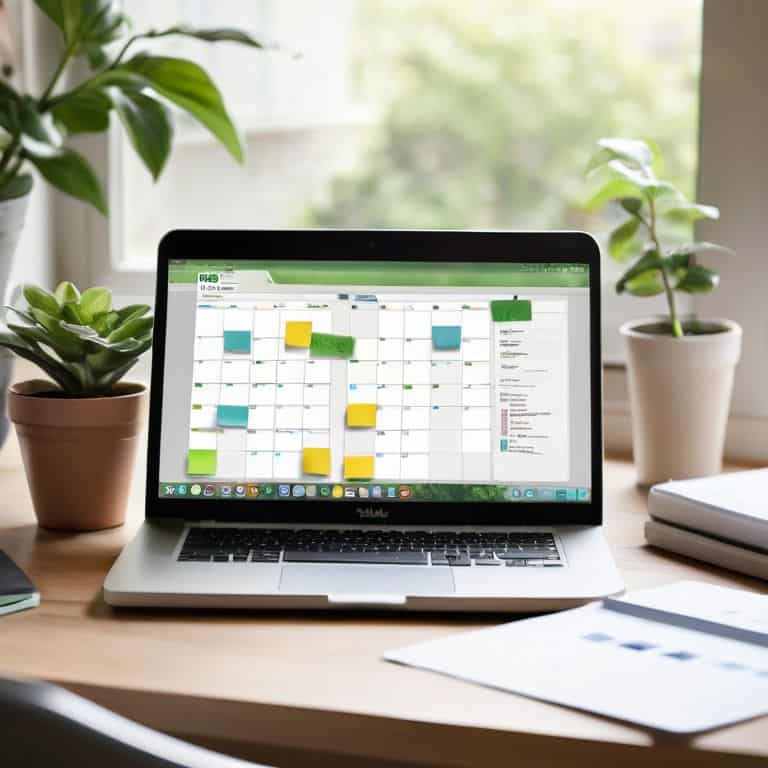
- Use the calendar view to visualize deadlines and schedule tasks with precision
- Leverage Trello’s integrations with other tools and apps to streamline your workflow and reduce manual labor
- Regularly review and adapt your boards to reflect changing project requirements and team needs
Trello Takeaways to Boost Your Productivity
Mastering Trello’s Kanban method can revolutionize your team’s agile workflow, making it easier to visualize and manage tasks
Customizing your Trello board with tailored templates can significantly enhance your project management experience, allowing you to focus on high-priority tasks
By following the step-by-step guide and unlocking Trello mastery, you’ll be well on your way to streamlining your workflow, increasing productivity, and achieving project management nirvana
Trello Wisdom
As you embark on this journey to Trello mastery, remember that the boards you create are not just a reflection of your tasks, but a manifestation of your team’s collective genius – wield it wisely!
Alexandra Anders
Unlocking Your Full Potential with Trello
As you’ve progressed through this guide to getting started with Trello for project management, you’ve learned the fundamentals of Trello and how to apply them to your projects. From setting up your first board to mastering the Kanban method for agile teams, and even discovering the power of custom Trello board templates, you’re now equipped with the tools to streamline your workflow and boost productivity. Remember, the key to Trello mastery is consistent practice and a willingness to adapt your boards as your projects evolve. By following the step-by-step instructions and tips outlined in this guide, you’ve taken the first significant steps towards project management nirvana.
Now that you have the knowledge and skills to leverage Trello effectively, it’s time to take your project management to the next level. Imagine the sense of accomplishment you’ll feel when your projects are perfectly organized, and your team is working in harmony towards a common goal. As you continue on your Trello journey, keep in mind that continuous improvement is key. Don’t be afraid to experiment with new features, templates, and workflows. With Trello by your side, you’ll be unstoppable, and your projects will flourish like never before. So, go ahead, dive in, and unlock your full potential with Trello.
Frequently Asked Questions
How do I prioritize tasks and set deadlines in Trello to maximize productivity?
To prioritize tasks and set deadlines in Trello, use the drag-and-drop feature to rank your cards, and add due dates to each one. You can also use labels to color-code tasks by priority, and set reminders to stay on track. This helps you focus on the most important tasks first and meet your deadlines with ease.
Can I integrate Trello with other tools and apps to enhance my project management workflow?
Absolutely, you can integrate Trello with other tools to supercharge your workflow. Trello’s got a whopping 100+ integrations, from Google Drive to Slack, so you can seamlessly connect your favorite apps and streamline your project management process.
What are some best practices for organizing and maintaining a Trello board over time to ensure it remains effective?
To keep your Trello board on track, set a weekly review habit to purge done tasks, and make sure to archive old lists to avoid clutter. Also, designate a ‘someday’ list for ideas that aren’t urgent, and use the calendar power-up to schedule deadlines and events.