I still remember the first time I tried to apply a wood finish to a project – it was a disaster. I had no idea that a guide to wood finishes (oil, varnish, wax) was not just about slapping on some varnish and calling it a day. In fact, I thought that’s all there was to it, but boy was I wrong. The truth is, choosing the right wood finish can make or break your project, and it’s not just about aesthetics – it’s about protection and durability too. I’ve learned that the hard way, and that’s why I’m excited to share my knowledge with you.
In this article, I’ll give you the lowdown on the basics of wood finishes, from oil to varnish to wax, and how to choose the right one for your project. I’ll share my own experiences, including the mistakes I’ve made and what I’ve learned from them. You’ll get practical tips on how to apply each finish, and what to expect from each one. My goal is to make you feel confident and empowered to take on your next woodworking project, and to help you achieve a finish that’s not just beautiful, but also long-lasting. So, let’s dive in and explore the wonderful world of wood finishes together.
Table of Contents
Guide Overview: What You'll Need
Total Time: 2 hours 30 minutes
Estimated Cost: $20 – $100
Difficulty Level: Intermediate
Tools Required
- Clean Lint-Free Rags (for applying and wiping off excess finish)
- Foam Brush (for applying finish to small or intricate areas)
- Paintbrush (various sizes for different projects)
- Sandpaper (for smoothing out wood surfaces before finishing)
- Drop Cloths or Old Sheets (for protecting work surfaces from spills and stains)
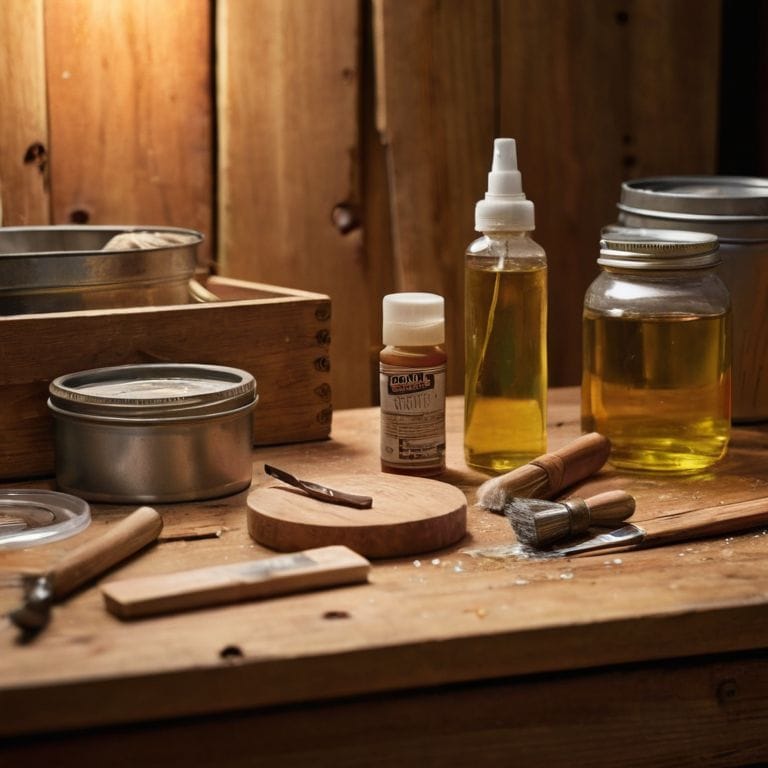
Supplies & Materials
- Wood Oil (e.g., tung oil, linseed oil, or danish oil)
- Varnish (water-based or oil-based, in various sheens)
- Wax (e.g., furniture wax, beeswax, or carnauba wax)
- Mineral Spirits (for thinning oil-based finishes or cleaning tools)
- Water (for thinning water-based finishes)
Step-by-Step Instructions
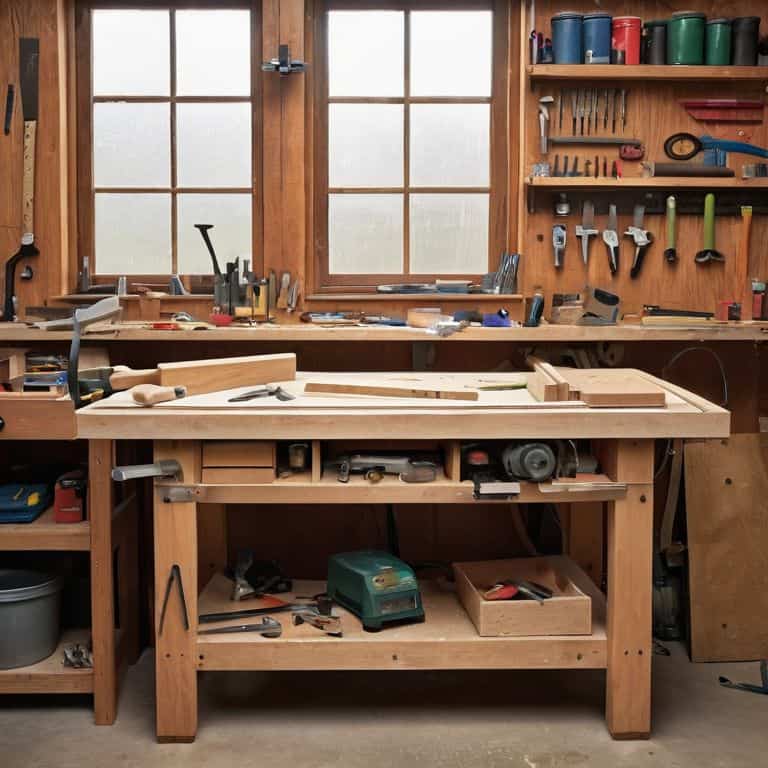
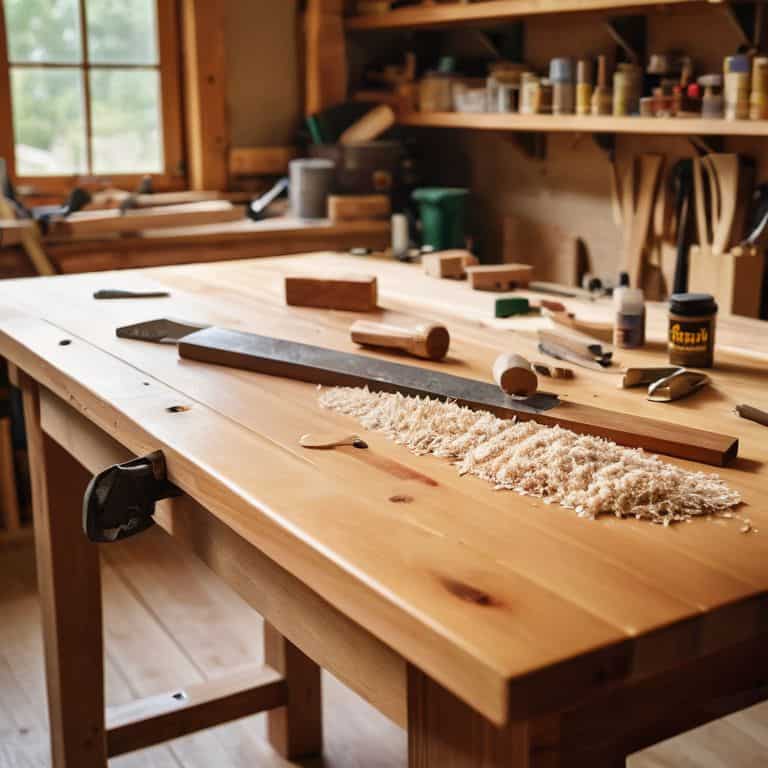
- 1. First, let’s get prepared by gathering all the necessary materials for our wood finishing project. This includes the wood piece you want to finish, a variety of wood finishes like oil, varnish, and wax, lint-free cloths, and a well-ventilated workspace. I like to think of this step as the pre-game show, where we set ourselves up for success.
- 2. Next, we need to clean and sand our wood surface to ensure it’s free from dust, dirt, and any other debris that might interfere with the finishing process. Start with a coarse-grit sandpaper and work your way up to a finer grit for a smooth finish. Remember, sanding is key to a professional-looking result, so don’t rush this step.
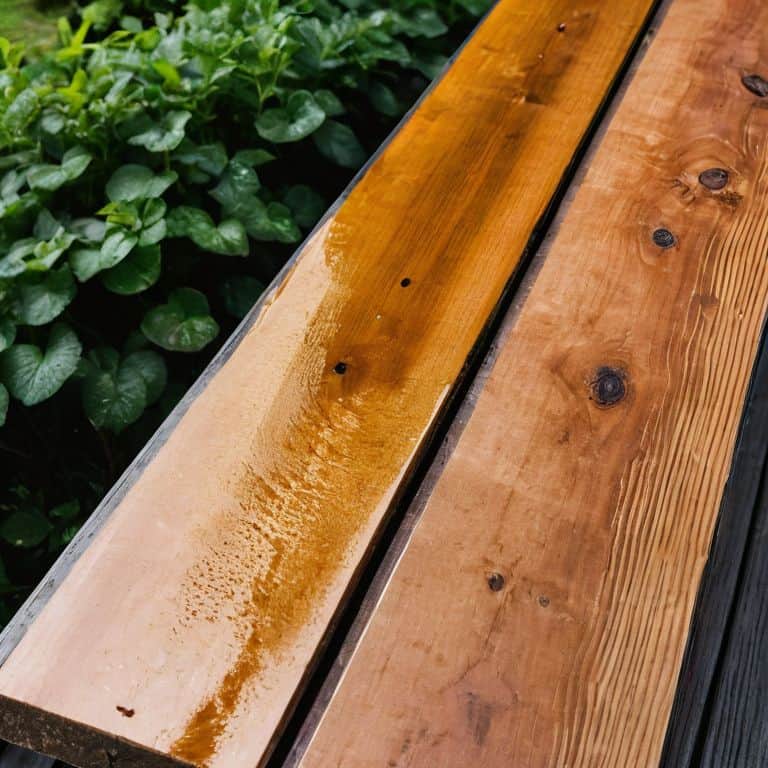
- 3. Now, it’s time to apply our first finish: oil. Using a lint-free cloth, apply a small amount of oil to the wood and rub it in thoroughly. Let it sit for about 15-20 minutes before wiping off any excess with another clean cloth. This step is all about building up layers, so be patient and don’t overdo it.
- 4. After the oil has dried completely, which could take several hours depending on the type and environmental conditions, we can move on to applying varnish. Varnish application requires a bit more finesse, as it needs to be applied in thin, even coats, allowing each coat to dry before adding the next. This is where your patience is rewarded, as a beautifully varnished piece can elevate any room.
- 5. For an added layer of protection and sheen, we’re going to apply a wax finish. Using a clean cloth, apply a small amount of wax to the wood and buff it out until you achieve the desired shine. This step is all about enhancing the appearance of your wood piece, so take your time and enjoy the process of seeing it come to life.
- 6. Once you’ve applied all your finishes and they’ve had time to fully dry and cure, it’s time to inspect and touch up any areas that might need a bit more attention. This could involve applying additional coats of finish or sanding down any imperfections. Remember, it’s all about the details, and taking the time to get it just right will make all the difference in the end.
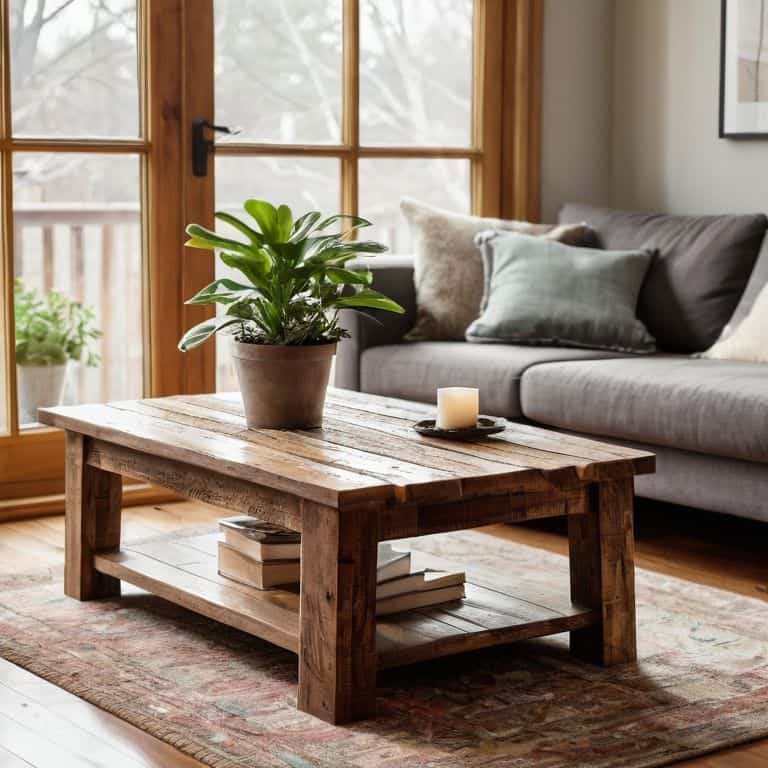
- 7. Finally, stand back and admire your handiwork! You’ve successfully applied wood finishes to your project, and it’s now ready to be used or displayed. Take pride in knowing you’ve not only created something with your own hands but have also learned a valuable skill that will serve you well in all your future DIY endeavors. This is the moment of triumph, where all your hard work pays off, and you get to enjoy the fruits of your labor.
Unleash Wood Beauty
As we dive deeper into the world of wood finishes, it’s essential to consider the durability comparison of different finishes. When it comes to protecting outdoor wood, you’ll want to opt for a finish that can withstand the elements. I’ve found that polyurethane vs varnish is a common debate among woodworkers, but the truth is, both have their own strengths and weaknesses. Polyurethane provides a hard, durable finish, while varnish offers a more flexible, water-resistant coating.
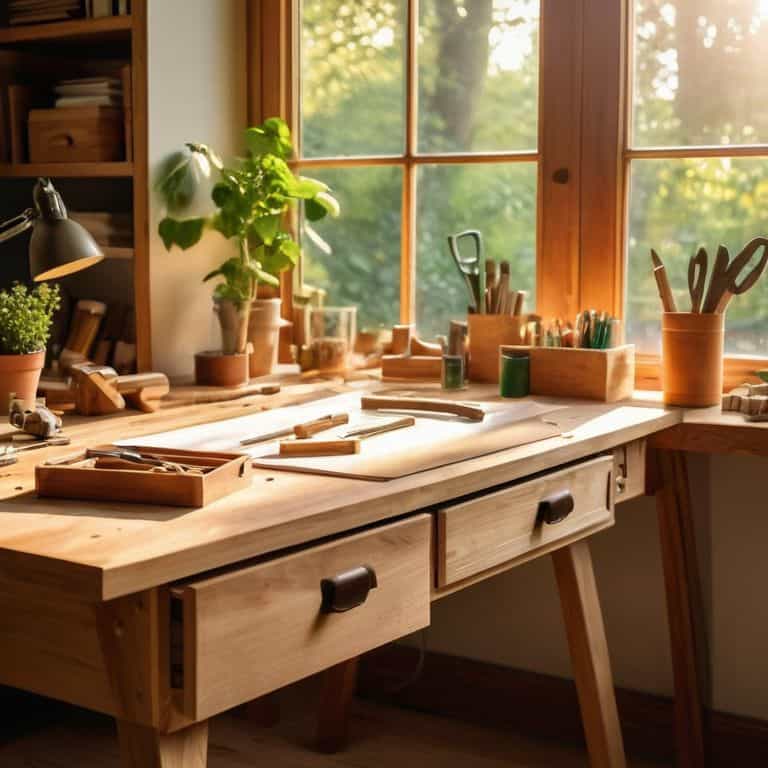
When applying your chosen finish, keep in mind some essential wood finish application tips. Always read the instructions carefully, and make sure your workspace is well-ventilated. It’s also crucial to apply thin, even coats, allowing each layer to dry before adding the next. This will help prevent a sticky or uneven finish. For my own projects, I swear by the best oil for woodworking, which adds a rich, warm glow to the wood.
By following these tips and choosing the right finish for your project, you’ll be able to unleash the beauty of your wood creation. Whether you’re using wax or polyurethane, the key is to find a finish that enhances the natural texture and color of the wood. With a little practice and patience, you’ll be able to achieve a stunning, professional-looking finish that will make your project truly shine.
Polyurethane vs Varnish Whats Best
When it comes to protecting and enhancing your wood project, two popular options come to mind: polyurethane and varnish. But, what’s the difference? For me, polyurethane is like the ultimate protector – it’s tough, durable, and perfect for high-traffic pieces. Varnish, on the other hand, is like the elegant finisher – it adds a beautiful glow and can be easily repaired if damaged. I like to think of polyurethane as the workhorse and varnish as the showhorse.
Ultimately, the choice between polyurethane and varnish depends on your project’s needs. If you’re building something that’ll be used daily, like a kitchen table, polyurethane might be the way to go. But, if you’re creating a stunning wooden wall art or a decorative box, varnish could be the perfect choice. Just remember, both options can produce amazing results, so don’t be afraid to experiment and find what works best for you.
Wood Finish Application Tips Inside
Now that we’ve explored the amazing world of polyurethane and varnish, let’s dive into some insider tips for applying wood finishes like a pro. I’ve learned that the key to a stunning finish is all about the prep work and the environment. Make sure your workspace is dust-free and at a comfortable temperature – this will help the finish dry evenly and prevent any nasty bubbles from forming.
When it comes to application, I always say, “less is more.” Start with a thin coat and build up gradually, allowing each layer to dry completely before adding the next. This will help you achieve a rich, deep color without any pesky drips or runs. And don’t forget to work with the wood grain – it’s like dancing with a partner, you’ve got to move in harmony!
Finishing Touches: 5 Essential Tips for a Show-Stopping Wood Finish
- Always prep your surface: sanding is key to a smooth, even finish, so don’t skip this crucial step!
- Test your finish on a small, inconspicuous area first to ensure the color and sheen are what you’re looking for
- Work in a well-ventilated area, and consider using a mask when applying oil, varnish, or wax to avoid inhaling fumes
- Apply thin coats, allowing each to dry according to the manufacturer’s instructions, to avoid a sticky or uneven finish
- Maintain your finish by periodically applying a refresh coat, and avoid exposing your masterpiece to extreme temperatures or direct sunlight
3 Key Takeaways to Elevate Your Woodworking
Oil, varnish, and wax are not just finishes – they’re tools to enhance and protect your woodworking masterpiece, each with its own unique characteristics and applications
Understanding the differences between polyurethane and varnish can make all the difference in achieving the perfect finish, from durability to aesthetic appeal
By mastering a few simple wood finish application tips and embracing the process as an art form, you can unlock the full beauty of your wood and create pieces that truly stand out
Bringing Out the Best
The right wood finish is like the perfect song for your project – it enhances the vibe, brings out the character, and makes you want to show it off to the world!
Franklyn "Frank" Bishop
Bringing it All Together: A Masterpiece of Wood Finishes
As we wrap up this guide to wood finishes, let’s take a moment to reflect on the key points we’ve covered. From the basics of oil, varnish, and wax to the more nuanced discussions of Polyurethane vs Varnish, we’ve explored the best ways to bring out the beauty in your woodworking projects. By following these steps and tips, you’ll be well on your way to creating stunning pieces that showcase your craftsmanship. Remember, the right wood finish can make all the difference in enhancing the natural beauty of the wood and protecting it for years to come.
So, as you put the final touches on your latest project, I want to leave you with a lasting thought: the process is just as important as the product. Don’t be afraid to experiment, try new things, and learn from your mistakes. With practice and patience, you’ll develop your own unique style and voice in the world of woodworking. Keep creating, keep pushing boundaries, and most importantly, have fun! The world of wood finishes is full of possibilities, and I’m excited to see what you’ll create next.
Frequently Asked Questions
What are the most common mistakes to avoid when applying oil, varnish, or wax to a woodworking project?
Dude, don’t be too hard on yourself, mistakes happen! Common ones to watch out for: applying too much finish at once, not waiting for coats to dry, and not testing on a small area first. Trust me, I’ve been there – take your time, and you’ll be golden!
How do I choose the right wood finish for a specific type of wood or project?
Dude, choosing the right wood finish is all about considering the type of wood and project! For example, if you’re working with a porous wood like pine, you’ll want a finish that can fill those gaps, like a polyurethane. But if you’re going for a more natural look with a hardwood like oak, a simple oil or wax finish might be the way to go!
Can I mix and match different wood finishes, such as using oil and then applying a varnish or wax topcoat?
Absolutely, my friend! Mixing and matching wood finishes can create a unique look. You can definitely use oil as a base and then add a varnish or wax topcoat for extra protection and shine. Just remember to choose finishes that complement each other and follow the manufacturer’s instructions for application and drying times.