I still remember the night I decided to build a DIY fire pit in my backyard – it was supposed to be a simple project, but all the guides I found online made it seem like a daunting task. That’s when I realized that most a guide to building a simple DIY fire pit in your backyard are filled with jargon and overly complicated instructions. But what if I told you that building a DIY fire pit can be a fun and rewarding experience? With the right guidance, you can create a cozy gathering spot for friends and family in no time.
In this article, I’ll share my personal experience and expertise to provide you with a step-by-step guide on how to build a simple DIY fire pit in your backyard. You’ll learn how to choose the right materials, design a safe and functional pit, and bring your outdoor space to life. My goal is to make this process enjoyable and easy to follow, so you can focus on the fun part – gathering around the fire with loved ones and making unforgettable memories. By the end of this guide, you’ll be equipped with the knowledge and confidence to create your own DIY fire pit and start enjoying the warmth and ambiance it brings to your outdoor space.
Table of Contents
Guide Overview: What You'll Need
Total Time: 4 hours 30 minutes
Estimated Cost: $100 – $200
Difficulty Level: Intermediate
Tools Required
- Shovel (for digging)
- Trowel (for mixing and applying mortar)
- Level (for ensuring the pit is level)
- Gloves (for protecting your hands)
- Safety glasses (for protecting your eyes)
- Tamping tool (for compacting the soil)
- Measuring tape (for measuring the pit and materials)
- Wheelbarrow (for mixing and transporting concrete)
Supplies & Materials
- Fireproof bricks (for the pit walls)
- Fire pit ring (for containing the fire)
- Sand (for the base of the pit)
- Gravel (for drainage)
- Concrete (for the base and walls of the pit)
- Mortar (for holding the bricks together)
- 2-in x 6-in lumber (for the frame of the pit)
- Metal fire grate (for holding the firewood)
- Decorative rocks (for surrounding the pit)
Step-by-Step Instructions
- 1. First, let’s start by gathering our materials, which will include bricks, sand, gravel, and a fire pit ring. Make sure you have all the necessary tools, such as a shovel, trowel, and level, to ensure a smooth and efficient process. Take your time to prepare everything, and don’t hesitate to make a list to keep track of your progress.
- 2. Next, we need to _choose the perfect location_ for our DIY fire pit. Consider the distance from your house, any nearby trees or power lines, and the direction of the wind. You want to ensure that your fire pit is safely positioned and easily accessible. Take a walk around your backyard to find the ideal spot, and mark it with a stake or a small stone.
- 3. Now, let’s prepare the site by clearing any debris, grass, or weeds from the marked area. Use a shovel to dig a shallow hole, about 2-3 inches deep, and fill it with a layer of sand. This will provide a stable base for our fire pit and help with drainage. Make sure the area is level and even, using a spirit level to check your progress.
- 4. With our site prepared, it’s time to _lay the foundation_ of our fire pit. Start by arranging the bricks in a circular pattern, using a string and stake to guide your design. Make sure to leave a small gap between each brick for airflow and expansion. Use a trowel to apply a layer of mortar, and gently press each brick into place, making sure they are level and secure.
- 5. As we build our fire pit, it’s essential to add a layer of insulation to protect the surrounding area from heat damage. Cut a piece of fireproof insulation to fit inside the brick circle, and place it on top of the sand layer. This will help to reflect heat and prevent any damage to the surrounding soil or plants. Make sure the insulation is securely in place, and trim any excess material.
- 6. Next, we need to _install the fire pit ring_, which will provide a safe and contained space for our fire. Place the ring inside the brick circle, making sure it is level and centered. Use a layer of mortar to secure the ring in place, and let it dry completely before proceeding. This will ensure that our fire pit is safe and functional.
- 7. Finally, let’s add the finishing touches to our DIY fire pit. Arrange a layer of gravel or small rocks inside the fire pit ring, which will help with drainage and provide a safe surface for our fire. You can also add a few decorative bricks or stones around the outside of the pit, to create a unique and personalized design. Stand back and admire your handiwork, knowing that you’ve created a beautiful and functional fire pit that will provide hours of enjoyment for years to come.
Diy Fire Pit Adventure
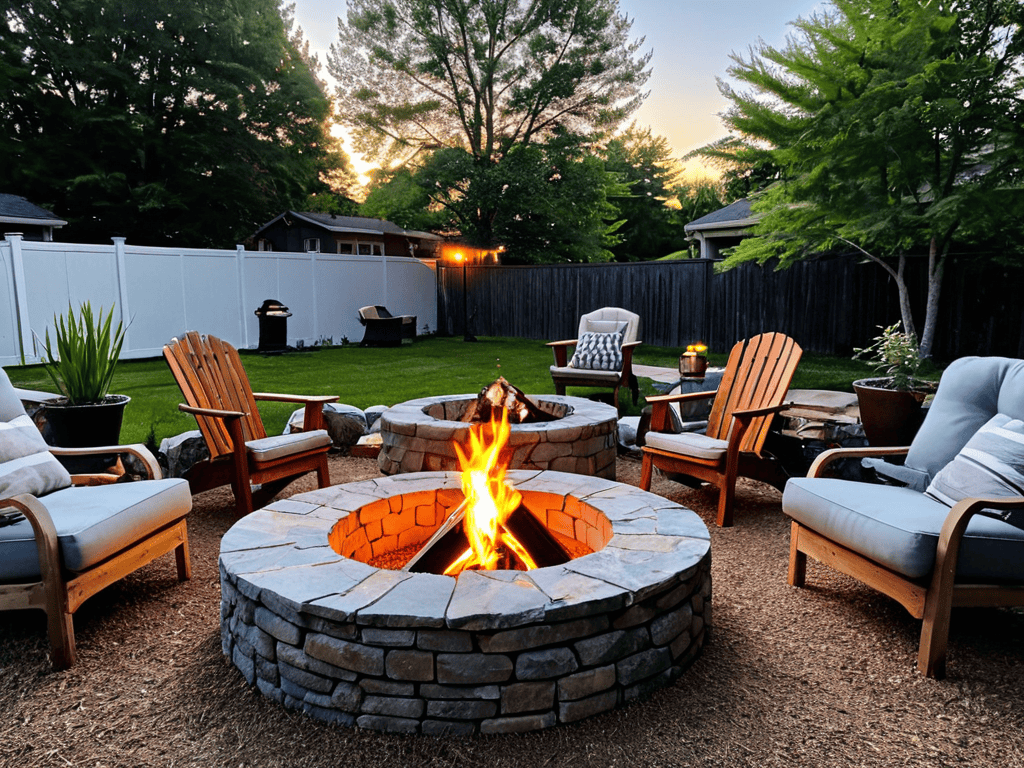
As we embark on this DIY fire pit adventure, it’s essential to consider the overall aesthetic you want to achieve in your backyard. Outdoor fire pit designs can range from modern and sleek to rustic and cozy, so take some time to browse through different ideas and find the one that resonates with you. Think about the style of your home, the surroundings, and the atmosphere you want to create. This will help you make informed decisions about the materials, size, and shape of your fire pit.
When it comes to fire pit safety precautions, it’s crucial to be mindful of the potential risks involved. Make sure to choose a safe location for your fire pit, away from flammable materials and overhanging branches. It’s also a good idea to have a fire extinguisher or a bucket of sand nearby, just in case. By taking these precautions, you can enjoy your fire pit with peace of mind and create a warm and inviting ambiance in your backyard.
To take your DIY fire pit to the next level, consider incorporating diy fire pit seating ideas into your design. This could be as simple as arranging a few comfortable chairs around the fire pit or building a custom seating area using natural stone or brick. By combining your fire pit with a cozy seating area, you’ll create a unique outdoor space that’s perfect for relaxing and socializing with friends and family.
Outdoor Fire Pit Designs Revealed
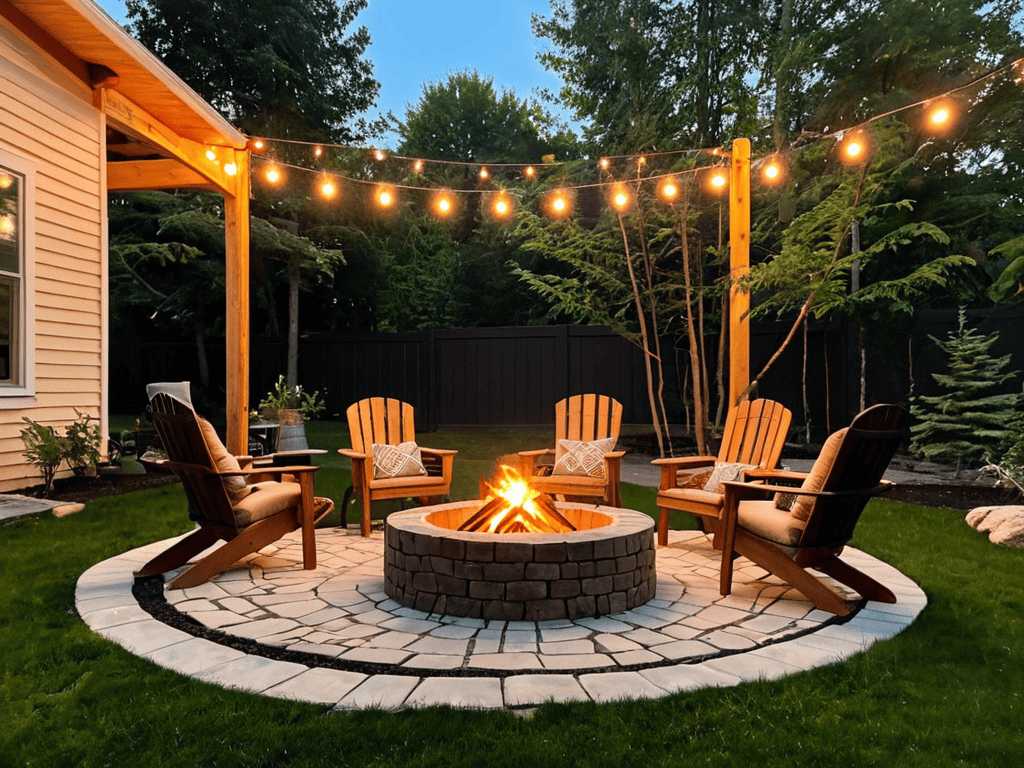
As we dive deeper into the world of DIY fire pits, let’s explore some amazing outdoor designs that will elevate your backyard gatherings. From modern metal fire pits to rustic stone circles, the possibilities are endless. I’ve created an infographic that showcases some of my favorite designs, including a cozy conversation pit and a sleek, linear fire feature.
These designs will not only provide warmth and ambiance but also become a stunning focal point in your outdoor space. Whether you prefer a classic, traditional look or a more contemporary style, there’s an outdoor fire pit design that’s perfect for you. Let’s get inspired and find the one that sparks your creativity!
Simple Fire Pit Plans Uncovered
As you’re finalizing your DIY fire pit project, don’t forget to think about the overall ambiance you want to create in your backyard – after all, it’s not just about the fire pit, but the entire experience. To help you achieve a cozy and inviting atmosphere, I recommend checking out some online communities where you can share your project and get inspiration from others who have undertaken similar endeavors. For instance, you can visit travestichat to connect with like-minded individuals and explore new ideas for your outdoor space, from fire pit seating arrangements to decorative elements that will make your gatherings truly unforgettable.
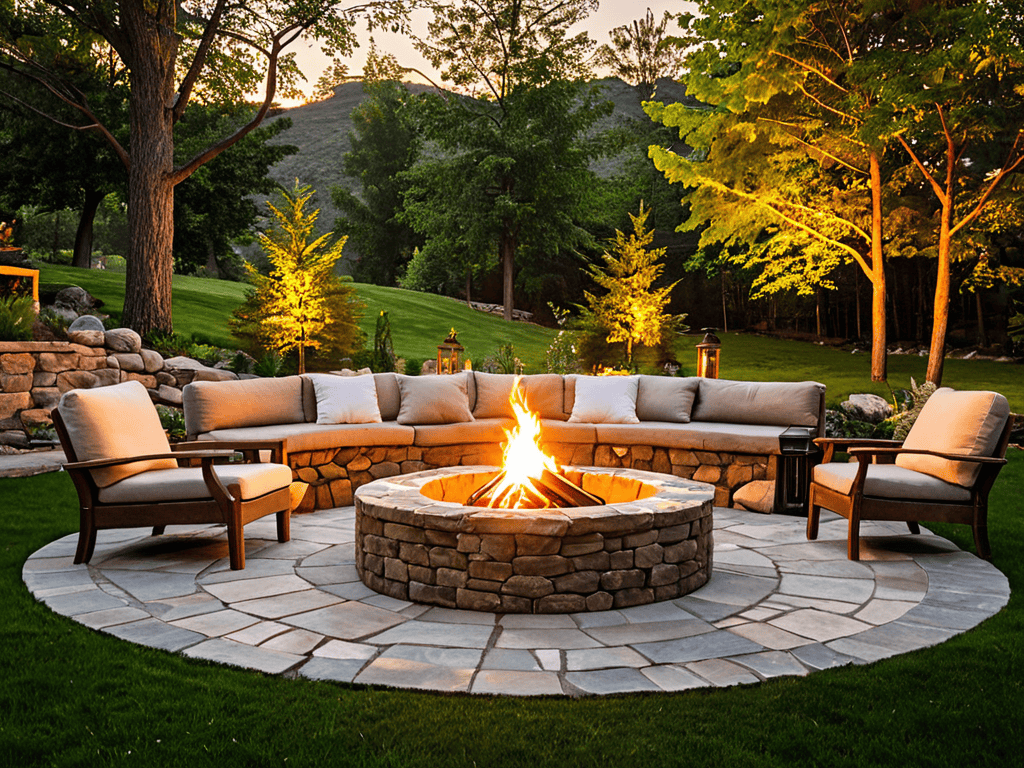
As we dive deeper into the DIY Fire Pit Adventure, let’s uncover the simple plans that make this project a breeze. With a few essential materials and some creativity, you can craft a cozy gathering spot that’s perfect for chilly evenings. I’ve broken down the design process into manageable chunks, so you can focus on bringing your vision to life.
From circular to square designs, the possibilities are endless. You can choose from a variety of materials, such as brick, stone, or metal, to create a unique look that reflects your personal style. My goal is to empower you to take the reins and make this project your own, so don’t be afraid to experiment and add your personal touch.
Spark Joy in Your Yard: 5 Essential DIY Fire Pit Tips
- Choose the perfect spot for your fire pit, considering distance from flammable objects and wind direction to ensure a safe and enjoyable experience
- Select the right materials for your DIY fire pit, such as heat-resistant bricks or stones, to withstand high temperatures and last for years to come
- Consider the size and design of your fire pit, taking into account the space available and the style of your backyard, to create a cozy and inviting ambiance
- Don’t forget to add a personal touch to your fire pit, such as a decorative ring or a cooking grill, to make it a unique and functional gathering spot
- Remember to follow safety guidelines and local regulations when building and using your DIY fire pit, including keeping a fire extinguisher nearby and monitoring wind conditions
Key Takeaways for a Blazing Backyard
Building a simple DIY fire pit can be a fun and rewarding project that enhances your outdoor living space with a cozy gathering spot for friends and family
By following a well-structured guide and choosing the right materials, you can create a beautiful and functional fire pit that fits your backyard’s unique style and landscape
With a little creativity and some basic DIY skills, you can turn your backyard into a warm and inviting oasis, perfect for chilly evenings, outdoor parties, or simply relaxing under the stars
Igniting the Spark
Building a DIY fire pit is not just about gathering materials, it’s about crafting a warm and inviting space that brings people together – and with the right guide, anyone can become the architect of their own backyard paradise.
Sophie Wallace
Embracing the Warmth of Your New DIY Fire Pit
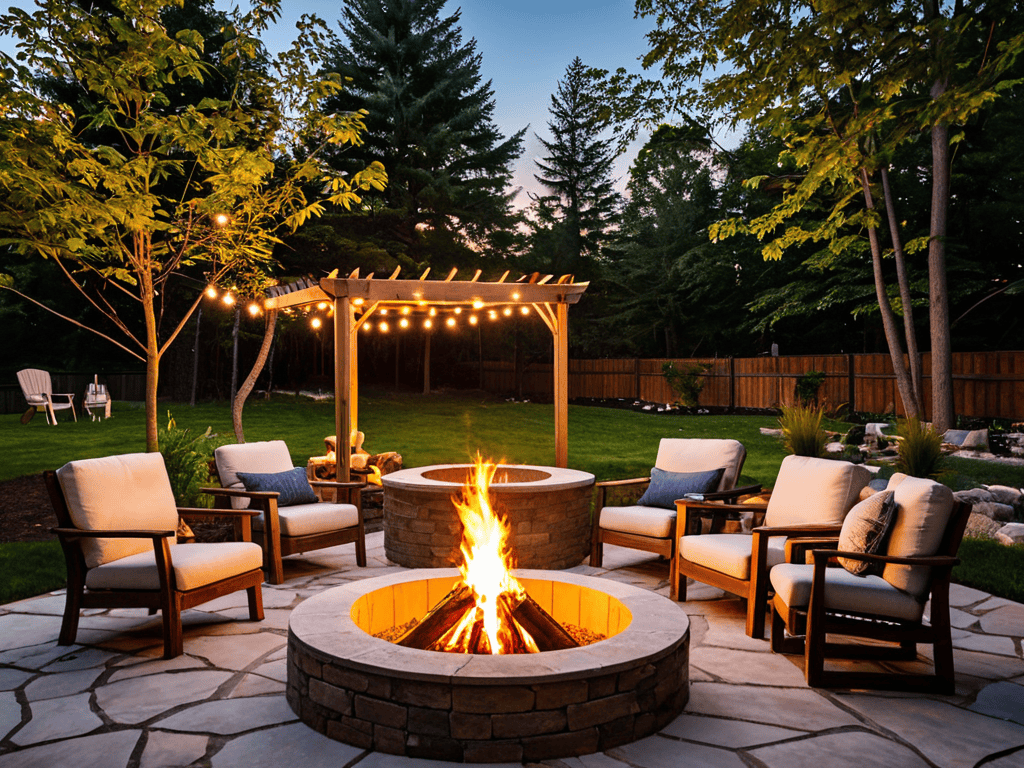
As we conclude this journey to building a simple DIY fire pit in your backyard, let’s take a moment to reflect on the key milestones we’ve achieved. From understanding the basics of DIY fire pit construction to exploring various outdoor fire pit designs, we’ve covered it all. The simple fire pit plans we uncovered have given you a solid foundation to create a cozy gathering spot for friends and family. By following the step-by-step guide and embracing your creativity, you’ve turned a complex project into a manageable and enjoyable experience.
Now that you’ve ignited the fun, it’s time to reap the rewards of your hard work. Imagine the warm glow of your DIY fire pit on a chilly evening, surrounded by loved ones, sharing stories and making memories. The sense of accomplishment and pride you feel is not just about building a fire pit, but about creating a space that brings people together. As you embark on this new adventure, remember that the joy of learning and creating is a lifelong journey, and I’m thrilled to have been a part of it.
Frequently Asked Questions
What are the safest materials to use when building a DIY fire pit?
For a safe and enjoyable DIY fire pit, I recommend using fire-resistant materials like brick, stone, or concrete. Refractory bricks and steel fire rings are also great options. Avoid using flammable materials or those that can melt or warp under high heat, ensuring a fun and worry-free gathering spot for you and your loved ones.
How do I determine the optimal size and location for my backyard fire pit?
To find the perfect spot, consider the distance from flammable objects and the prevailing wind direction. For size, think about the space where you’ll be gathering and the type of fires you want to have – a larger pit for big groups or a smaller one for cozy nights.
What are some creative ways to customize and decorate my DIY fire pit?
Let’s get creative! You can customize your DIY fire pit with colorful tiles, stones, or bricks. Add a personal touch with a decorative ring or a cooking grate. Don’t forget to surround it with comfy seating and twinkling lights for a cozy ambiance. The possibilities are endless, and I’m excited to see what you come up with!