I still remember the first time I attempted to carve a roast chicken perfectly for my family dinner. It was a disaster – uneven slices, shredded meat, and a general mess. But that experience sparked a determination in me to master the art of carving a roast chicken. As I delved deeper into the world of cooking, I realized that many people struggle with this very same task. The common myth that you need to be a skilled chef to carve a roast chicken perfectly is simply not true. With the right techniques and a little practice, anyone can achieve a beautifully carved roast chicken.
In this article, I’ll share my foolproof guide on how to carve a roast chicken perfectly. You’ll learn the simple, yet crucial steps to transform your roast chicken into a stunning centerpiece for any meal. From preparing the chicken to slicing it with ease, I’ll walk you through each stage with step-by-step precision. My goal is to empower you with the knowledge and confidence to carve a roast chicken like a pro, and make the process enjoyable and stress-free. By the end of this guide, you’ll be able to carve a roast chicken perfectly, every time, and impress your family and friends with your newfound skills.
Table of Contents
Guide Overview: What You'll Need
Total Time: 1 hour 45 minutes
Estimated Cost: $15 – $30
Difficulty Level: Intermediate
Tools Required
- Sharp Carving Knife (preferably 8 inches long)
- Cutting Board (at least 12 inches by 18 inches)
- Fork (for holding the chicken in place)
- Whisk (for removing giblets and neck)
- Kitchen Shears (optional, for removing wings or legs)
Supplies & Materials
- Roasting Chicken (thawed, 3-4 pounds)
- Twine or Kitchen String (for trussing the chicken)
- Aluminum Foil (for wrapping the chicken)
- Wooden Skewers (optional, for holding the chicken in place)
Step-by-Step Instructions
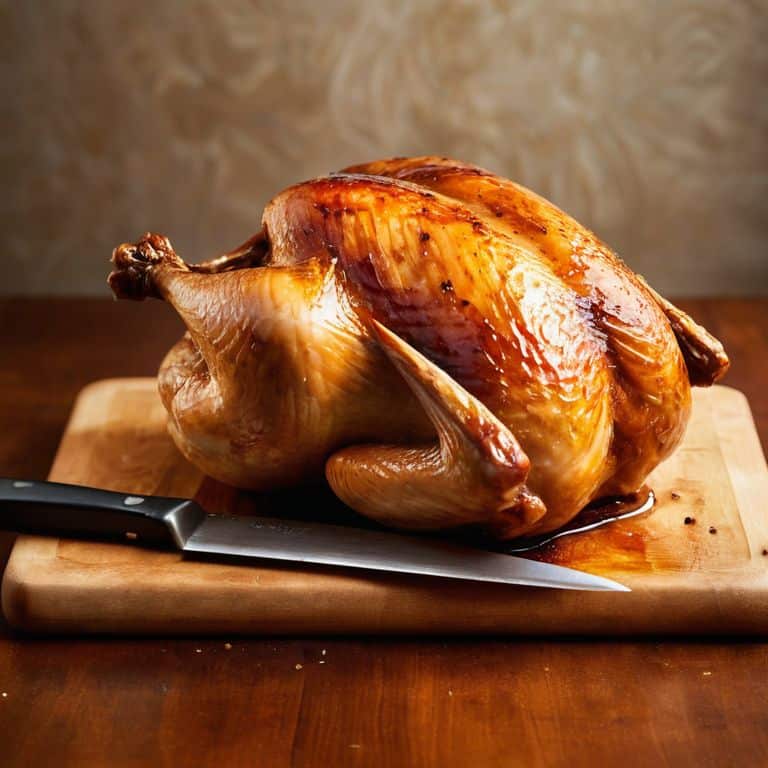
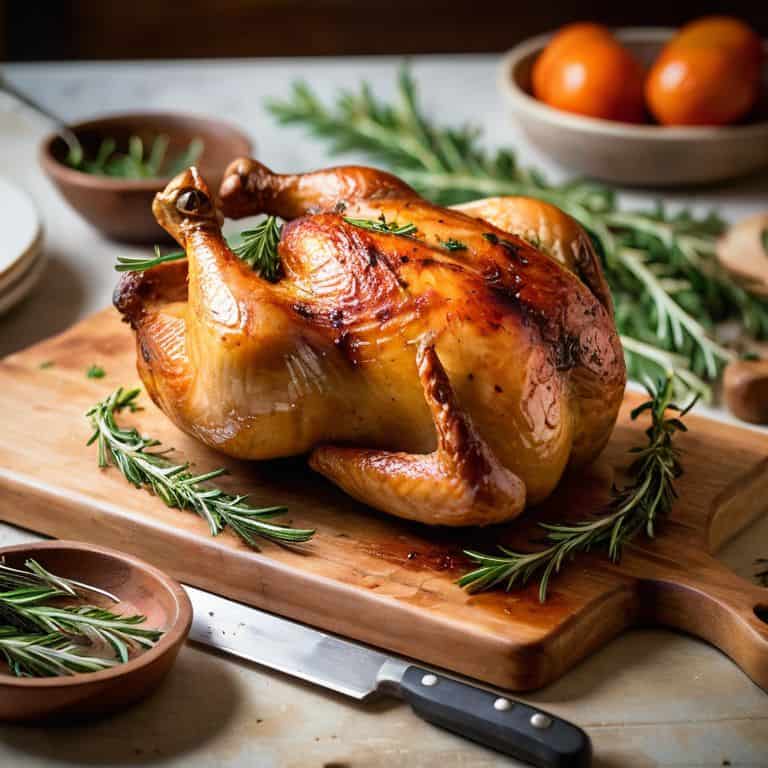
- 1. First, let’s start by preparing our workspace – I like to think of this as setting the stage for a beautiful presentation. Gather your tools, including a sharp carving knife, a carving fork, and a cutting board. Make sure your roast chicken has rested for at least 10-15 minutes before carving, allowing the juices to redistribute and making the meat more tender.
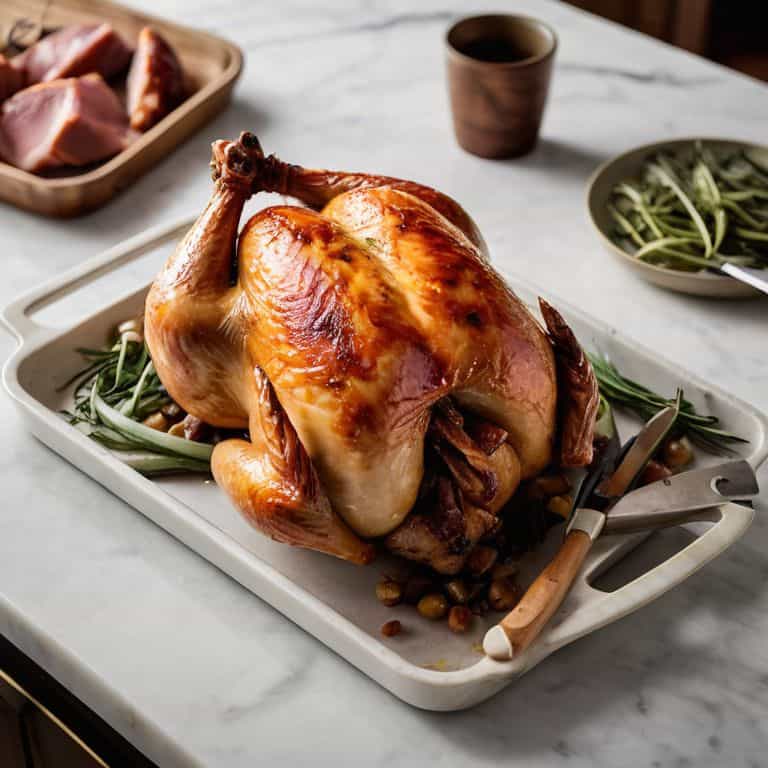
- 2. Next, we’ll position the chicken on the cutting board, breast side up. This is where the magic happens, and we begin to unveil the perfectly cooked meat underneath. Hold the chicken firmly in place with your carving fork, taking care not to press too hard and damage the meat.
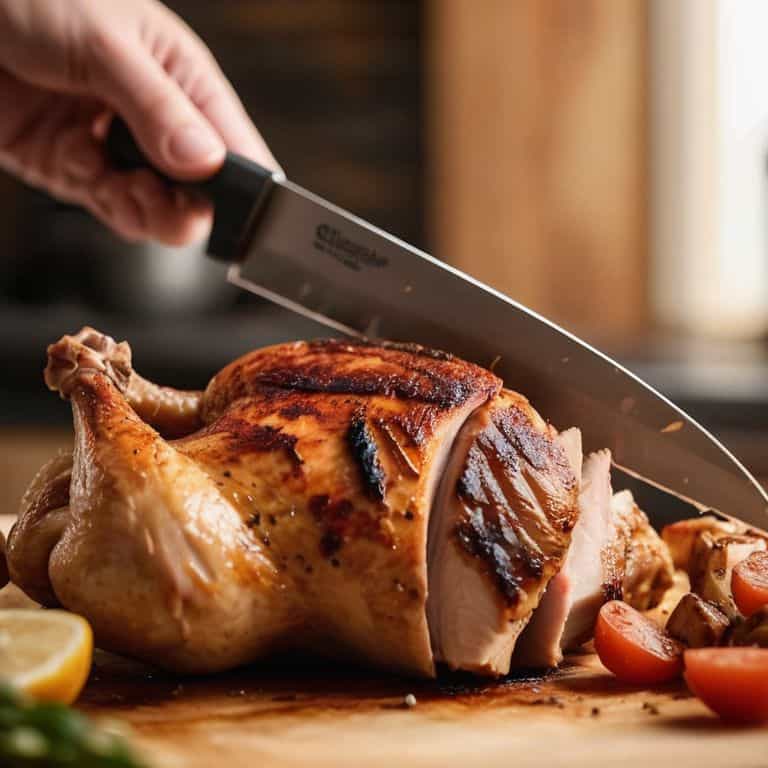
- 3. Now, it’s time to make the initial incision – a delicate process that requires patience and a gentle touch. Locate the breastbone and carefully slice along both sides of it, using long, smooth strokes to guide your knife. This will help you remove the breast meat in one piece, making it easier to slice later.
- 4. With the breast meat removed, we can now focus on the thighs and legs. To do this, locate the joint that connects the thigh to the body and gently pry it loose with your knife. Repeat the same process for the other thigh and leg, taking care to cut through the joints rather than hacking through the bone.
- 5. As we move on to carving the breast meat, it’s essential to slice it against the grain, ensuring that each piece is tender and easy to chew. To achieve this, look for the lines of muscle on the meat and slice perpendicular to them. This simple technique will make all the difference in the texture and flavor of your final dish.
- 6. To add an extra touch of elegance to our presentation, let’s not forget to carve the wings and arrange them on the platter with the rest of the meat. This is where attention to detail comes into play, as we carefully balance the different components to create a visually stunning display.
- 7. Finally, take a step back and admire your handiwork – the perfectly carved roast chicken is now ready to be served. Remember to slice the meat thinly and arrange it in a way that showcases the different textures and colors, making it almost too beautiful to eat. Almost.
Carve Like a Pro
To truly carve like a pro, it’s essential to understand the importance of having the right tools for the job. Investing in the best knife for carving chicken can make all the difference in achieving a smooth, even cut. I personally swear by a sharp, high-carbon stainless steel knife that glides through the meat with ease. When combined with a bit of practice and patience, you’ll be amazed at how effortlessly you can carve your roast chicken.
As you become more confident in your easy chicken carving techniques, don’t be afraid to get creative with your presentation. Consider adding some fresh herbs or edible flowers to give your dish a pop of color and fragrance. This is especially important when carving chicken for a crowd, as a beautifully presented dish can really make a statement. By taking the time to arrange your sliced chicken in a visually appealing way, you’ll not only impress your guests but also add to the overall enjoyment of the meal.
One common mistake to avoid when carving chicken is applying too much pressure, which can cause the meat to tear. Instead, focus on making gentle, smooth cuts, using a gentle sawing motion to release the meat from the bone. By doing so, you’ll be able to achieve a clean, even cut that’s sure to impress. With a little practice and the right techniques, you’ll be well on your way to becoming a chicken carving master.
Best Knife for a Perfect Slice
When it comes to carving a roast chicken, the right tool can make all the difference. I always swear by a sharp, high-carbon stainless steel knife for a perfect slice. The key is to find a knife that’s both razor-sharp and has a bit of heft to it, allowing for smooth, even cuts. My personal favorite is a good old-fashioned chef’s knife – it’s versatile, dependable, and can tackle even the toughest of joints with ease.
A sharp knife is essential for a clean, precise cut, and it will make the entire carving process exponentially easier. Trust me, I’ve tested my fair share of knives over the years, and a good one is worth every penny. With the right knife in hand, you’ll be able to carve your roast chicken with confidence, making beautiful, even slices that are sure to impress.
Easy Chicken Carving Techniques Unveiled
Now that we’ve covered the basics, let’s dive into some easy techniques to elevate your chicken carving game. One of my favorite tips is to use a sharp, thin-bladed knife – it makes all the difference in achieving smooth, even slices. I also recommend carving in a gentle, sawing motion, rather than applying too much pressure, which can cause the meat to tear.
By mastering these simple techniques, you’ll be able to carve your roast chicken with confidence and precision, just like a pro. Remember, practice makes perfect, so don’t be discouraged if it takes a few tries to get the hang of it – with time and patience, you’ll be carving like a seasoned chef in no time.
My Top 5 Secrets to Carving a Roast Chicken like a Pro
- Let the chicken rest for at least 20 minutes before carving to allow the juices to redistribute, making it easier to slice and more tender to eat
- Use a sharp, high-quality knife specifically designed for carving, as it will make a huge difference in the smoothness and evenness of your slices
- Start by removing the legs and thighs, which will give you better access to the breast and help you carve more efficiently
- Carve in a smooth, even motion, using long strokes to slice through the meat, and apply gentle pressure to avoid tearing or shredding the chicken
- Slice the breast against the grain, which means cutting perpendicular to the lines of muscle, to ensure the most tender and flavorful results
Key Takeaways for the Perfect Roast Chicken Carve
Always start by slicing along the breastbone to ensure a clean and even cut, just like I do for my Sunday family dinners!
Selecting the right knife is crucial – a sharp, thin-bladed knife will make all the difference in achieving those perfect, effortless slices
Remember, practice makes perfect: don’t be discouraged if it takes a few tries to get the hang of carving like a pro – with these steps and a bit of patience, you’ll be unveiling your beautifully carved roast chicken like a seasoned chef in no time!
The Art of Carving
To carve a roast chicken perfectly, you must first understand that it’s not just about the knife, but about the story you’re telling with every slice – a story of love, care, and attention to detail, where every bite is a testament to the joy of cooking.
Julia Ashwood
Bringing It All Together: The Perfectly Carved Roast Chicken
As we’ve journeyed through the steps of carving a roast chicken perfectly, I hope you’ve come to realize that it’s not just about the technical skills, but also about the attention to detail that makes all the difference. From slicing along the breastbone to using the right knife, every step is crucial in unveiling a beautifully carved roast chicken. By following these steps and practicing the easy chicken carving techniques unveiled in our guide, you’ll be well on your way to becoming a master carver. Remember, the key to success lies in the mise en place – having all your tools and ingredients ready before you start.
So, the next time you’re faced with a deliciously roasted chicken, don’t be intimidated – instead, feel empowered to unleash your inner chef and carve it like a pro. With time and practice, you’ll find that carving a roast chicken is not just a task, but an art form that brings people together. As you sit down to enjoy your perfectly carved roast chicken with loved ones, remember that the joy of cooking and sharing meals is what makes it all worthwhile. Happy carving, and I look forward to sharing more culinary adventures with you!
Frequently Asked Questions
What's the best way to let the chicken rest before carving to ensure the juices stay inside?
To keep those gorgeous juices inside, let the chicken rest for at least 15-20 minutes before carving. I like to tent it with foil to retain the heat and moisture, allowing the juices to redistribute and the meat to relax. Trust me, this simple step makes all the difference in the world!
How do I know if my knife is sharp enough to carve the chicken smoothly without tearing the meat?
To ensure a smooth carve, your knife should slice through a ripe tomato with ease, leaving a clean edge. If it drags or tears, it’s time to sharpen. I also like to do a quick test on a piece of paper – if the knife glides through effortlessly, it’s ready for your perfectly roasted chicken.
Are there any specific carving techniques for different parts of the chicken, such as the legs or wings?
For the legs and wings, I use a gentle twisting motion to release the joints, then slice through the connective tissue. It’s all about finesse, not force. For the legs, I carve in a smooth, curved motion, following the natural shape of the thigh. And for the wings, a simple horizontal slice does the trick, revealing tender, juicy meat.