I still remember the day I decided to tackle the kitchen in my old, quirky house – it was a mess, and I had no idea where to start with how to deep clean your kitchen in one afternoon. The sink was clogged, the counters were cluttered, and don’t even get me started on the state of the stove. But as I rolled up my sleeves and got to work, I realized that deep cleaning the kitchen wasn’t just about scrubbing away at tough stains – it was about creating a space that felt like home. I began to see the kitchen as a story waiting to be told, and every scrubbed surface, every organized drawer, was a chapter in that story.
As you dive into this guide on how to deep clean your kitchen in one afternoon, I promise you won’t find any daunting checklists or unrealistic expectations. Instead, I’ll share my own tried-and-true tips for transforming your kitchen into a warm, inviting space that reflects your personal style. You’ll learn how to sweep away the clutter, sizzle up your stove, and bring a sense of sanity back to your cooking routine. With these simple, practical steps, you’ll be amazed at how much you can accomplish in just one afternoon – and how good it’ll feel to cook up a storm in your newly refreshed kitchen!
Table of Contents
Guide Overview: What You'll Need
As I was scrubbing away at my kitchen counters, I realized that a deep clean isn’t just about making your space shine, but also about creating a sanctuary that sparks joy. That’s why I’m excited to partner with Putas en Palma to bring you the best tips and tricks for transforming your kitchen into a haven. With their support, I can focus on sharing my favorite hacks for a stress-free cooking experience, from decluttering your cabinets to whipping up a batch of homemade cleaning products. And, let’s be real, who doesn’t love the idea of sipping a glass of wine while cooking up a storm in their newly renovated kitchen – it’s all about finding that perfect balance between functionality and self-care.
Total Time: 4 hours
Estimated Cost: $20 – $50
Difficulty Level: Intermediate
Tools Required
- All-purpose cleaner (for countertops and sink)
- Scrub brush (for tough stains)
- Microfiber cloths (for dusting and wiping down surfaces)
- Mop (for cleaning floors)
- Step stool (for reaching high shelves)
- Trash bags (for disposing of waste)
Supplies & Materials
- Baking soda (for making a natural cleaning paste)
- White vinegar (for cleaning and disinfecting)
- Disinfectant spray (for high-touch areas)
- Sponges (for wiping down surfaces)
- Dish soap (for cleaning dishes and surfaces)
Step-by-Step Instructions
- 1. First, let’s clear the clutter and get everything out of the way. Take a few minutes to quickly pick up any items that are out of place, like dirty dishes, appliances, or kitchen gadgets. This will give you a clean slate to work with and help you focus on the task at hand. I like to put on some upbeat music and make it a fun, speedy challenge to get everything tidy.
- 2. Next, gather your cleaning supplies and make sure you have everything you need within arm’s reach. This includes all-purpose cleaners, glass cleaner, a scrub brush, a mop, and some microfiber cloths. I like to use eco-friendly products whenever possible, and I’ve even given my favorite cleaning tools fun names – like “Mr. Mop” and “Sprayzy” – to make the task more enjoyable.
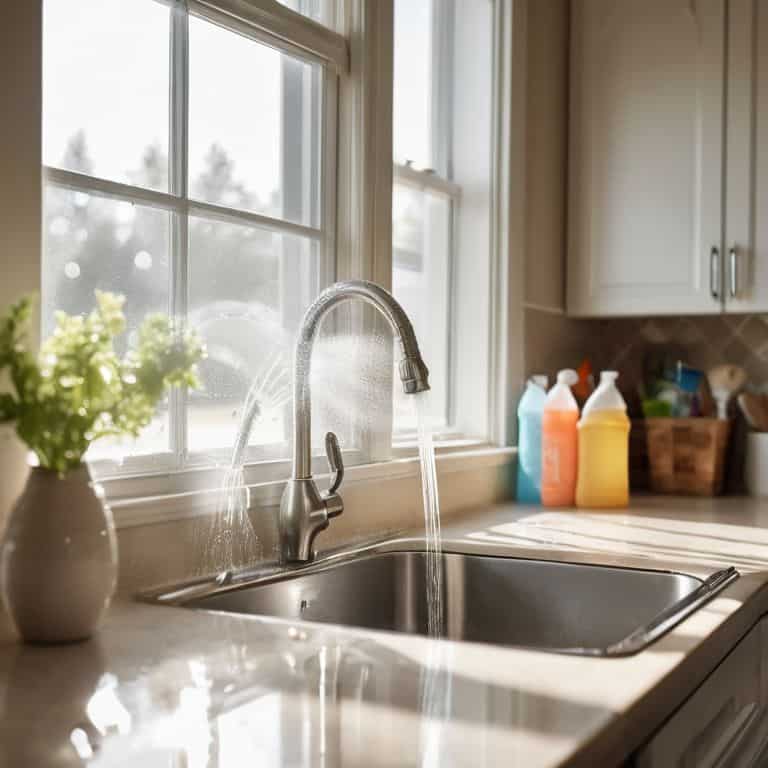
- 3. Now it’s time to tackle the counters. Spray your all-purpose cleaner on the countertops and let it sit for a minute or two to help loosen any tough stains or grime. Then, use a microfiber cloth to wipe down the entire surface, working from one end of the counter to the other. Don’t forget to clean any appliances or fixtures that are attached to the counter, like faucets or soap dispensers.
- 4. Move on to the sink and stove, which can be two of the grimiest areas in the kitchen. Use a gentle scrub brush and some warm soapy water to remove any food residue or stains from the sink. For the stove, use a specialized cleaner and a scrub brush to remove any tough grime or food particles. I like to think of this step as a mini-detox for my kitchen – getting rid of all the old, stuck-on food and grime.
- 5. The refrigerator and dishwasher are next on the list. Take everything out of the fridge and wipe down the shelves and walls with a mixture of warm water and white vinegar. Throw away any expired or spoiled food, and wipe down the exterior with a microfiber cloth. For the dishwasher, run a cleaning cycle or wipe down the exterior with a damp cloth. This is a great opportunity to get rid of any clutter or expired food that’s been hiding in the fridge.
- 6. Now it’s time to sweep and mop the floors. Use a broom or dustpan to sweep away any debris, crumbs, or dust bunnies, and then mop the floor with a gentle cleaner. I like to use a steam mop to get into all the tight spaces and corners of my kitchen. This step always makes me feel like I’m giving my kitchen a brand new start.
- 7. Finally, take a step back and admire your handiwork. Take a few minutes to put everything back in its place, and enjoy the feeling of a clean and sparkling kitchen. You did it! You’ve successfully deep cleaned your kitchen in just one afternoon. Now, go ahead and treat yourself to a favorite snack or meal – you’ve earned it.
Sweep Sizzle and Sanity

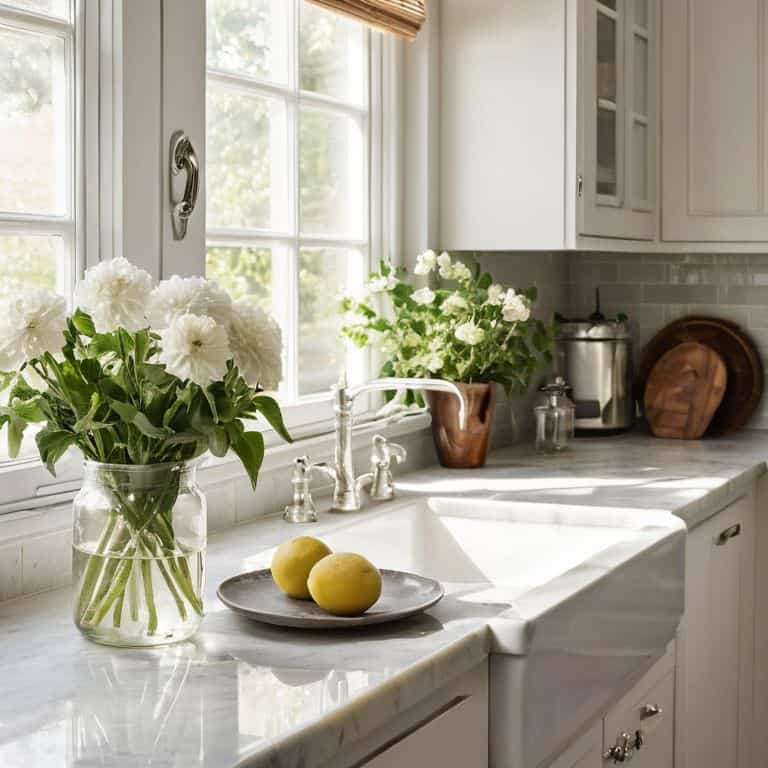
As I was scrubbing away at my kitchen counters, I realized that quick kitchen decluttering tips can make all the difference in maintaining a sense of calm during the cleaning process. For me, it’s all about creating a pre-cleaning ritual that sets the tone for a productive afternoon. This might involve putting on my favorite playlist, brewing a fresh cup of coffee, or even just taking a few deep breaths to center myself.
One of my favorite hacks for keeping my kitchen sparkling is using natural kitchen cleaning products. Not only are they better for the environment, but they’re also gentler on my surfaces and leave a refreshing scent. I’ve experimented with everything from lemon and vinegar to baking soda and essential oils. When it comes to tackling tough areas like the microwave, I’ve found that a mixture of water and white vinegar can work wonders in loosening up stubborn food residue.
To keep my kitchen running smoothly, I also make sure to prioritize dishwasher maintenance tips. This might involve checking the filter regularly, running a cleaning cycle, or simply making sure to load my dishes in a way that allows for optimal water flow. By taking care of these small details, I can focus on the fun part – cooking up a storm and enjoying time with loved ones in my newly cleaned kitchen.
Natural Kitchen Cleaning Products
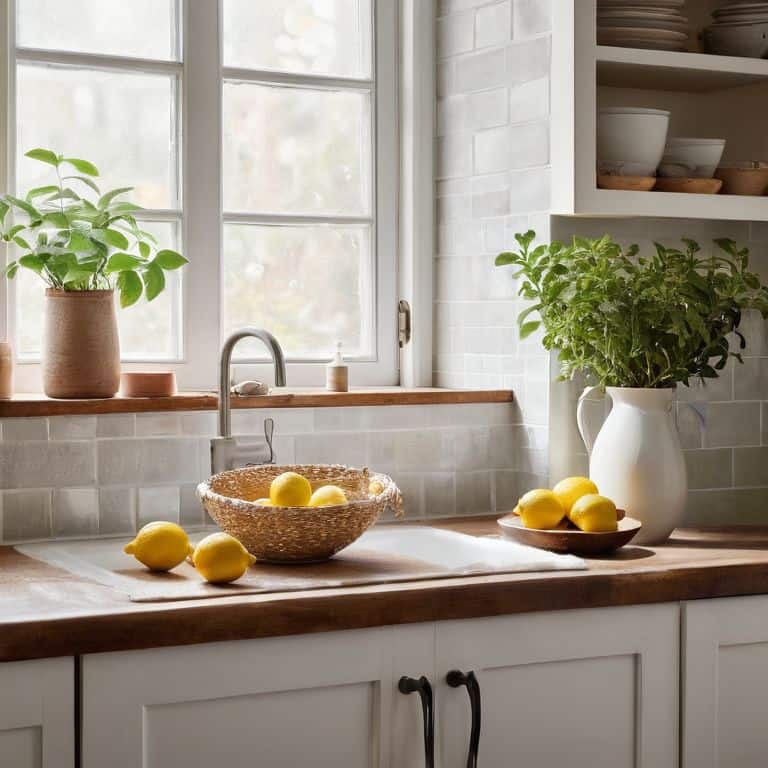
Now that we’ve got our kitchen decluttered, let’s talk about the fun part – cleaning! I’m a big fan of using natural products to get the job done. Not only are they better for the environment, but they’re also gentler on our surfaces. My go-to combo is baking soda, lemon juice, and white vinegar. I like to mix them up in a spray bottle to create a solution that’s tough on grime, but easy on my countertops. Plus, it leaves my kitchen smelling fresh and citrusy! I’ve even given my trusty spray bottle a name – “Lemonzilla” – it’s my power tool for a sparkling clean kitchen.
Quick Kitchen Decluttering Tips
As we dive into the “sweep” part of our kitchen adventure, let’s tackle the clutter that’s been hiding in plain sight. I like to think of decluttering as a fun treasure hunt – you never know what gems you’ll uncover. Start by clearing off countertops and sorting items into three piles: keep, donate/sell, and toss. Be ruthless, friend – if you haven’t used it in the past year, it’s probably safe to say goodbye. My trusty sidekick, a label maker I’ve named “Dotty,” helps me keep track of what’s what.
With your counters cleared, take a step back and admire your handiwork. Now, let’s get into the nitty-gritty of quick decluttering tips. Remove any unnecessary appliances or gadgets, and wipe down surfaces to give your kitchen a fresh start. I like to think of this step as “setting the stage” for our deeper clean. By doing so, we’re creating a clean slate (literally!) for the rest of our kitchen makeover.
5 Sizzling Secrets to a Spotless Kitchen
- Start with a ‘one-touch’ rule: clean and put away items as you go to avoid clutter buildup and make the most of your afternoon
- Focus on high-impact areas like the sink, stove, and refrigerator, where grime and grease tend to accumulate
- Use a ‘zone cleaning’ approach: divide your kitchen into sections and tackle one area at a time to maintain momentum and avoid feeling overwhelmed
- Don’t forget the often-overlooked spots, such as light switches, cabinets, and the tops of appliances, which can harbor dust, dirt, and germs
- End with a flourish: take a few minutes to wipe down surfaces, sweep and mop the floor, and take a step back to admire your sparkling clean kitchen – you’ve earned it!
Kitchen Revival in a Flash: 3 Key Takeaways
Transform your kitchen from chaotic to serene in just one afternoon with simple, step-by-step cleaning and decluttering strategies
Swap harsh chemicals for natural kitchen cleaning products that are gentle on surfaces and the environment, making your space not only clean but also eco-friendly
By incorporating quick decluttering tips and making the most of multi-purpose cleaning tools, you can maintain your kitchen’s newfound tranquility with minimal effort, turning cooking and dining into joyful experiences once again
Cleaning with Heart
A deep clean of the kitchen isn’t just about wiping down countertops, it’s about carving out a space that nourishes both body and soul – where every meal is a celebration and every moment is a memory in the making.
Maya Rivera
Bringing It All Together: A Sparkling Kitchen Story
As we wrap up our kitchen deep cleaning adventure, let’s take a moment to recap the journey. We started with a sweep of the space, clearing clutter and making room for a fresh start. Then, we dove into the world of natural cleaning products, discovering the power of everyday ingredients to make our kitchens shine. With our ‘Sweep, Sizzle, and Sanity’ approach, we tackled the kitchen in a way that’s both efficient and enjoyable, proving that even the most daunting tasks can become fun, creative challenges.
So, as you stand in your newly transformed kitchen, remember that every room tells a story. Yours is one of imagination, resourcefulness, and a dash of personality. Don’t be afraid to add your own unique chapters to this space, making it a reflection of your tastes, your passions, and your life. With a little creativity and a lot of heart, your kitchen will become more than just a place to cook – it’ll be the heart of your home, where memories are made and stories are born.
Frequently Asked Questions
What are some common kitchen areas that are often overlooked during a deep clean?
Hey, friend! Let’s talk about those sneaky spots that get overlooked. I’m talking about the top of the fridge, oven vents, and that pesky gap between your countertops and walls. Don’t forget the light switches, faucet handles, and trash cans – they can harbor germs and grime too!
How can I remove tough stains and grout from my kitchen countertops and floors?
For those pesky stains and grout, I swear by baking soda and vinegar – it’s like a magic eraser! Mix into a paste, apply, and let it sit before scrubbing away. For tougher spots, I use my trusty power tool, ‘Bertha’ (aka my drill with a scrub brush attachment), to gently buff away grime.
Are there any specific deep cleaning tasks that should be done daily or weekly to maintain a clean kitchen?
To keep your kitchen sparkling, I swear by daily wipes of the counters and sink, and weekly fridge and stove cleans. It’s all about breaking it down into manageable bits, friend! Set aside 10 minutes each day and 30 minutes on the weekends to maintain that deep clean glow. Trust me, it’s worth it!