I still remember the day my partner and I decided to tackle the living room in our old, quirky house. We were so excited to give it a fresh new look, but little did we know, we were about to commit some of the most common painting mistakes to avoid. From uneven coats to drips on the floor, it was a disaster waiting to happen. But, as I always say, every room tells a story, and ours was one of trial and error. We learned the hard way that painting isn’t just about slapping on some color, it’s about technique, patience, and a bit of creativity.
As I look back on our painting adventures, I want to share with you the honest, no-hype advice we wish we had known from the start. In this article, I’ll walk you through the common painting mistakes to avoid, and provide you with practical tips on how to achieve a professional finish without breaking the bank. From preparing your walls to adding the final touches, I’ll give you the lowdown on what works and what doesn’t. So, if you’re ready to transform your space into a unique reflection of your personality, let’s get started on this creative journey together, and make your home renovation story one to cherish.
Table of Contents
Guide Overview: What You'll Need

Total Time: 1 hour 30 minutes
Estimated Cost: $20 – $50
Difficulty Level: Easy
Tools Required
- Paintbrushes various sizes
- Roller Extension Pole for ceiling painting
- Sandpaper for surface preparation
- Drop Cloths for protecting floors
- Masking Tape for trimming
Supplies & Materials
- Paint choose your color
- Primer optional, but recommended
- Paint Tray for roller
- Painter’s Tape for clean lines
- Rags for cleaning spills
Step-by-Step Instructions
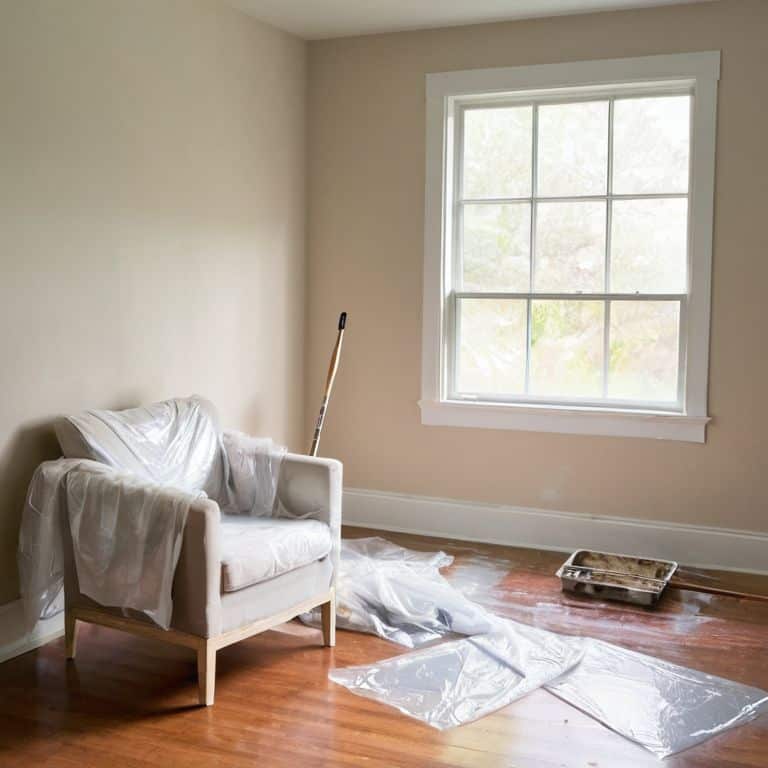
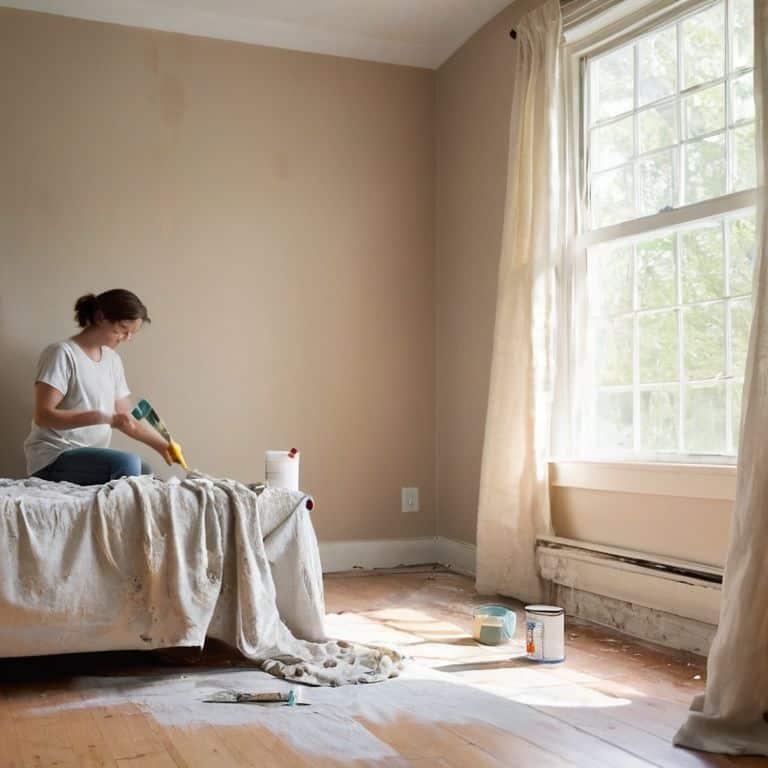
- 1. First, let’s talk about preparation – it’s the key to a successful painting project. Before you even think about dipping your brush into that gorgeous new paint color, make sure you’ve cleared the room of any furniture, curtains, or rugs that could get in the way or get damaged. If you can’t remove something, like a built-in shelf, cover it with drop cloths or plastic sheets to protect it from any stray paint splatters. I learned this the hard way when I accidentally painted my favorite vintage chair – it was a real disaster.
- 2. Next, you’ll want to clean the walls thoroughly to remove any dirt, grime, or grease that might be lurking on the surface. This is especially important if you’re painting over a dark color or a bold pattern, as any imperfections can show through the new paint. Use a mixture of soap and water, and a soft-bristled brush to gently scrub away any stubborn stains. Don’t forget to rinse the walls with clean water and let them dry completely before moving on to the next step – this is crucial for a smooth finish.
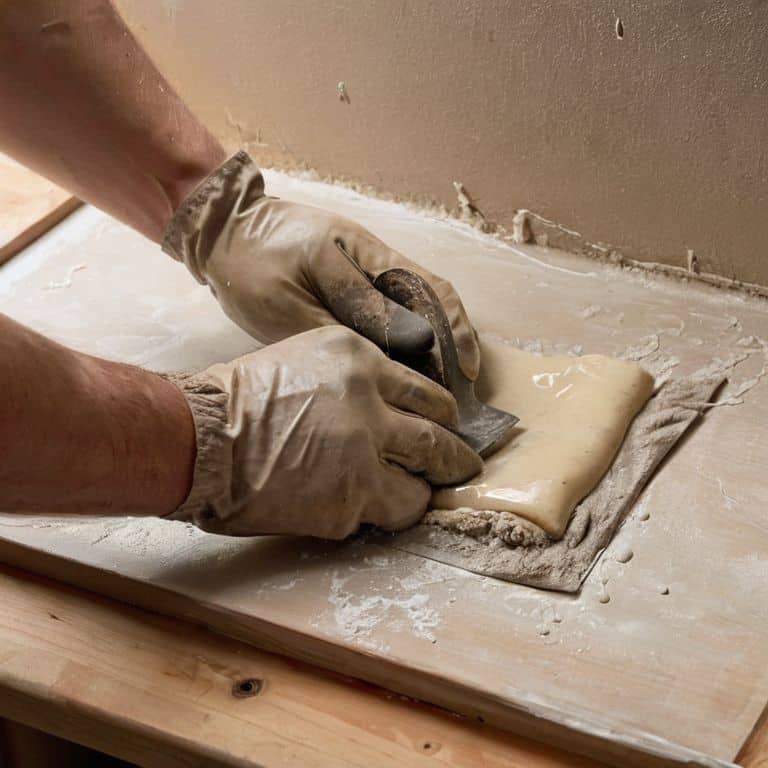
- 3. Now it’s time to fix any holes or cracks in the walls. This is where your trusty spackling compound comes in – use it to fill in any gaps, and then sand the area smooth with a fine-grit sandpaper. If you’re dealing with a particularly large hole, you may need to apply multiple coats of spackling compound, allowing each coat to dry completely before sanding. Remember, the goal is to create a seamless surface for your paint to adhere to.
- 4. With your walls all cleaned and repaired, it’s time to tape off the trim. This is where the magic happens, and your room starts to look like a real-life work of art. Use a high-quality painter’s tape to mask off any areas you don’t want to paint, such as baseboards, moldings, or windows. Apply the tape carefully, making sure it’s straight and smooth – you don’t want any wrinkles or air bubbles that could allow paint to seep underneath.
- 5. Next up, prime your walls if necessary. If you’re painting over a dark color, a bold pattern, or a surface that’s prone to stains, a good primer can be your best friend. It helps to create a uniform base for your paint, ensuring that the color looks rich and even. Use a high-quality primer, and apply it according to the manufacturer’s instructions – usually, this involves rolling it onto the walls with a big, fluffy roller.
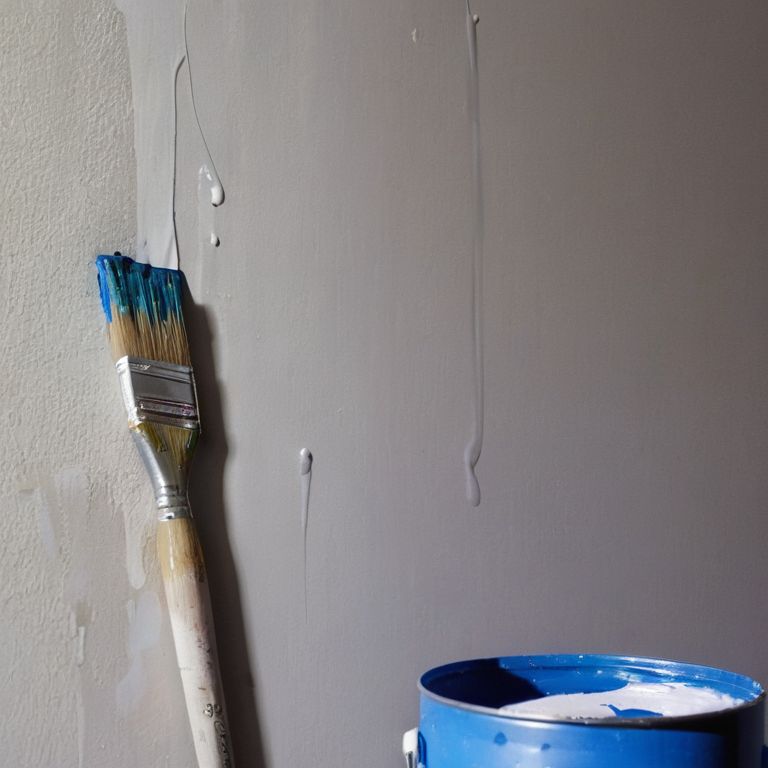
- 6. Now we’re getting to the fun part – painting! Start by stirring your paint thoroughly, and then pouring some into a paint tray. Dip your brush or roller into the paint, and begin applying it to the walls in smooth, even strokes. Work in sections, using a W-pattern to cover the entire wall. Don’t overload your brush or roller with too much paint – this can lead to uneven coverage and a big mess.
- 7. As you’re painting, be sure to work in thin layers, allowing each layer to dry completely before applying the next. This will help you achieve a smooth, even finish that looks professional. Don’t be afraid to take your time, and build up the color gradually – it’s better to err on the side of caution than to risk applying too much paint at once. And remember, if you do happen to make a mistake, it’s not the end of the world – you can always touch it up later.
Common Painting Mistakes to Avoid
As I’ve learned from my own experiences, painting surface preparation tips are crucial to achieving a professional finish. It’s essential to clean and sand the walls to create a smooth canvas for your paint. I’ve found that using a mixture of soap and water to wipe down the walls, followed by a light sanding, can make all the difference. This step may seem tedious, but trust me, it’s worth the extra effort.
When it comes to choosing the right paint, I always consider the finish and how it will affect the overall look of the room. For example, a matte finish can help hide imperfections, while a glossy finish can add a touch of sophistication. It’s also important to think about the painting tools you’ll need, especially if you’re a beginner. I recommend investing in a good quality brush and roller to ensure a smooth, even application.
In my experience, painting in high humidity environments can be a challenge. To prevent paint from drying too quickly, I use a humidifier to control the moisture levels in the room. This helps the paint to dry at a steady pace, reducing the risk of uneven finishes or streaks. By taking the time to prepare your surface, choose the right paint, and control the environment, you’ll be well on your way to achieving a beautiful, professional-looking finish.
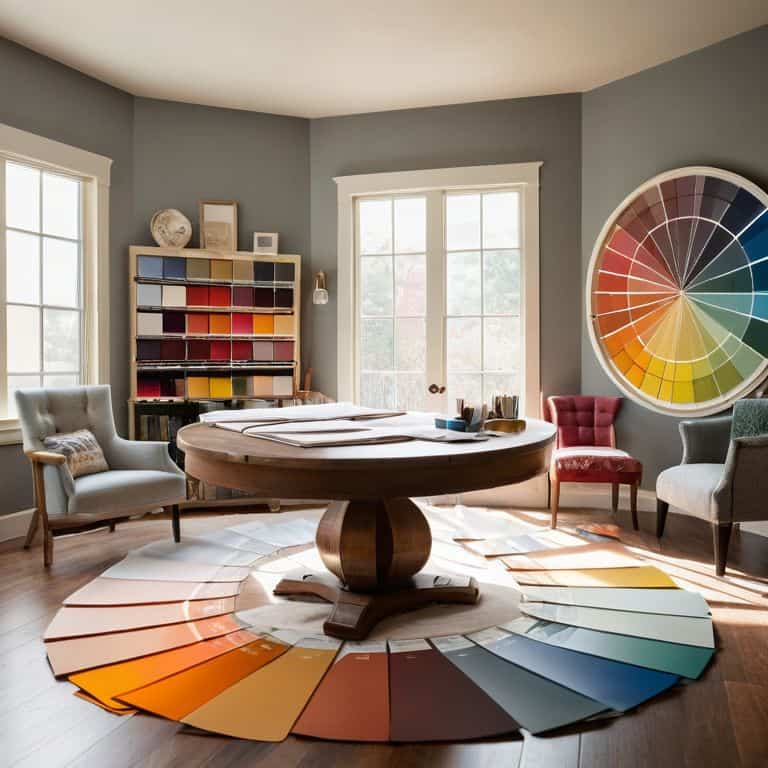
Choosing Finish Fixing Color Mismatches
Now that we’ve prepped our canvas, let’s talk about choosing the perfect finish. I’ve learned the hard way that fixing color mismatches can be a real headache. When I repainted my living room, I thought I’d found the perfect shade of blue – but it ended up being two tones lighter than I expected. To avoid this, always test your paint samples on the wall, and check them at different times of day. Natural light can completely change how the color looks, and you want to make sure it’s the hue you fell in love with. Take a photo of the sample on your wall, and compare it to the paint swatch – it’s a simple trick that can save you from a costly mistake.
The Plot Thickens Painting Surface Prep
Now that we’ve covered the basics, let’s dive into the often-overlooked world of painting surface prep. I like to think of it as setting the stage for our story – a smooth, even surface is essential for a happy ending. My trusty sidekick, a orbital sander named Sandy, helps me get the job done. By taking the time to fill holes, sand down rough spots, and wipe away dust and debris, we can ensure our paint adheres evenly and looks its best.
A well-prepped surface is the difference between a beautiful, professional-looking finish and a lackluster one. So, take a deep breath and get ready to get a little messy – it’s time to bring your walls to life!
The Story Unfolds: 5 Painting Pitfalls to Sidestep
- Rushing the Prep: Not allowing enough time for surfaces to dry or be properly cleaned before painting
- Color Conundrum: Forgetting to test paint samples on the wall, leading to unexpected hues and shades
- Brushing Off the Details: Overlooking small areas like trim, baseboards, and moldings, which can make or break the final look
- The Wrong Brush for the Job: Using low-quality or incorrect brushes that can leave streaks, marks, or uneven textures
- Lighting Letdown: Not considering how different lighting conditions can affect the color and overall ambiance of the room, leading to a less-than-perfect finish
Bringing It All Together: 3 Key Takeaways
Remember, a beautiful paint job is all about the story you want to tell – so don’t be afraid to get creative and make mistakes along the way!
Proper surface prep and choosing the right finish can make all the difference between a room that feels like a masterpiece and one that’s just, well, meh
By avoiding common painting pitfalls and embracing your unique style, you can turn your house into a home that’s a reflection of your personality – and that’s the most beautiful story of all!
A Brush with Wisdom
The biggest mistake we make when painting isn’t the color we choose, but the story we forget to tell – every wall, every stroke, is a chance to rewrite our space and rediscover ourselves.
Maya Rivera
Bringing It All Together
As we’ve navigated the world of painting, we’ve uncovered a plethora of common pitfalls that can make or break the story of our rooms. From painting surface prep to choosing the perfect finish and avoiding color mismatches, it’s clear that a successful paint job is all about the details. By being mindful of these potential mistakes, we can transform our spaces into unique reflections of our personalities and styles. Whether you’re a seasoned DIY enthusiast or a novice navigator of the world of home renovation, remembering these key points will help you create a space that’s truly yours.
So, the next time you pick up a paintbrush, remember that you’re not just applying a fresh coat of color – you’re writing the next chapter in the story of your home. Don’t be afraid to get creative, try new things, and make mistakes. After all, it’s often the unexpected twists and turns that make our spaces truly special. With a little patience, practice, and passion, you’ll be well on your way to crafting a home that’s a beautiful reflection of your unique spirit and style.
Frequently Asked Questions
What are some common mistakes to avoid when painting a room with uneven or textured surfaces?
When tackling uneven or textured surfaces, I’ve learned to beware of skipping primer or using the wrong roller nap length – it’s like trying to write a story without a solid foundation! Make sure to prime those rough patches and choose the right tools to get a smooth, even finish that lets your room’s unique character shine through.
How can I prevent paint from dripping or running when using a roller on a ceiling or wall?
To prevent paint drips, I swear by ‘Wet Edge’ technique – keep a wet edge by working in small sections, about 4′ x 4′, and use a high-quality roller extension pole with a microfiber cover to minimize excess paint. My trusty roller, ‘Rosie,’ never fails me!
What are the most common color mismatch mistakes when painting a room and how can I fix them?
Oh no, color mismatches can be a total plot twist! I’ve learned to always test my paint samples on different walls and at various times of day to ensure the color looks great in every light. If you’ve already painted and notice a mismatch, don’t panic! You can usually fix it by re-tinting or re-applying a new coat, but sometimes it’s easier to just roll with it and make it a unique design element.