I still remember the day I decided to turn the sloping mess in my backyard into a thriving garden – I was determined to figure out how to build a garden bed on a slope. The internet was flooded with complicated tutorials and intimidating engineering jargon, but I was convinced there had to be a simpler way. As it turns out, building a garden bed on a slope doesn’t have to be rocket science – it’s all about embracing the chaos and having fun with it. I’ve learned that with the right mindset and a few basic tools, you can transform any slope into a killer garden bed that’s not only functional but also a stunning addition to your outdoor space.
In this article, I’ll share my hands-on experience and no-nonsense advice on how to build a garden bed on a slope. I’ll walk you through the entire process, from planning and preparation to the final touches. You’ll learn how to choose the right materials, design a bed that works with your slope, and troubleshoot common issues that may arise. My goal is to empower you with the knowledge and confidence to take on this project and create something truly amazing. So, let’s get started and turn that slope into a beautiful garden bed that you’ll enjoy for years to come!
Table of Contents
Guide Overview: What You'll Need
Total Time: 4 hours 30 minutes
Estimated Cost: $100 – $200
Difficulty Level: Intermediate
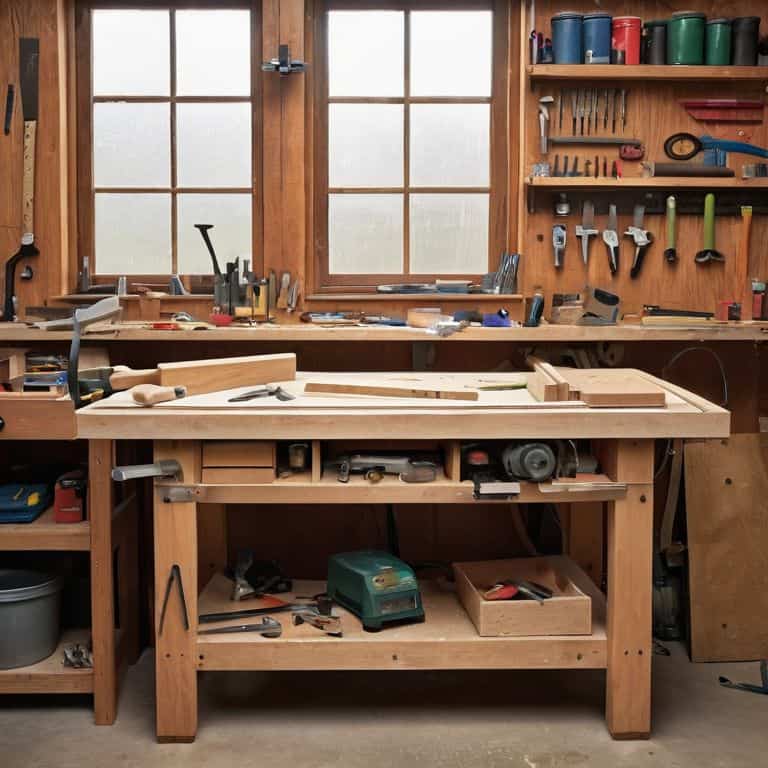
Tools Required
- Shovel (for digging and leveling)
- Level (to ensure the bed is level)
- Tape measure (for measuring the slope and bed dimensions)
- Circular saw (for cutting lumber)
- Drill (for drilling screws)
- Wrench (for tightening screws)
Supplies & Materials
- 2-in x 6-in lumber (for the frame)
- 2-in x 4-in lumber (for support)
- Soil (to fill the bed)
- Gravel (for drainage)
- Geotextile fabric (for weed barrier)
- Wood screws (for assembling the frame)
- Weather-resistant wood glue (for reinforcing the frame)
Step-by-Step Instructions
- 1. First, let’s assess the slope and figure out the best way to tackle it – we don’t want any waterlogged areas or uneven ground messing with our garden bed’s drainage. I like to start by walking the slope, getting a feel for how steep it is and where the water tends to collect. This will help us decide how to design our bed and where to place the drainage system.
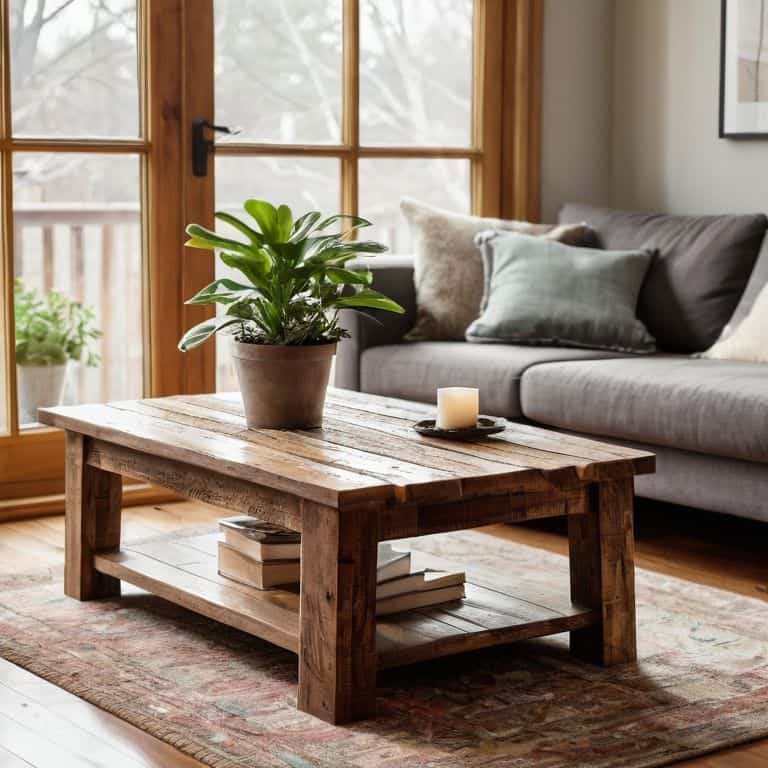
- 2. Next, we need to choose the right materials for our garden bed. I’m a big fan of using reclaimed wood or natural stone for the frame, as it gives the bed a unique, rustic look. For the bottom of the bed, we’ll want to use a durable landscape fabric to prevent weeds from growing up into our plants. Make sure to select a fabric that’s breathable and allows for good drainage.
- 3. Now it’s time to start building the frame of our garden bed. We’ll begin by constructing the sides, using our chosen material to create a sturdy wall that can hold back the soil. I like to use a combination of screws and brackets to ensure the frame is secure and can withstand the elements. Remember to leave a little extra room at the bottom for the landscape fabric.
- 4. With the sides in place, it’s time to add the bottom of our garden bed. This is where that landscape fabric comes in – simply cut it to size and lay it down inside the frame. Make sure to overlap the seams by a few inches to prevent any weeds from sneaking through. Then, use some rocks or gravel to weigh down the fabric and prevent it from shifting around.
- 5. Next up, we need to install a drainage system to prevent water from collecting in our garden bed. I like to use a combination of PVC pipes and perforated tubes to create a system that allows excess water to escape. Simply dig a small trench at the bottom of the bed, lay in the pipes, and cover them with a layer of gravel.
- 6. Now it’s time to fill our garden bed with a mix of topsoil, compost, and other nutrients. I like to use a layered approach, starting with a base layer of gravel or rocks to help with drainage, followed by a layer of compost, and finally a layer of topsoil. This will give our plants a healthy foundation to grow from.
- 7. Finally, let’s add some finishing touches to our garden bed. This might include adding a decorative border, installing a trellis or other support system, or simply planting our favorite flowers, vegetables, or herbs. Whatever we choose, the key is to have fun and be creative – after all, that’s what gardening is all about!
Slope Garden Bed Mastery
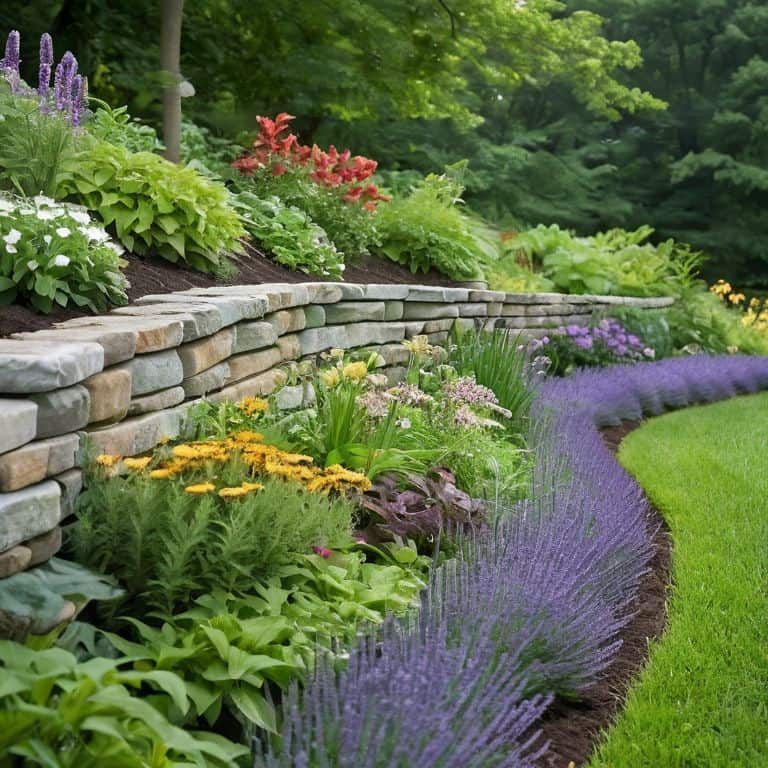
As we dive deeper into creating an amazing garden on a slope, it’s essential to consider slope stabilization techniques to ensure our garden bed remains secure and thriving. One of my favorite methods is using a combination of retaining walls and clever planting to hold the soil in place. By choosing the right plants with deep roots, we can create a natural barrier that prevents erosion and keeps our garden bed intact.
When it comes to designing our raised garden bed, there are countless raised garden bed designs to explore. I’m a big fan of incorporating natural materials like wood and stone to create a unique and rustic look. Not only do these materials blend seamlessly into the surrounding landscape, but they also add a touch of warmth and character to our garden. To take it to the next level, we can experiment with different garden bed border ideas, such as using reclaimed wood or decorative metal edging, to give our garden a personalized touch.
To guarantee a healthy and flourishing garden, we need to focus on drainage solutions for sloped gardens. This is where the magic happens, and our garden can truly thrive. By incorporating a mix of porous materials, like gravel and sand, and carefully designing our garden’s water flow, we can create a thriving ecosystem that’s resistant to waterlogged soil and root rot. With these tips and tricks up our sleeve, we’ll be well on our way to becoming slope gardening masters, and our gardens will be the envy of the neighborhood.
Drainage Solutions Uncovered
Now that we’ve tackled the retaining wall, let’s dive into the juicy stuff – drainage solutions! I’ve learned that a solid drainage system can make or break your slope garden bed. You don’t want waterlogged soil killing your plants, right? My go-to trick is to add a layer of gravel or perlite at the bottom of the bed, which helps excess water flow out and prevents roots from rotting.
I also like to incorporate hidden drainage channels, like PVC pipes or old guttering, to direct water away from the bed. It’s all about creating a harmonious flow – and I mean that literally! With these simple drainage solutions, you’ll be well on your way to slope garden bed mastery. Trust me, it’s worth getting creative with drainage – your plants (and your sanity) will thank you!
Retaining Wall Secrets
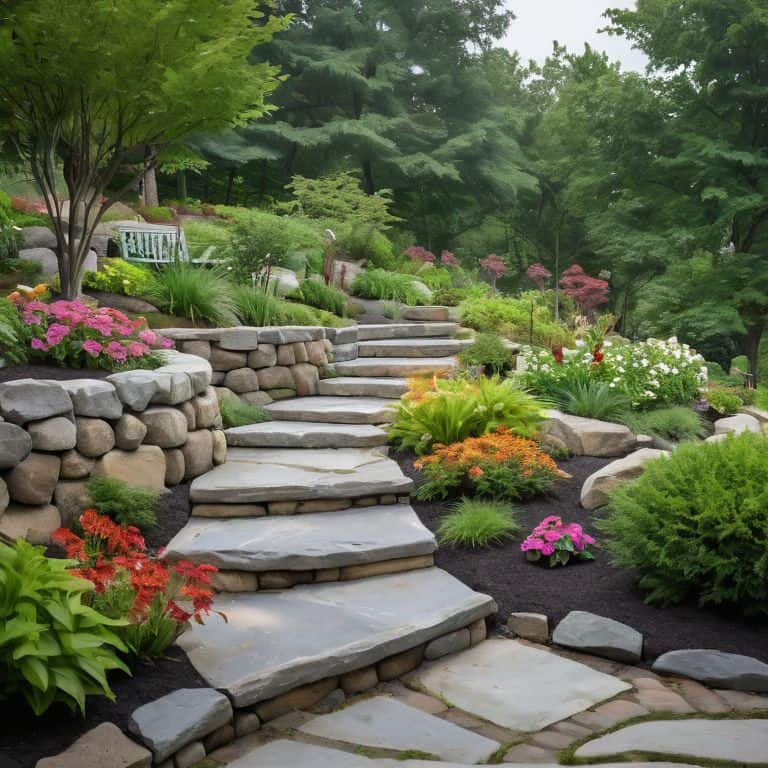
Now that we’ve mastered the slope, let’s talk about the secret sauce – retaining walls. I like to think of them as the ultimate game-changers for slope garden beds. Not only do they prevent erosion, but they also add a ton of visual appeal. When building a retaining wall, I always say, “keep it simple, keep it sturdy.” Use materials like railroad ties, brick, or stone to create a strong foundation. And don’t be afraid to get creative with the design – after all, it’s all about turning a potential problem into a beautiful feature.
I’ve had my fair share of trial and error with retaining walls, but one thing I’ve learned is that drainage is key. Make sure to include a few inches of gravel behind the wall to let water flow freely. Trust me, it’s a total lifesaver. With a solid retaining wall in place, you’ll be free to focus on the fun stuff – like planting and decorating your new slope garden bed.
Slope Smarts: 5 Essential Tips for a Killer Garden Bed
- Choose the right wood: I always say, ‘you can’t go wrong with cedar’ – it’s naturally rot-resistant and smells amazing!
- Don’t be afraid to get creative with your slope: add some curves, or even a few levels – it’s all about visual interest, baby!
- Make sure you’ve got a solid foundation: I like to use a mix of gravel and sand to give my garden bed some serious drainage power
- Keep it simple, stupid: don’t overcomplicate your design – sometimes the simplest solutions are the most effective (and the most beautiful!)
- Add some personality to your retaining wall: I love using reclaimed bricks or stones to give my garden bed a little extra character – it’s all about the details, folks!
Slope Garden Bed Essentials to Remember
Always assess the slope’s grade and plan your garden bed’s design accordingly, taking into account the materials and tools you’ll need for a stable and thriving garden
Proper drainage is key to preventing erosion and waterlogged soil, so don’t be afraid to get creative with your drainage solutions and consider factors like gravel, sand, and perforated pipes
Remember, building a garden bed on a slope is all about embracing the challenge and having fun with the process – don’t be too hard on yourself if things don’t go exactly as planned, and be prepared to adapt and learn as you go
Slope Garden Wisdom
Building a garden bed on a slope isn’t about taming the land, it’s about working with it – every unexpected twist and turn is an opportunity to create something truly unique and breathtakingly beautiful.
Franklyn "Frank" Bishop
Wrapping Up Your Slope Garden Bed Project
Now that we’ve covered the basics of building a garden bed on a slope, from the initial planning to the final touches, it’s time to step back and admire your handiwork. You’ve learned how to construct a sturdy retaining wall, implement effective drainage solutions, and choose the right plants for your new garden bed. Remember, the key to a successful slope garden is to be mindful of the water flow and to create a stable structure that will withstand the elements. By following these steps and tips, you’ll be well on your way to creating a beautiful and thriving garden, even in the most challenging terrain.
As you put the finishing touches on your project, keep in mind that building something with your own hands is a truly rewarding experience. Don’t be afraid to experiment, try new things, and learn from your mistakes. And when you’re done, take a moment to appreciate the fruits of your labor – you’ve earned it! With your new slope garden bed, you’ll not only be adding some curb appeal to your home, but you’ll also be creating a peaceful oasis where you can relax and enjoy nature. Happy building!
Frequently Asked Questions
What kind of materials are best for building a retaining wall on a slope to prevent erosion?
Dude, for a retaining wall on a slope, I swear by using natural stone, concrete blocks, or wood timbers – they’re all solid choices to prevent erosion. Just make sure you’re using a waterproof membrane to keep things dry behind the wall, and you’re golden!
How do I determine the optimal height and depth for my garden bed on a slope to ensure proper drainage and root growth?
Dude, that’s a great question! For optimal height and depth, I recommend keeping your garden bed between 6-8 inches deep, and the height of the bed should follow the natural slope. Think of it like a staircase – each tier slightly lower than the last, allowing water to flow freely and roots to grow deep.
Can I use recycled or reclaimed materials to build my slope garden bed, and if so, what are some creative ways to do it?
Absolutely, let’s get creative! I love using recycled or reclaimed materials for my projects. For a slope garden bed, you can repurpose old bricks, stones, or even wooden pallets to create a unique retaining wall. Think outside the box and get ready to turn trash into treasure – it’s all about embracing those happy accidents and giving new life to old materials!