I still remember the first time I tried to build shelves in my dad’s garage – it was a disaster. I mean, who needs instructions, right? Wrong. I ended up with a wobbly mess that couldn’t even hold my favorite toolbox. But that’s exactly why I’m excited to share with you my take on how to build shelves that are not only sturdy but also look amazing. It’s a skill that’s often shrouded in mystery, with many believing it requires a professional touch. However, the truth is, with the right guidance and a bit of patience, anyone can master the art of building shelves.
In this article, I promise to cut through the noise and give you the lowdown on how to build shelves like a pro. You won’t find any intimidating jargon or complicated diagrams here. Instead, I’ll walk you through a simple, step-by-step process that’s easy to follow and fun to execute. From choosing the right materials to adding those finishing touches, I’ve got you covered. So, if you’re ready to unleash your inner DIY enthusiast and create some epic shelves, let’s get started on this journey together. With my guidance, you’ll be building shelves like a rockstar in no time, and I’m excited to share this journey with you.
Table of Contents
Guide Overview: What You'll Need
Total Time: 2 hours 30 minutes
Estimated Cost: $50 – $100
Difficulty Level: Intermediate
Tools Required
- Circular Saw (for cutting lumber)
- Drill (with screwdriver and drill bits)
- Tape Measure (for measuring and marking lumber)
- Level (for ensuring shelves are level)
- Hammer (for tapping shelves into place)
- Utility Knife (with extra blades)
Supplies & Materials
- 2-in x 4-in lumber (for shelf frames)
- 3/4-in plywood (for shelf boards)
- Wood Screws (for assembling shelves)
- Wall Anchors (for securing shelves to wall)
- Sandpaper (for smoothing out wood)
- Paint or Stain (optional, for finishing shelves)
Step-by-Step Instructions
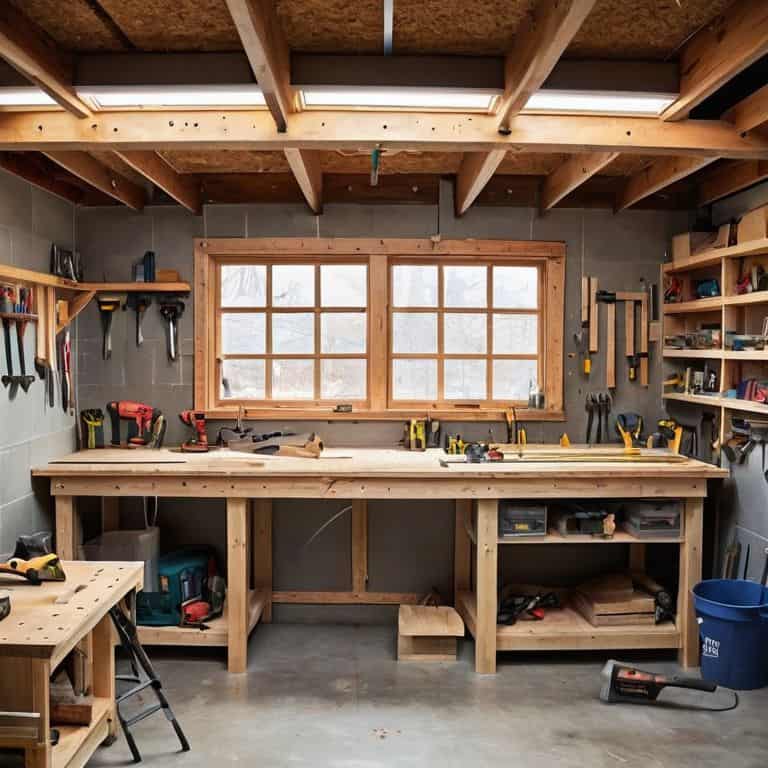
- 1. First, let’s gather our materials and get familiar with the tools we’ll be using. We’ll need some 3/4 inch plywood for the shelves, 1×4 lumber for the frame, a drill press, a circular saw, a hand saw or a jigsaw, and some sandpaper. Make sure you’ve got a clean and well-ventilated workspace, because we’re about to get our hands dirty.
- 2. Next, we need to measure and cut our lumber for the frame. I like to use a combination square to ensure my corners are nice and sharp. Remember, measure twice, cut once – it’s better to take your time and get it right than to have to redo a cut. Use your circular saw to make the cuts, and try to keep your cuts as smooth as possible to avoid extra sanding later on.
- 3. Now it’s time to assemble the frame. Use your drill press to screw the sides together, making sure they’re square and level. Don’t overtighten the screws just yet, we want to make sure everything fits together nicely before we add the shelves. Take a step back and admire your work – it’s starting to look like a real shelf unit.
- 4. With the frame assembled, let’s cut the shelves to size. Use your circular saw or jigsaw to make the cuts, and sand the edges to smooth them out. I like to use a random orbit sander for this part, it makes quick work of smoothing out the surfaces. Make sure the shelves fit nicely in the frame, and take note of any adjustments you need to make.
- 5. It’s time to attach the shelves to the frame. Use your drill press to screw the shelves into place, making sure they’re evenly spaced and secure. Don’t be afraid to add some extra support if you need it – we want these shelves to be sturdy. Take a moment to double-check your work, make sure everything is level and plumb.
- 6. Now that the shelves are attached, let’s add some finishing touches. Sand the entire unit to smooth out any rough edges or splinters, and apply a finish of your choice – I like to use a water-based polyurethane for a durable and eco-friendly option. Make sure to follow the manufacturer’s instructions for application and drying times.
- 7. Finally, let’s install our shelf unit and start loading it up with our favorite books, decorations, or kitchen gadgets. Make sure it’s securely attached to the wall to avoid any accidents, and take a step back to admire your handiwork. You should be feeling pretty proud of yourself right about now – you’ve just built an amazing set of shelves with your own two hands.
How to Build Shelves
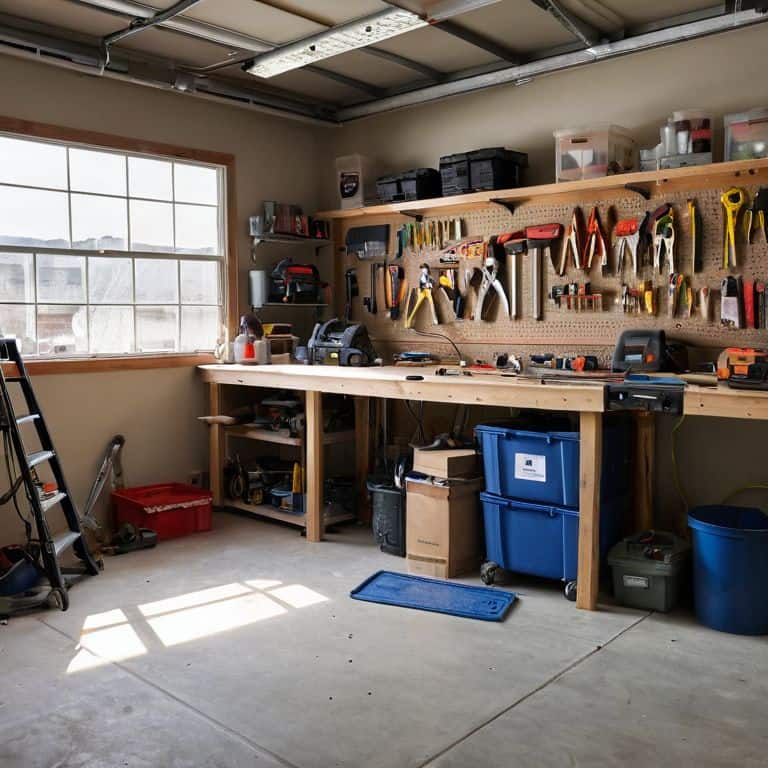
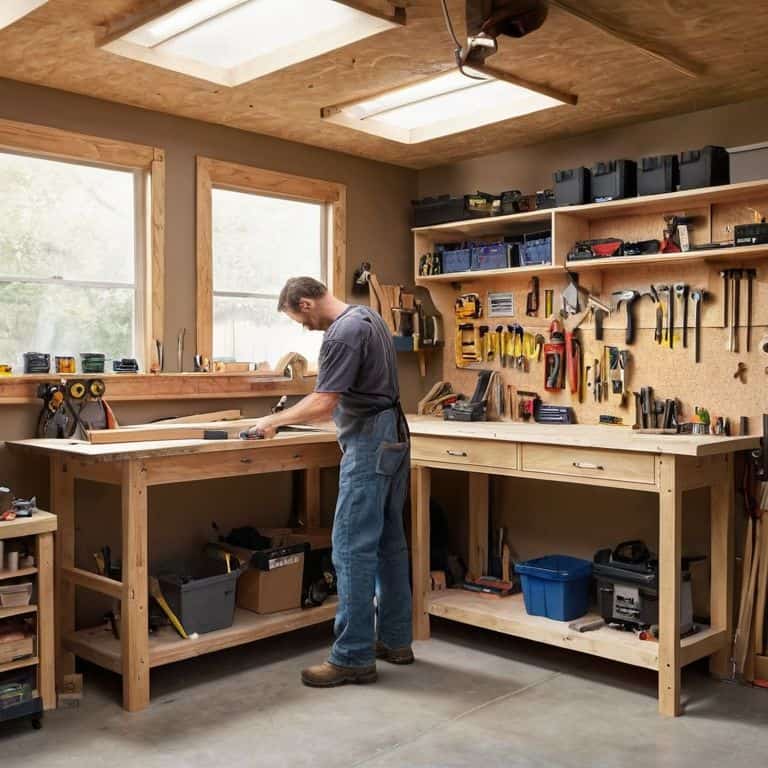
As we dive into the world of easy shelf designs, it’s essential to consider the space where your new shelves will live. Think about the items you want to display or store, and how they’ll interact with the surrounding environment. For instance, if you’re building shelves for a garage, you might want to look into diy shelving units for garage that can withstand the wear and tear of a busy workspace.
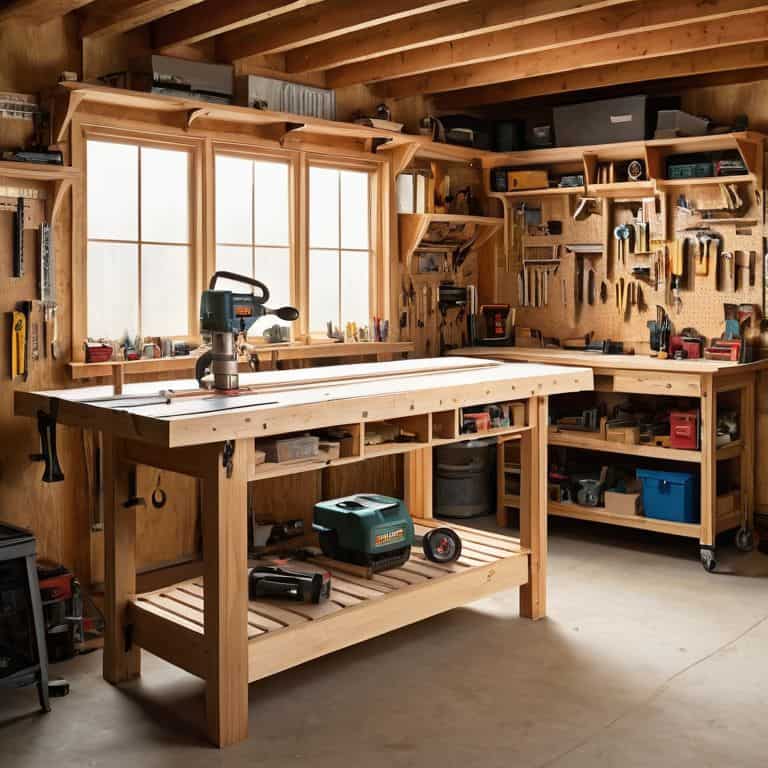
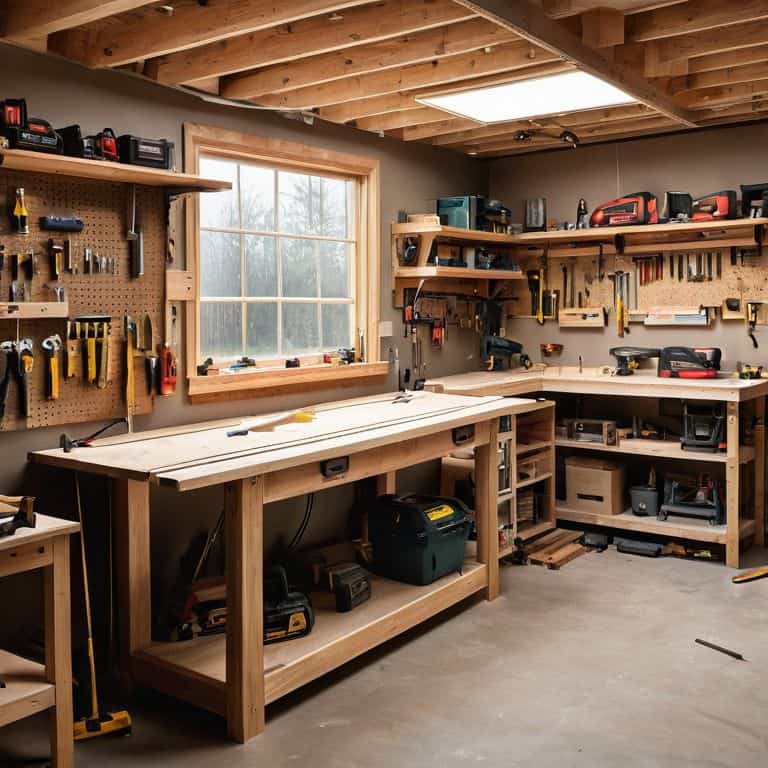
When it comes to the actual construction, wooden shelf construction tips can make all the difference. Pay attention to the type of wood you’re using, as well as the joints and brackets that will hold everything together. Decorative shelf brackets can add a touch of personality to your shelves, but make sure they’re sturdy enough to support the weight of your items.
As you’re assembling your shelves, don’t be afraid to get creative with custom bookcase ideas. Think about adding unique features, like built-in lighting or intricate carvings, to make your shelves truly one-of-a-kind. And remember, wall mounted shelf plans can be a great way to save space and add visual interest to a room. With a little patience and practice, you’ll be building shelves like a pro in no time!
Custom Bookcase Ideas With Decorative Brackets
Now that we’ve got the basics covered, let’s kick it up a notch with some custom bookcase ideas that’ll make your friends green with envy. I’m talking decorative brackets, folks! These little gems can add a touch of elegance to your shelves, and I just can’t get enough of ’em. From sleek metal to ornate wooden designs, the possibilities are endless.
I’ve experimented with all sorts of brackets in my own workshop, and I’ve got to say, it’s amazing how they can totally transform the look of a bookcase. So, don’t be afraid to get creative and try out some unique bracket designs – your shelves will thank you!
Easy Shelf Designs for Beginners
Now that we’ve covered the basics, let’s talk about some easy shelf designs perfect for beginners. I love starting with simple projects that still pack a punch – like a floating shelf or a rustic wooden crate shelf. These designs require minimal materials and are a great way to get a feel for working with wood and power tools. Plus, they’re super versatile, so you can customize them to fit your unique style and space.
For a floating shelf, you can use a pre-made bracket or get creative and make your own. And for a crate shelf, just think about all the cool ways you can distress and finish the wood to give it a one-of-a-kind look. Both of these designs are awesome for practicing your measuring, cutting, and assembling skills – and they’re quick to complete, so you’ll get that sweet sense of satisfaction ASAP.
Shelf Mastery: 5 Tips to Take Your DIY Game to the Next Level
- Measure Twice, Cut Once: The Golden Rule of Shelf Building
- Choose the Right Wood for the Job: A Guide to Selecting the Perfect Lumber
- Get Creative with Your Shelf Design: Think Outside the Box (or Shelf)
- Safety First: Essential Power Tool Precautions for a Hazard-Free Workshop
- Don’t Be Afraid to Make Mistakes: How Happy Accidents Can Lead to Innovative Shelf Solutions
Key Takeaways to Get You Building
Remember, it’s all about having fun and embracing those ‘happy accidents’ – they’re often the best part of the build process!
Don’t be afraid to experiment with different materials and designs to make your shelves truly unique and reflective of your personal style
With the right mindset and a few simple tools, you can turn any space into a functional and beautiful area that showcases your creativity and DIY skills
The Joy of Shelf Creation
Building shelves isn’t just about storing your stuff, it’s about crafting a space that tells your story – every plank, every bracket, and every finish is a chance to add a chapter to the narrative of your home.
Franklyn "Frank" Bishop
Wrapping Up Your Shelf-Building Adventure
As we conclude this journey of building shelves, let’s take a moment to reflect on the process. We’ve covered the essential steps, from planning and designing to executing and refining. You’ve learned about easy shelf designs for beginners and even explored some amazing custom bookcase ideas with decorative brackets. Remember, the goal wasn’t just to build functional storage but to create something that reflects your personality and style. By embracing the DIY spirit, you’ve not only saved money but also gained a sense of accomplishment that comes with creating something with your own hands.
So, as you step back to admire your handiwork, remember that making mistakes is an essential part of the learning process. Don’t be too hard on yourself if things didn’t turn out exactly as planned – it’s all part of the creative journey. Keep experimenting, learning, and most importantly, having fun. Building shelves is just the beginning; it’s a gateway to a world of DIY possibilities. Keep pushing your boundaries, and soon you’ll find yourself tackling even more ambitious projects, turning your house into a home that truly represents your unique spirit and style.
Frequently Asked Questions
What type of wood is best for building shelves that will hold heavy objects?
Dude, for heavy-duty shelves, I’m all about using solid hardwoods like oak or maple. They’re rock-solid and can handle the weight. You can also consider using dense plywood or MDF, but make sure it’s thick enough to support your heavy objects. Remember, the key is to choose a wood that’s sturdy, so your shelves don’t end up sagging or collapsing under the weight!
How do I ensure my shelves are level and securely attached to the wall?
Leveling your shelves is a breeze, my friend! Use a trusty level tool and a pencil to mark the spot where you’ll drill into the wall. For extra security, grab some wall anchors and screws – they’ll keep your shelves snug and prevent any wobbling. Now, let’s get those shelves rock-solid and ready for all your favorite books and decorations!
Can I use decorative brackets to add support and style to my DIY shelves?
Absolutely, decorative brackets can add a ton of style and support to your DIY shelves. I love using them to give my projects a unique touch. Not only do they help distribute the weight, but they can also become a cool design element. Let’s take a look at some of my favorite bracket styles and how to incorporate them into your build!