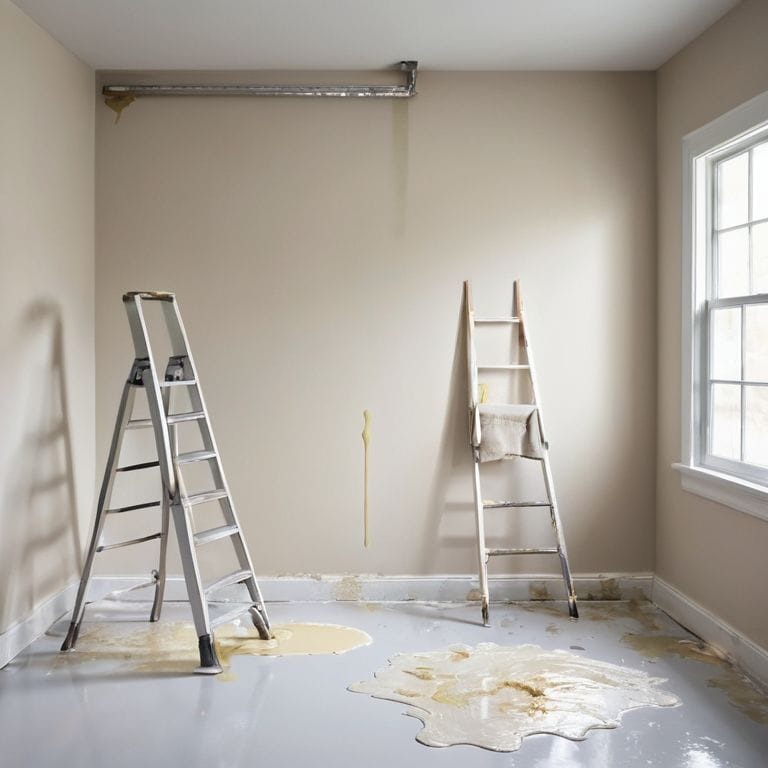
I still remember the first time I tried to build a raised garden bed – I was a total newbie, and my dad’s old power tools were my only guides. I thought it would be a breeze, but boy, was I wrong! The truth is, most of us have been misled into thinking that building a raised garden bed is a tedious, expensive task that requires a lot of expertise. But I’m here to tell you that’s just not true – with the right mindset and a few simple tools, you can create a thriving garden in no time. I’ve learned that the key to success lies in embracing the process, not being afraid to make mistakes, and having fun with it. So, if you’re ready to get your hands dirty and learn how to build a raised garden bed like a pro, you’re in the right place.
In this article, I’ll share my personal experience and practical advice on how to turn a pile of lumber into a beautiful, functional garden bed. You’ll learn how to choose the right materials, prepare the site, and assemble the bed with ease. I’ll also give you some tips on how to add a personal touch to your project, whether it’s a custom planter or a unique irrigation system. My goal is to inspire you to take control of your outdoor space and create something truly amazing. So, let’s get started and make this raised garden bed a reality! With my guidance, you’ll be enjoying fresh, homegrown produce in no time, and you’ll have the satisfaction of knowing you built it yourself.
Table of Contents
- Guide Overview: What You'll Need
- Step-by-Step Instructions
- Building Raised Garden Beds
- Hammering Out the Details: 5 Key Tips for a Killer Raised Garden Bed
- Key Takeaways for Your Raised Garden Bed Project
- The Joy of Getting Your Hands Dirty
- Wrapping Up Your Raised Garden Bed Project
- Frequently Asked Questions
Guide Overview: What You'll Need
Total Time: 2 hours 30 minutes
Estimated Cost: $50 – $100
Difficulty Level: Intermediate
Tools Required
- Shovel (for digging and mixing soil)
- Tape measure (for measuring lumber and bed dimensions)
- Square (for ensuring corners are square)
- Drill (with screwdriver and drill bits)
- Impact driver (for driving screws)
- Hammer (for tapping screws into place)
- Level (for ensuring the bed is level)
- Safety glasses (for protecting eyes from debris)
- Work gloves (for protecting hands from splinters and cuts)
Supplies & Materials
- 2-in x 6-in lumber (for the frame, 8 feet long)
- 2-in x 4-in lumber (for the bottom, 8 feet long)
- Wood screws (2.5 inches long, for assembling the frame)
- Weather-resistant wood glue (for reinforcing joints)
- Soil (a mix specifically designed for raised garden beds)
- Gravel or decomposed granite (for drainage and weed suppression)
- Wood finish or sealant (optional, for protecting the wood from the elements)
Step-by-Step Instructions
- 1. First, let’s gather our materials and get ready to turn a pile of lumber into a thriving garden – we’ll need 2″ x 6″ or 2″ x 8″ cedar or recycled plastic lumber for the frame, 2″ x 4″ lumber for the bottom, wood screws, a drill, a circular saw, and a tape measure. I like to lay everything out in my workshop, even if it looks like organized chaos, to get a sense of the project’s scope.
- 2. Next, we’ll measure and cut the frame pieces according to our design – for a standard 4′ x 8′ raised bed, you’ll need four pieces of lumber cut to the same length for the sides and two more for the ends. I always put on some good music and get my circular saw ready for this part, as it’s where the project really starts to take shape. Remember, measuring twice and cutting once is key to avoiding mistakes.
- 3. Now, let’s assemble the frame using wood screws – start by screwing the sides together to form a rectangular shape, then add the ends. Make sure it’s square and sturdy, as this will be the foundation of our garden bed. Don’t worry if it’s not perfect; we can always make adjustments as we go. I like to think of this step as the foundation of our little garden ecosystem.
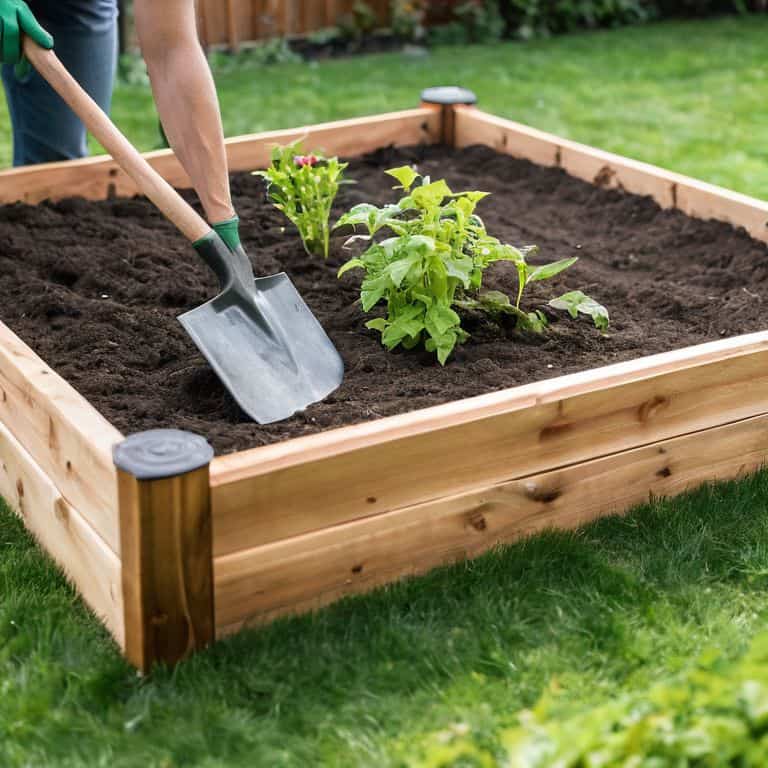
- 4. With the frame assembled, it’s time to add the bottom – cut the 2″ x 4″ lumber to fit inside the frame, leaving a little space between each piece for drainage. This is a crucial step, as we want to make sure our plants have good drainage to prevent waterlogged soil. I use a drill to screw these pieces into place, making sure they’re secure and evenly spaced.
- 5. Next up, we’ll add a layer of landscape fabric to prevent weeds from growing up into our garden bed – cut the fabric to size and staple it to the inside of the frame, making sure to cover the entire bottom and sides. This might seem like a small step, but trust me, it’s a game-changer when it comes to maintaining our garden.
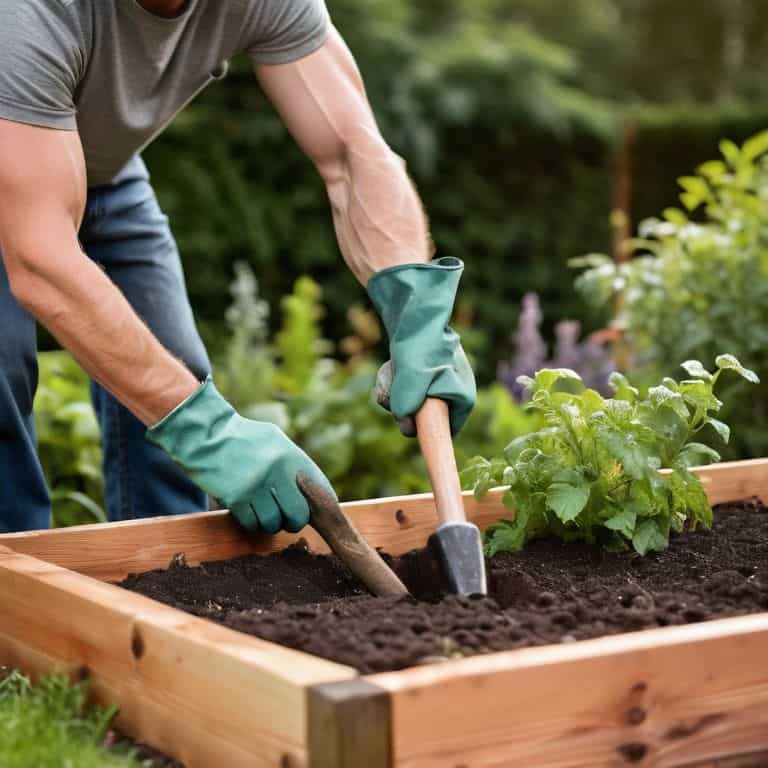
- 6. Now it’s time to fill our raised bed with a mix of topsoil, compost, and perlite or vermiculite – I like to think of this as the magic mix that will bring our plants to life. Fill the bed to the top, making sure to leave a little room for watering. This is where the real fun begins, as we get to start thinking about what plants we’ll put in our new garden bed.
- 7. Finally, let’s add some finishing touches – we can add a trellis or other supports for climbing plants, as well as a layer of mulch to retain moisture and suppress weeds. This is where we can really get creative and make our garden bed unique, so don’t be afraid to think outside the box and try something new. I love this part of the process, as it’s where our hard work and imagination come together to create something truly special.
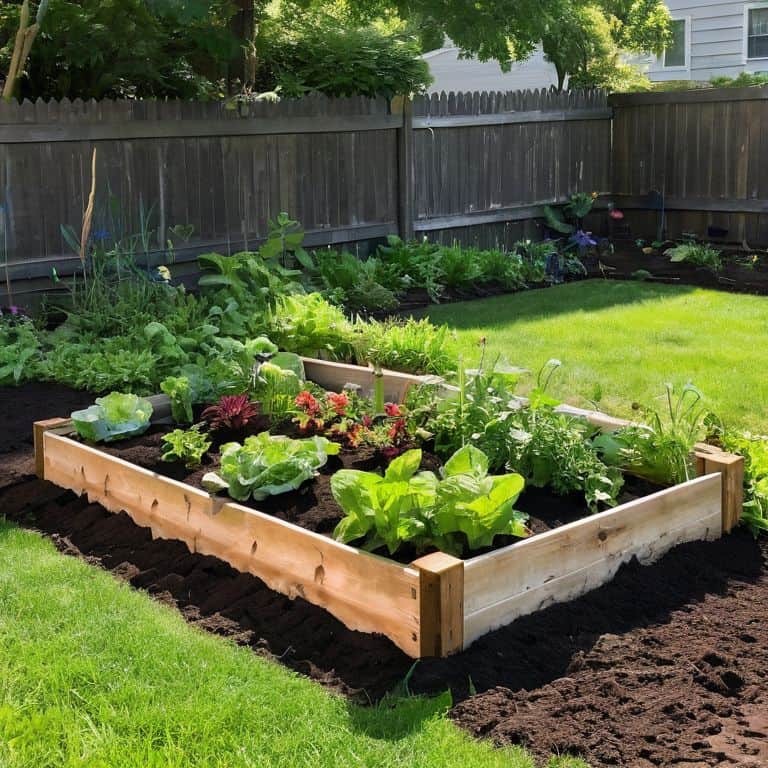
Building Raised Garden Beds

When it comes to raised garden bed plans for beginners, one of the most important things to consider is the type of wood you’ll be using. I’m a big fan of using reclaimed cedar for my garden beds, as it’s naturally resistant to rot and insects. Plus, it gives the whole thing a nice, rustic vibe.
As you start building, keep in mind that easy raised garden bed construction tips are all about simplicity and flexibility. Don’t be afraid to get creative with your design – after all, it’s your garden! Consider adding a trellis or a bench to make the most of your space.
For those of you who are dealing with a sloping yard, don’t worry – building a raised garden bed on a slope is definitely doable. Just make sure to level out the ground before you start building, and consider adding some extra support to the bottom of the bed to prevent it from shifting over time. With a little patience and practice, you’ll be growing your own veggies in no time!
Best Wood for Garden Beds
When it comes to choosing the best wood for your garden bed, I’m a big fan of using cedar or reclaimed wood. There’s something about the natural resistance to rot and insects that just makes sense for a garden. Plus, it looks amazing! I’ve also had great luck with cypress and redwood – they’re durable and can withstand the elements. Just remember, the type of wood you choose will affect the overall vibe of your garden, so pick something that fits your style.
I like to think that the wood is just the beginning – it’s what you do with it that really matters. So don’t be afraid to get creative and add your own personal touch to your garden bed. Whether you’re using screws, nails, or even just some good old-fashioned woodworking magic, the end result is going to be totally worth it.
Easy Raised Garden Bed Plans
Now that we’ve gotten our hands dirty building those raised garden beds, let’s talk about keeping it simple. I’ve got a few easy plans up my sleeve that’ll get you growing in no time. From compact urban plots to sprawling backyard gardens, the key is to start small and build up. I like to think of it as “gardening on your own terms” – we’re not trying to win any awards here, just have some fun and grow some amazing stuff.
My favorite easy plan is a 4×4 foot bed, perfect for a small herb garden or a few favorite veggies. It’s a great way to dip your toes in the water, and you can always add more beds as you get more comfortable with the process. Plus, it’s a fantastic way to experiment with different layouts and designs – just remember, it’s all about having fun and making mistakes, so don’t be afraid to try new things!
Hammering Out the Details: 5 Key Tips for a Killer Raised Garden Bed
- Choose the right wood for the job – I’m talking durable, rot-resistant stuff like cedar or reclaimed wood, not that pressure-treated nonsense
- Make sure your frame is level, folks – you don’t want your garden bed to be all wonky and uneven, that’s just asking for drainage issues
- Don’t be afraid to get creative with your design – add some curves, throw in some decorative trim, make it your own, you know?
- Drainage is key, people – you want to make sure excess water can escape, or you’ll be dealing with root rot and all sorts of other problems, trust me
- Add a bottom to your bed, whether it’s a layer of landscape fabric or a trellis, to keep pests and weeds from getting in and wreaking havoc on your poor plants
Key Takeaways for Your Raised Garden Bed Project
Remember, the most important part of building a raised garden bed is having fun and not being afraid to make mistakes – they’re an opportunity to learn and add your own unique twist to the project
Choose the right wood for your garden bed, considering factors like durability, sustainability, and how it will weather over time, to ensure your creation lasts for seasons to come
Don’t forget to add your personal touch to the project, whether it’s a custom planter, a quirky decoration, or a themed soundtrack to keep you company while you work – it’s your garden, and it should reflect your personality
The Joy of Getting Your Hands Dirty
Building a raised garden bed isn’t just about planting flowers or veggies, it’s about crafting a space where life happens – where every seed you sow and every board you nail is a testament to the magic of making something with your own two hands!
Franklyn "Frank" Bishop
Wrapping Up Your Raised Garden Bed Project
We’ve covered a lot of ground in this tutorial, from choosing the right wood for your garden bed to bringing your vision to life with power tools and a bit of creative elbow grease. I hope you’ve had as much fun following along as I have sharing my passion for DIY projects with you. Remember, the most important part of any project is the journey, not just the end result. Don’t be afraid to make mistakes – they’re an essential part of the learning process, and you can always improvise and adapt as you go.
As you put the finishing touches on your raised garden bed, I want to leave you with a final thought: the act of creating something with your own hands is one of the most rewarding experiences you can have. It’s not just about growing your own food or adding some beauty to your outdoor space – it’s about taking pride in your work and enjoying the fruits of your labor. So go ahead, get out there, and start building something amazing!
Frequently Asked Questions
What kind of soil is best to use for a raised garden bed?
Ah, soil time! I’m a big fan of mixing it up – literally! For my raised beds, I combine topsoil, compost, and a bit of perlite for drainage. It’s all about finding that sweet spot between water retention and aeration. Trust me, your plants will thank you!
How high should I make my raised garden bed for optimal drainage and accessibility?
Dude, for optimal drainage and accessibility, I’d say aim for a height between 6 to 8 inches. That way, water can flow out easily and you won’t have to bend over too far to tend to your plants. Plus, it’s a great height for adding a bottom layer of gravel or landscape fabric for extra drainage – trust me, your back and your plants will thank you!
Can I use reclaimed or recycled wood to build my raised garden bed, or are there specific concerns I should be aware of?
Absolutely, you can use reclaimed or recycled wood for your raised garden bed. I’ve done it myself and love the character it adds. Just be sure to check for any signs of rot, insect damage, or old chemical treatments that might leach into the soil. A little extra prep work and you’re good to go – your garden will thank you for the unique touch!