I still remember the first time I achieved shatteringly crisp chicken skin – it was like a revelation in the kitchen. I had been struggling to get it just right for weeks, trying every trick in the book to master the technique of how to get extra crispy chicken skin. But it wasn’t until I stumbled upon a simple, yet counterintuitive method that I finally cracked the code. The common myth that you need to constantly baste the chicken to get crispy skin is just that – a myth. In reality, it’s all about creating the right conditions for the skin to dry out and then sear to a perfect crisp.
In this article, I’ll share my foolproof method for achieving extra crispy chicken skin, every time. You’ll learn the importance of proper preparation, from drying the skin to selecting the right seasonings. I’ll walk you through the step-by-step process, explaining the science behind each stage, so you can understand why these techniques work. By the end of this guide, you’ll be equipped with the knowledge and confidence to create mouth-wateringly crispy chicken skin that will impress even the most discerning palates. Whether you’re a seasoned chef or a beginner in the kitchen, my goal is to empower you with the skills to make how to get extra crispy chicken skin a breeze.
Table of Contents
- Guide Overview: What You'll Need
- Step-by-Step Instructions
- How to Get Extra Crispy Chicken Skin
- My Top 5 Secrets to Achieving Irresistibly Crispy Chicken Skin
- Key Takeaways for Achieving Extra Crispy Chicken Skin
- The Secret to Unbeatable Crisp
- Bringing It All Together: The Secret to Irresistible Chicken Skin
- Frequently Asked Questions
Guide Overview: What You'll Need

Total Time: 1 hour 15 minutes
Estimated Cost: $10 – $20
Difficulty Level: Intermediate
Tools Required
- Oven (preheated to 425 degrees Fahrenheit)
- Baking Sheet (lined with aluminum foil)
- Wire Rack (to fit inside the baking sheet)
- Tongs or Spatula (for handling chicken)
- Meat Thermometer (optional)
Supplies & Materials
- Chicken Pieces (such as legs, thighs, or wings)
- Kosher Salt
- Brown Sugar
- Black Pepper
- Paprika
- Garlic Powder
- Onion Powder
- Butter or Oil (for brushing chicken skin)
- Baking Powder (optional, for extra crispiness)
Step-by-Step Instructions
- 1. First, let’s start with the basics: to achieve that shatteringly crisp chicken skin, you need to understand the importance of drying the skin. This is a crucial step that many of us overlook, but trust me, it makes all the difference. Take your chicken and pat it dry with paper towels, making sure to get rid of any excess moisture. This will help the skin to crisp up nicely when it’s cooked.
- 2. Next, it’s time to prepare your chicken for the cooking process. I like to use a mixture of salt, pepper, and other aromatics to give my chicken some extra flavor. Take a bowl and mix together your chosen spices, then rub them all over the chicken, making sure to get some under the skin as well. This will not only add flavor but also help to tenderize the meat.
- 3. Now, let’s talk about the cooking method. I’m a big fan of roasting chicken in the oven, as it allows for even cooking and helps to crisp up the skin. Preheat your oven to 425°F (220°C), then place the chicken in a roasting pan. I like to use a wire rack to elevate the chicken and allow air to circulate under it, which helps the skin to crisp up.
- 4. To get that extra crispy skin, you need to make sure the chicken is cooked at a high temperature for a short amount of time. Place the chicken in the oven and roast for about 20 minutes, then reduce the heat to 375°F (190°C) and continue cooking for another 30-40 minutes, or until the chicken is cooked through. During the last 10 minutes of cooking, I like to increase the heat to 425°F (220°C) again to get the skin nice and crispy.
- 5. While the chicken is cooking, you can prepare the finishing touches. I like to mix together some melted butter, garlic, and herbs to brush over the chicken during the last few minutes of cooking. This adds an extra layer of flavor and helps to baste the chicken, keeping it moist and delicious.
- 6. Once the chicken is cooked, remove it from the oven and let it rest for 10-15 minutes before carving. This allows the juices to redistribute and the skin to set, making it even crisper. During this time, you can prepare your sides and get everything ready to serve.
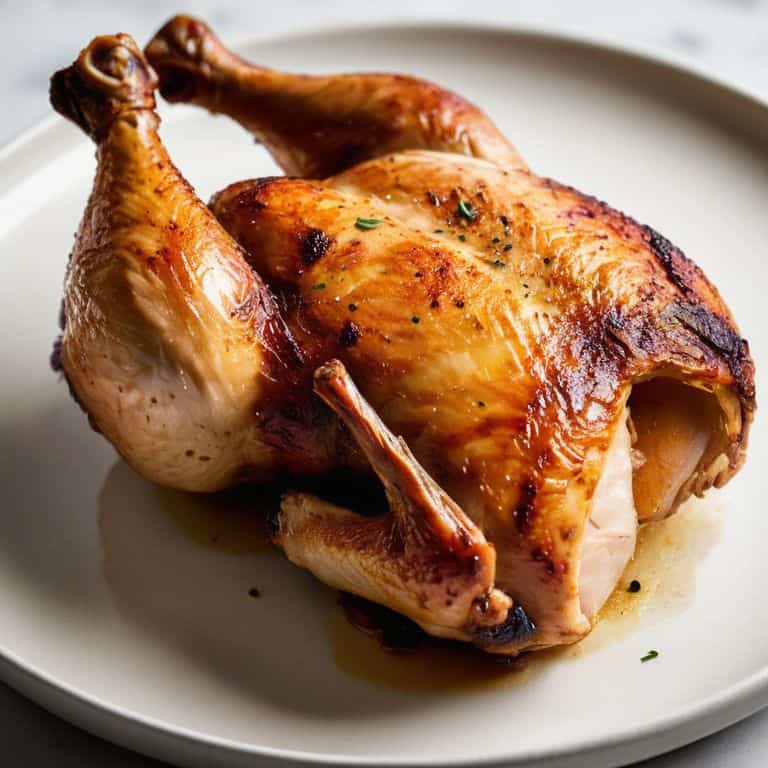
- 7. Finally, it’s time to carve and serve your deliciously crispy chicken. I like to use a sharp knife to carve the chicken, making sure to get a good chunk of crispy skin with each slice. Serve with your chosen sides and enjoy the perfectly cooked chicken, with its crispy skin and juicy meat.
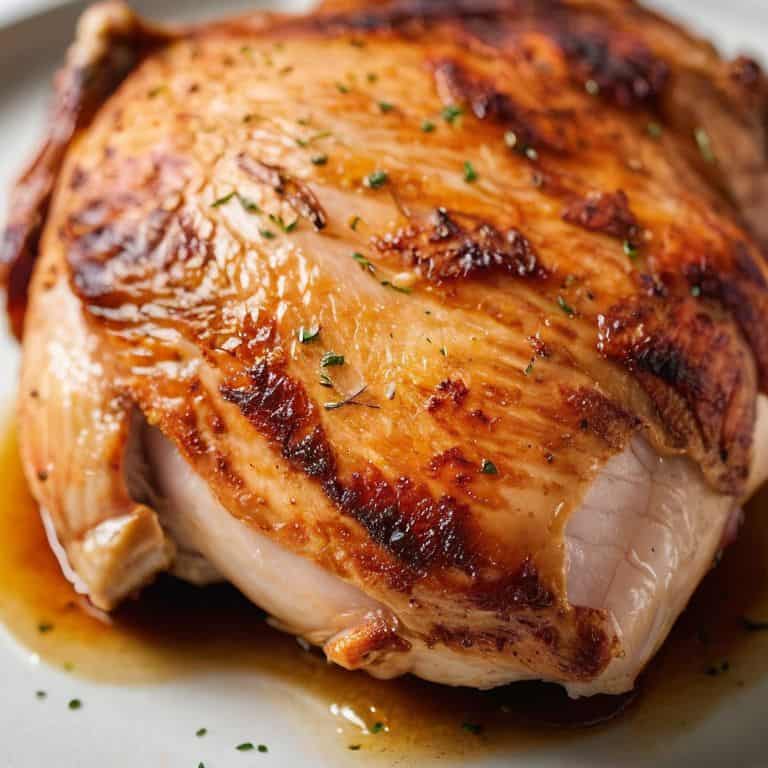
How to Get Extra Crispy Chicken Skin
To take your chicken skin to the next level, it’s essential to understand the importance of chicken skin rendering techniques. This process involves cooking the skin slowly to melt the fat underneath, resulting in a crispy texture. One way to achieve this is by using a combination of baking and broiling. By baking the chicken first, you can render the fat, and then finish it off under the broiler to get that perfect crisp.
Another method to consider is using an air fryer, which can produce crispy chicken skin with much less oil than traditional frying. Simply season the chicken skin with your desired herbs and spices, and cook it in the air fryer at a high temperature to get that satisfying crunch. For added flavor, try experimenting with different chicken skin seasoning ideas, such as paprika or garlic powder.
When it comes to achieving crispy chicken skin without frying, it’s all about texture tips. Make sure to pat the chicken skin dry with a paper towel before cooking to remove any excess moisture. You can also try using a mixture of baking powder and spices to create a crunchy coating. By following these tips and techniques, you’ll be well on your way to creating deliciously crispy chicken skin that’s sure to impress.
Crispy Chicken Skin Air Fryer Secrets
To take your crispy chicken skin to the next level, I swear by my air fryer secrets. One of my favorites is to pat the chicken dry with a paper towel before seasoning – this simple step helps the air fryer do its magic. I also recommend preheating the air fryer to get it nice and hot before adding the chicken. This initial blast of heat is key to getting that gorgeous crunch on the outside while keeping the inside juicy.
By following these air fryer tips, you’ll be amazed at how easy it is to achieve crispy chicken skin. Remember, the key is to not overcrowd the air fryer basket, giving each piece of chicken enough room to cook evenly. With a little practice, you’ll be a pro at making crispy chicken skin in the air fryer!
Mastering Chicken Skin Rendering Techniques
Mastering Chicken Skin Rendering Techniques
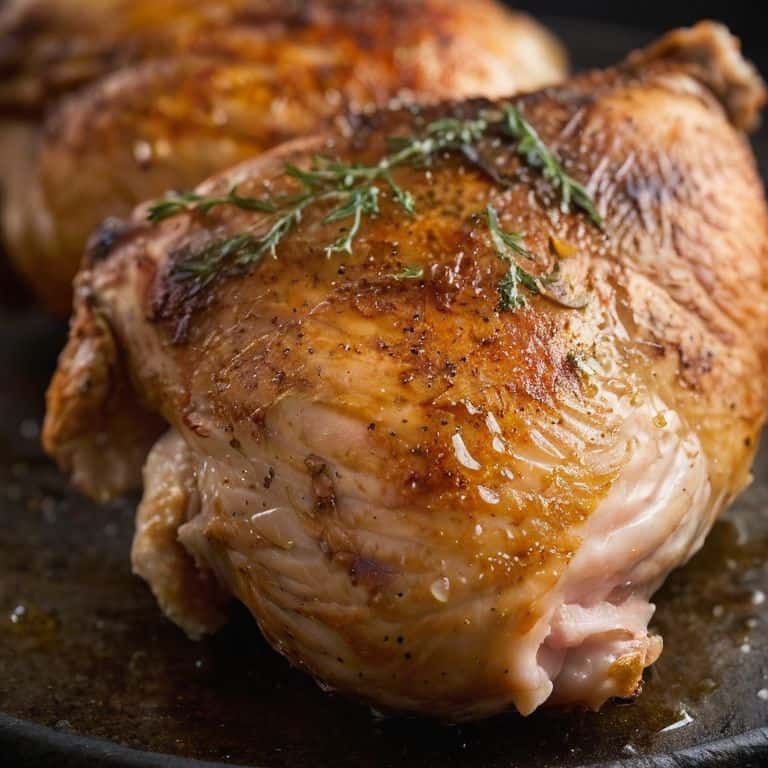
To achieve that perfect crunch, it’s essential to understand the art of rendering. This process involves cooking the chicken skin to remove excess fat, leaving it crispy and golden. I like to think of it as awakening the skin’s full potential. By rendering the skin, you’re not only making it crisper, but also more flavorful. It’s a simple yet crucial step that sets the stage for a truly unforgettable dish.
I’ve found that a combination of low heat and gentle patience is key to successful rendering. By cooking the skin slowly, you allow the fat to melt away, leaving behind a delicate, caramelized crust. It’s a technique that requires attention and care, but trust me, the end result is well worth the effort. With a little practice, you’ll be rendering like a pro, and your chicken dishes will never be the same.
My Top 5 Secrets to Achieving Irresistibly Crispy Chicken Skin
- Pat dry the chicken skin thoroughly before cooking to remove excess moisture, allowing for a crisper texture
- Use a mixture of kosher salt and brown sugar to cure the chicken skin overnight, enhancing flavor and crispiness
- Score the chicken skin in a crisscross pattern to allow fat to render out and create a crunchier surface
- Cook the chicken with a high-heat sear to quickly crisp the skin, then finish cooking at a lower temperature to prevent burning
- Rest the cooked chicken for 10-15 minutes before serving, allowing the juices to redistribute and the skin to retain its crunch
Key Takeaways for Achieving Extra Crispy Chicken Skin
Mastering the art of chicken skin rendering is crucial, and techniques such as drying the skin, using the right oven temperature, and not overcrowding the baking sheet can make all the difference
Utilizing an air fryer can be a game-changer for crispy chicken skin, as it allows for precise temperature control and even air circulation, resulting in a crunchier exterior and a juicier interior
Attention to detail and patience are essential, as achieving perfectly crispy chicken skin often requires experimentation and tweaking of recipes and techniques to find what works best for you
The Secret to Unbeatable Crisp
The journey to extra crispy chicken skin is not just about the technique, but about understanding the harmony between heat, time, and the gentle caress of patience – it’s where science meets love, and the result is nothing short of culinary magic.
Julia Ashwood
Bringing It All Together: The Secret to Irresistible Chicken Skin
As we’ve explored the world of extra crispy chicken skin, it’s clear that mastering this technique is all about understanding the science behind the sizzle. From rendering techniques to air fryer secrets, each step plays a crucial role in achieving that perfect crunch. By following the steps outlined in this guide, you’ll be well on your way to creating chicken dishes that are sure to impress. Remember, the key to success lies in the details – from the initial preparation to the final presentation.
So, the next time you’re in the kitchen, don’t be afraid to get a little creative and experiment with new techniques. With practice and patience, you’ll be a master of crispy chicken skin in no time. And when you take that first bite, the satisfying crunch giving way to tender, juicy meat, you’ll know that all your hard work has paid off. The journey to culinary perfection is a rewarding one, and I’m thrilled to have been a part of yours.
Frequently Asked Questions
What's the best way to dry chicken skin before cooking to achieve maximum crispiness?
To achieve maximum crispiness, I swear by patting the chicken skin dry with paper towels, then letting it air dry in the fridge for at least 30 minutes. This step is crucial, as it removes excess moisture, allowing the skin to crisp up beautifully when cooked. Trust me, it’s a total game-changer!
Can I use a regular oven to get crispy chicken skin, or do I need a special appliance like an air fryer?
Absolutely, you can achieve crispy chicken skin in a regular oven! While an air fryer helps, it’s not the only way. To get that perfect crunch, try increasing the oven temperature to 425°F (220°C) and using a wire rack to improve air circulation. This will help render the fat and crisp the skin to perfection.
How do I prevent my crispy chicken skin from becoming soggy or soft after it's been cooked and served?
To keep your crispy chicken skin from getting soggy, make sure to drain excess moisture after cooking and serve immediately. You can also try patting it dry with a paper towel before serving to remove any excess moisture. This simple step will help maintain that perfect crunch.