I still remember the first time I picked up a woodworking tool – it was in my dad’s garage, and I was determined to build a treehouse. With the help of my dad, I created something amazing, and that’s when I knew I was hooked on woodworking. Fast forward to today, and I’m excited to share my knowledge with you in this a guide to woodworking for beginners. I’ve seen many people intimidated by the idea of woodworking, thinking it requires years of experience or a fancy workshop. But the truth is, anyone can get started with the right guidance and a willingness to learn.
In this article, I promise to give you the lowdown on woodworking basics, without any fancy jargon or intimidating instructions. You’ll learn how to choose the right tools, work with different types of wood, and bring your projects to life. My goal is to make woodworking fun and accessible, so you can enjoy the process of creating something with your own hands. Whether you’re looking to build a simple birdhouse or a complex piece of furniture, I’ll be here to guide you every step of the way. So, let’s get started and turn your woodworking dreams into reality!
Table of Contents
Guide Overview: What You'll Need
Total Time: 2 hours 30 minutes
Estimated Cost: $50 – $100
Difficulty Level: Easy
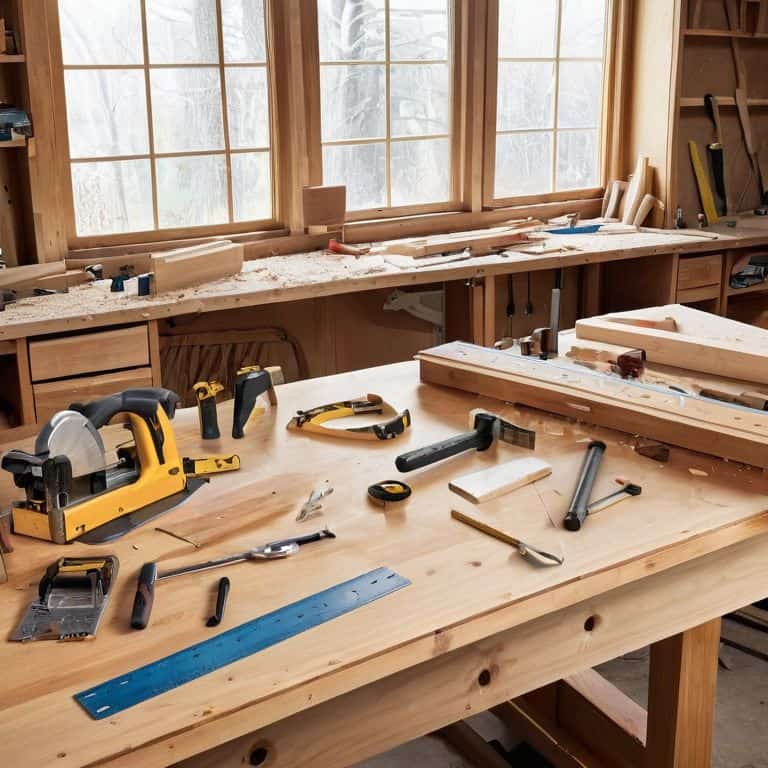
Tools Required
- Table Saw (for straight cuts)
- Miter Saw (for angled cuts)
- Drill Press (for precise drilling)
- Sandpaper (various grits)
- Clamp (bar clamp or pipe clamp)
- Tape Measure (25 feet long)
- Square (for ensuring accurate corners)
- Marking Gauge (for consistent measurements)
- Safety Glasses (protective eyewear)
- Workbench (sturdy and flat surface)
- vice (for holding workpieces in place)
Supplies & Materials
- 2-in x 4-in lumber (for framing and structural support)
- 3/4 inch plywood (for shelving and tabletops)
- Wood glue (for bonding wood pieces)
- 2 1/4 inch wood screws (for assembling frames)
- 1 1/4 inch wood screws (for attaching shelving and trim)
- Wood filler (for filling gaps and holes)
- Sandpaper (for smoothing out wood surfaces)
- Paint or stain (for finishing and protecting the wood)
- Polyurethane (for applying a clear coat)
- Nails (for attaching trim and molding)
Step-by-Step Instructions
- 1. First, let’s get started with the basics of safety. I always say, “A safe workshop is a happy workshop!” So, make sure you’ve got your safety glasses, a dust mask, and some sturdy gloves to protect those hands. Now, I know what you’re thinking, “Frank, this is all so boring!” But trust me, it’s essential to get into the habit of wearing this gear, even if you’re just working on a small project. I like to think of it as my own personal workshop superhero cape – it’s got my back (and my eyes, and my lungs) no matter what.
- 2. Next up, we’ve got to talk about tool selection. Now, I’m not saying you need to go out and buy every tool under the sun, but you will need some essentials to get started. I always recommend beginning with a good quality table saw, a drill press, and a set of sharp chisels. Don’t worry too much about the brand or model, just make sure they’re sturdy and feel comfortable in your hands. And remember, the most important tool in your workshop is your imagination – it’s what’s going to help you turn a pile of wood into something truly amazing.
- 3. Now that we’ve got our safety gear and tools sorted, it’s time to start thinking about project planning. This is the part where you get to let your creativity shine! Take some time to browse through your favorite woodworking blogs, books, or YouTube channels (ahem, like mine!), and find a project that really speaks to you. It could be a simple cutting board, a set of coasters, or even a full-on piece of furniture. Whatever it is, make sure it’s something that gets you excited to create. And don’t worry if it seems too complicated – we’ll break it down into smaller, manageable steps.
- 4. With our project plan in place, it’s time to start prepping our materials. This is where the magic happens, folks! Take your lumber and start cutting it down to size using your trusty table saw. Remember to always measure twice and cut once – you don’t want to end up with a pile of useless scraps. And don’t be afraid to get a little creative with your cuts – sometimes the most beautiful pieces come from happy accidents.
- 5. Now we’re going to start assembling our project. This is the part where all the pieces start to come together, and you get to see your vision take shape. Take your time, and make sure each piece is properly aligned and secured. Don’t be afraid to use a little clamping magic to hold things in place while you work. And remember, it’s okay if things don’t fit perfectly at first – we can always make adjustments as we go.
- 6. With our project taking shape, it’s time to start thinking about sand and finish. This is where you get to add that extra layer of love and care to your project. Take your sandpaper and start smoothing out any rough edges or surfaces. Then, choose a finish that complements the natural beauty of the wood – I personally love a good oil-based stain. Apply it according to the instructions, and watch as your project transforms into a stunning work of art.
- 7. Finally, it’s time to add the final touches. This is where you get to add any decorative elements, such as hardware or trim. Take your time, and make sure everything is properly secured. Then, step back and admire your handiwork – you should be incredibly proud of what you’ve accomplished. And don’t forget to share it with your friends and family – after all, the best part of creating something is getting to show it off!
Woodworking for Beginners
As we dive into the world of woodworking, it’s essential to understand the basic woodworking joints and techniques that will help you bring your projects to life. From simple cuts to more complex assemblies, mastering these fundamentals will make all the difference in your creations. I always say, the key to success lies in practice, so don’t be afraid to experiment and try new things.
When it comes to choosing the right materials, an introduction to wood types and grains is crucial. Different woods have unique characteristics, and understanding these will help you select the perfect material for your project. For instance, hardwoods like oak and maple are ideal for furniture-making, while softwoods like pine and spruce are better suited for framing and construction. Remember, woodworking projects for beginners should be fun and rewarding, so don’t be too hard on yourself if things don’t turn out as expected.
As you work on your projects, always keep in mind the importance of woodworking safety equipment. A woodworking safety equipment checklist should include items like safety glasses, ear protection, and a dust mask. By prioritizing your safety and well-being, you’ll be able to focus on the creative process and enjoy the journey of bringing your ideas to life. With the right mindset and tools, you’ll be well on your way to creating amazing woodworking projects that you’ll cherish for years to come.
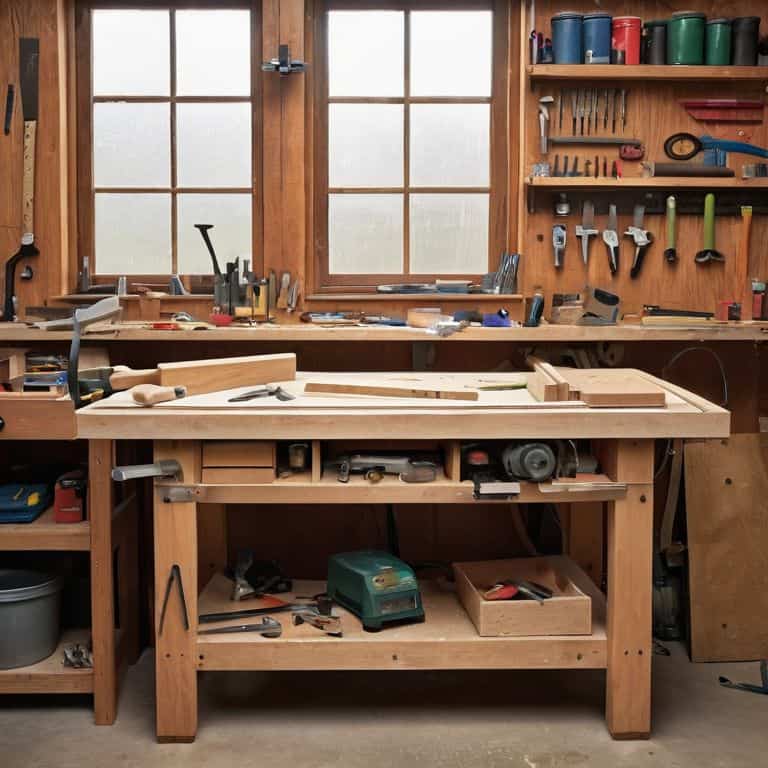
Essential Tools for Newbies
Now that we’ve got the basics covered, let’s talk about the essential tools you’ll need to get started. Don’t worry, I’m not going to recommend breaking the bank on a fancy workshop full of gadgets. As a beginner, you’ll want to focus on the fundamentals: a good tape measure, a sharp pencil, and a trusty hammer. I also swear by my table saw and drill press – they’re workhorses that’ll help you churn out projects in no time.
These tools will be your new best friends as you start building your woodworking skills. Remember, it’s not about having the most expensive or flashy tools – it’s about learning to use what you’ve got to create something amazing. And hey, don’t be afraid to make mistakes – they’re all part of the process, and I’ll show you how to turn them into happy accidents that’ll make your projects truly unique!
Introduction to Wood Types
Now that we’ve got our tools in check, let’s dive into the amazing world of wood types. I’m talking about the good stuff – oak, pine, maple, and all the rest. Each one has its own unique characteristics, and choosing the right one can make all the difference in your project. From the dense, hardwood goodness of oak to the soft, easy-to-work-with pine, understanding the different types of wood will help you bring your vision to life.
Think of it like picking the perfect soundtrack for your workshop session – you want the right vibe to get those creative juices flowing. Same thing with wood types: you want to match the wood to your project’s personality. Don’t worry if it sounds overwhelming; we’ll break it down together, and before you know it, you’ll be a wood-whiz, picking the perfect type for your next DIY masterpiece.
Hammering Home the Basics: 5 Tips for Woodworking Newbies
- Start with a solid foundation: invest in a good quality workbench and some essential hand tools, like a tape measure, square, and mark gauge
- Don’t be afraid to make mistakes – they’re an opportunity to learn and improve, and I always say, ‘a mistake is just a design feature you haven’t discovered yet’
- Understand your wood: learn about the different types, their characteristics, and how to work with them – it’s like getting to know a new friend, you’ve got to spend some time together to figure out what makes them tick
- Practice, practice, practice: the more you work with wood, the more comfortable you’ll become with the tools and techniques – think of it like playing a musical instrument, you’ve got to put in the hours to get a good sound
- Add some personality to your projects: don’t be afraid to experiment and try new things – a little creativity can go a long way in making your woodworking projects truly unique and reflect your own style
Your Woodworking Journey Starts Here: 3 Key Takeaways
Remember, making mistakes is not only okay, but it’s a crucial part of the learning process – don’t be too hard on yourself if things don’t turn out as planned, because that’s where the real learning happens
Always keep in mind that the type of wood you choose can make or break your project, so take some time to get familiar with different wood types and their unique characteristics
Lastly, don’t forget to have fun and be creative – woodworking is all about experimentation and self-expression, so don’t be afraid to think outside the box and try new things, and always keep your favorite tunes playing in the background to keep you company
Words to Live By
The best woodworkers aren’t the ones with the most expensive tools or the fanciest techniques – they’re the ones who aren’t afraid to make a mistake, to experiment, and to turn their wildest ideas into reality, one plank at a time.
Franklyn "Frank" Bishop
You Made It! Now Go Create Something Amazing
We’ve covered a lot of ground in this guide to woodworking for beginners, from the essential tools you need to get started, to an introduction to the various wood types you’ll be working with. You’ve got a solid foundation to build on, and I’m excited to see what you’ll create. Remember, the key to improving your skills is to keep practicing, and don’t be afraid to make mistakes – they’re an essential part of the learning process. As you continue on your woodworking journey, don’t hesitate to reach out if you have any questions or need further guidance.
Now that you’ve completed this guide, it’s time to unleash your creativity and start building something with your own hands. Whether it’s a simple birdhouse or a complex piece of furniture, the sense of pride and accomplishment you’ll feel when you complete a project is incredibly rewarding. So go ahead, fire up those power tools, and turn your ideas into reality. With patience, practice, and a willingness to learn, you’ll be creating amazing things in no time. Happy building!
Frequently Asked Questions
What are some common mistakes to avoid when working with power tools for the first time?
Whoa, rookie! When working with power tools for the first time, watch out for loose clothing, keep those fingers away from blades, and don’t be afraid to ask for help. And hey, remember, mistakes happen – they’re just happy accidents waiting to become a new project!
How do I know which type of wood is best suited for my beginner project?
Dude, choosing the right wood can be overwhelming, but don’t worry, I’ve got you covered! For beginners, I recommend starting with softer woods like pine, cedar, or fir. They’re easier to work with and more forgiving. Think of it like learning to play a guitar – you don’t start with a fancy electric, you start with an acoustic and work your way up!
Are there any safety precautions I should take when working in a home workshop or garage?
Absolutely, safety first! Wear protective gear like gloves, goggles, and a dust mask. Keep loose clothing tied back and long hair tied up. Make sure your workspace is well-ventilated and clear of clutter. And, of course, keep those power tools out of reach of kids and pets. Let’s build something awesome, not a trip to the ER!