I still remember the first time I tried to paint my own workshop – it was a disaster. I had no idea that choosing the right paint roller was more than just grabbing whatever was on sale. That’s why I’m excited to share with you a guide to choosing the right paint roller that will save you from the frustrations I faced. I’ve learned that it’s all about understanding the texture and surface you’re working with, and selecting a roller that’s tailored to those specific needs. It’s not just about slapping on some paint and hoping for the best – it’s about creating a smooth, even finish that makes your project look professional.
In this article, I’ll give you the lowdown on paint rollers, sharing my own experiences and tips for selecting the perfect one for your job. You’ll learn how to navigate the different types of rollers, from microfiber to wool, and how to choose the right nap length for your specific project. My goal is to make this process fun and accessible, so you can focus on the creative part of making something with your own hands. By the end of this guide, you’ll be equipped with the knowledge to tackle any painting project with confidence, and choose the right paint roller every time.
Table of Contents
Guide Overview: What You'll Need
Total Time: 30 minutes to 1 hour
Estimated Cost: $10 – $30
Difficulty Level: Easy
Tools Required
- Paint Roller Frame (various sizes)
- Paint Roller Extension Pole (optional)
- Paint Tray (for holding and transporting paint)
Supplies & Materials
- Paint Roller Covers (made from microfiber, wool, or foam)
- Paint (choose your desired color and finish)
- Drop Cloths or Tarps (for protecting floors and surfaces, typically 9 feet by 12 feet)
Step-by-Step Instructions
- 1. First, let’s get familiar with the different types of paint rollers out there, buddy – we don’t want to be overwhelmed by all the options. Start by considering the surface you’re about to paint: is it a smooth wall, a textured ceiling, or maybe some rough wood? This will help you decide on the right nap length, which is the length of the fibers on the roller.
- 2. Next, think about the type of paint you’re using – is it latex, oil-based, or maybe some fancy epoxy? Different paints work better with different roller materials, so make sure you’re matching your paint to the right roller. For example, if you’re using a water-based paint, you’ll want a roller with synthetic fibers.
- 3. Now, let’s talk about roller size – this is where most people get confused. You’ve got your standard 9-inch rollers, but you’ve also got smaller ones for tight spaces and larger ones for big jobs. Consider the size of your project and choose a roller that’s comfortable to handle.
- 4. It’s time to think about the core material – is it foam, fiberglass, or something else? Each core material has its own strengths and weaknesses, and some work better with certain paints or surfaces. For example, a foam core is great for smooth surfaces, but it might not hold up as well on rough wood.
- 5. Okay, now that we’ve got our roller basics covered, let’s get specific about the project at hand. Are you painting a single wall, or are you tackling an entire room? Maybe you’re working on a piece of furniture – whatever it is, make sure you’ve got the right extension pole or roller frame to get the job done efficiently.
- 6. Once you’ve narrowed down your options, it’s time to read the labels – check the manufacturer’s recommendations for the specific roller you’re considering. Look for things like coverage area, paint pick-up, and durability. You want a roller that’s going to make your job easier, not harder.
- 7. Finally, don’t be afraid to get a little messy and try out a few different rollers to see what works best for you. Remember, happy accidents are all part of the process, and you might stumble upon a technique or tool that becomes your new favorite thing. So go ahead, experiment, and find the perfect paint roller for your next project.
Choose Right Paint Roller
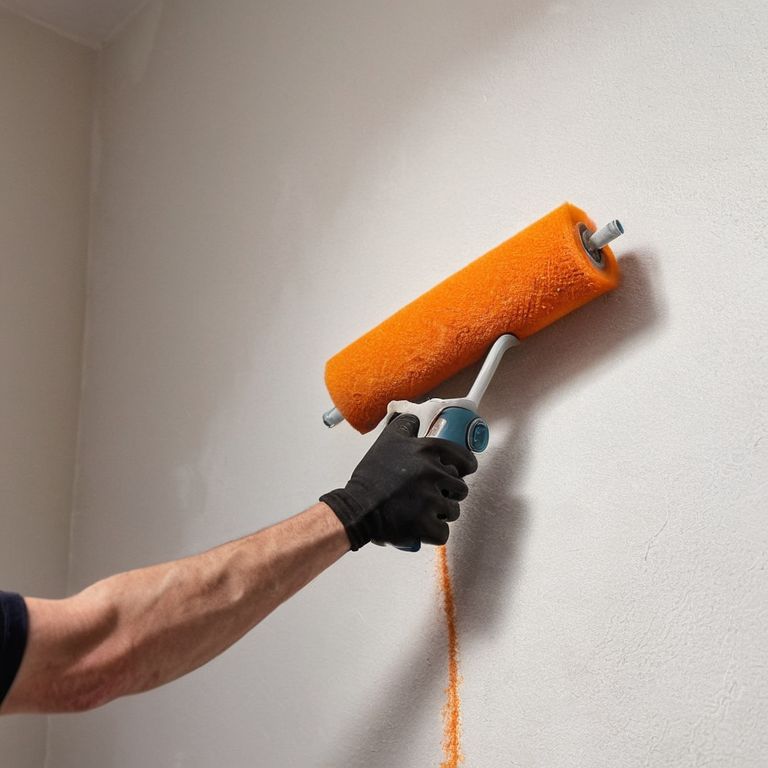
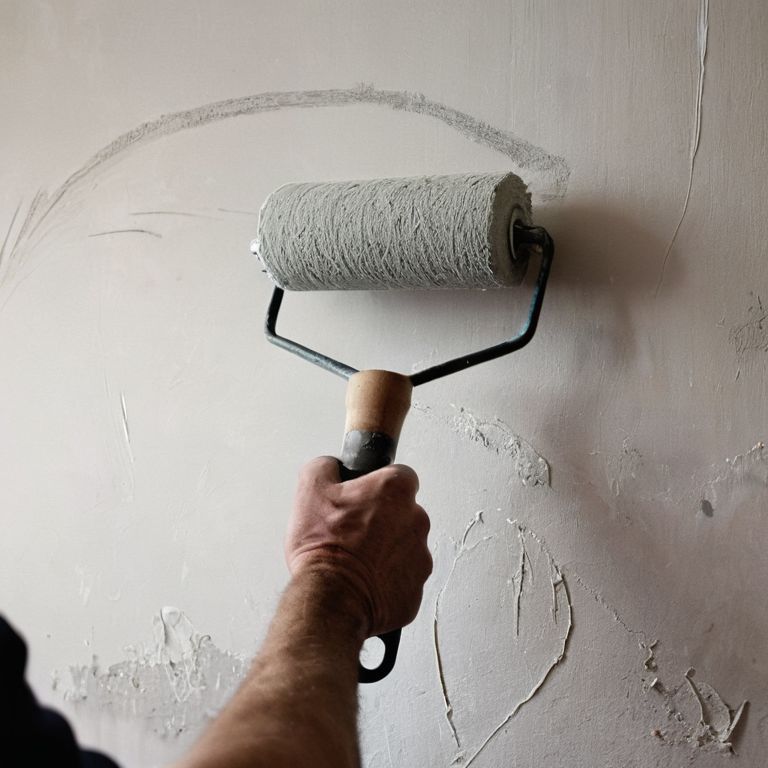
When it comes to selecting the perfect paint roller, there are a few things to keep in mind. First, consider the type of surface you’re painting. If you’re working with smooth walls, a microfiber paint roller is a great choice. However, if you’re dealing with textured surfaces, a wool paint roller might be a better option.
In addition to the type of roller, you’ll also want to think about the paint roller extension pole uses. If you’re painting a large area, such as a ceiling, an extension pole can be a lifesaver. It allows you to reach high areas without using a ladder, making the job much safer and more efficient. When choosing a paint roller, consider whether you’ll need an extension pole and choose a roller that is compatible.
For best results, make sure to follow paint roller cover replacement tips. A good rule of thumb is to replace the cover every few uses to ensure a smooth, even coat of paint. This is especially important when painting ceilings, as a worn-out roller cover can leave streaks and unevenness. By following these tips, you’ll be able to achieve professional-looking results with your paint job.
Microfiber vs Wool the Ultimate Faceoff
Microfiber vs wool – the age-old debate. I’ve got my own thoughts, but let’s dive in. Microfiber rollers are like the sports cars of the paint world – fast, smooth, and perfect for those big, open spaces. They’re great for achieving a super-smooth finish, especially with latex paints. On the other hand, wool rollers are like the trusty workhorses – they can handle thick paints and rough surfaces with ease. Plus, they’re often less expensive than microfiber.
So, which one to choose? Well, it really depends on your project. If you’re going for a sleek, modern look, microfiber might be the way to go. But if you’re working with a thicker paint or a more textured surface, wool is your best bet.
Rolling With the Best Extension Pole Uses
Now that we’ve got our paint roller game on point, let’s talk about taking it to the next level with extension poles. These bad boys are a total game-changer for those hard-to-reach areas like ceilings and high walls. I mean, who doesn’t love the feeling of being able to paint an entire room without breaking out the ladder? With an extension pole, you can cover more surface area with less effort – it’s a win-win.
I like to use extension poles with my microfiber rollers for a super smooth finish on large areas. Just make sure to choose a pole that’s sturdy and compatible with your roller – we don’t want any wobbly accidents in the workshop. Trust me, once you start rolling with an extension pole, you’ll never go back to traditional painting methods again.
Rolling Like a Pro: 5 Tips to Choose the Perfect Paint Roller
- Consider the Surface: Think about the texture and size of the surface you’re painting – is it smooth, rough, or somewhere in between?
- Don’t Forget the Nap: The nap length of your paint roller can make all the difference – shorter naps for smooth surfaces, longer naps for rough ones
- Get the Right Material: Microfiber, wool, or synthetic – each has its own strengths and weaknesses, so choose the one that’s right for your project
- Think About the Paint: Different types of paint work better with different types of rollers – make sure you’re using the right one for your chosen paint
- Experiment and Adapt: Don’t be afraid to try out different rollers and see what works best for you – and don’t worry if it takes a few tries to get it right, that’s all part of the process!
Your Workshop Wins: 3 Key Takeaways
Always match your paint roller to the job – microfiber for smooth surfaces, wool for textured ones, and don’t be afraid to get creative with extension poles for those hard-to-reach areas!
Remember, the right paint roller can make all the difference between a professional-looking finish and a DIY disaster – so take your time, and choose wisely, my friend!
Don’t sweat the mistakes – they’re all part of the process, and some of the best projects come from ‘happy accidents’ – just have fun, rock out to your favorite tunes, and get ready to roll (literally!)
The Roller Revelation
Choosing the right paint roller is like finding the perfect rhythm in your workshop playlist – it’s all about harmony, flow, and a whole lot of awesome results!
Franklyn "Frank" Bishop
Wrapping Up Your Paint Roller Journey
We’ve covered a lot of ground in this guide, from the basics of choosing the right paint roller to the nitty-gritty details of microfiber vs wool and extension pole uses. Remember, the right tool for the job can make all the difference in the quality of your paint job and the overall satisfaction you get from a project well done. Whether you’re a seasoned pro or a DIY newbie, taking the time to select the perfect paint roller will pay off in the long run. Don’t be afraid to experiment and find what works best for you – after all, that’s what making and creating is all about.
As you head back to your workshop, garage, or DIY corner, I want to leave you with a final thought: the process is just as important as the product. Don’t get so caught up in the end result that you forget to enjoy the journey. Making something with your own hands is a powerful feeling, and it’s one that I hope you’ll experience again and again. So go ahead, get creative, and show the world what you’re working on – I’d love to see it!
Frequently Asked Questions
What's the best way to clean and maintain my paint roller after a project?
Time to get your paint roller squeaky clean, buddy! For microfiber rollers, just toss ’em in the washing machine with some mild soap. For wool ones, gently swish ’em around in warm soapy water, then let ’em air dry. And remember, a clean roller is a happy roller – it’ll make your next project a whole lot smoother!
Can I use the same paint roller for different types of paint, like latex and oil-based?
Whoa, great question! While it’s technically possible, I wouldn’t recommend using the same roller for latex and oil-based paints. The oils can damage microfiber rollers, and wool ones might not clean up nicely. Let’s keep it simple and separate, buddy – one roller per paint type. Trust me, it’s worth the extra investment to avoid any messy mishaps!
How do I know when it's time to replace my paint roller, and what are the signs of wear and tear?
Dude, your paint roller’s got a limited lifespan! Look for signs of wear like frayed edges, loose fibers, or a noticeable drop in paint pickup. If it’s leaving streaks or marks, it’s time to swap it out. Trust me, a fresh roller’s worth it – your walls will thank you!