I still remember the first time I tried to build a coffee table – it was a disaster. I mean, I had all the right tools and materials, but somehow, my measurements were off, and the whole thing ended up looking like a wobbly, uneven mess. But here’s the thing: that failure was actually a huge success in disguise. It taught me that how to build a coffee table isn’t about following some rigid set of instructions; it’s about embracing the process, learning from your mistakes, and having fun with it. So, if you’re ready to ditch the intimidation factor and get your hands dirty, let’s dive into this project together.
In this article, I’ll share my honest, no-nonsense guide on how to build a coffee table that you’ll actually love. We’ll cover everything from choosing the right materials to adding those finishing touches that make your project truly unique. My goal is to show you that building something with your own hands is not only possible but also incredibly rewarding. So, what are you waiting for? Let’s get started and turn that pile of raw wood into your new favorite hangout spot. With a little creativity and some hands-on effort, you’ll be enjoying your very own, handmade coffee table in no time.
Table of Contents
Guide Overview: What You'll Need
Total Time: 4 hours 30 minutes
Estimated Cost: $75 – $150
Difficulty Level: Intermediate
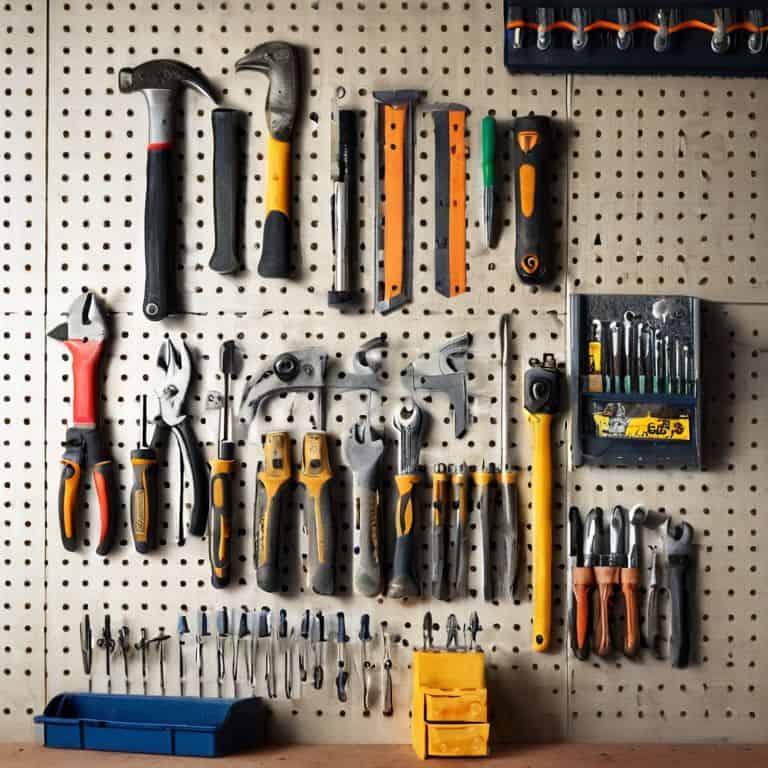
Tools Required
- Circular Saw (for cutting lumber)
- Drill Press (for precise drilling)
- Hand Drill (for screwing pieces together)
- Sander (for smoothing out wood surfaces)
- Tape Measure (for accurate measurements)
- Square (for ensuring corners are square)
- Clamp (for holding pieces in place)
- Safety Glasses (for protecting eyes from debris)
Supplies & Materials
- 2-in x 4-in lumber (for legs and frame)
- 3/4-in plywood (for table top)
- Wood Glue (for bonding wood pieces)
- 2 1/4-in wood screws (for assembling frame)
- 1 1/4-in wood screws (for attaching table top)
- Wood Filler (for filling gaps and holes)
- Sandpaper (for smoothing out surfaces)
- Polyurethane (for finishing and protecting the wood)
- Decorative Trim (optional, for edging and design)
Step-by-Step Instructions
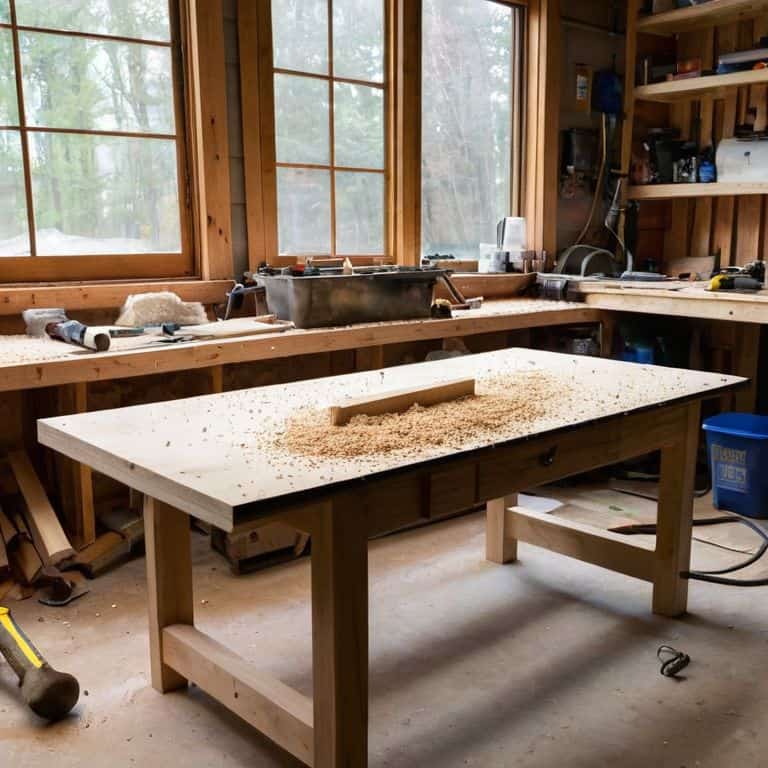
- 1. First, let’s gather our materials and tools, because we can’t build anything without them, right? We’ll need some amazing lumber for the table top and shelves, a few bags of wood screws, a drill press, a jigsaw, and a sander. I like to think of this step as the foundation of our project, where we get to choose the stars of the show – our materials. Make sure you’ve got a clean and organized workspace to keep everything within reach.
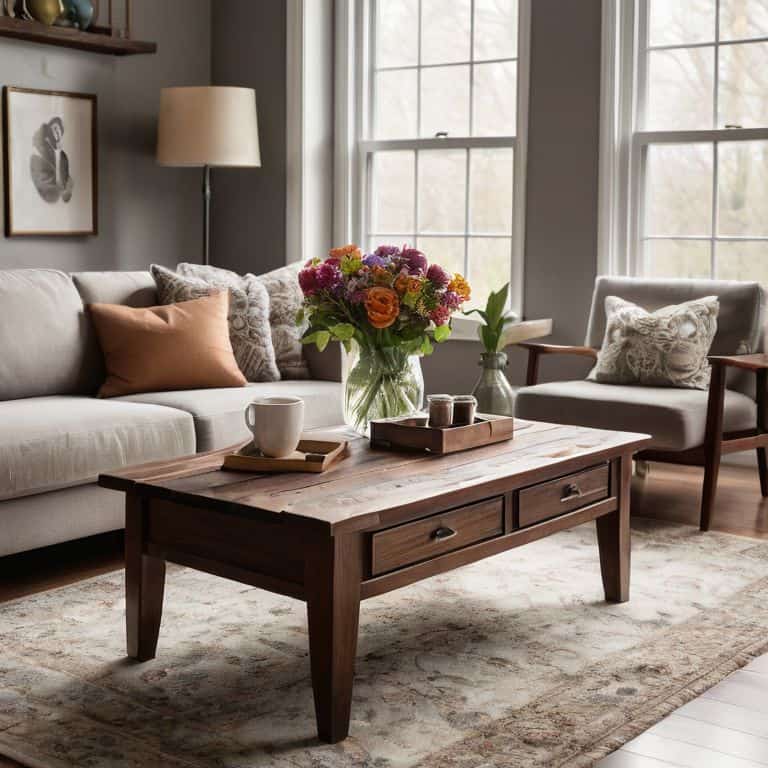
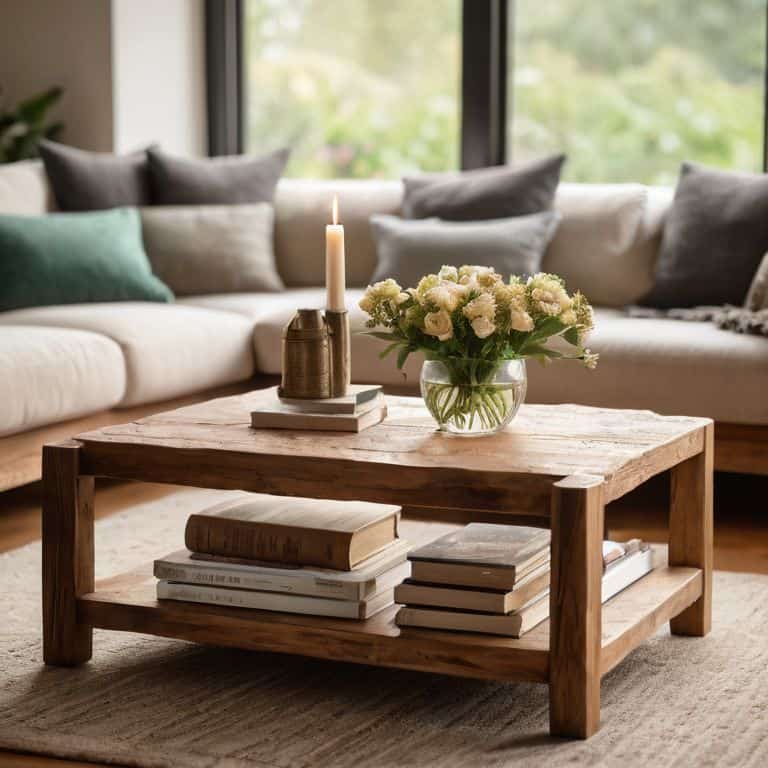
- 2. Next, we’ll start by cutting our table top to the right size. I’m using a beautiful piece of reclaimed wood for this project, and I want to make sure it’s perfectly sized for my living room. Take your jigsaw and carefully cut along the lines you’ve marked, remembering to wear your safety goggles – we don’t want any accidents in our workshop. As you cut, think about the final look you’re going for, and how this piece will be the centerpiece of your coffee table.
- 3. Now that we have our table top cut, it’s time to assemble the base. This is where things can get a little tricky, but don’t worry, we’ve got this. Use your drill press to make precise holes for the screws, and then attach the legs and shelves using wood screws. Remember, measure twice, drill once – we want to make sure everything is perfectly aligned. Take your time, and don’t be afraid to make adjustments as needed.
- 4. With the base assembled, it’s time to sand everything down to a smooth finish. This is my favorite part of the process – seeing all the rough edges disappear and the wood come alive. Use a combination of belt sanders and hand sanders to get into all the nooks and crannies, and don’t forget to wear a dust mask to keep yourself safe. As you sand, think about the finish you want to apply – will it be a stain, a paint, or something entirely different?
- 5. Once everything is sanded, we can start applying our finish. I’m using a beautiful walnut stain for this project, which will really make the wood grain pop. Apply the stain according to the manufacturer’s instructions, and make sure to work in a well-ventilated area. Don’t be afraid to experiment with different finishes – this is where you can really make your coffee table unique.
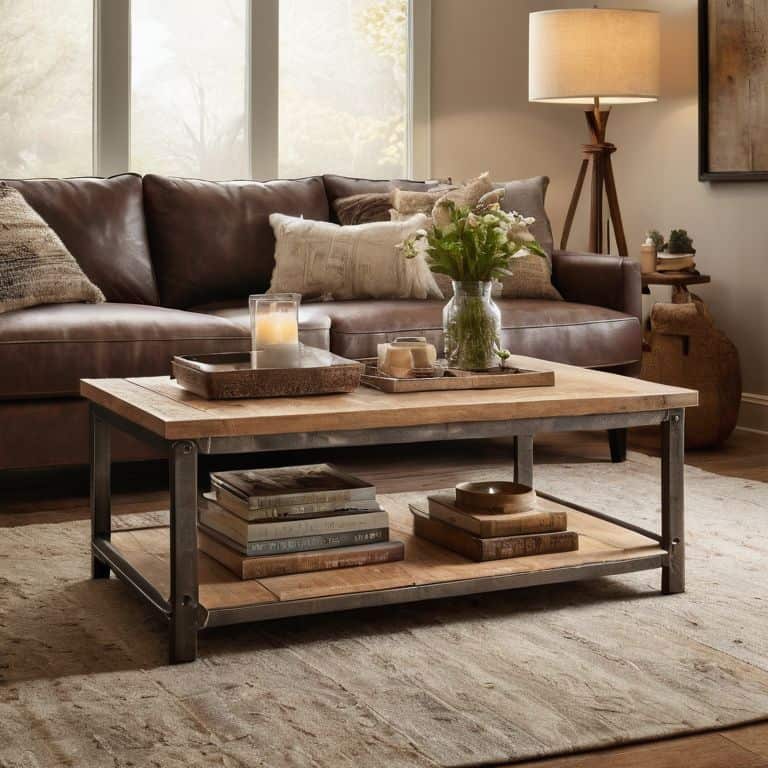
- 6. While the stain is drying, let’s add some decorative touches to our coffee table. I’m using some metal brackets to add a bit of industrial chic to the design, but you could use anything from carved wood to intricate metalwork. This is where you can really let your creativity shine, so don’t be afraid to think outside the box. Remember, it’s all about having fun and making something that reflects your personality.
- 7. Finally, it’s time to assemble everything and add the final touches to our coffee table. Attach the table top to the base using wood screws, and add any decorative elements you like. Take a step back and admire your handiwork – you’ve just built an amazing coffee table from scratch. Don’t forget to celebrate your mistakes – they’re all part of the process, and they make your project truly unique. Now, go ahead and fill that coffee table with your favorite books, decorations, and snacks – it’s time to enjoy the fruits of your labor.
Build Your Dream Coffee Table
As we dive into the world of coffee table design ideas, it’s essential to remember that the fun lies in experimentation and creativity. Don’t be afraid to try out new rustic wood finishing techniques to give your table a unique character. I love mixing and matching different materials, like combining modern coffee table materials with traditional woodworking plans for beginners. This blend of old and new can result in a one-of-a-kind piece that reflects your personality.
When it comes to adding functionality, consider incorporating diy coffee table storage solutions. These can be as simple as adding a shelf or a drawer, or as complex as designing a lift-top storage compartment. The key is to think about how you plan to use your coffee table and design it accordingly. For instance, if you have a large family or love to entertain, you may want to opt for a design with ample storage to keep snacks, games, and other essentials within easy reach.
As you bring your vision to life, don’t forget to pay attention to the details, like coffee table leg designs. This might seem like a minor aspect, but it can make or break the overall aesthetic of your table. From sleek and minimalist to ornate and decorative, the options are endless. Remember, the goal is to create a piece that not only serves a purpose but also becomes a beautiful focal point in your living room. So, don’t be afraid to get creative and try out new things – it’s all part of the fun!
Modern Coffee Table Materials
Now that we’ve explored the rustic side of things, let’s dive into some modern materials that can elevate your coffee table game. I’m talking about sleek metals, durable glass, and innovative plastics that can add a touch of sophistication to your living room. From chrome-finished legs to tempered glass tops, the possibilities are endless. You can also experiment with reclaimed industrial materials, like old factory equipment or shipping containers, to create a truly one-of-a-kind piece.
For a more futuristic look, consider incorporating materials like carbon fiber, stainless steel, or even 3D-printed components. These modern materials can add a high-tech twist to your coffee table design, making it a real showstopper in your home. Plus, they’re often incredibly durable and low-maintenance, perfect for busy households. So, don’t be afraid to think outside the box and get creative with your material choices – it’s all part of the fun of building something with your own hands!
Rustic Wood Finishing Techniques
Now that we’ve got our coffee table’s frame and top built, let’s talk about giving it that perfect rustic finish. I’m obsessed with the character that comes from working with reclaimed or rough-sawn wood – it’s like each piece has its own story to tell. To bring out that natural beauty, I love using a mix of sanding and staining techniques. A good sanding can make all the difference, revealing the unique grain patterns and textures of the wood.
For a really rustic look, I’ll often use a wire brush to add some extra texture and distressing. Then, it’s time to break out the stain – I’m a big fan of oil-based stains for their rich, warm tones. Apply it, let it dry, and seal it with a clear coat, and you’ve got a finish that’s both durable and drop-dead gorgeous. The imperfections are what make it truly special, so don’t be afraid to get a little creative and make some happy accidents happen!
Hammering Out the Details: 5 Essential Tips for Your Coffee Table Build
- Measure Twice, Cut Once: Double-Check Your Cuts to Avoid Wonky Legs or a Wobbly Top
- Get Your Materials in Check: Choose the Right Wood and Hardware to Bring Your Design to Life
- Sand, Sand, Baby: Don’t Skip the Sanding Step – It’s the Secret to a Smooth, Professional Finish
- Assemble with Ease: Use Clamps and Caution When Bringing Your Table Elements Together
- Add Some Personality: Consider Adding a Unique Touch, Like a Live Edge or a Bold Stain, to Make Your Coffee Table Truly One-of-a-Kind
Key Takeaways to Fuel Your Creativity
Embracing the process of building, including the mistakes, is where the real magic happens – it’s all about experimenting with different materials and techniques to create a one-of-a-kind coffee table
Combining rustic wood finishing techniques with modern materials can lead to some truly unique and eye-catching designs, perfect for adding a personal touch to your living room
Remember, the fun is in the build, not just the end result – so turn up your favorite tunes, get your hands dirty, and enjoy the journey of turning raw wood into your new favorite hangout spot
You Did It: Now Go Forth and Create
As we wrap up this coffee table building adventure, let’s take a moment to reflect on the journey. We’ve covered everything from choosing the perfect materials to applying those fantastic rustic wood finishing techniques. You’ve learned how to bring your vision to life, and that’s something to be incredibly proud of. Whether you opted for a modern coffee table design or something a bit more traditional, the fact remains that you’ve created something truly unique and functional. Remember, it’s all about embracing those happy accidents and learning from them.
So, as you place your finished coffee table in its new home, remember that the joy of making is just as important as the end result. Don’t be afraid to experiment, try new things, and push your creativity to the limit. And when you’re ready for the next project, I’ll be here, cheering you on and sharing new ideas to inspire your creative genius. Keep on building, and let’s make something amazing together!
Frequently Asked Questions
What kind of wood is best suited for a coffee table that will be used frequently?
Dude, for a coffee table that’s gonna get lots of love, I recommend using durable woods like oak, maple, or walnut. They can withstand the daily grind and still look amazing. Plus, they’re perfect for rustic or modern finishes – just think about the vibe you want, and we’ll make it happen!
How do I ensure my coffee table is level and stable on uneven floors?
Whoa, uneven floors can be a challenge! To keep your coffee table level and stable, I recommend using adjustable feet or felt pads – they’re total lifesavers. You can also add some extra support with shims or a self-leveling mat. Trust me, it’s worth the extra step to avoid any wobbles!
Can I use metal or glass for the legs and frame of my coffee table instead of wood?
Absolutely, you can mix it up with metal or glass legs and frame for a totally unique vibe. I’ve done it before, and it adds an awesome industrial or sleek touch. Just make sure to adjust your design and materials list accordingly, and don’t be afraid to experiment and try new things – that’s what making is all about, right?