I still remember the first time I attempted to make homemade bread – it was a disaster. The recipe I followed promised a magical loaf, but what I got was a dense, hard brick. This experience led me to realize that a good a guide to homemade bread is hard to come by. Many recipes out there are filled with confusing instructions and unrealistic expectations, leaving beginners feeling frustrated and defeated. But I’m here to tell you that making homemade bread doesn’t have to be a daunting task. With the right techniques and a clear understanding of the process, you can create delicious, mouth-watering loaves that will impress anyone.
In this article, I’ll share my foolproof approach to making homemade bread, one that I’ve perfected over years of testing and experimenting. You’ll learn the importance of proper ingredient measurement, the role of yeast in bread making, and the secret to achieving that perfect crust. My goal is to empower you with the knowledge and confidence to take control of your bread-making journey, and to make the process enjoyable and rewarding. By the end of this guide, you’ll be equipped with the skills to create your own delicious homemade bread, and to experiment with new recipes and flavors. So, let’s get started and uncover the magic of homemade bread together!
Table of Contents
- Guide Overview: What You'll Need
- Step-by-Step Instructions
- A Guide to Homemade Bread
- Rise to the Occasion: 5 Essential Tips for Homemade Bread Success
- Key Takeaways for a Successful Homemade Bread Journey
- The Heart of Homemade Bread
- Rise to the Occasion: A Sweet Conclusion
- Frequently Asked Questions
Guide Overview: What You'll Need
Total Time: 2 hours 30 minutes
Estimated Cost: $10 – $20
Difficulty Level: Easy
Tools Required
- Mixing Bowl large, stainless steel
- Measuring Cups dry and liquid
- Measuring Spoons
- Wooden Spoon
- Dutch Oven or Bread Loaf Pan for baking
Supplies & Materials
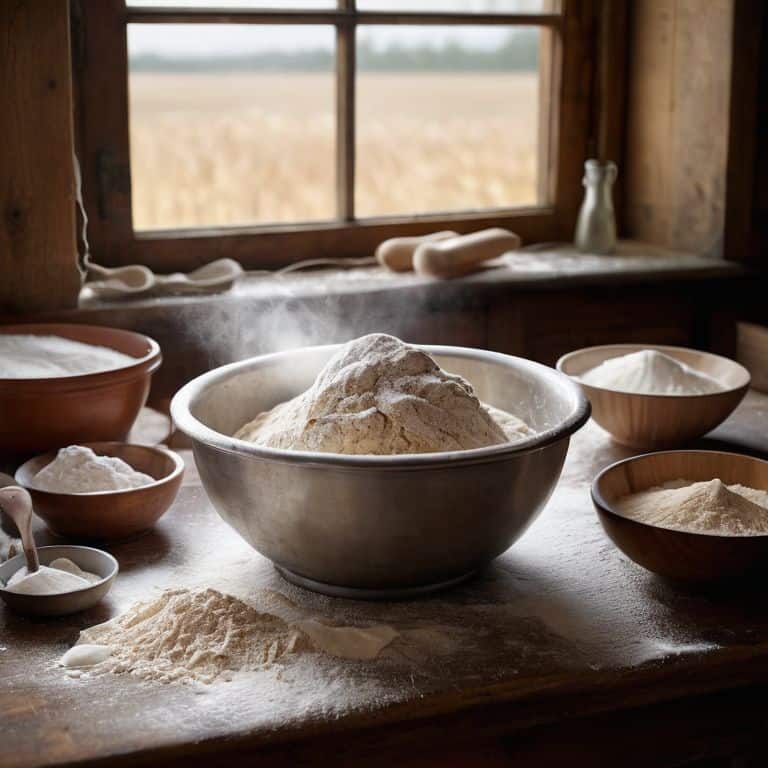
- All-Purpose Flour 2 pounds
- Active Dry Yeast 1 packet
- Salt 1 teaspoon
- Sugar 1 tablespoon
- Warm Water 1 quart
Step-by-Step Instructions
- 1. First, let’s start by activating our yeast – this is a crucial step that often gets overlooked, but trust me, it’s essential for that perfect rise. In a large mixing bowl, combine 1 cup of warm water (around 100°F to 110°F) with 2 teaspoons of sugar and 1 teaspoon of active dry yeast. Stir gently to dissolve the yeast and let it sit for 5 to 10 minutes, or until the mixture becomes frothy and bubbly. This is where the magic begins, and you’ll start to notice a lovely, slightly sour aroma wafting from the bowl.
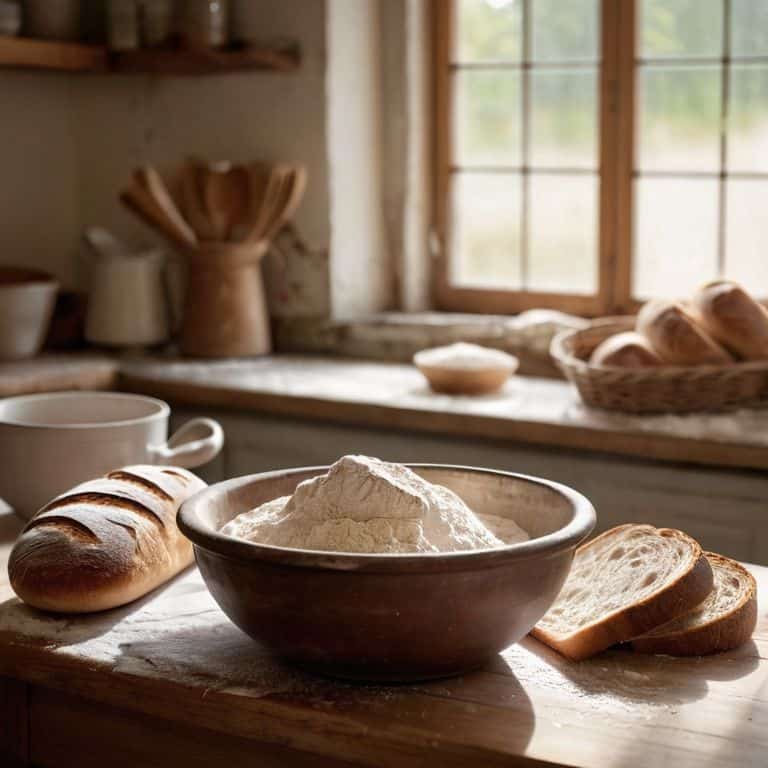
- 2. Next, we’ll be creating our dough, and this is where things can get a bit messy – but don’t worry, that’s all part of the fun! In a separate, large mixing bowl, whisk together 3 cups of all-purpose flour, 1 teaspoon of salt, and any other dry ingredients your recipe calls for (such as herbs or spices). Once your yeast mixture is ready, add it to the dry ingredients and mix until a shaggy dough forms. Don’t overmix at this stage; we just want to combine the ingredients until they start to come together in a cohesive mass.
- 3. Now it’s time to get our hands dirty and knead that dough! Turn the dough out onto a floured surface and knead for 10 to 15 minutes, or until the dough becomes smooth, elastic, and slightly shiny. You can also use a stand mixer with a dough hook attachment to knead the dough, but I find that doing it by hand is not only more enjoyable, but it also helps to develop a better sense of the dough’s texture and consistency. As you knead, pay attention to how the dough starts to come alive under your hands, becoming more supple and responsive with each passing minute.
- 4. With our dough fully kneaded, it’s time to let it rise to the occasion. Place the dough in a lightly oiled bowl, cover it with plastic wrap or a damp towel, and let it rise in a warm, draft-free place for about 1 to 2 hours, or until it has doubled in size. This is the perfect opportunity to grab a cup of coffee, catch up on your favorite book, or simply sit back and enjoy the warm, comforting aroma of yeast and flour wafting from the bowl. As you wait, imagine the yeast fermentation process happening before your eyes, as the tiny microorganisms work their magic to create a light, airy texture.
- 5. Once our dough has finished rising, it’s time to punch it down and shape it into its final form. Gently deflate the dough by pressing down on it with your fingers, then shape it into a round or oblong loaf, depending on your preference. Place the shaped dough onto a baking sheet or into a bread basket, cover it with a clean towel, and let it rise for another 30 to 45 minutes, or until it has puffed up slightly and developed a beautiful, golden crust.
- 6. Now we’re ready to bake our bread to perfection. Preheat your oven to 425°F (220°C), and place the dough onto a preheated baking stone or baking sheet. Bake for 25 to 40 minutes, or until the bread is golden brown and sounds hollow when tapped on the bottom. Keep an eye on the bread as it bakes, and be prepared to rotate the loaf halfway through the cooking time to ensure even browning.
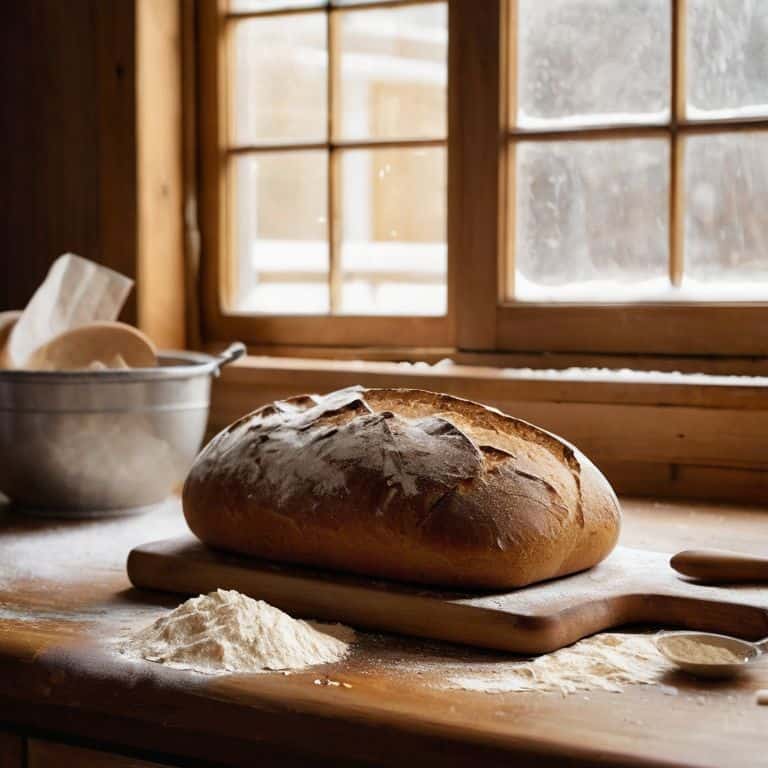
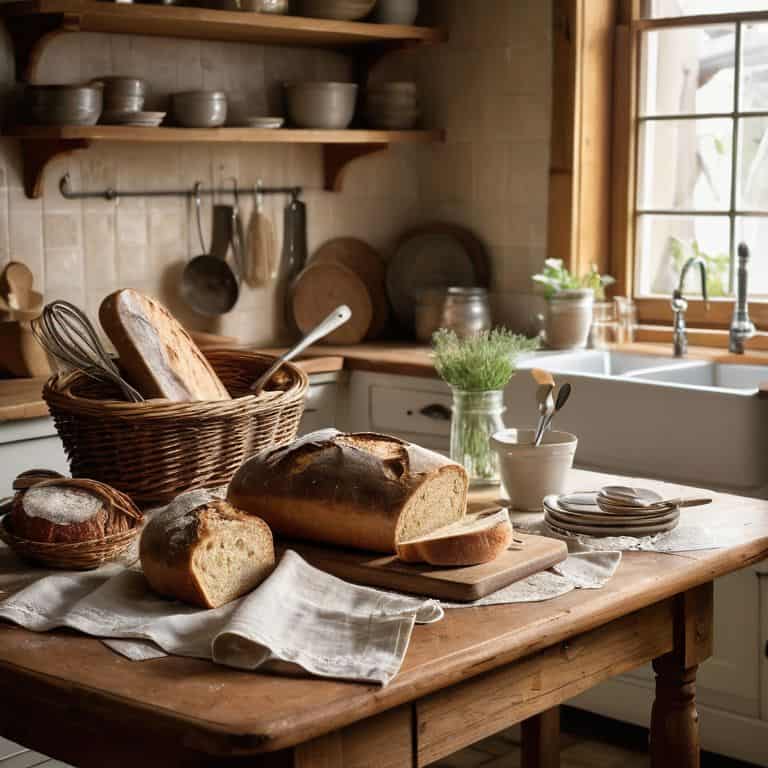
- 7. Finally, it’s time to let our bread cool and set before slicing. Remove the bread from the oven and let it cool on a wire rack for at least 10 to 15 minutes before slicing. This is the hardest part – waiting for the bread to cool – but trust me, it’s worth it. As you slice into the warm, fragrant loaf, you’ll be rewarded with a crusty exterior giving way to a soft, airy interior that’s just perfect for sopping up your favorite soups or sauces.
A Guide to Homemade Bread
As we continue on our journey to creating the perfect loaf, I want to share some tips for baking bread at home that have made all the difference in my own baking adventures. One of the most crucial elements is using the best flour for artisan bread, as it will greatly impact the texture and flavor of your final product. I recommend experimenting with different types of flour to find the one that works best for you.
When it comes to mixing and kneading, many beginners think they need a mixer to get the job done. However, I’m here to tell you that homemade bread without a mixer is not only possible, but also preferable. There’s something therapeutic about getting your hands involved in the process, and you’ll be amazed at how much more connected you’ll feel to your bread. Plus, it’s a great way to ensure that your dough is mixed just right, without overdoing it.
For those just starting out, I recommend checking out some easy bread recipes for beginners to get a feel for the basics. And don’t be afraid to experiment with different ingredients and techniques, like creating a simple sourdough starter recipe. With a little practice and patience, you’ll be well on your way to becoming a bread-baking pro, and you’ll be enjoying the fruits of your labor in no time.
Easy Recipes for Beginners Start
Easy Recipes for Beginners Start with simple, tried-and-true formulas. For those new to bread-making, I recommend beginning with a classic white bread or a hearty whole wheat. These recipes require minimal ingredients and equipment, making them perfect for a first-time bake. By mastering these fundamental recipes, you’ll build a strong foundation for more complex breads and develop the confidence to experiment with new flavors and techniques.
Simple Sourdough for All Levels
Now that we’ve covered the basics, let’s talk about one of my favorite topics: sourdough. I believe that sourdough is accessible to bakers of all levels, and with a little patience, you can create a delicious, crusty loaf. To get started, you’ll need to create your own sourdough starter – don’t worry, it’s easier than you think! Simply mix equal parts flour and water in a jar, and let it sit for a few days. Once your starter is active and bubbly, you can begin mixing and kneading your dough. I’ll share my simple sourdough recipe with you, which yields a beautiful, chewy crumb and a crispy crust. With a few easy steps, you’ll be enjoying freshly baked sourdough in no time.
Rise to the Occasion: 5 Essential Tips for Homemade Bread Success
- Start with a consistent temperature: Ensure your ingredients, especially yeast, are at room temperature to activate fermentation evenly
- Respect the rest time: Letting your dough rest and relax is crucial for gluten development and a tender crumb, so don’t rush this step
- Use the right flour for the job: Different types of flour, such as bread flour or all-purpose flour, will affect the final texture and flavor of your loaf, so choose wisely
- Don’t overmix: Mix your ingredients just until they come together in a shaggy mass, then let the dough develop naturally to avoid a dense, tough bread
- Keep it humid: A humid environment will help your bread develop a crispy crust and a chewy interior, so consider using a steamy oven or a cloche to trap moisture
Key Takeaways for a Successful Homemade Bread Journey
Becoming familiar with the basics of bread making, such as understanding yeast fermentation and the importance of proper ingredient measurement, is crucial for consistent results
Mastering the art of ‘mise en place’ and preparing your ingredients beforehand can significantly reduce stress and make the bread-making process more enjoyable
Experimenting with different types of flour and ingredients, like whole wheat or sourdough starters, can help you discover new flavors and textures, keeping your homemade bread adventures exciting and varied
The Heart of Homemade Bread
Homemade bread is more than just a recipe, it’s a story of patience, love, and the simple joy of creation – with every loaf, we weave a tale of tradition, family, and the warmth of our own kitchens.
Julia Ashwood
Rise to the Occasion: A Sweet Conclusion
As we conclude this journey through the world of homemade bread, let’s take a moment to reflect on the key takeaways. We’ve covered the basics of bread making, from simple recipes for beginners to the art of crafting a simple sourdough that’s accessible to all levels. By following these steps and tips, you’ll be well on your way to creating delicious, crusty loaves that will impress family and friends alike. Remember, the science behind bread making is just as important as the ingredients and techniques, so don’t be afraid to experiment and learn as you go.
As you close this guide and head into your kitchen to start baking, I want to leave you with a final thought: bread making is a journey, not a destination. It’s a process that requires patience, practice, and a willingness to learn and adapt. So don’t be discouraged if your first loaves don’t turn out perfectly – every failure is an opportunity to learn and improve. With time and practice, you’ll develop the skills and confidence to create beautiful, delicious bread that brings joy to all who taste it. Happy baking, and I look forward to seeing the amazing creations you’ll rise to!
Frequently Asked Questions
What are the essential ingredients and equipment needed to get started with making homemade bread?
To start your bread-making journey, you’ll need a few essentials: warm water, active dry yeast, flour, salt, and sugar. For equipment, a mixing bowl, measuring cups, a wooden spoon, and a baking sheet are must-haves. Don’t forget a clean workspace for kneading – I like to call it my ‘bread sanctuary’!
How do I troubleshoot common issues like overproofing or underbaking in my homemade bread?
Don’t worry, my friend! Troubleshooting is part of the bread-making journey. For overproofing, try reducing yeast or proofing time. Underbaking? Increase oven temperature or baking time. Let’s dive deeper into these common issues and find solutions together – after all, practice makes perfect, and I’m here to guide you every step of the way!
Can I customize homemade bread recipes to accommodate different dietary restrictions, such as gluten-free or vegan options?
Absolutely, I love experimenting with adaptations. For gluten-free, try swapping wheat flour with almond or coconut flour, while vegan options might involve replacing eggs with flaxseed or aquafaba, and using plant-based milks. I’ve had great success with these substitutions in my own kitchen, and I’m happy to share more specific tips and recipes to help you create delicious, restriction-friendly bread.