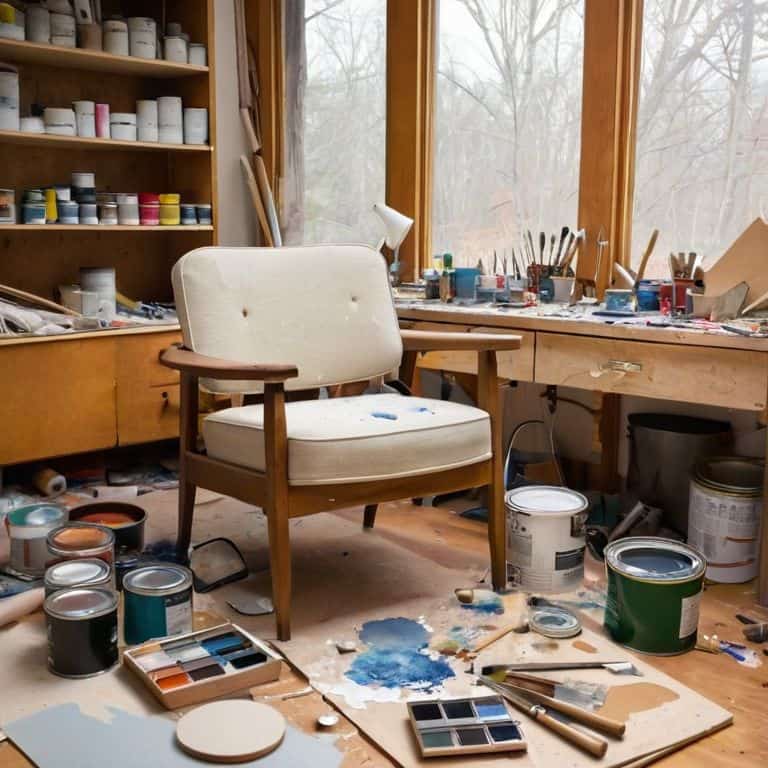
I still remember the first time I stumbled upon an old, worn-out armchair at a flea market, and my mind started racing with ideas on how to upcycle furniture. The seller told me it was headed for the dumpster, but I saw a diamond in the rough. With some TLC and creativity, I transformed it into a one-of-a-kind piece that now tells a story in my living room. It’s amazing how a little bit of imagination and elbow grease can turn trash into treasure. I’ve learned that upcycling isn’t just about giving old furniture a new life; it’s about breathing new personality into your space.
In this article, I’ll share my favorite tips and tricks on how to upcycle furniture, from scouting for hidden gems to adding the perfect finishing touches. You’ll learn how to unlock the potential of old pieces and turn them into unique, functional works of art that reflect your personality. I’ll take you through my process, sharing practical advice and real-life examples of how I’ve upcycled furniture to create a space that’s truly mine. Whether you’re a seasoned DIY enthusiast or just starting out, this guide will show you that upcycling is an achievable and rewarding adventure that can help you create a beautiful, one-of-a-kind home.
Table of Contents
Guide Overview: What You'll Need
Total Time: 2 hours 30 minutes
Estimated Cost: $50 – $100
Difficulty Level: Intermediate
Tools Required
- Sandpaper (various grits)
- Paintbrush (1 inch and 2 inch wide)
- Drill (with screwdriver and drill bits)
- Utility Knife (with extra blades)
- Measuring Tape (for accurate measurements)
- Clamp (for holding pieces together)
- Safety Glasses (for protecting your eyes)
Supplies & Materials
- 2-in x 4-in lumber (for support or reinforcement)
- Wood Glue (for bonding wood pieces)
- Nails or Screws (for assembling or reassembling furniture)
- Paint or Stain (for finishing and decorating)
- Fabric or Upholstery (for reupholstering chairs or stools)
- Decorative Items (for adding a personal touch)
Step-by-Step Instructions
- 1. First, let’s start by gathering our materials – I like to think of this step as the treasure hunt part of our upcycling adventure. We’ll need the piece of furniture we want to upcycle, some sandpaper, paint or stain, a paintbrush, and any decorative items we want to add, like new hardware or fabric. I love scouring flea markets and thrift stores for unique pieces to work with, and I always keep an eye out for items that can be repurposed, like old doors or windows.
- 2. Next, we need to prepare our piece for its makeover. This means cleaning it thoroughly, removing any hardware or fixtures, and sanding it down to smooth out any rough edges or surfaces. I like to use a variety of sandpaper grits to get the job done, starting with a coarse grit to remove any old finish or debris, and then moving to a finer grit to get a smooth surface. My trusty power tool, “Sandy,” always comes in handy during this step.
- 3. Now it’s time to get creative with our design. This is my favorite part of the process – thinking about the story we want our piece to tell and how we can bring that story to life. Do we want a bold, bright color, or a more subdued, natural tone? Do we want to add any decorative elements, like carvings or molding? I like to sketch out some ideas in my notebook and look for inspiration online or in design books.
- 4. With our design in mind, it’s time to start painting or staining. I love this part of the process, watching our piece transform from old and worn to new and vibrant. I always use a high-quality paint or stain, and I apply it in thin, even coats, allowing each coat to dry before adding the next. My paintbrush, “Bertha,” is always by my side during this step.
- 5. Once our paint or stain is dry, it’s time to add any finishing touches. This might include adding new hardware, like knobs or handles, or applying a clear coat of varnish to protect our finish. I also like to add any decorative elements we’ve chosen, like carvings or molding. This is the final step in bringing our piece to life, and I love seeing how all the different elements come together.
- 6. Next, we need to reassemble our piece, if necessary. This might include attaching new hardware, or reattaching any parts we removed during the preparation phase. I always double-check my work to make sure everything is secure and even.
- 7. Finally, it’s time to step back and admire our handiwork. This is the best part of the process – seeing our piece transformed from old and worn to new and vibrant, and knowing that we created something truly unique and special. I love taking “before and after” photos to show off our piece’s transformation, and I always feel a sense of pride and accomplishment when I see how far it’s come.
Magical Furniture Makeovers
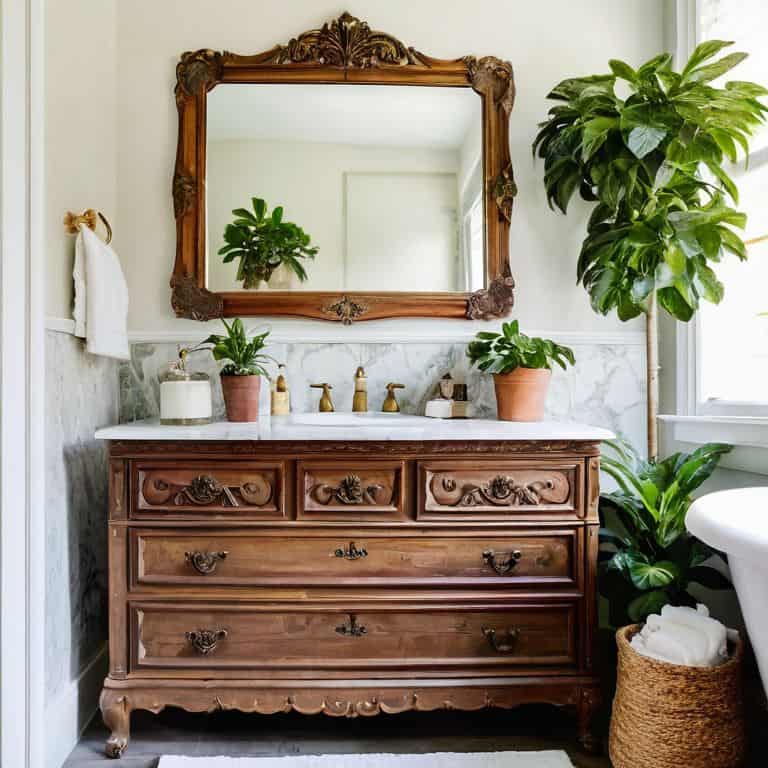
As I delve into the world of furniture refurbishment techniques, I’m constantly amazed by the potential hidden within old, discarded pieces. A fresh coat of paint, a new set of hardware, or a creative rearrangement of parts can completely transform a outdated item into a unique, eye-catching piece. I’ve found that scouring flea markets and thrift stores for second-hand furniture is not only eco-friendly, but also a great way to uncover one-of-a-kind treasures. My latest flea market furniture flip was an old, worn-out dresser that I revamped into a stunning bathroom vanity.
When it comes to giving new life to old furniture, I believe that creative painting methods can make all the difference. From bold, bright hues to soft, pastel shades, the right color can completely alter the ambiance of a room. I’ve also experimented with various techniques, such as distressing and stenciling, to add an extra layer of depth and visual interest to my pieces. By thinking outside the box and exploring different upcycled home decor ideas, you can create a space that truly reflects your personality and style.
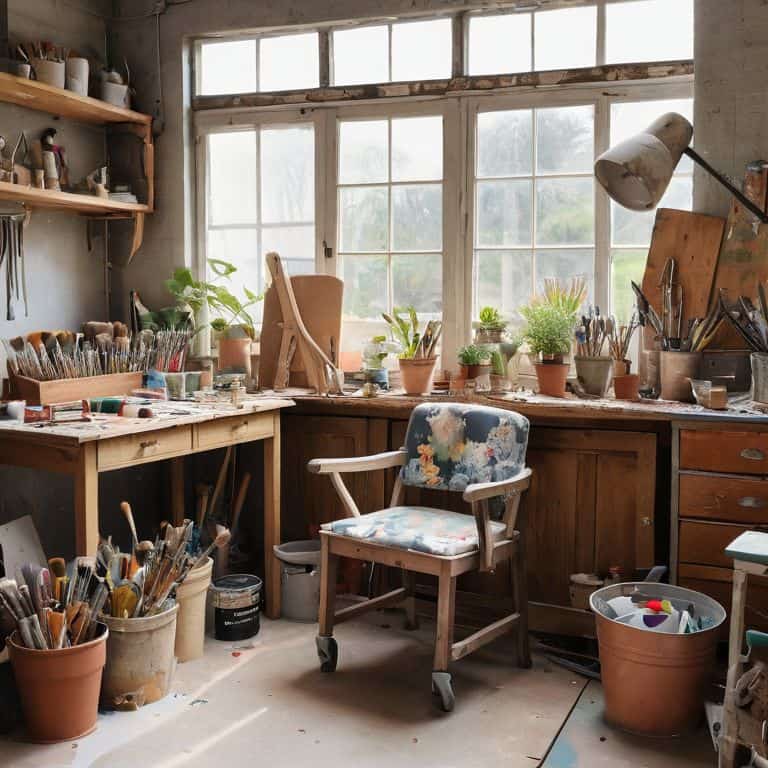
My urban gardening patio has become a haven for my DIY projects, including my latest second_hand_furniture_makeover endeavor. I’ve found that surrounded by nature, I’m more inclined to think creatively and come up with innovative solutions to common design challenges. Whether you’re a seasoned DIY enthusiast or just starting out, I encourage you to embrace the process and have fun with it – after all, it’s all about telling your own unique story through the spaces you create.
Flea Market Flips With Paint
I just love scouring flea markets for hidden gems, and a fresh coat of paint can work wonders. My trusty sidekick, a paintbrush I’ve named “Pixie,” and I have given new life to many a thrift store find. From a vintage dresser to a quaint wooden chair, paint can transform even the most lackluster piece into a stunning showstopper. I recall finding an old, worn-out bench that I refinished with a soft, creamy white paint – it now sits proudly on my patio, surrounded by lush greenery from my urban garden.
With a little imagination and some paint, you can create one-of-a-kind pieces that reflect your personal style. Whether you’re going for a bold, bright hue or a more subdued, earthy tone, the possibilities are endless. So, don’t be afraid to get creative and experiment with different colors and techniques – after all, it’s all about telling your unique story through your home decor.
Second Hand Furniture Revival Secrets
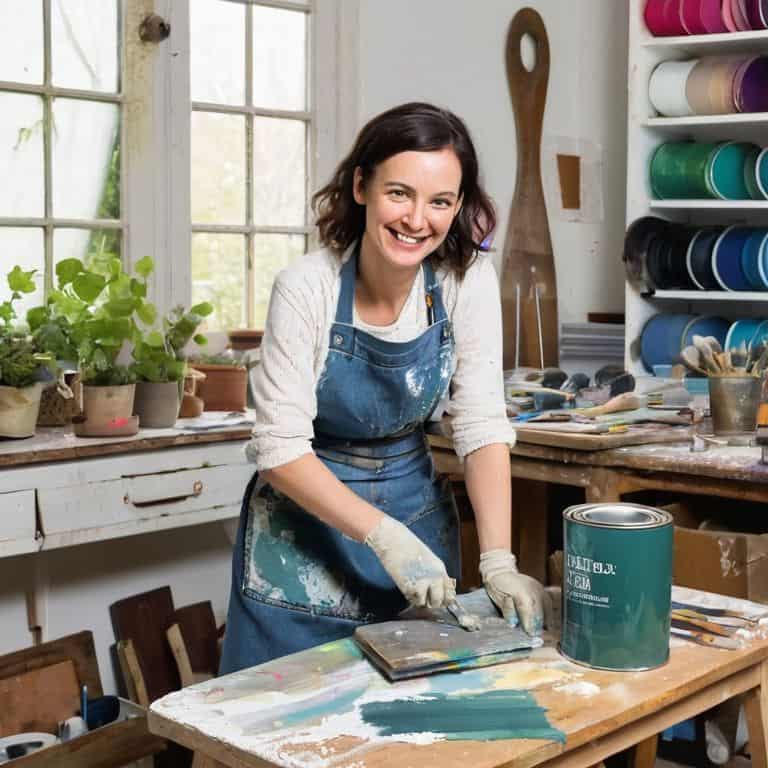
As I rummage through thrift stores and flea markets, I’m always on the lookout for hidden gems waiting to be revived. My trusty sidekicks, a sander named Sandy and a paintbrush named Bertha, help me uncover the potential in each piece. With a little TLC, a worn-out dresser can become a stylish storage unit, and a vintage armchair can transform into a cozy reading nook. I love how a fresh coat of paint or a new upholstery job can completely revamp the look and feel of a room.
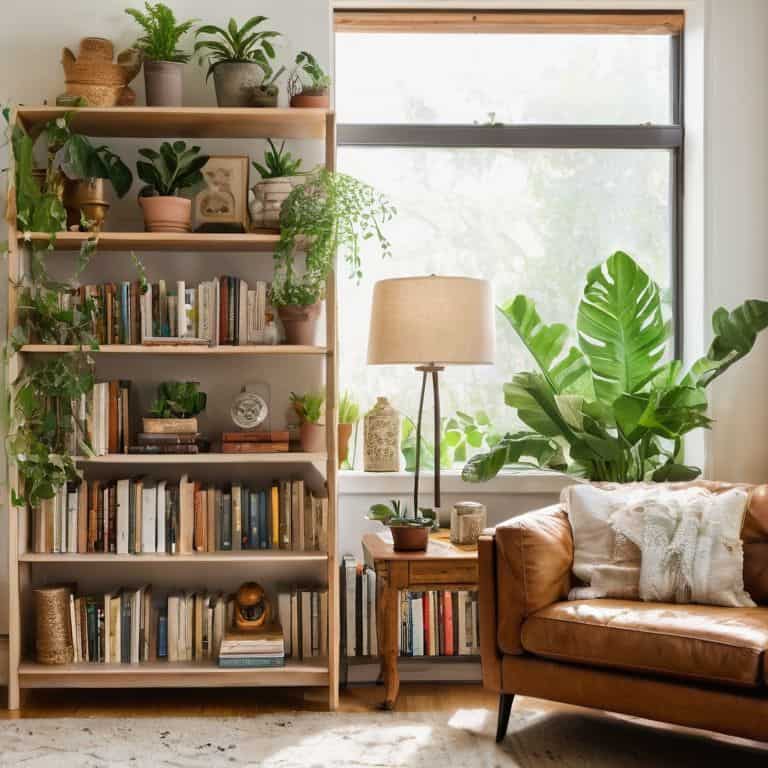
My secret to a successful second-hand furniture revival? It’s all about seeing beyond the surface level. I envision the piece in its new home, surrounded by plants, artwork, or other treasures that reflect my personality. By combining unique, pre-loved items, I create a space that tells a story – a story of adventure, creativity, and the thrill of the hunt.
My Top 5 Furniture Upcycling Secrets to Unlock Your Creativity
- Let the story of the piece guide your vision – think about the history and character of the furniture and how you can enhance it
- Mix and match different materials and textures to add depth and visual interest to your upcycled creation
- Don’t be afraid to get creative with paint – a fresh coat of color can completely transform the look and feel of a piece
- Pay attention to the little details – new hardware, upholstery, or decorative trim can make a big impact on the final result
- Remember, it’s okay to make mistakes – they can often lead to new and exciting design possibilities, so don’t be too hard on yourself if things don’t turn out as planned
My Top 3 Takeaways for a Successful Furniture Upcycle
I’ve learned that with a little creativity, even the most worn-out pieces can be transformed into one-of-a-kind treasures that tell a story – like my grandma’s vintage dresser that’s now a beautiful kitchen island!
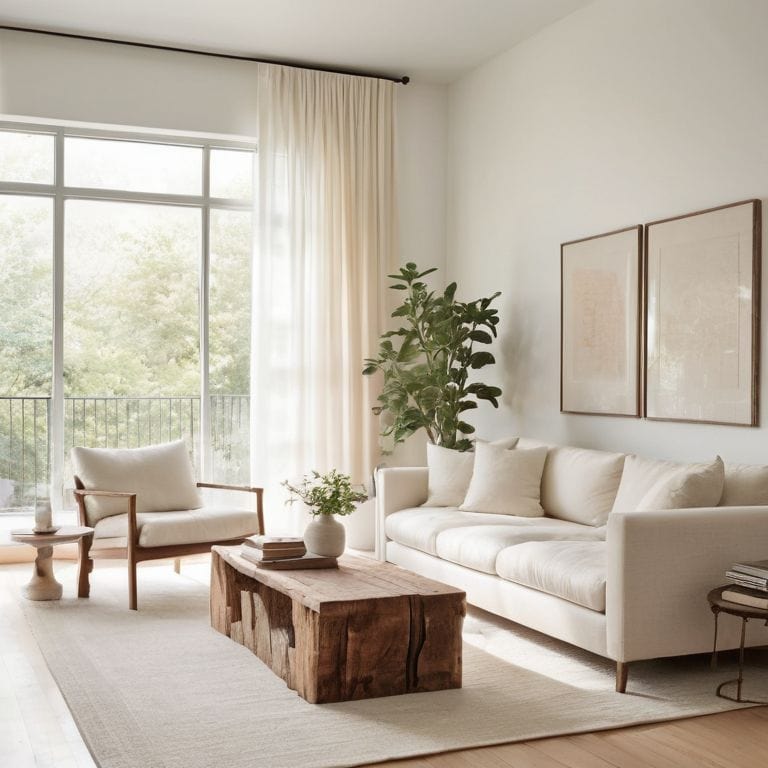
The key to a magical furniture makeover is to see beyond the surface level and imagine the potential for something entirely new, whether it’s a fresh coat of paint or a complete reupholstering
By embracing the imperfections and quirks of second-hand furniture, we can create a space that’s not only unique and personal but also sustainable and environmentally friendly – and that’s a story I love telling through my DIY home renovations!
The Upcycling Mindset
The beauty of upcycling furniture lies not in erasing its past, but in embracing its story and adding your own chapter – it’s where the old and the new fall in love, and your home becomes a testament to the magic of transformation.
Maya Rivera
Bringing Your Upcycled Vision to Life
As we’ve explored the world of upcycling, from flea market flips to second-hand furniture revival secrets, it’s clear that giving old pieces new life is not just about saving money or reducing waste – it’s about creating a space that tells your story. Whether you’re a seasoned DIY enthusiast or just starting out, remember that the key to successful upcycling is to see the potential in every item and to have fun with the process. Don’t be afraid to experiment with different techniques and materials to find what works best for you and your project.
So, the next time you’re tempted to throw away an old piece of furniture, remember that it could be the starting point for something truly unique and special. With a little creativity and some elbow grease, you can turn it into a one-of-a-kind piece that reflects your personality and style. As you continue on your upcycling journey, keep in mind that it’s okay to make mistakes – they’re all part of the creative process and can often lead to unexpected and exciting results. Happy upcycling, and don’t forget to share your before-and-after photos with me!
Frequently Asked Questions
What are some creative ways to repurpose old furniture hardware, like knobs and handles?
I just love giving old hardware a new life! Think beyond knobs and handles – use them as plant markers, zipper pulls, or even as charms for your DIY wind chimes. You can also upcycle them into unique coat hooks or bag holders. Get creative and see what story you can tell with these tiny treasures!
How do I determine the best type of paint or stain to use for a specific upcycling project?
Choosing the perfect paint or stain is like picking the final chapter in your furniture’s story! Consider the material, desired look, and functionality. For example, a distressed wood look might call for a chalk paint, while a sleek update might require a water-based stain. I like to test samples on a small area first to see what magic happens!
Can I upcycle furniture with complex or intricate carvings, or is it better to start with simpler pieces?
Don’t be intimidated by intricate carvings – they can actually add unique character to your upcycled piece! With a little patience and the right tools, you can refinish or repaint complex carvings to give them new life. I’ve worked with beautifully carved antique dressers and vintage doors, and the results are always stunning.