I still remember the first time I stumbled upon an old, rusty chair in my dad’s garage and thought, “This thing is trashed.” But with some creativity and the right tools, I turned it into a one-of-a-kind masterpiece. That’s the magic of a guide to upcycling furniture – taking something discarded and making it new again. I’ve spent years perfecting my craft, and now I’m excited to share my knowledge with you. Whether you’re a seasoned DIY enthusiast or just starting out, this journey is all about embracing the process and having fun.
In this article, I’ll cut through the noise and give you honest, practical advice on how to upcycle your own furniture. You’ll learn how to identify the perfect pieces to restore, the essential tools you need to get started, and some clever tricks to make your projects stand out. My goal is to inspire you to get creative, experiment with new ideas, and enjoy the thrill of transforming trash into treasure. So, let’s dive in and explore the world of a guide to upcycling furniture together, shall we?
Table of Contents
Guide Overview: What You'll Need
Total Time: 2 hours 30 minutes
Estimated Cost: $50 – $100
Difficulty Level: Intermediate
Tools Required
- Sandpaper (various grits)
- Paintbrush (1 inch and 2 inch wide)
- Drill (with screwdriver and drill bits)
- Hammer
- Utility Knife (with extra blades)
- Measuring Tape
- Clamp (bar clamp or pipe clamp)
- Safety Glasses
Supplies & Materials
- 2-in x 4-in lumber (for shelving or support)
- Wood Glue
- Nails or Screws (1 inch and 2 inch long)
- Paint or Stain (choose your desired color)
- Polyurethane (clear coat)
- Fabric or Upholstery (for reupholstering chairs or stools)
- Decorative Trim (optional)
Step-by-Step Instructions
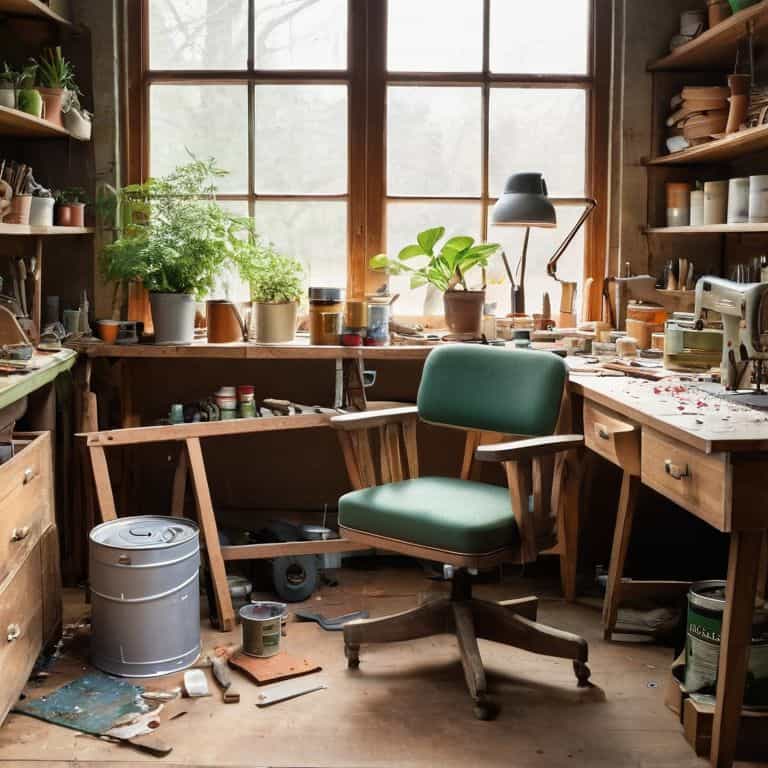
- 1. First, let’s get our hands dirty and start by selecting the perfect piece of furniture to upcycle. I love scouring thrift stores, garage sales, and even my own grandma’s attic for hidden gems. Look for items with good bones, like a sturdy frame or unique details that can be restored or repurposed.
- 2. Next, it’s time to assess the damage and figure out what needs to be fixed or replaced. Make a list of the materials you’ll need, and don’t be afraid to get creative with your solutions. I once used an old skateboard to replace a broken shelf, and it turned out to be a game-changer.
- 3. Now that we have our plan, let’s start stripping it down to the bare essentials. Remove any hardware, upholstery, or other components that are beyond repair. This is also a great opportunity to get a feel for the piece and think about how you can repurpose certain elements, like turning an old door into a coffee table or using vintage hardware as decorative accents.
- 4. With our piece stripped down, it’s time to sand it down and smooth out any rough edges. I love using a combination of power tools and good old-fashioned elbow grease to get the job done. Don’t be afraid to experiment with different techniques, like using a blowtorch to add a distressed finish or creating a unique pattern with a wire brush.
- 5. Once we’ve got our surface prepped, it’s time to add some personality with paint, stain, or other finishes. I’m a big fan of bold, bright colors, but you can also go for a more subtle, natural look. Just remember to test your finishes on a small, inconspicuous area first to make sure you get the desired result.
- 6. Now that our piece is looking fresh, it’s time to rebuild and restore any damaged or missing components. This might involve welding, soldering, or woodworking, depending on the project. Don’t be intimidated if you’re new to these skills – practice makes perfect, and you can always find tutorials and tips online to help you along the way.
- 7. Finally, it’s time to add the finishing touches and bring our upcycled masterpiece to life. This might involve adding new hardware, reupholstering a seat or backrest, or even incorporating unique decorative elements, like vintage maps, musical instruments, or other found objects. The possibilities are endless, and I love seeing how each project takes on a life of its own.
A Guide to Upcycling Furniture
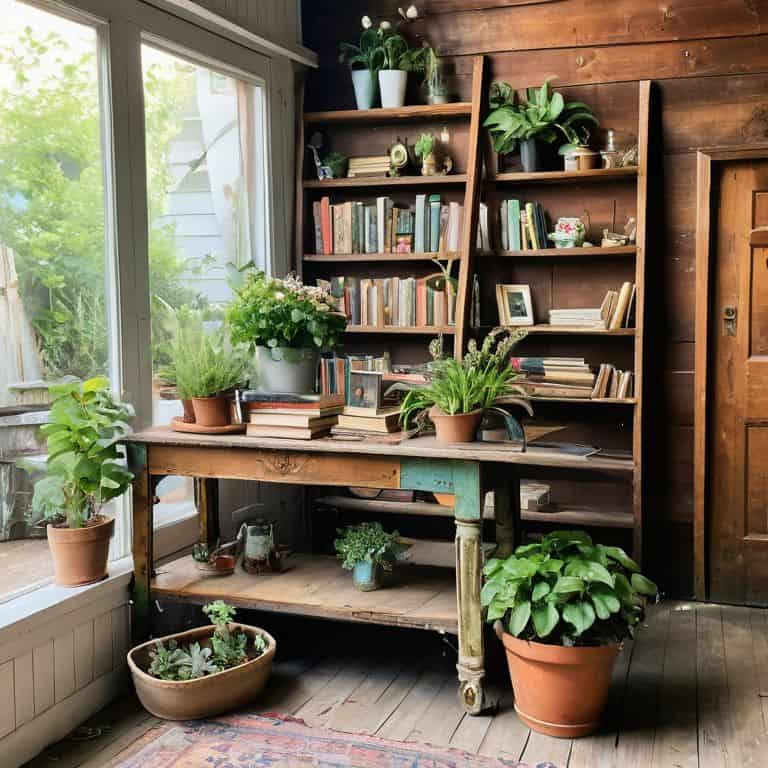
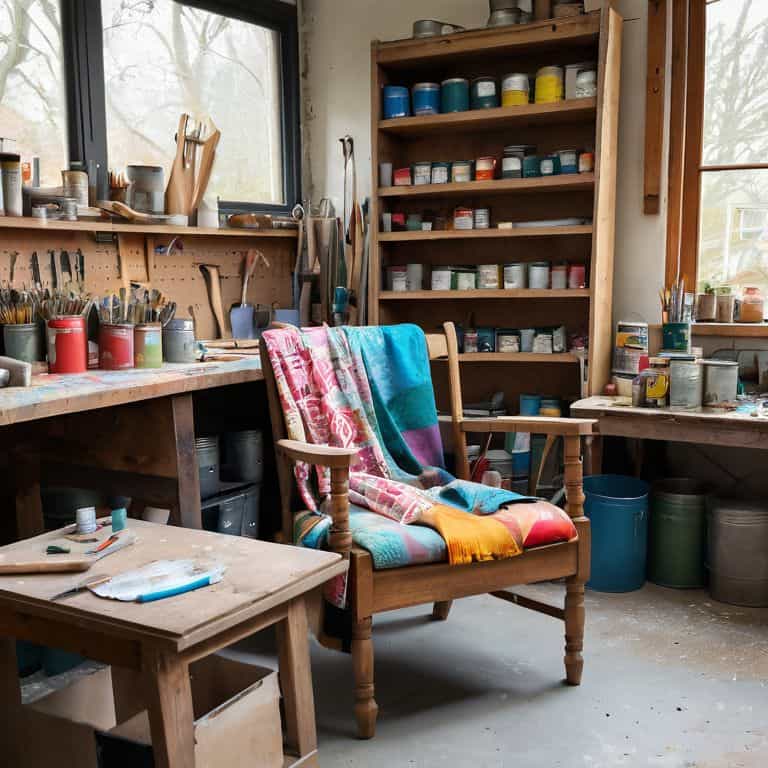
As I always say, the fun part of any DIY project is the creative problem-solving that comes with it. When it comes to upcycling furniture, this means thinking outside the box and finding new uses for old pieces. For instance, an old ladder can become a unique bookshelf, or a vintage door can be transformed into a one-of-a-kind coffee table. The key is to look beyond the original purpose of the piece and imagine its potential in a new context.
To take your upcycled furniture to the next level, consider experimenting with different furniture restoration techniques, such as refinishing or reupholstering. This can help to enhance the original character of the piece while also giving it a fresh new look. Additionally, don’t be afraid to incorporate sustainable furniture design principles into your project, such as using eco-friendly materials or reducing waste wherever possible.
By embracing the process of upcycling and getting creative with your DIY projects, you can create truly unique and functional pieces that reflect your personal style. Whether you’re looking for upcycled home decor ideas or simply want to give new life to an old favorite, the possibilities are endless. So don’t be afraid to get creative, make mistakes, and have fun with the process – it’s all part of the journey to creating something truly special.
Diy Furniture Makeover Tips Revealed
Now that we’ve dived into the world of furniture restoration, let’s talk about the fun part – giving your piece a brand new personality. I love experimenting with different finishes, like distressed paint or a rich stain, to completely transform the look and feel of a piece. And don’t even get me started on hardware – swapping out old knobs for sleek, modern ones can make a huge impact.
When it comes to DIY furniture makeovers, the key is to not be afraid to try new things and take risks. Remember, it’s all about embracing those ‘happy accidents’ and having fun with the process. Whether you’re adding a pop of color or trying out a new technique, the most important thing is to make it your own and enjoy the ride.
Furniture Restoration Techniques Unleashed
Now that we’ve covered the basics, it’s time to unleash your inner furniture restoration rockstar. I’m talking stripping, sanding, and staining – the holy trinity of restoration techniques. These are the skills that’ll take your upcycled pieces from meh to mesmerizing. With the right tools and a bit of practice, you’ll be able to breathe new life into even the most battered and bruised furniture finds.
Think of restoration as a chance to get creative and add your own personal touch. Want to give that old dresser a distressed look? Go for it. How about adding a pop of color with a fresh coat of paint? You got it. The key is to experiment, have fun, and remember – mistakes are just happy accidents waiting to happen.
Upcycling Like a Pro: 5 Tips to Turn Trash into Treasure

- Start with a solid foundation: Look for sturdy, well-made pieces that just need a little love, like a vintage dresser with good bones
- Get creative with materials: Think beyond traditional furniture pieces and consider repurposing old doors, windows, or even pallets
- Don’t be afraid to mix and match: Combine different styles, textures, and colors to create a unique piece that reflects your personality
- Add some personality with paint and finish: A fresh coat of paint or a new finish can completely transform a piece, so don’t be shy about experimenting
- Light it up: Add some ambiance with string lights, lanterns, or neon signs to give your upcycled furniture a warm and welcoming glow
Three Key Takeaways to Get You Started
Never underestimate the potential of a discarded piece of furniture – with the right tools and a bit of creativity, you can turn trash into a functional piece of art
Remember, mistakes are an essential part of the learning process, so don’t be afraid to experiment and try new things – it’s often the ‘happy accidents’ that lead to the most unique and interesting creations
Upcycling furniture is not just about saving money or reducing waste, it’s about creating something that reflects your personality and style, so don’t be afraid to let your imagination run wild and add your own personal touch to every project
The Upcycling Revolution
I believe that upcycling furniture is not just about giving old things a new life, it’s about giving yourself a new story to tell – one of creativity, resourcefulness, and the thrill of turning trash into treasure!
Franklyn "Frank" Bishop
Wrapping Up Your Upcycling Journey
As we conclude this guide to upcycling furniture, let’s recap the key takeaways: we’ve covered the basics of furniture restoration, dived into DIY makeover tips, and explored the creative freedom that upcycling offers. From transforming trash into treasure to giving new life to old, worn-out pieces, the journey of upcycling is as rewarding as it is fun. Remember, the process is just as important as the final result, and embracing the unknown is a big part of what makes this hobby so exciting.
So, as you put down your power tools and step back to admire your latest creation, remember that the art of upcycling is not just about saving money or reducing waste – it’s about unleashing your creativity and making something truly unique. Keep experimenting, keep pushing boundaries, and most importantly, keep having fun. The world of upcycling is full of endless possibilities, and I’m thrilled to have been a part of your journey so far. Happy building!
Frequently Asked Questions
What are some common mistakes to avoid when upcycling furniture?
Dude, don’t worry, mistakes happen! But to avoid some common ones, make sure you properly prep that old piece, like stripping old finishes and filling holes. And, please, don’t skip the sanding – it’s a game-changer! Also, measure twice, cut once, and for the love of DIY, use the right tools for the job!
How do I determine the best type of finish or paint to use for a specific furniture piece?
Dude, choosing the right finish or paint is like picking the perfect soundtrack for your project – it sets the vibe! Consider the piece’s material, intended use, and your desired aesthetic. Do you want a rustic, distressed look or a sleek, modern finish? Think about durability, too. I like to experiment with samples before committing to a specific finish or paint. It’s all about finding that perfect harmony!
Can I upcycle any type of furniture, or are there certain pieces that are better suited for restoration?
Honestly, most furniture can be upcycled, but I’ve found that pieces with solid wood frames or unique character are the most fun to restore. Think old dressers, chairs, or tables with interesting details – those are usually the best candidates for a killer makeover.