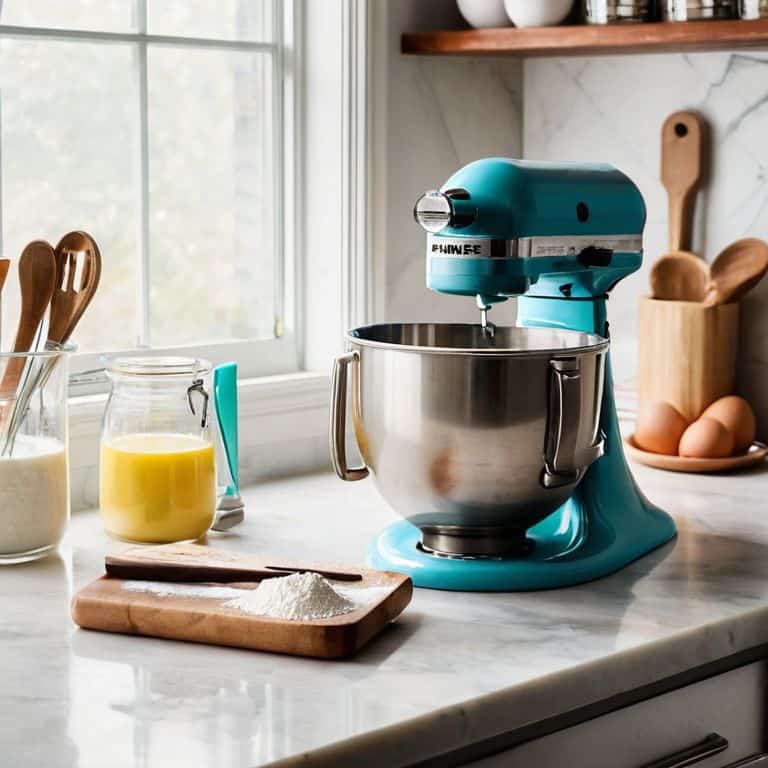
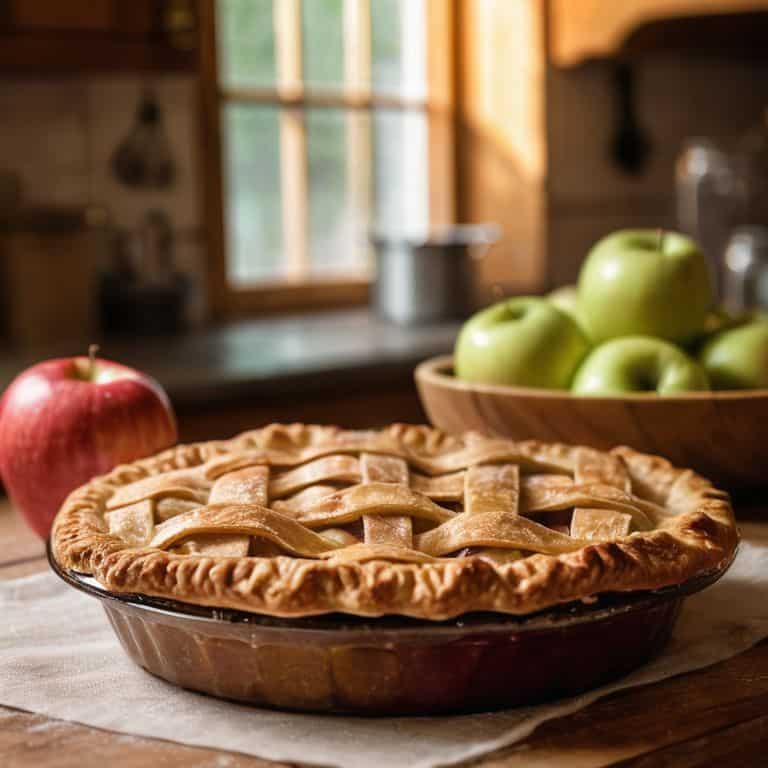
I still remember the first time I attempted to make a classic apple pie recipe. I was a novice baker, and the experience was nothing short of disastrous. The filling was too runny, the crust was overcooked, and the whole thing was a mess. But what I’ve learned since then is that the key to a perfect pie lies not in some magical ingredient or complicated technique, but in the simple, meticulous preparation of each component. It’s a lesson that has stayed with me to this day, and one that I’m excited to share with you.
As we dive into the world of a classic apple pie recipe, I want to assure you that my goal is to provide you with honest, experience-based advice that will make the process of creating this beloved dessert a joyful one. I’ll walk you through every step, from the importance of mise en place to the secrets of a flaky, buttery crust. My promise to you is that by the end of this journey, you’ll be equipped with the knowledge and confidence to create a truly unforgettable pie that will become a staple in your household. So, let’s get started on this delicious adventure together!
Table of Contents
Recipe Details
Ingredients
- 2 1/4 cups all-purpose flour (sifted)
- 1 tsp salt
- 1 cup cold unsalted butter (cut into small pieces)
- 1/2 cup shortening (chilled)
- 1/2 cup granulated sugar
- 2 large eggs
- 2 tsp vanilla extract
- 6-8 medium-sized apples (peeled and sliced)
- 1 tsp ground cinnamon
- 1/4 tsp ground nutmeg
Tools & Supplies
- Large mixing bowl
- Pastry blender
- Rolling pin
- 9-inch pie dish
- Oven thermometer
Recipe Instructions
Step 1
First, let’s start with the crust preparation, which is the foundation of our classic apple pie recipe. To make the crust, combine 2 1/4 cups of all-purpose flour, 1 tsp of salt, and 1 cup of cold unsalted butter in a large mixing bowl. Use a pastry blender or your fingers to work the butter into the flour until the mixture resembles coarse crumbs with some larger pea-sized pieces of butter remaining.
Step 2
Next, we’ll add the liquid ingredients to bring the dough together. In a small bowl, whisk 1/4 cup of ice-cold water with 1 tbsp of apple cider vinegar. Gradually pour the liquid mixture into the flour mixture, stirring with a fork until the dough starts to come together in a shaggy mass. Be careful not to overmix at this stage, as it can lead to a tough crust. Instead, focus on creating a cohesive dough that just holds together.
Step 3
Now, it’s time to divide the dough in half and shape each half into a disk. Wrap each disk in plastic wrap and refrigerate for at least 1 hour or up to 2 days. This step is crucial for allowing the gluten in the dough to relax, making it easier to roll out later. While the dough is chilling, you can prepare the filling by peeling, coring, and slicing 6-8 medium-sized apples. I prefer to use a combination of sweet and tart varieties, such as Honeycrisp and Granny Smith, for a balanced flavor.
Step 4
After the dough has chilled, it’s time to roll out one of the disks to a thickness of about 1/8 inch. To do this, lightly flour your work surface and place the dough in the center. Use a rolling pin to gently roll out the dough, starting from the center and working your way outwards in all directions. As you roll, rotate the dough 90 degrees every few rolls to ensure it remains even and symmetrical. This will help you achieve a uniform crust that will bake evenly.
Step 5
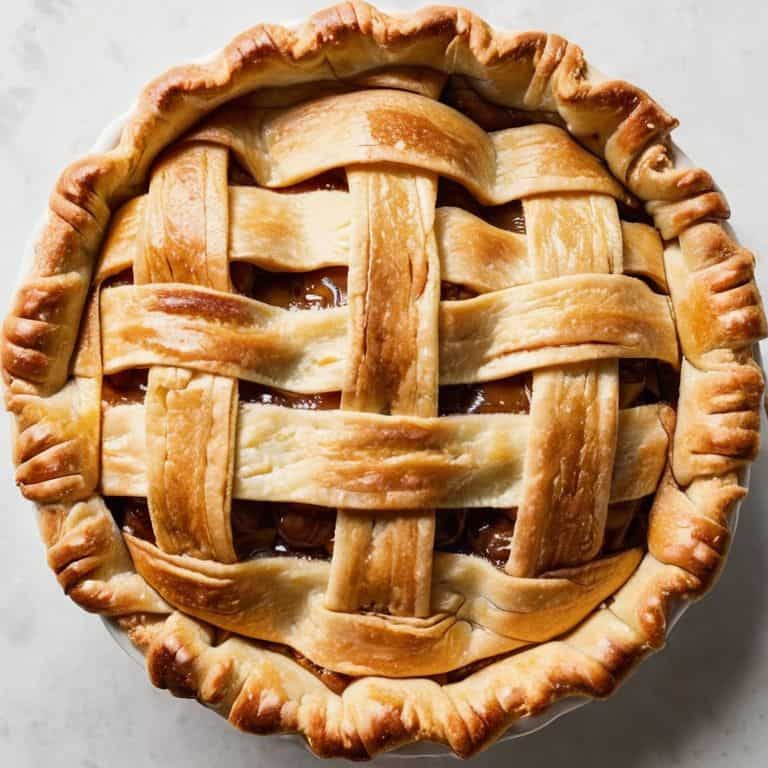
Once you’ve rolled out the dough, carefully transfer it to a 9-inch pie dish and trim any excess dough from the edges. Fill the pie crust with the prepared apple slices, leaving a 1-inch border around the edges. Then, roll out the second disk of dough to a similar size as the first and use it to cover the pie. Crimp the edges to seal the pie and cut a few slits in the top crust to allow steam to escape during baking. Finally, brush the top crust with a little milk or beaten egg for a golden glaze and bake the pie in a preheated oven at 375°F for 40-50 minutes, or until the crust is golden brown and the apples are tender.
Mastering a Classic Apple Pie Recipe
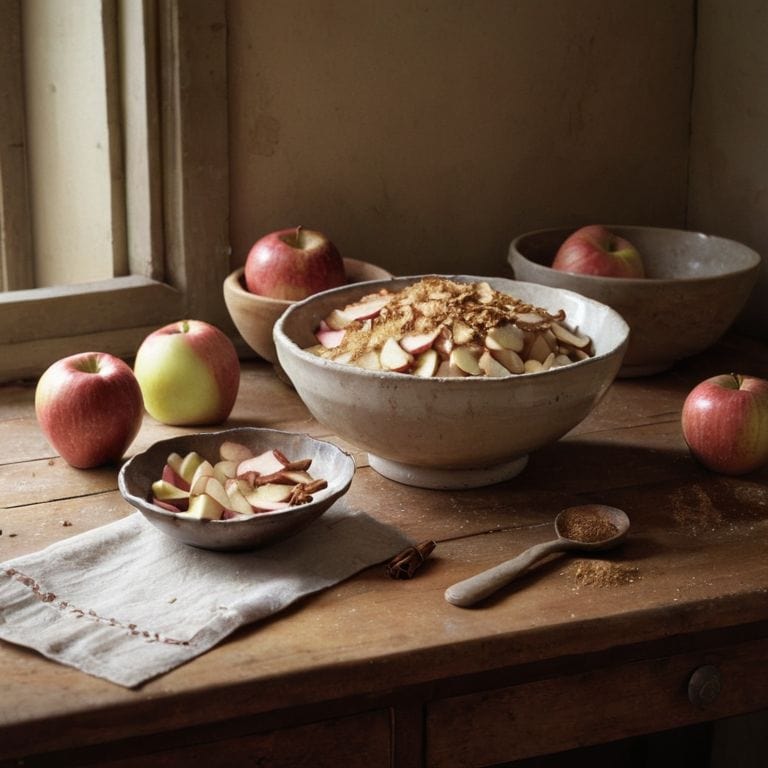
As I delve into the world of apple pies, I’m reminded of the importance of traditional apple filling ingredients. A perfect blend of sweet and tart, these ingredients bring out the best in this classic dessert. When it comes to creating a delicious filling, I always say that less is more. A simple combination of sliced apples, sugar, and spices can make all the difference.
To achieve an easy flaky crust, it’s essential to keep your ingredients cold and handle the dough gently. This will help you avoid common apple pie mistakes, such as a tough or soggy crust. By following these simple tips, you’ll be well on your way to baking a pie like a pro, even if you’re a beginner learning about baking a pie for beginners.
One of my favorite things about apple pie is the flexibility it offers. You can experiment with different spice blends, such as a homemade apple pie spice blend, to give your pie a unique flavor. Whether you’re a fan of cinnamon, nutmeg, or allspice, the possibilities are endless. And, as part of the broader category of classic American dessert recipes, apple pie is a staple that never goes out of style.
Avoiding Common Mistakes in Traditional Apple Filling
When it comes to the traditional apple filling, I’ve found that a few common mistakes can make all the difference between a delicious, tender filling and one that’s too sweet or mushy. One of the most critical errors is overcooking the apples – it’s essential to cook them just until they’re tender, as overcooking can lead to a filling that’s more akin to applesauce. Another mistake is not using a mix of apple varieties, which can result in a filling that lacks depth and complexity.
To avoid these mistakes, I recommend using a combination of sweet and tart apples, such as Granny Smith and Honeycrisp, and cooking them until they’re just tender. This will help you achieve a beautiful balance of flavors and textures in your filling. By being mindful of these potential pitfalls, you’ll be well on your way to creating a truly exceptional classic apple pie.
Unlocking Easy Flaky Crust Techniques
To achieve that perfect flaky crust, it’s all about mastering the art of layering. I like to think of it as a delicate dance between the butter, flour, and water. Keeping your ingredients cold is key, as this prevents the butter from melting and the dough from becoming tough. When you’re ready to roll out the dough, make sure to do so gently, applying even pressure to avoid developing the gluten in the flour.
By using a combination of shortening and butter, you’ll create a crust that’s both flaky and tender. Remember, the goal is to create layers of dough and fat, which will then puff up beautifully in the oven. Don’t overwork the dough, and you’ll be rewarded with a crust that’s nothing short of perfection.
Pie-fection Guaranteed: 5 Essential Tips for a Classic Apple Pie Recipe
- Become a master of ‘mise en place’ by prepping all your ingredients before starting, including peeling and slicing those apples to perfection
- Choose the right apples for the job – a mix of sweet and tart varieties like Honeycrisp and Granny Smith will give your pie a depth of flavor
- Don’t overwork that dough! Stop mixing as soon as your ingredients come together in a shaggy mass, then let it rest to ensure a flaky crust
- Blind baking is your friend – it prevents the crust from becoming soggy and ensures a beautiful, golden-brown finish
- Resist the temptation to overfill your pie crust – leave a little room for the apples to shrink and the juices to bubble up, resulting in a beautifully balanced filling
Key Takeaways for a Perfect Classic Apple Pie
To achieve a flawless, old-fashioned apple pie, it’s crucial to master the art of making a flaky crust, which involves using the right combination of cold ingredients and minimal handling
Understanding the science behind the traditional apple filling, including the balance of sweet and tart flavors, and the importance of not overmixing, is vital for avoiding common mistakes
By following a meticulously tested recipe and paying attention to details like the precise temperature and baking time, home cooks can empower themselves to create a truly unforgettable classic apple pie experience
The Heart of Tradition
A classic apple pie recipe is more than just a list of ingredients and instructions – it’s a story of love, tradition, and the simple joys of sharing a homemade dessert with the people who matter most.
Julia Ashwood
Bringing It All Together: The Perfect Classic Apple Pie
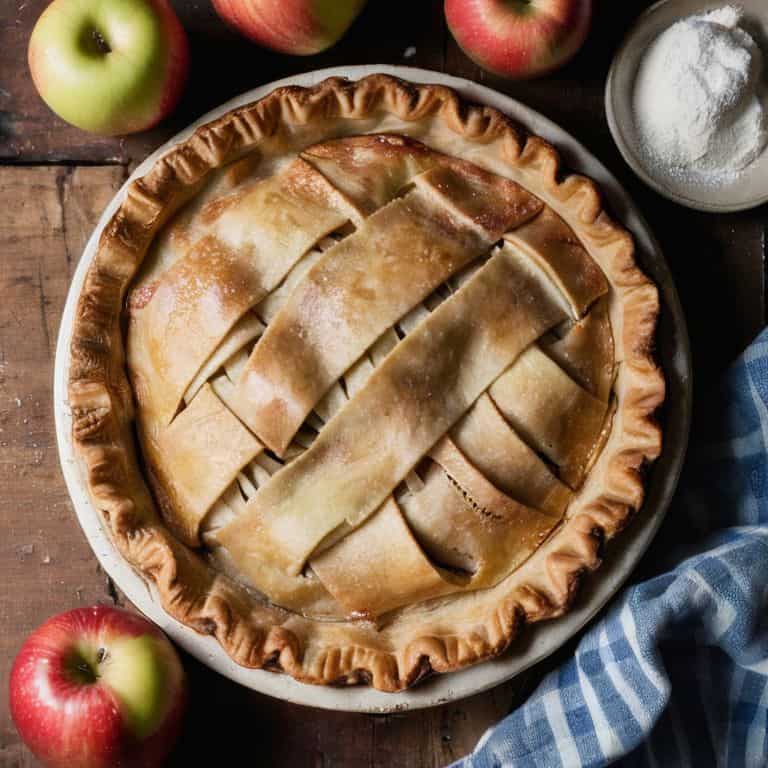
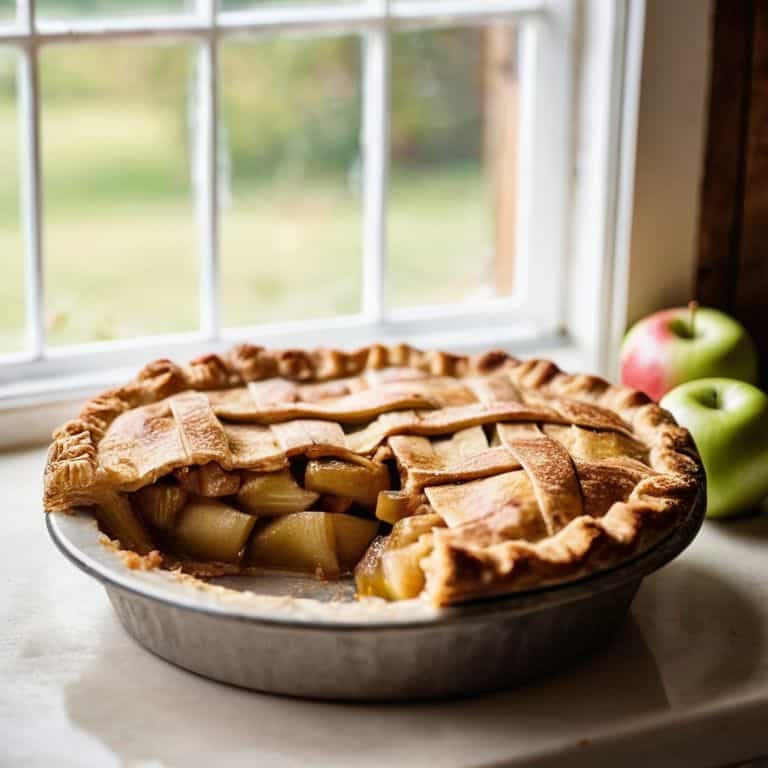
As we’ve journeyed through the world of classic apple pie, we’ve covered the essential steps to create a truly unforgettable dessert. From mastering the flaky crust to avoiding common mistakes in the traditional apple filling, each component is crucial in bringing this beloved pie to life. By following the step-by-step guide and tips outlined in this article, you’ll be well on your way to creating a pie that’s not only delicious but also visually stunning. Remember, the key to a perfect pie lies in the attention to detail and the patience to get each element just right.
As you take your first bite of this meticulously crafted classic apple pie, I hope you feel a sense of pride and accomplishment. The joy of baking isn’t just about the end result, but about the journey itself – the process of experimenting with new techniques, the satisfaction of watching your creation come together, and the love that goes into every detail. So, don’t be afraid to get creative, to try new things, and to make this recipe your own. Happy baking, and I look forward to seeing the amazing pies you’ll create!
Frequently Asked Questions
What is the best type of apple to use for a classic apple pie?
For a classic apple pie, I swear by a combination of sweet and tart apples, like Honeycrisp and Granny Smith. The key is balancing flavors and textures – Honeycrisp adds natural sweetness, while Granny Smith provides a nice tartness and firmness, holding up beautifully to baking.
How do I prevent the crust from becoming too brown or burnt during baking?
To prevent the crust from becoming too brown or burnt, I recommend shielding the edges with foil or a pie shield after the first 20-25 minutes of baking. This will allow the filling to continue cooking while protecting the crust from over-browning. Simply place the foil or shield gently over the edges and continue baking until the filling is tender and the crust is golden brown.
Can I make a classic apple pie ahead of time and freeze it for later use?
Absolutely, you can make a classic apple pie ahead of time and freeze it for later use. I recommend assembling the pie, then freezing it before baking. Simply thaw overnight and bake as instructed. You can also freeze the dough and filling separately, then assemble and bake when you’re ready.