I still remember the first time I tried to fix a leaky faucet in my dad’s garage – I ended up flooding the entire room! But that _happy accident_ taught me a valuable lesson: with the right mindset and a few basic tools, anyone can tackle a guide to basic home repairs. The myth that you need to be a pro or have a ton of experience to fix things around the house is just that – a myth. I’m living proof that with a bit of enthusiasm and a willingness to get your hands dirty, you can become your own handyman.
In this article, I’ll share my _no-nonsense_ approach to a guide to basic home repairs, covering everything from tightening loose screws to patching up holes in the wall. I’ll give you the lowdown on the essential tools you need, the common mistakes to avoid, and the simple tricks to make the process easier and more enjoyable. My goal is to empower you to take on those pesky repairs with confidence, so you can save money, feel a sense of accomplishment, and maybe even discover a new hobby. So, grab your toolbox and let’s get started on this DIY journey together!
Table of Contents
Guide Overview: What You'll Need
Total Time: 2 hours 30 minutes
Estimated Cost: $50 – $100
Difficulty Level: Intermediate
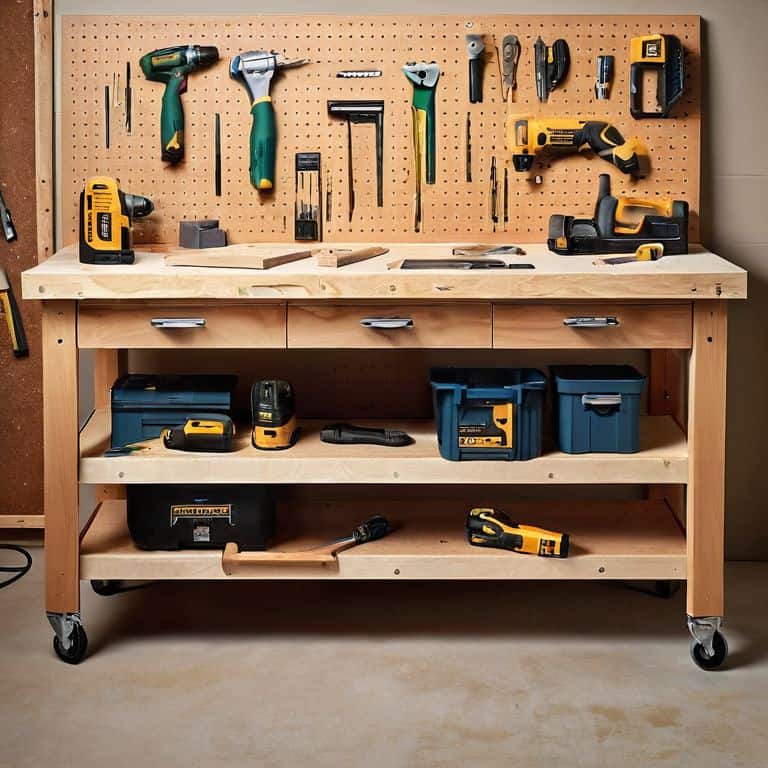
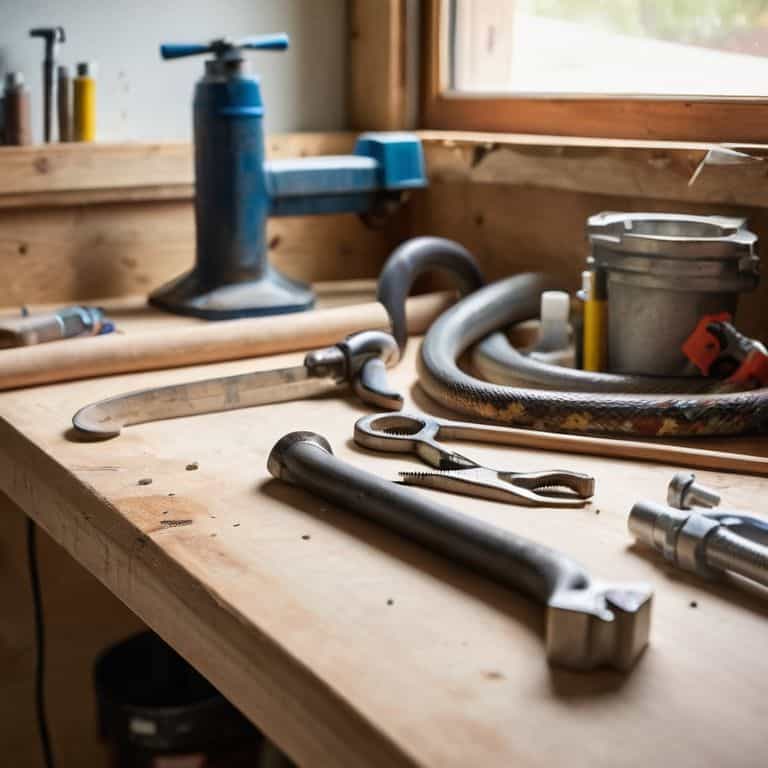
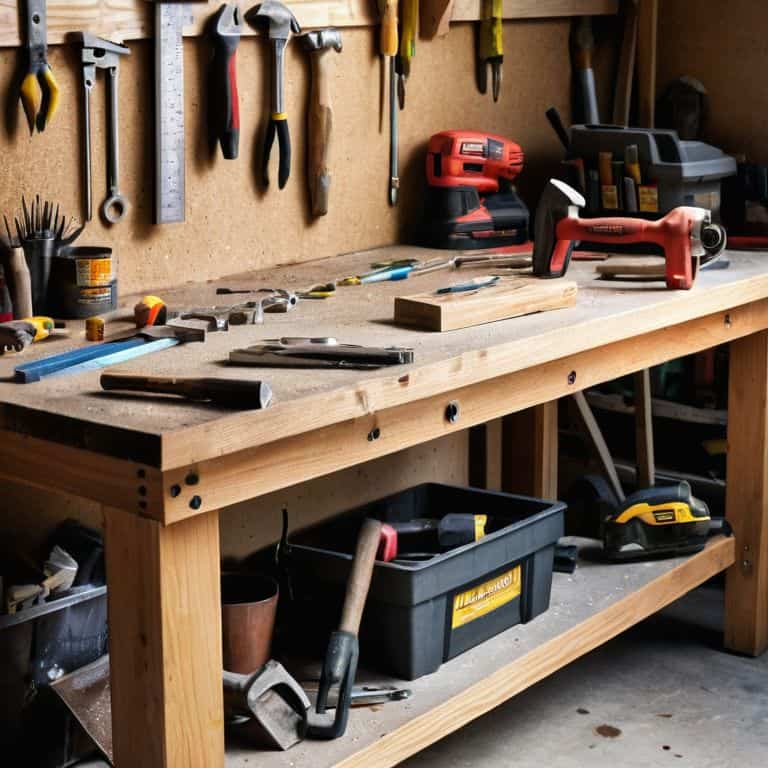
Tools Required
- Hammer (16 ounces)
- Tape Measure (25 feet long)
- Level (bubble or laser)
- Pliers (needle-nose)
- Screwdriver (flathead and Phillips)
- Utility Knife (with extra blades)
- Drill (with screwdriver and drill bits)
- Wrench (adjustable
Supplies & Materials
- Drywall Patch Kit
- 2-in x 4-in lumber (for framing repairs)
- Wood glue
- Wood filler
- Sandpaper (various grits)
- Paint (for touching up repairs)
- Caulk (for sealing gaps)
- Weatherstripping (for sealing doors and windows)
Step-by-Step Instructions
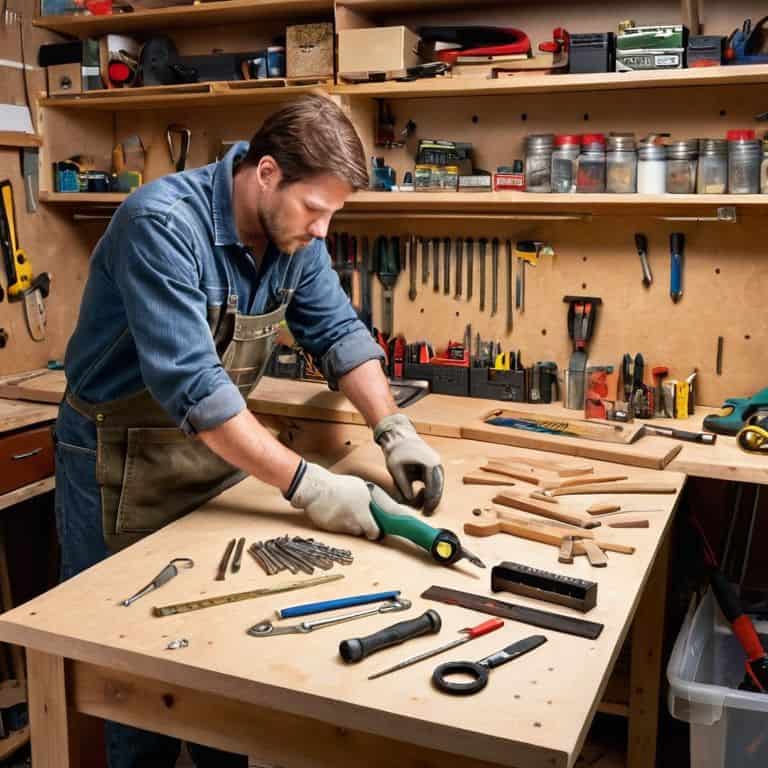
- 1. First, let’s get our toolbox ready and make sure we have all the essentials within arm’s reach. I’m talking about a hammer, a tape measure, a level, and a bunch of other goodies that’ll make our lives easier as we tackle those pesky repairs. Take a few minutes to organize your tools, and don’t worry if your workshop looks like a hot mess – that’s just part of the fun!
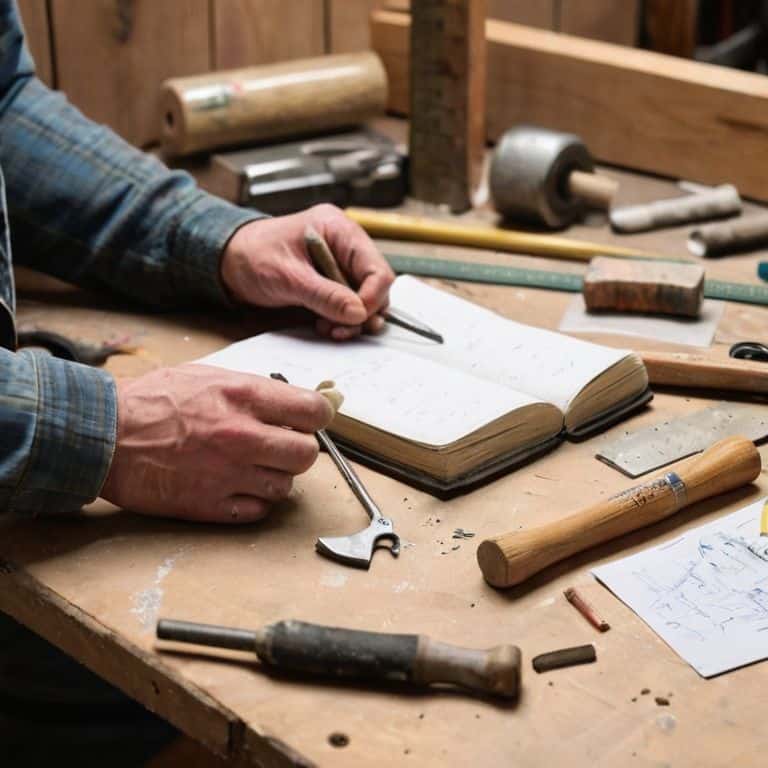
- 2. Next, we need to identify the tasks at hand and prioritize them based on urgency and importance. Make a list of all the things that need fixing, from leaky faucets to creaky doors, and then rank them in order of “must-do” to “nice-to-do”. This will help us stay focused and ensure that we’re tackling the most critical issues first. Don’t be afraid to get creative with your list – add some doodles, colors, or even a few motivational quotes to keep you pumped up!
- 3. Now that we have our list, let’s start with something simple like fixing a loose screw or a wonky handle. This is a great opportunity to practice our problem-solving skills and get a feel for the tools and materials we’ll be working with. Remember, it’s all about taking it one step at a time and not being afraid to make mistakes – they’re an essential part of the learning process, and I’ll show you how to turn them into successes!
- 4. Moving on to something a bit more challenging, let’s talk about patching holes in the wall. This is a great chance to get familiar with some basic materials like spackling compound, sandpaper, and paint. Don’t worry if your first attempts don’t turn out perfectly – it’s all about experimenting and adapting until we get the desired result. And hey, if things get really messy, we can always turn it into a fun DIY project and add some extra flair to our walls!
- 5. As we work our way through the list, we’ll inevitably encounter some sticky situations that require a bit more creative problem-solving. This might involve MacGyvering a solution with some everyday items or seeking inspiration from online tutorials or forums. The key is to stay flexible and open-minded, and to remember that there’s often more than one way to solve a problem. So don’t be afraid to think outside the box and come up with your own unique solutions!
- 6. Once we’ve tackled the majority of our repairs, it’s time to add some finishing touches and make our space look and feel amazing. This might involve some cosmetic tweaks like painting, decorating, or rearranging furniture. Remember to have fun with it and express your personal style – after all, this is your space, and you should feel proud to call it your own! Don’t be afraid to get a little quirky and add some personality to your decor – it’s all about making your space truly special.
- 7. Finally, let’s talk about maintaining our momentum and keeping our space in top shape. This involves setting aside some regular time for maintenance and upkeep, whether it’s weekly, monthly, or seasonal. By staying on top of things, we can prevent small issues from becoming big problems and enjoy a sense of peace of mind knowing that our space is safe, functional, and beautiful. So let’s make a commitment to ourselves to stay on track, and to keep our workshop – and our home – running smoothly!
A Guide to Basic Home Repairs
As we dive into the world of DIY home repairs, it’s essential to be aware of common plumbing issues that can arise. From leaky faucets to clogged drains, these problems can be frustrating and costly if not addressed promptly. To tackle these issues, I recommend having a set of basic tools, such as a plumber’s snake and a wrench, on hand. Additionally, familiarizing yourself with DIY wall repair techniques can help you identify and fix any water damage or structural issues that may be contributing to your plumbing problems.
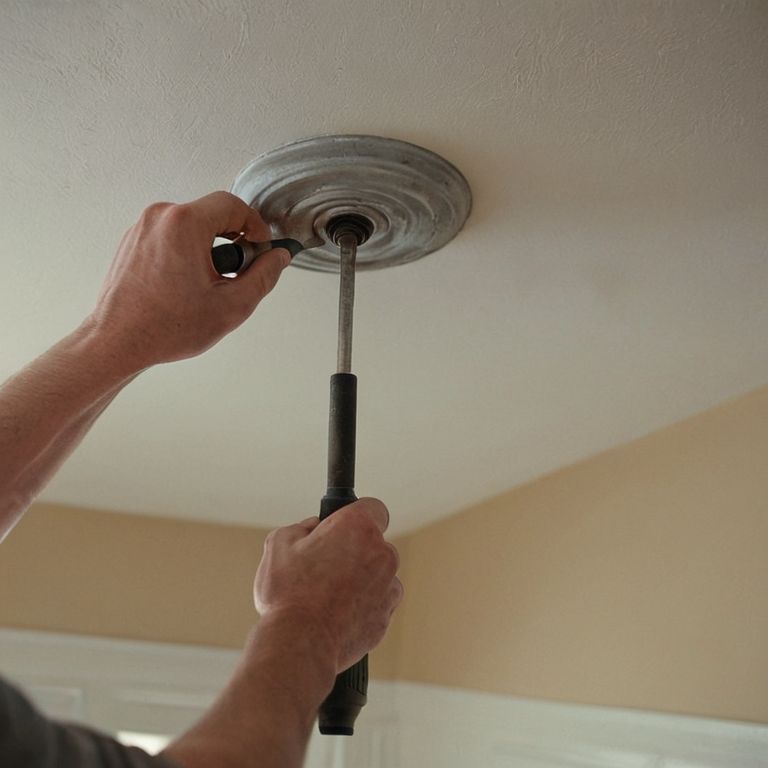
When it comes to electrical work, safety should always be your top priority. Basic electrical safety tips can help you avoid shocks, fires, and other hazards. Make sure to turn off the power to any circuit you’re working on, and use a voltage tester to ensure it’s safe to proceed. It’s also crucial to have the right tools for beginner handymen, such as a multimeter and a wire stripper, to help you navigate even the most complex electrical tasks.
By following these tips and staying on top of easy home maintenance schedules, you can prevent costly repairs and ensure your home remains safe and functional. Remember, preventing water damage at home is key to avoiding expensive and time-consuming repairs down the line. With a little practice and patience, you’ll be well on your way to becoming a DIY master, and your home will thank you.
Diy Like a Pro Basic Electrical Safety Tips
Now that we’ve tackled those pesky plumbing issues, it’s time to shine a light on electrical safety. When working with electricity, it’s crucial to remember that safety always comes first. Before you start tinkering with any electrical components, make sure to switch off the power at the main electrical panel. Verify that the power is off using a non-contact voltage tester – it’s a simple but crucial step to avoid any shocks or injuries.
I like to think of electrical safety as a recipe: the right ingredients (knowledge and caution) mixed with the right attitude (respect for electricity’s power) will keep you safe and sound. So, don your favorite safety goggles, and let’s get started on those electrical repairs with confidence!
Grab Your Toolbox Buddy Common Plumbing Issues
Now that we’ve got our basic toolkit ready, let’s dive into some common plumbing issues that can be a real headache. I’m talking about leaky faucets, clogged drains, and running toilets – the usual suspects. These problems might seem daunting, but trust me, with the right mindset and a few simple tools, you’ll be fixing them like a pro in no time. I’ve had my fair share of plumbing mishaps, and I’ve learned that it’s all about being methodical and patient.
Let’s start with that leaky faucet – it’s often just a matter of tightening a loose screw or replacing a worn-out O-ring. And don’t even get me started on the satisfaction of fixing a clogged drain without calling in a plumber! With a plunger, some baking soda, and vinegar, you’ll be unclogging like a rockstar. Remember, it’s all about taking it one step at a time and having fun with the process. So, put on your favorite playlist, grab your trusty toolbox, and let’s get fixing!
Hammering Out the Basics: 5 Essential Tips for DIY Home Repairs
- Measure Twice, Hammer Once: Double-Check Your Measurements to Avoid Costly Mistakes
- Get a Grip on Your Tools: Familiarize Yourself with the Basics, from Pliers to Power Drills
- Safety First: Wear Protective Gear and Keep Emergency Contacts Handy
- Don’t Be Afraid to Get Creative: Think Outside the Box (or Toolbox) for Unique Repair Solutions
- Clean Up as You Go: Keep Your Workspace Organized to Avoid Lost Parts and Frustration
Key Takeaways for a Handy You
Always remember, safety first: whether you’re dealing with plumbing or electrical issues, make sure you’ve turned off the main supplies before you start tinkering
Don’t be afraid to get creative with your repairs – sometimes the best solutions come from thinking outside the box (or in this case, the toolbox)
Practice makes perfect, so don’t be too hard on yourself if things don’t go exactly as planned – every mistake is an opportunity to learn and improve your DIY skills
Wrapping Up Your DIY Journey
As we’ve worked through this guide to basic home repairs, I hope you’ve picked up some valuable tips and tricks to tackle those pesky leaks, creaking floorboards, and flickering lights. We’ve covered the essential tools to have in your arsenal, how to diagnose common plumbing issues, and the importance of basic electrical safety. Remember, the key to becoming a DIY master is to be willing to get your hands dirty and learn from your mistakes – after all, that’s where the magic happens!
So, as you put down your toolbox and step back to admire your handiwork, I want to leave you with a final thought: making something with your own hands is not just about fixing a problem, it’s about creating something that brings you joy and a sense of pride. Keep building, keep creating, and most importantly, keep having fun – and don’t forget to tune in to my next video for more DIY adventures in Frank’s Workshop!
Frequently Asked Questions
What are some common mistakes to avoid when attempting basic home repairs?
Whoa, don’t worry, buddy – we’ve all been there! Common mistakes to avoid include over-tightening, using wrong materials, and skipping safety gear. I’ve made ’em all, and learned from ’em. Let’s fix those mistakes together and get your DIY project back on track!
How can I determine if a repair is within my skill level or if I need to call a professional?
Honestly, it’s all about being real with yourself – take a close look at the job, and ask if you’re truly comfy with the tools and techniques needed. If you’re unsure, don’t be afraid to call in a pro – safety first, buddy! I always say, it’s better to admit you need help than to risk making things worse.
What are some essential tools that I should have in my toolbox for basic home repairs?
Ah, my friend, let’s talk toolbox essentials! For basic home repairs, you’ll want a solid core of tools like a hammer, tape measure, level, pliers, screwdrivers, and a wrench set. These will be your go-to’s for tackling most common fixes. Trust me, with these babies in your toolbox, you’ll be well on your way to DIY domination!