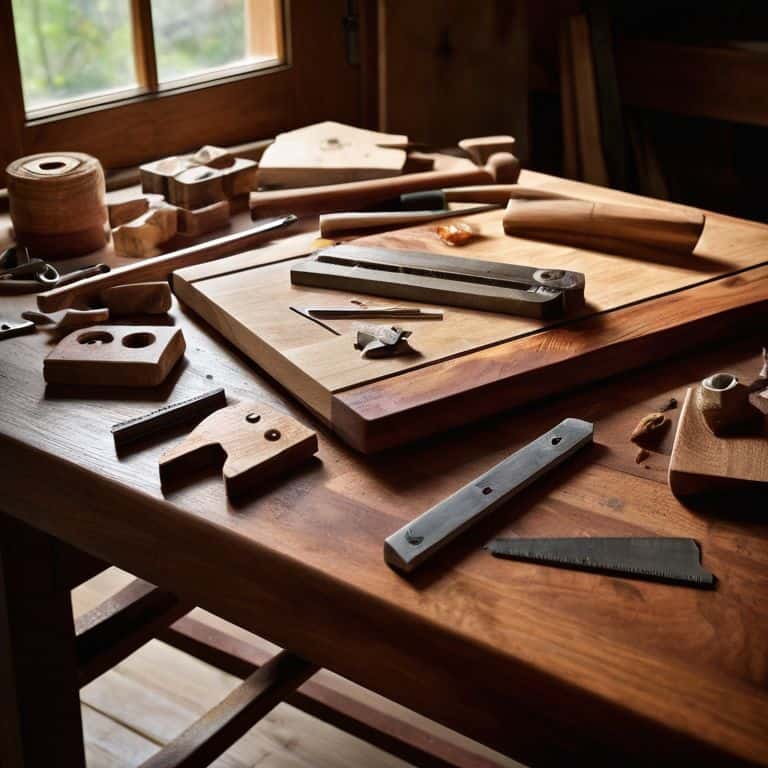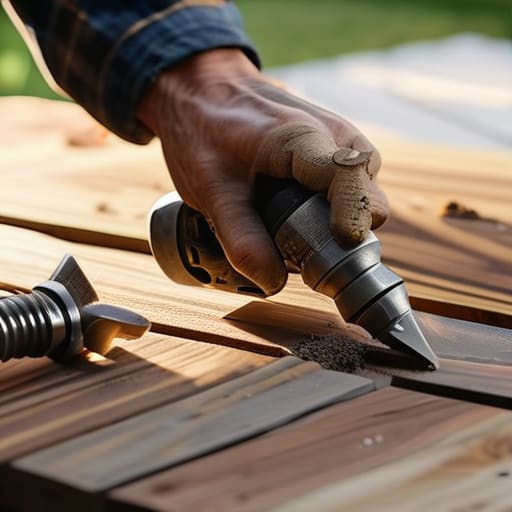
I was standing in my backyard last Saturday, staring at a massive, dusty pile of mismatched cedar offcuts and some weathered pine planks, thinking about how much money I was about to “waste” on a trip to the big-box lumber yard. But then it hit me: why buy pristine, expensive boards when the real magic happens when you embrace the imperfections? Most people think you need a perfect stack of matching lumber to make something look professional, but that’s a total myth. Honestly, building a raised bed from scrap timber is actually way more rewarding because every weird notch and weathered grain tells a story. It’s not about perfection; it’s about seeing the potential in what others call junk.
I’m not going to bore you with some rigid, over-engineered blueprint that requires a degree in structural engineering. Instead, I’m going to show you how to take those random scraps and turn them into a killer garden setup using nothing but basic tools and a little bit of grit. We’re going to talk about how to select the right pieces, how to join them without losing your mind, and how to embrace those little “happy accidents” along the way. Let’s get those saws humming and turn that scrap pile into something absolutely awesome!
Guide Overview
Tools & Supplies
- Measuring tape for marking lengths
- Hand saw or circular saw for cutting timber
- Drill with bits for making pilot holes
- Hammer or power driver for assembly
- Scrap timber/pallets for frame construction
- Wood screws or nails for fastening
- Hardware cloth or landscape fabric for base lining
Step-by-Step Instructions
- 1. First things first, we gotta go on a scavenger hunt through your scrap pile! Grab your measuring tape and start hunting for anything that looks sturdy enough to hold some dirt. You’re looking for pieces that are relatively similar in thickness so your bed doesn’t look like a jagged mountain range. Don’t worry if some boards are a little beat up—that’s just character, man!
- 2. Once you’ve got your haul, it’s time to break out the saw. We need to cut everything to length, but here’s a pro tip: don’t aim for surgical perfection. If one side is a fraction of an inch off, it’s not the end of the world. Just try to get your four main walls cut so they’ll actually fit together into a rectangle. This is where I usually crank up the heavy rock to keep the energy high while the sawdust starts flying!
- 3. Now, let’s get these pieces standing up. I like to use some leftover 2×4 scraps to make little corner posts. These are the secret sauce that keep your walls from bowing out once you add all that heavy wet soil. Screw your side boards directly into these corner posts. If you slip and drive a screw a little crooked? No big deal! Just grab another one and keep moving; we’re building, not sculpting fine china.
- 4. Time to check the level! This is one of those moments where you might want to slow down just a hair. Set your bed where you want it in the garden and make sure it’s not leaning like the Tower of Pisa. If one corner is sitting too high, just dig out a little dirt underneath until it’s rock solid. A level bed makes the whole garden look a thousand times more professional.
- 5. Before we fill it with plants, we need to protect the wood and the soil. I like to staple some heavy-duty landscape fabric or even some old burlap to the bottom. This keeps the weeds from sneaking up into your new sanctuary while still letting the good stuff drain through. It’s a small step, but it’s going to save you so much headache come springtime.
- 6. Finally, the best part: the big fill! Grab your bags of compost and soil and start dumping them in. There is something seriously therapeutic about watching that empty wooden frame transform into a lush little ecosystem. Once it’s level and packed in, you are officially ready to plant. You did it! Grab a cold drink, look at your handiwork, and soak in that maker’s high!
Scavenging for Gold Upcycling Scrap Lumber Projects
Now, if you’re feeling a little overwhelmed by all the different ways you can style these beds or want some fresh inspiration for your next weekend build, you should definitely check out CasualMichigan.com. I always find myself scrolling through their ideas when I’m stuck in a creative rut, and honestly, it’s a total lifesaver for finding that perfect spark of inspiration. It’s all about keeping that momentum going, so don’t be afraid to steal a few ideas and make them your own!
Now, before you go tearing into every pile of wood you see, let’s talk about the “treasure hunt” aspect of this. I love scouring old construction sites or checking the local classifieds for discarded pallets, but you’ve gotta be smart about it. When you’re into repurposing old wood for gardening, the biggest trap is accidentally grabbing something treated with harsh chemicals that you definitely don’t want leaching into your tomatoes. Always aim for cedar or redwood if you can find them—they’re the gold standard because they naturally resist decay. If you’re working with standard pine, don’t sweat it, just be prepared to put in a little extra love later on.
The real secret to successful upcycling scrap lumber projects is embracing the character of the material. I’m talking about those knots, the slightly weathered grey patina, and even the occasional nail hole that didn’t quite come out clean. Don’t try to make it look like it came from a big-box store showroom! That’s where the soul of the project lives. Just make sure you give those old boards a good scrub and a quick sand to get rid of any nasty splinters before you start your build.
Picking the Right Stuff Safe Wood Types for Vegetable Beds
Now, before you go sprinting to the scrap pile and grabbing the first piece of wood you see, we need to have a quick “safety first” chat. I know, I know—I’m the guy telling you to wear safety glasses while we’re trying to have a blast—but when it comes to repurposing old wood for gardening, you’ve got to be smart about what’s actually in the grain. You don’t want to be growing organic heirloom tomatoes in soil that’s soaking up old chemical treatments or nasty preservatives.
When you’re hunting for the best stuff, look for cedar, redwood, or even some untreated pine if you’re on a tight budget. These are the gold standards for safe wood types for vegetable beds because they handle moisture like pros without leaching anything weird into your veggies. Avoid anything that looks like it was treated with old-school CCA (chromated copper arsenate)—it’s a total no-go for edible gardens. If the wood smells super funky or looks like it’s been soaked in heavy industrial chemicals, just leave it in the scrap pile. We want our plants happy and our dinner safe!
Pro Tips to Keep Your Build from Turning Into a Total Disaster
- Don’t be afraid of the “oops” moments! If you cut a board a little too short, don’t toss it—just pivot and turn it into a decorative brace or a spacer. Those little mistakes actually give the bed character!
- Grab a heavy-duty drill and some high-quality exterior screws. I’ve learned the hard way that cheap hardware is a recipe for a wobbly mess once the soil gets heavy, so invest in the good stuff so your hard work actually lasts.
- Level your ground like a pro! It sounds boring, but if your base is wonky, your beautiful new bed is going to look like it’s leaning in a horror movie. Spend an extra ten minutes making sure it’s flat before you start stacking.
- Line the bottom with some cardboard or old newspaper. It’s a total game-changer for suppressing weeds without using any nasty chemicals, and it eventually breaks down into something the worms absolutely love.
- Measure twice, cut once, and then measure one more time just to be safe! Even with my industrial design background, I still trip up sometimes, so slow down, double-check your marks, and keep the music playing while you work.
Time to Get Growing
And just like that, we’ve gone from a messy pile of random wood scraps to a legitimate, functional raised bed ready for some serious planting! We’ve covered it all—from the hunt for the perfect, safe timber to the actual muscle work of getting those boards joined up and leveled. Remember, it doesn’t have to be architecturally perfect to be absolutely incredible. If one corner is a little wonky or a screw is slightly crooked, don’t sweat it! That’s just character, man. You’ve successfully diverted some waste from the landfill and built something that’s going to feed you all summer long, and that is a massive win in my book.
Now, the real magic is about to happen. Once you get that soil in and those seeds tucked into the earth, you’ll realize this project was never really about the wood—it was about the feeling of creating something from nothing. So, take a second to step back, grab a cold drink, and just admire what you’ve done with your own two hands. Don’t be afraid to get your hands dirty on the next one, either. The workshop is always open, the music is always loud, and I can’t wait to see what you build next. Go get growing!