I still remember the first time I tried cutting in like a pro – it was a disaster. I was working on a project with my dad in his garage, and I managed to get paint all over the trim, the ceiling, and even myself. It was a mess, but it taught me a valuable lesson: what is cutting in and how to do it perfectly is not just about slapping on some paint, it’s an art that requires patience, practice, and the right techniques. I’ve since mastered the skill, and I’m excited to share my knowledge with you, so you can avoid the mistakes I made and achieve professional-looking results.
In this article, I’ll give you the lowdown on what is cutting in and how to do it perfectly, with honest and practical advice that you can apply to your own projects. You’ll learn how to choose the right tools, prepare your surface, and execute flawless cuts, all while avoiding common pitfalls. My goal is to make you feel confident and comfortable with the process, so you can focus on creating something amazing, rather than stressing about the details. By the end of this guide, you’ll be cutting in like a boss, and your projects will look better than ever.
Table of Contents
Guide Overview: What You'll Need
Total Time: 1 hour 15 minutes
Estimated Cost: $10 – $30
Difficulty Level: Intermediate
Tools Required
- Paintbrush (angled brush, 1 inch to 2 inches wide)
- Paint Roller (optional, for larger areas)
- Paint Tray (for paint roller)
- Sandpaper (for light sanding)
- Drop Cloths (or tarps for floor protection)
- Ladder (sturdy, for reaching high areas)
- Masking Tape (for creating sharp edges)
Supplies & Materials
- Paint (matching the wall color)
- Primer (optional, for better paint adhesion)
- Caulk (for filling gaps, if necessary)
Step-by-Step Instructions
- 1. First, let’s get started with the basics – preparing your workspace is crucial for a successful paint job. Clear the area around your painting surface, cover your floors and furniture with drop cloths, and make sure you have all the necessary tools within arm’s reach. I like to think of this step as setting the stage for a painting party, and trust me, it makes all the difference.
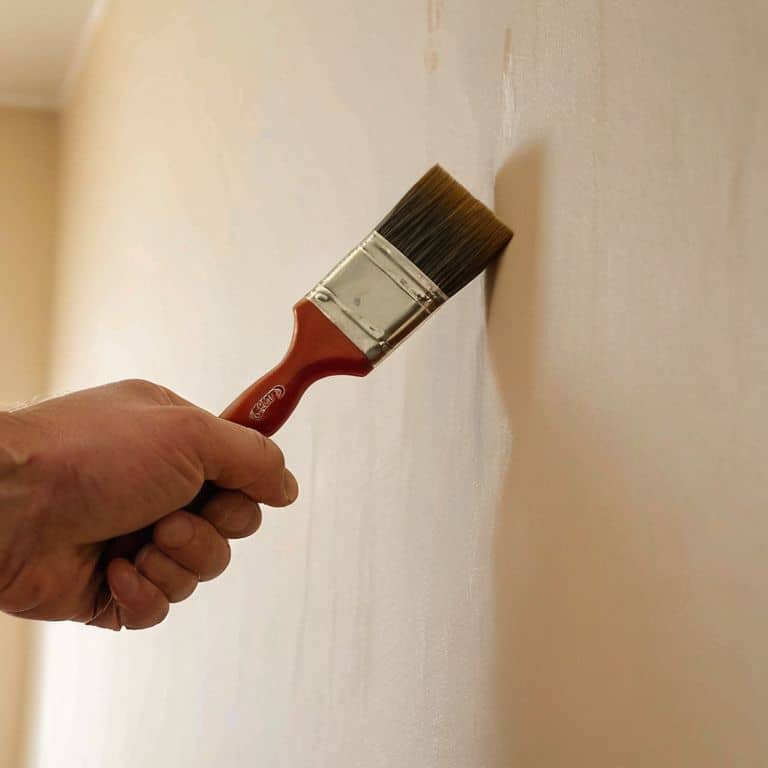
- 2. Next, you’ll want to choose the right brush for the job. When it comes to cutting in, you’ll need a brush with synthetic or natural fibers, and a angled or straight edge – I personally prefer a high-quality angled brush for those tight spaces. Don’t be afraid to experiment with different brush sizes and types to find what works best for you and your project.
- 3. Now it’s time to tape off the trim, and this is where the magic happens. Apply your painter’s tape carefully, making sure it’s straight and smooth – you don’t want any bubbles or wrinkles to ruin your paint job. Use a credit card or a similar tool to press the tape firmly onto the surface, ensuring a tight seal.
- 4. With your tape in place, it’s time to start painting. Begin by applying a thin layer of paint to the cut-in area, using long, smooth strokes to work your way along the edge. Remember to work in small sections, about 2-3 feet at a time, to maintain even coverage and avoid streaks.
- 5. As you paint, make sure to keep a damp cloth handy to wipe away any mistakes or paint bleeds. It’s also essential to keep your brush clean and moist, so be sure to rinse it frequently with water or a paint thinner, depending on the type of paint you’re using.
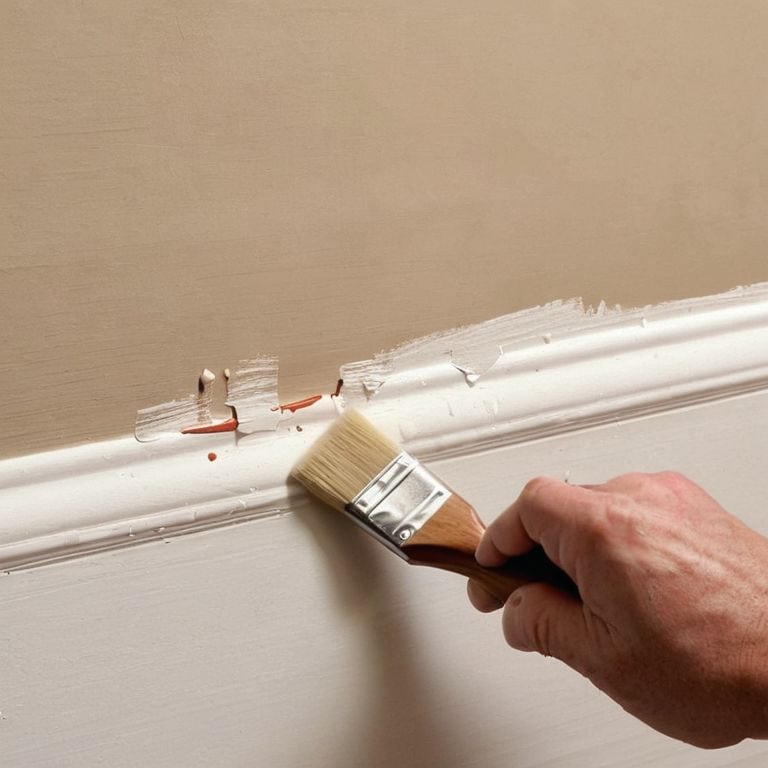
- 6. Once you’ve completed the cut-in area, it’s time to remove the tape. Do this slowly and carefully, pulling the tape away from the paint at a 45-degree angle to avoid pulling off the paint with it. If you do happen to get some paint on the trim, don’t worry – it’s an easy fix with a little bit of touch-up paint.
- 7. Finally, step back and admire your work. Take a moment to inspect your cut-in area, looking for any imperfections or areas that need touch-ups. If everything looks good, you can move on to the next step in your painting project – and if not, don’t worry, it’s all part of the learning process.
Cutting in Like a Pro
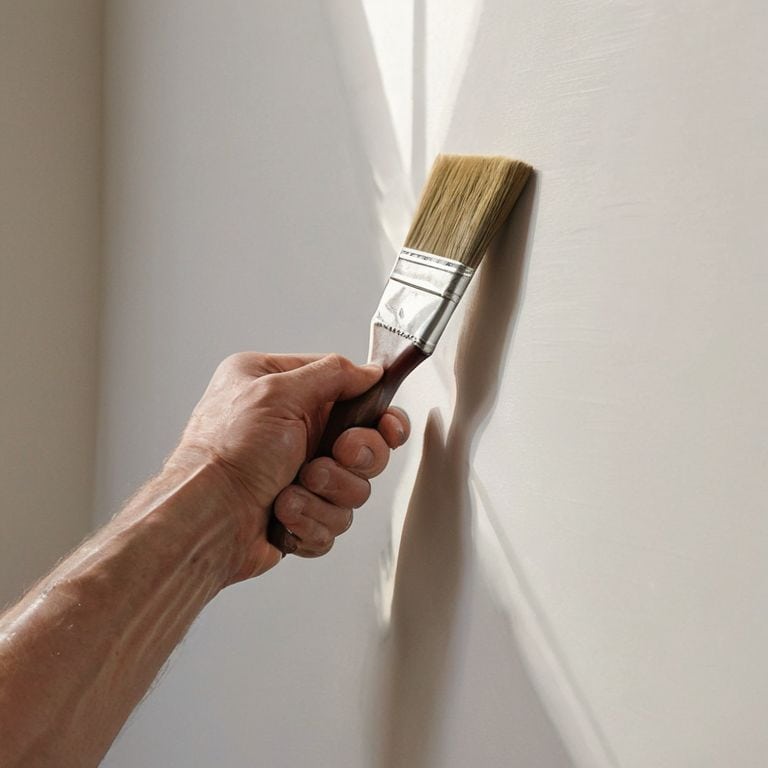
To take your painting game to the next level, it’s essential to master angled brush strokes for edges. This technique allows you to create a seamless joint where the wall meets the trim. I like to think of it as a little dance, where you’re guiding the brush in a smooth, fluid motion. Remember, practice makes perfect, so don’t be discouraged if it takes a few tries to get the hang of it.
When it comes to protecting your trim, you’ve got two main options: masking tape vs painter’s tape. Now, I know some folks swear by masking tape, but I’m a firm believer in using painter’s tape for a crisp, clean edge. It’s all about the adhesive, my friends – you want something that’s going to stick well, but not leave a residue behind.
For those feeling extra adventurous, you can even try trim painting without tape. This requires a steady hand and a bit of finesse, but the end result is well worth it. Just be sure to use a high-quality brush with synthetic bristles, and take your time – smooth edge painting tips are all about patience and attention to detail.
Interior Painting Techniques Made Easy
Now that we’ve mastered those angled brush strokes, it’s time to bring it all together with some slick interior painting techniques. I like to think of it as a dance between the walls, ceiling, and trim – each stroke working in harmony to create a seamless finish. To make it easy, I break it down into sections, tackling one area at a time. This helps me maintain a steady hand and ensures a pro-like result.
By following these simple steps and practicing your cutting-in skills, you’ll be amazed at how easily you can achieve a professional-looking paint job. Remember, it’s all about the flow and having fun with the process. Put on your favorite playlist, get comfy, and let’s paint like rockstars!
Mastering Angled Brush Strokes
Now that we’ve got the basics down, let’s talk about mastering those angled brush strokes. This is where the magic happens, and your cutting in skills go from good to great. I like to think of it as a little dance between you and the brush – you’re working together to create these smooth, precise lines.
To get it just right, try practicing your strokes on a scrap piece of wood or drywall. Remember, it’s all about the angle and the pressure. You want to hold your brush at about a 45-degree angle, with the bristles barely touching the surface. Then, it’s just a matter of gliding it along, using the edge of the brush to create that perfect line. Don’t worry if it takes a few tries to get the hang of it – with a little patience and practice, you’ll be a pro in no time!
Cutting In Like a Pro: 5 Key Tips to Get You Started
- Use the right brush for the job – I’m talking about a high-quality, angled brush that’s specifically designed for cutting in
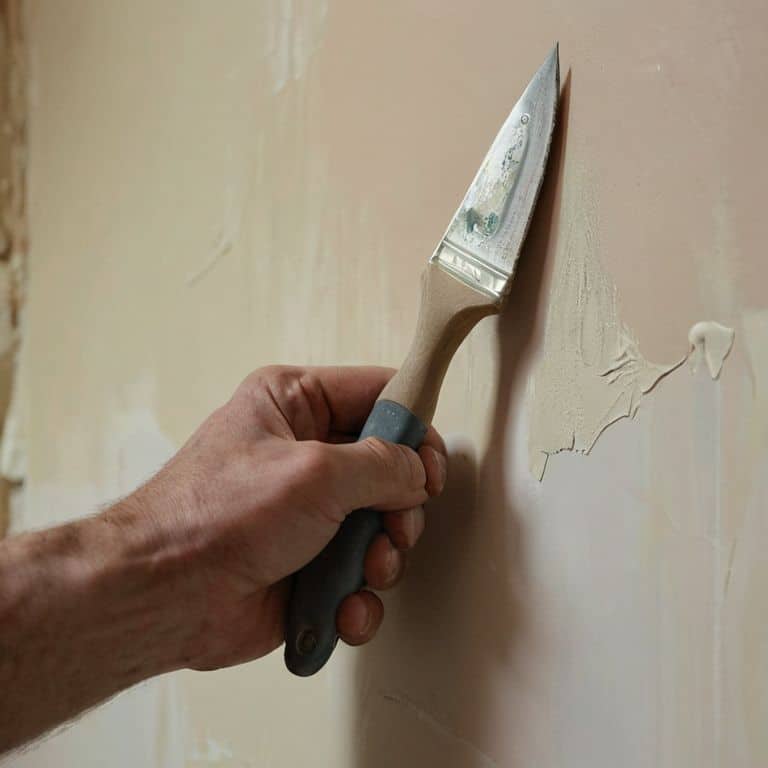
- Prepare your surface before you start painting – a quick clean and a coat of primer can make all the difference in getting a sharp, clean edge
- Tape it up – but not too tight! You want to make sure your tape is secure, but still allows for a little bit of give so you can get a smooth, even line
- Work in small sections – don’t try to tackle too much at once, or you’ll end up with a mess on your hands
- Don’t be afraid to get a little creative – cutting in is all about finesse, so take your time and have fun with it – and remember, it’s all about the journey, not just the destination!
Cutting In Like a Boss: 3 Key Takeaways
Always prepare your surface before cutting in, and make sure you’ve got the right tools for the job – a good angled brush can be a total game-changer!
Mastering the art of cutting in is all about technique, so don’t be afraid to practice those angled brush strokes and get a feel for how the paint flows onto the wall
Remember, cutting in is all about patience and taking your time – don’t rush the process, and you’ll be amazed at how professional your paint job looks when you’re done!
The Cutting Truth
Cutting in is like the secret sauce to a perfectly painted room – it’s all about finesse, patience, and a steady hand, and with practice, you’ll be slicing through those edges like a pro, making every brush stroke a masterpiece!
Franklyn "Frank" Bishop
Wrapping Up: You're Now a Cutting In Master
We’ve covered a lot of ground in this guide, from the basics of cutting in to more advanced techniques like mastering angled brush strokes. By following these steps and practicing your skills, you’ll be able to achieve professional-looking results in your painting projects. Remember, the key to success lies in taking your time, being patient, and not being afraid to make mistakes – they’re an essential part of the learning process. As I always say, it’s the happy accidents that often lead to the most incredible discoveries.
So, the next time you pick up a paintbrush, I want you to feel confident and inspired to create something amazing. Don’t be intimidated by the prospect of cutting in like a pro – with persistence and dedication, you’ll get there. Keep in mind that the process of making something with your own hands is just as important as the final result. Turn up the music, get creative, and most importantly, have fun! You got this, and I’m rooting for you every step of the way.
Frequently Asked Questions
What are the most common mistakes to avoid when cutting in during a painting project?
Whoa, buddy, let’s talk mistakes! When cutting in, most people slip up with uneven edges, using the wrong brush, or applying too much paint. Don’t worry, we’ve all been there! To avoid these mishaps, take your time, use a high-quality brush, and work in small sections. Remember, practice makes perfect, so don’t be too hard on yourself if it’s not flawless at first.
How do I choose the right brush for cutting in, and what features should I look for?
Dude, choosing the right brush for cutting in is crucial! Look for angled brushes with synthetic or natural fibers, and a sharp edge to get those clean lines. I personally love a good 1-2 inch angled brush with flexible bristles – it’s a game-changer for smooth, precise cuts.
Can I use a roller extension pole to cut in, or is it better to use a handheld brush or edger?
Hey, great question! While a roller extension pole is awesome for big areas, it’s not ideal for cutting in. You’ll want to use a handheld brush or edger for those tight spaces and clean lines. Trust me, the extra control is worth it – your paint job will thank you!