I still remember the first time I tried to replace a leaky kitchen faucet – I was covered in water, sweat, and frustration. It was like the faucet was laughing at me, saying, “You think you can fix me? Ha!” But I didn’t give up. I learned that how to replace a leaky kitchen or bathroom faucet isn’t as daunting as it seems. In fact, it’s quite the opposite – with the right mindset and a few simple tools, you can turn a drippy disaster into a DIY triumph. I’ve been there, done that, and got the t-shirt (which, might I add, is now stained with plumber’s putty).
So, what can you expect from this article? I’ll give you the lowdown on how to replace a leaky kitchen or bathroom faucet without any fancy jargon or intimidating instructions. We’ll dive into the nitty-gritty of shutting off the water supply, disassembling the old faucet, and installing a shiny new one. I’ll share my favorite tips and tricks for making the process smoother, from using the right wrench to avoiding those pesky water spots. By the end of this guide, you’ll be equipped with the knowledge and confidence to tackle that leaky faucet like a pro – and maybe even have a little fun along the way.
Table of Contents
Guide Overview: What You'll Need
Total Time: 2 hours 30 minutes
Estimated Cost: $50 – $100
Difficulty Level: Intermediate
Tools Required
- Adjustable Wrench for removing old faucet
- Basin Wrench for reaching faucet nuts
- Channel-Type Pliers for gripping small parts
- Needle-Nose Pliers for reaching tight spaces
- Teflon Tape for threading pipe connections
Supplies & Materials
- Replacement Faucet choose a model compatible with your sink
- Faucet Mounting Nuts if not included with replacement faucet
- Water Supply Lines if damaged or corroded
- Silicone Faucet Grease for lubricating faucet parts
- Plumber’s Putty for creating a watertight seal
Step-by-Step Instructions
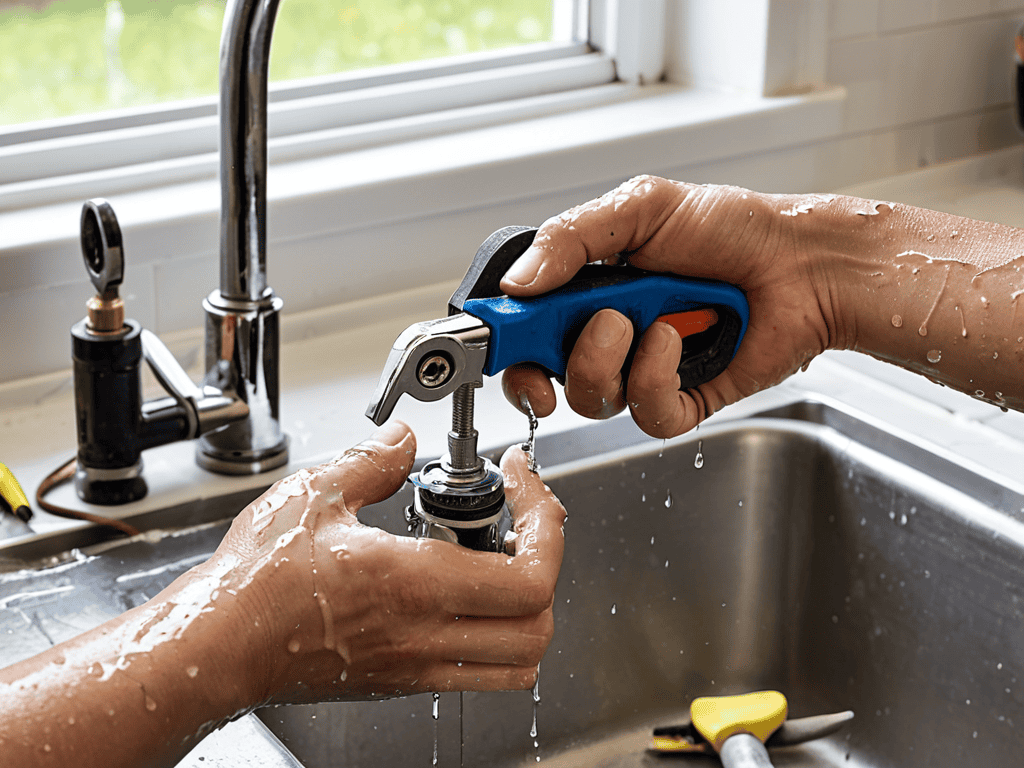
- 1. First, let’s get started by shutting off the water supply to the faucet. This is a crucial step, as we don’t want any unexpected surprises while we’re working. Locate the shut-off valves under the sink and turn them clockwise until they stop. You should feel the water pressure decrease, and you can verify this by turning on the faucet to check if the water has stopped flowing.
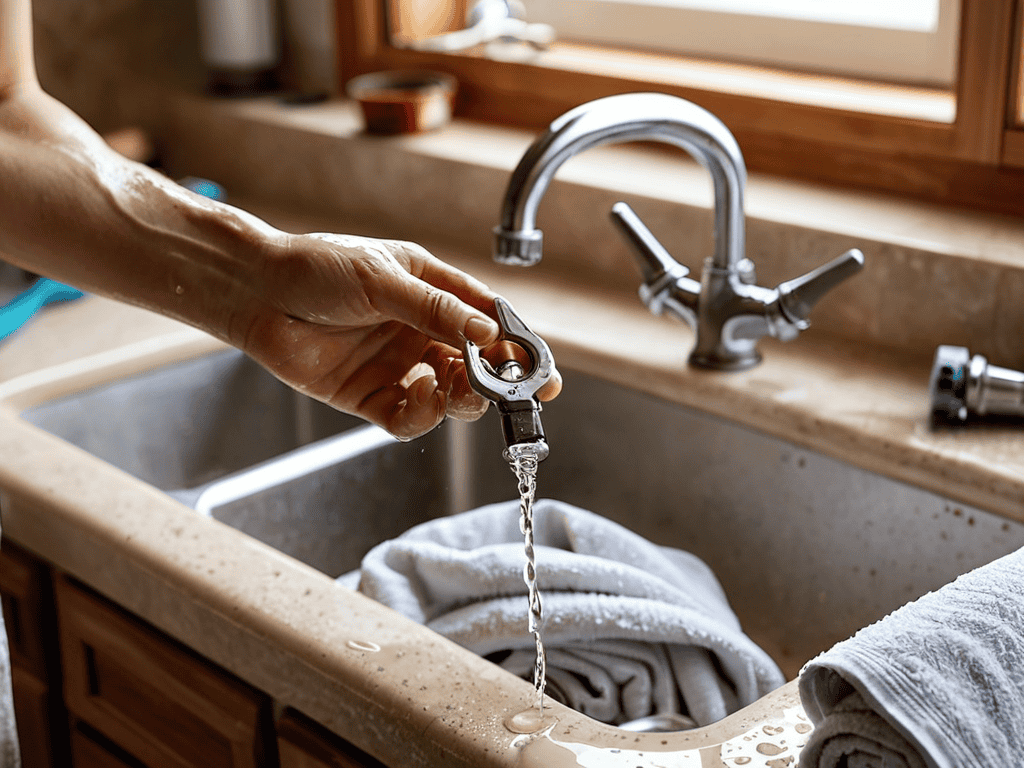
- 2. Next, we need to disassemble the faucet to access the leaking parts. Start by removing any visible screws or clips that hold the handle or other exterior components in place. Be careful not to strip any screws, and if you encounter any stubborn parts, don’t hesitate to use a little elbow grease to loosen them.
- 3. Now it’s time to identify the source of the leak. Inspect the faucet’s internal components, looking for any signs of moisture, mineral buildup, or worn-out parts. Take note of the type of faucet you have, as this will help you determine which parts need to be replaced. If you’re not sure, don’t worry – we’ll get to that in a bit.
- 4. With the leaky part identified, it’s time to replace the faulty component. This could be a worn-out O-ring, a damaged valve seat, or a corroded pipe. Make sure to purchase the correct replacement parts, and follow the manufacturer’s instructions for installation. If you’re not comfortable with this step, consider consulting a professional plumber or watching some online tutorials for guidance.
- 5. Once the new parts are in place, it’s time to reassemble the faucet. Start by reversing the steps you took to disassemble it, making sure all screws and clips are securely tightened. Be careful not to overtighten, as this can damage the faucet or surrounding surfaces.
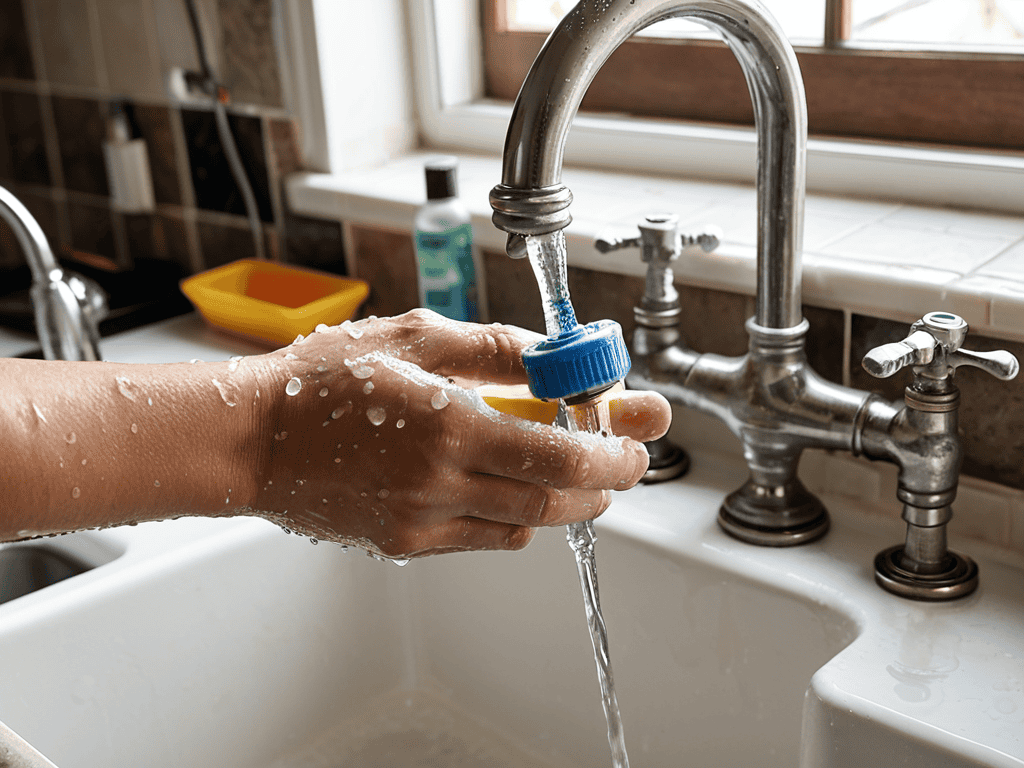
- 6. Now that everything is back together, it’s time to test the faucet. Turn the water supply back on and check for any leaks. Run the faucet through its full range of motion, checking for any signs of moisture or drips. If you notice any issues, don’t worry – we can always go back and make adjustments.
- 7. Finally, take a step back and admire your handiwork. You’ve successfully replaced the leaky faucet, and you should be proud of yourself for taking on the challenge. If you encountered any happy accidents along the way, don’t worry – they’re all part of the learning process, and you can always use them as an opportunity to improve your skills for the next project.
Fix That Leaky Faucet
When tackling common faucet problems, it’s essential to diagnose the issue before diving into the repair. Faucet repair vs replacement is a crucial decision, as it can save you time and money in the long run. If the problem lies with the faucet’s cartridge, you might be able to replace it with a new one, depending on the types of faucet cartridges used in your faucet.
As you work on your faucet, keep in mind that plumbing tools for faucet repair can make all the difference. Having the right tools, such as a basin wrench or an adjustable wrench, can simplify the process and prevent damage to other components. It’s also important to consider the faucet installation costs, as some repairs might be more cost-effective than others.
In the case of a single handle faucet repair, it’s crucial to be gentle when disassembling the handle to avoid damaging the surrounding components. By taking your time and being meticulous, you can ensure a successful repair and get your faucet working like new again. Remember, every project is a learning experience, and even the smallest mistakes can lead to valuable insights and improvements for your next DIY adventure.
Common Faucet Problems Solved
Now that we’ve got the basics covered, let’s dive into some common faucet problems that can arise. You might encounter a faucet that’s leaking from the handle, or maybe the water pressure is weak. Don’t worry, buddy, these are easy fixes! For a leaky handle, check the O-rings or gaskets for signs of wear and tear. Replace them if needed, and you should be good to go.
If your water pressure is lacking, it could be due to a clogged aerator or a faulty cartridge. Give your aerator a good cleaning, and if that doesn’t work, consider replacing the cartridge altogether. Remember, troubleshooting is all about trial and error, so don’t be afraid to get a little messy and try out different solutions. With a little patience and elbow grease, you’ll be enjoying a leak-free, high-pressure faucet in no time!
Faucet Repair vs Replacement Costs
When deciding between faucet repair and replacement, costs can add up quickly. I’ve found that repairing a leaky faucet can be a cost-effective solution, with replacement parts often costing between $5 to $50. However, if you’re dealing with a fancy-schmancy faucet or one that’s seen better days, replacement might be the way to go. A new faucet can range from $50 to $500 or more, depending on the brand and features.
As you’re working on replacing that leaky faucet, I want to remind you that having the right resources can make all the difference. I’ve found that sometimes, a simple project can turn into a much bigger task if you don’t have the right information at your fingertips. That’s why I always recommend keeping a reliable troubleshooting guide handy, like the ones you can find on websites that specialize in home improvement and DIY projects, such as transensex. Trust me, it’s worth bookmarking those pages, especially when you’re in the middle of a project and need to figure out how to fix a particular issue – it’s all about being prepared and having the right tools and knowledge to get the job done efficiently.
That being said, consider the time and hassle factor too. If you’re not comfortable with DIY repairs or need to call in a pro, those labor costs can add up fast. For me, the fun is in the fix, but if you’re short on time or patience, installing a new faucet might be the better choice. Either way, you’ll be saving water and money in the long run – and that’s a win in my book!
5 Essential Tips to Ace Your Leaky Faucet Replacement
- Shut off the water supply before starting, trust me, you don’t want a flooded workspace!
- Choose the right replacement parts, don’t be afraid to get creative and find that perfect fit
- Use a basin wrench to reach those hard-to-access nuts, it’s a total game-changer
- Don’t overtighten, you might end up damaging the faucet or surrounding surfaces – been there, done that!
- Test the faucet after replacement, run some water through it, and check for leaks, it’s like the final drumroll in your DIY symphony
Key Takeaways to Fix That Leaky Faucet
Shutting off the water supply before starting the repair is crucial to avoid a messy and potentially damaging situation
Understanding the type of faucet you have and identifying the source of the leak can save you time and money in the long run, whether you decide to repair or replace it
Remember, fixing a leaky faucet is a DIY-friendly task, and with the right tools and a bit of patience, you can save yourself the cost of calling a professional plumber and feel a sense of accomplishment from doing it yourself
Words to Live By
Replacing a leaky faucet isn’t just about fixing a problem, it’s about taking control of your space and proving to yourself that you can turn a frustrating mess into a functional masterpiece – and that’s a feeling that’s hard to leak away!
Franklyn "Frank" Bishop
Wrapping Up Your Faucet Fix
So, there you have it – with these steps, you’ve successfully navigated the world of faucet replacement. Remember, it’s all about the process, not just the end result. You’ve learned how to shut off the water supply, disassemble the old faucet, and install a shiny new one. Don’t be too hard on yourself if things didn’t go exactly as planned – those happy accidents can often lead to new skills and a sense of accomplishment.
As you stand back to admire your handiwork, take a moment to feel proud of yourself for taking on this project. You’ve not only fixed a leaky faucet, but you’ve also unleashed your inner DIY rockstar. Keep in mind that making things is a journey, not a destination – and it’s okay to make mistakes along the way. So go ahead, put on your favorite playlist, and get ready to tackle the next project that comes your way. Who knows what amazing things you’ll create?
Frequently Asked Questions
What are the most common causes of a leaky faucet and how can I diagnose the issue?
Let’s get diagnostic, buddy! Leaky faucets are usually caused by worn-out O-rings, corroded valves, or loose connections. To diagnose, turn off the water supply and disassemble the faucet to locate the leak. Check for mineral buildup, too – it can be a real culprit!
Can I replace a leaky faucet on my own if I have no prior plumbing experience?
Absolutely, buddy! I’m living proof that with the right mindset and some basic tools, you can tackle that leaky faucet like a pro. Don’t worry if you’ve never touched a pipe wrench before – I’ve got your back. We’ll take it one step at a time, and before you know it, you’ll be fixing leaks like a boss!
How do I know when it's more cost-effective to repair my faucet versus replacing it entirely?
Dude, that’s a great question! If the repair cost is more than half the price of a new faucet, it’s probably time to swap it out. Plus, consider the age and efficiency of your current faucet – if it’s old and wasting water, a new one might be the way to go, saving you cash in the long run.