I still remember the first time I tried to create a board and batten accent wall in my own home – it was a disaster. I had watched all the YouTube tutorials, read all the blogs, but somehow, my wall still looked like it had been put together by a amateur. The problem was, all the guides I followed were too focused on the final result, without explaining the little mistakes and happy accidents that can make or break a project. That’s why I want to share my own story of how to create a board and batten accent wall that actually looks like it was made with love and care.
In this article, I’ll walk you through the entire process, from planning to execution, and share all the practical tips and tricks I’ve learned along the way. You’ll get to see the step-by-step process of how I turned a boring wall into a rustic masterpiece, and learn how to avoid the common mistakes that can ruin your project. Whether you’re a seasoned DIY enthusiast or a complete beginner, this guide will give you the confidence to create a board and batten accent wall that you’ll be proud to show off to your friends and family. So, let’s get started and turn that boring wall into a work of art!
Table of Contents
Guide Overview: What You'll Need
Total Time: 4 hours 30 minutes
Estimated Cost: $50 – $100
Difficulty Level: Intermediate
Tools Required
- Tape Measure for accurate measurements
- Level to ensure straight lines
- Pencil for marking wall
- Utility Knife (with extra blades)
- Drill with screwdriver and drill bits
- Nail Gun (optional)
- Sandpaper for smoothing out wood
- Paintbrush or roller for finishing
Supplies & Materials
- 2-in x 4-in lumber for battens
- 1-in x 4-in lumber for horizontal trim
- 1-in x 6-in lumber for vertical trim (optional)
- Wood Glue for securing battens
- 2 inches Finishing Nails for attaching battens
- Paint or stain for finishing
- Primer optional, for uneven walls
- Caulk for filling gaps
Step-by-Step Instructions
- 1. First, let’s prep the site by clearing the wall of any furniture, outlets, or switches that might get in the way of our board and batten accent wall masterpiece. This is the part where we get to transform the space, and it’s essential to start with a clean slate. Take down any existing wall decor, and cover your floors and furniture with drop cloths to protect them from dust and debris.
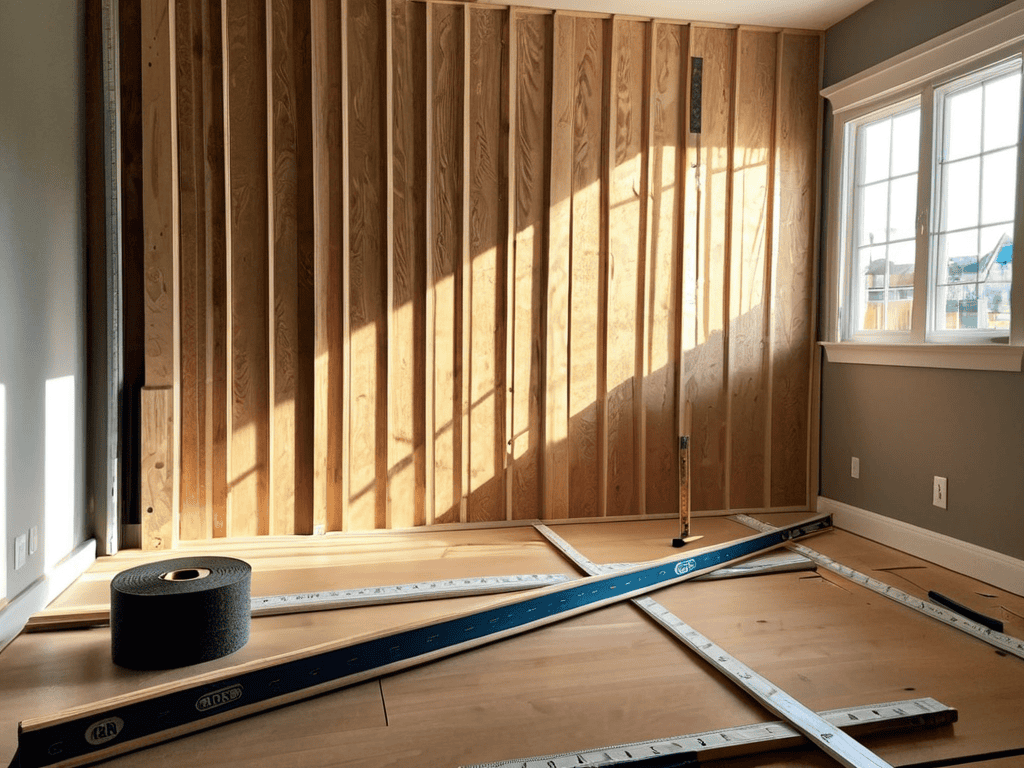
- 2. Next, we need to measure the wall to determine the layout of our board and batten design. Use a laser level and a tape measure to get accurate measurements, taking note of any obstructions like windows or doors. This step is crucial in ensuring our design fits perfectly and that we have enough materials. I like to double-check my math to avoid any costly mistakes down the line.
- 3. Now it’s time to choose our materials. For a traditional board and batten look, we’ll need 1×4 or 1×6 pine boards for the battens and 1×2 or 1×3 boards for the vertical boards. We’ll also need a nail gun, 2-inch nails, and some wood glue. I’m a big fan of using reclaimed wood whenever possible to add some extra character to our accent wall.
- 4. With our materials in hand, let’s start creating the frame for our board and batten wall. Use a miter saw to cut the vertical boards to the desired length, and then use a nail gun to attach them to the wall, spacing them evenly apart. Make sure to check for level as we go to ensure our wall is straight and even.
- 5. Next, we’ll start adding the battens to our frame. Cut the horizontal boards to fit between the vertical boards, and use a nail gun to attach them. I like to use a combination of short and long battens to create a visually interesting pattern. Remember to measure twice, nail once to avoid any mistakes.
- 6. As we continue adding battens, let’s pay attention to the pattern we’re creating. We can use a consistent spacing pattern or get creative with a more random design. Either way, make sure to step back and admire our work regularly to ensure the pattern is looking good. This is also a great opportunity to make any necessary adjustments.
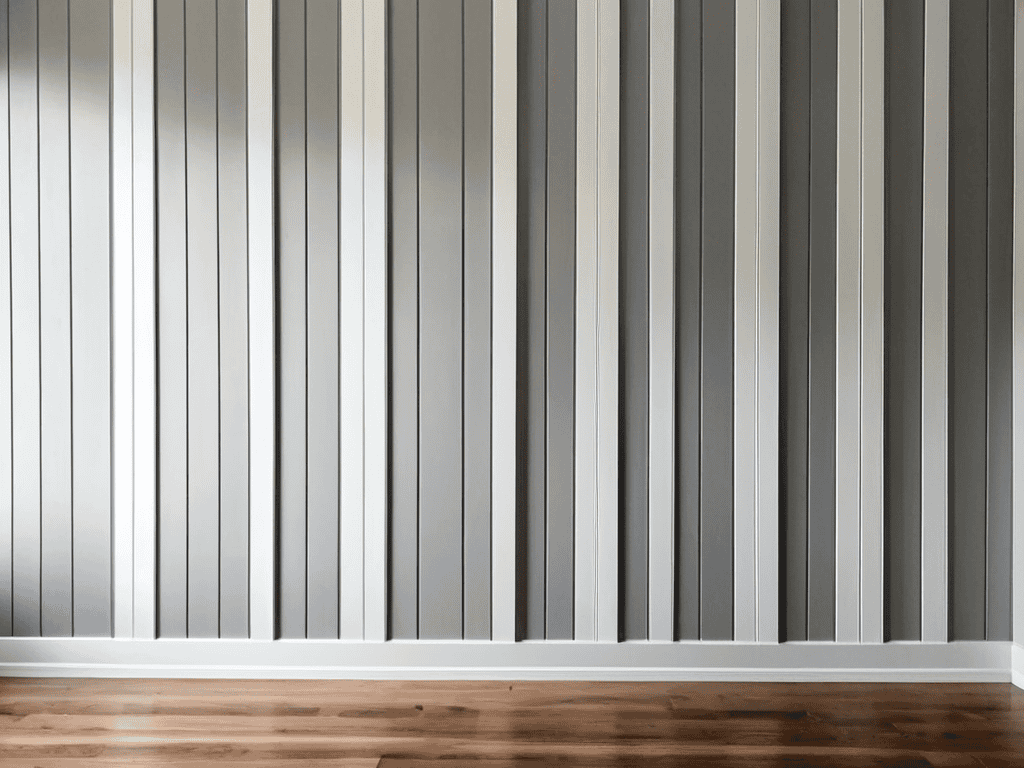
- 7. Once we’ve completed the board and batten installation, it’s time to add the finishing touches. Use wood filler to fill any gaps or holes, and then sand the entire wall to smooth out any rough edges. Finally, apply a finish of your choice, such as stain or paint, to protect the wood and enhance the beauty of our new accent wall.
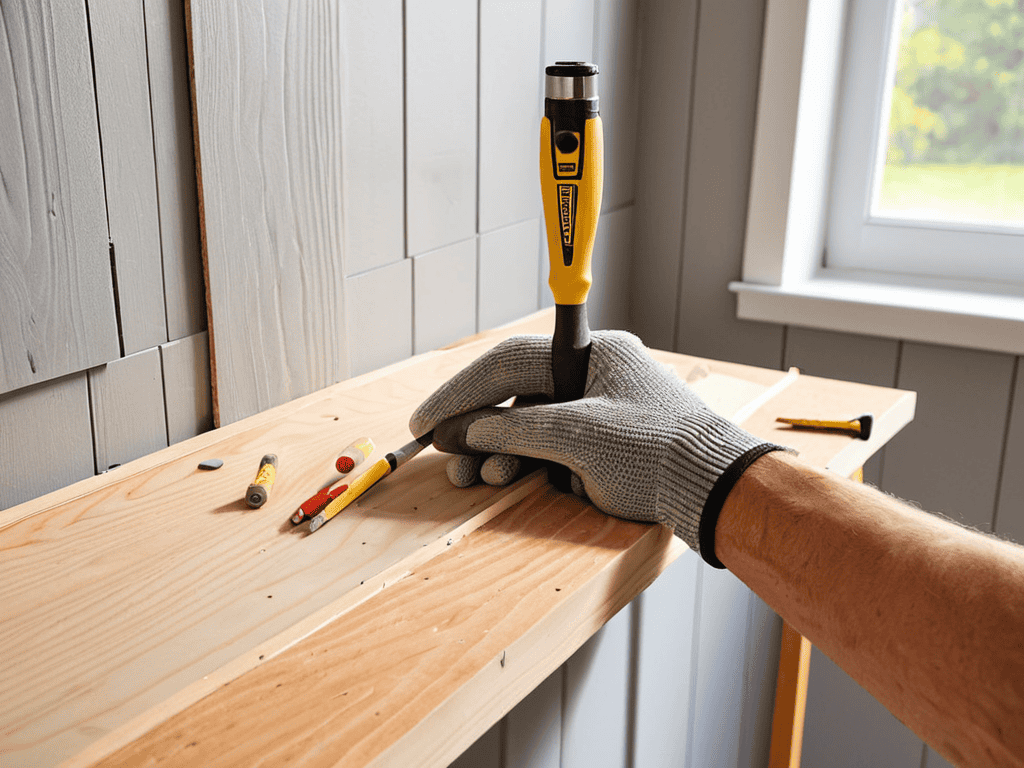
Lets Get Hammering
As we dive into the world of board and batten, I want to share a diy board and batten tutorial tip that’ll make your life easier: always measure twice, cut once. It’s a simple mantra, but it’ll save you from those frustrating mistakes that can throw off your entire design. When it comes to batten width and spacing guide, remember that it’s all about balance – you want to create a visually appealing pattern that complements your room’s style.
Now, let’s talk about accent wall design ideas. One of my favorite things about board and batten is how versatile it is – you can go for a modern board and batten style with sleek, thin battens, or opt for a more rustic look with thicker, more distressed wood. The key is to experiment and find the look that works best for your space. Don’t be afraid to try out different board and batten materials list combinations to see what works best for you.
As you start hammering away, keep in mind that board and batten installation tips are all about patience and attention to detail. Take your time, and don’t rush the process – it’s better to get it right the first time than to have to redo it later. With a little practice and patience, you’ll be creating stunning accent walls like a pro, and enjoying the fruits of your labor for years to come.
Batten Width and Spacing Guide
Now that we’re in the thick of it, let’s talk about the fun part – making it look awesome! The width and spacing of your battens can totally change the vibe of your accent wall. I like to think of it as the rhythm of the wall – you want it to feel balanced and visually appealing. For a rustic look, you can space your battens 8-12 inches apart, while a more modern feel might call for 4-6 inch spacing. Experiment with different widths and spacings to find the look that works best for your space.
Diy Board and Batten Tutorial
As we dive into the world of board and batten accent walls, I want to make sure you have all the tools you need to succeed. When it comes to finding the perfect materials, I always recommend checking out local hardware stores or online marketplaces that specialize in high-quality lumber. I recently stumbled upon a great resource that’s helped me find unique and affordable materials for my projects – you can check it out here: sexinhannover. It’s amazing how a little bit of research and planning can make all the difference in the end result, and I’m excited to see how your own project turns out. Remember, the key to a great board and batten accent wall is in the details, so don’t be afraid to get creative and try out new things – and don’t worry if you make a few happy accidents along the way, they’re all part of the process!
Now that we’ve got our game face on, let’s dive into the nitty-gritty of creating our board and batten accent wall. This is where things get really fun – we’re talking power tools, measuring tapes, and a whole lot of creativity. I’ll walk you through my favorite tips and tricks for making this project a breeze, from choosing the perfect wood to adding those finishing touches that make it pop.
As we work through this DIY board and batten tutorial, remember, it’s all about experimentation and having a blast. Don’t be afraid to try new things and make mistakes – that’s where the magic happens, and I’ll be right there with you, cheering you on. With every hammer swing and every board cut, we’re turning a boring wall into a stunning work of art.
Nailing It: 5 Essential Tips for a Killer Board and Batten Accent Wall
- Choose your wood wisely: Selecting the right type of wood for your boards and battens can make or break the aesthetic of your accent wall – consider the color, texture, and durability you need
- Measure like a pro: Double-check your measurements to ensure your battens are evenly spaced and your boards are cut to the right size – it’s all about the details, folks!
- Get your spacing right: The distance between your battens can drastically change the look of your accent wall – experiment with different spacings to find the one that works best for your space
- Add some visual interest: Mix and match different board widths, batten sizes, and even throw in some decorative trim to give your accent wall some serious personality
- Don’t be afraid to get creative: Board and batten isn’t just for walls – think about adding it to ceilings, cabinets, or even furniture for a unique, one-of-a-kind look
Key Takeaways for Your Board and Batten Accent Wall
Remember, the key to a great board and batten accent wall is in the details – don’t be afraid to experiment with different batten widths and spacing to find the look that works best for your space
Measure twice, cut once – accuracy is crucial when it comes to getting your battens evenly spaced and your boards properly aligned, so take your time and double-check your measurements
With the right tools and a bit of patience, you can turn any wall into a stunning board and batten accent wall – don’t be discouraged if things don’t turn out perfectly at first, it’s all part of the DIY journey and the imperfections often add character to your project
Wrapping Up Your Board and Batten Masterpiece
As we’ve worked through this project together, I hope you’ve seen how relatively simple it is to create a stunning board and batten accent wall. We’ve covered the essential steps, from planning and measuring to hanging your boards and adding the perfect battens. Don’t forget to reference our handy batten width and spacing guide if you need a quick reminder on how to get that perfect balance. By now, you should be feeling pretty confident about tackling this DIY project and giving your wall a fresh, rustic look.
So, as you put down your tools and step back to admire your handiwork, remember that the real beauty of DIY lies not just in the end result, but in the journey of creation itself. Don’t be afraid to experiment, try new things, and learn from your mistakes – it’s all part of the fun. Happy building, and I’ll catch you in the next tutorial!
Frequently Asked Questions
What type of wood is best to use for a board and batten accent wall?
Dude, for a board and batten accent wall, I’m a big fan of using pine or fir – they’re affordable, easy to work with, and have a killer rustic vibe. But if you want to get fancy, you could also use cedar or reclaimed wood for a more premium look. Just remember, the type of wood you choose will totally change the vibe of your wall, so pick something that fits your style!
How do I determine the optimal batten spacing for my specific wall dimensions?
Determining the perfect batten spacing is all about balance. For a small wall, I recommend 12-16 inches between battens, while larger walls can handle 18-24 inches. But here’s the thing: it’s all about the visual rhythm you want to create. Experiment with different spacings and see what looks coolest to you – after all, it’s your wall, your rules!
Can I use a nail gun or do I need to hammer each nail individually for a secure hold?
Ah, great question! For a secure hold, I recommend using a combo of both – nail gun for the initial hold and a few taps with a hammer to ensure they’re snug. This way, you get the speed of a nail gun and the reassurance of a solid hammer-set nail.