I still remember the first time I tried to build my own PC – it was a daunting task that seemed to require a Ph.D. in computer science. But, as I dove into the world of how to build a pc for beginners, I realized that it’s not as complicated as it seems. In fact, with the right guidance, anyone can create their own custom PC that meets their specific needs. The common myth that building a PC is only for tech experts is simply not true. With a clear, step-by-step approach, you can easily navigate the process and enjoy the satisfaction of creating something with your own hands.
As we embark on this journey together, I promise to provide you with practical, no-nonsense advice on how to build a pc for beginners. You’ll learn how to choose the right components, assemble them with ease, and troubleshoot any issues that may arise. My goal is to make this process enjoyable and rewarding, not overwhelming or frustrating. By the end of this guide, you’ll be equipped with the knowledge and confidence to build your dream PC, and I’m excited to be a part of your journey. So, let’s get started and turn your vision into a reality!
Table of Contents
Guide Overview: What You'll Need
Total Time: 2 hours 30 minutes
Estimated Cost: $500 – $1000
Difficulty Level: Intermediate
Tools Required
- Screwdriver Phillips and flathead
- Torx driver For CPU cooler and motherboard
- Pliers For gripping small components
- Wire cutters For cutting cable ties and wires
- Anti-static wrist strap For grounding yourself
Supplies & Materials
- CPU Choose from Intel or AMD
- Motherboard Compatible with chosen CPU
- RAM At least 8 gigabytes
- Storage drive Hard drive or solid state drive
- Power supply Wattage depends on system configuration
- Graphics card Optional, but recommended for gaming
- Case Choose a size that fits your components, typically 12 inches in height, 8 inches in width, and 18 inches in depth
- Cooling system CPU cooler and case fans
- Operating system Choose from Windows, Linux, or macOS
Step-by-Step Instructions
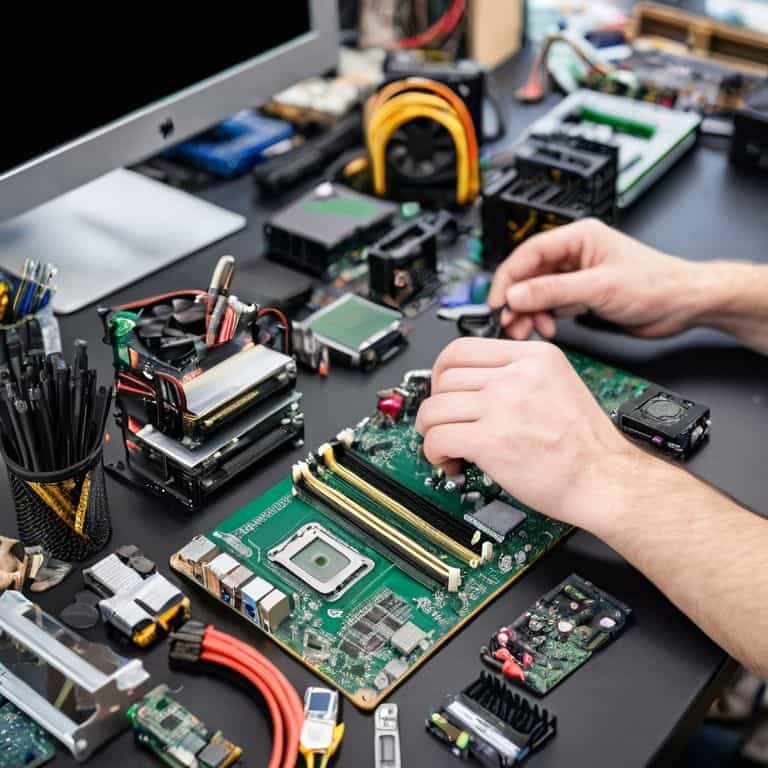
- 1. First, let’s start with the basics: gather all the necessary components for your PC build, including the CPU, motherboard, RAM, storage drive, power supply, and graphics card. Make sure you have a clear and flat workspace to avoid any damage to your components.
- 2. Next, unbox and prepare your motherboard by removing it from its packaging and placing it on a flat surface. Locate the mounting holes and ensure they align with the stand-offs on your case. This step is crucial for a secure and stable installation.
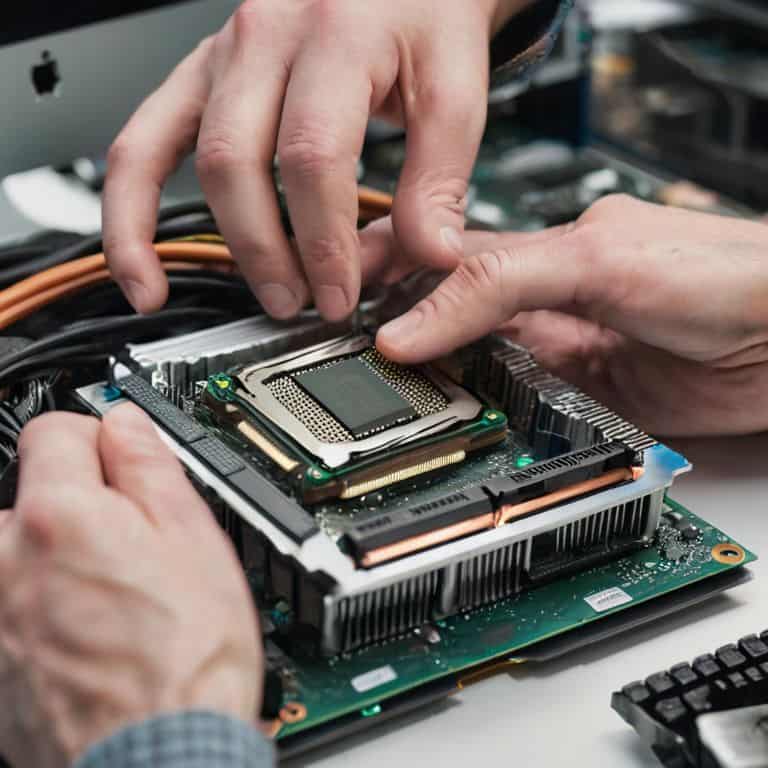
- 3. Now, it’s time to install the CPU onto the motherboard. Apply a small amount of thermal paste to the CPU die (the top surface), then gently insert it into the socket. Secure the CPU using the mounting mechanism, making sure not to overtighten. This is a delicate process, so be gentle and patient.
- 4. The next step is to add the RAM to your motherboard. Locate the RAM slots and align the notches on the RAM module with the tabs on the slot. Gently push the RAM module into the slot until it clicks into place, ensuring it’s securely seated. This will provide your system with the necessary memory for smooth performance.
- 5. With the CPU and RAM installed, it’s time to add the storage drive. You can choose between a traditional hard drive or a faster solid-state drive (SSD). Connect the storage drive to the motherboard using a SATA cable and secure it to the case using screws. This is where your system will store its operating system and programs.
- 6. Now, let’s move on to the power supply installation. Locate the power supply unit (PSU) and connect it to the motherboard using the main power cable. Additionally, connect the PSU to the storage drive, graphics card (if applicable), and any other components that require power. Ensure all cables are securely connected and tidy to avoid any obstruction or damage.
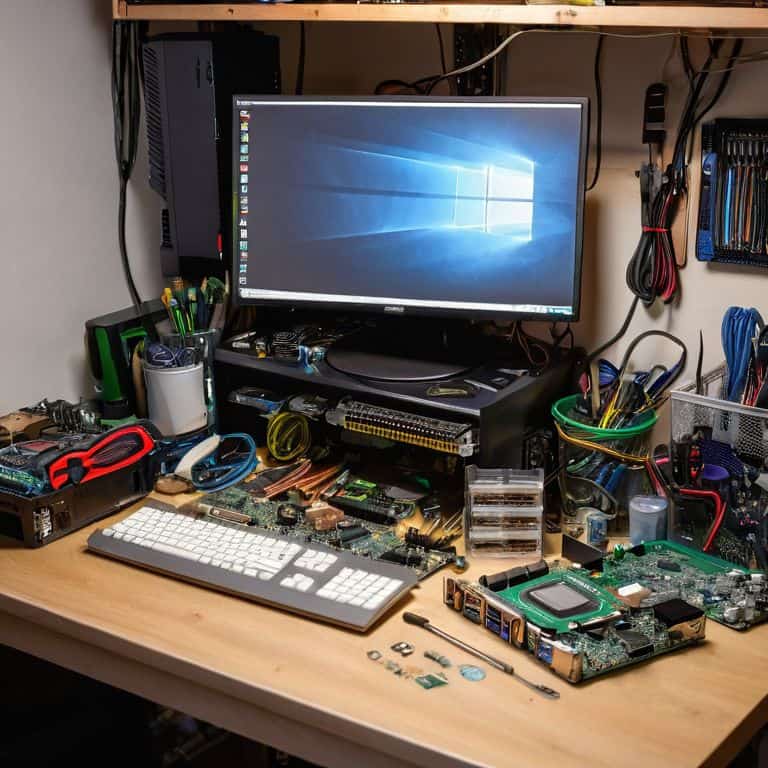
- 7. The final step is to install the graphics card (if you’re using a dedicated GPU) and connect all the front panel headers, fans, and other peripherals to the motherboard. Double-check all connections to ensure they’re secure and properly connected. Once everything is in place, plug in the power cord and press the power button to bring your new PC to life.
Build Your Dream Pc
As you embark on this exciting journey, remember that choosing the right cpu is crucial for your PC’s performance. It’s the brain of your operation, and selecting one that fits your needs will make all the difference. When it comes to handling multiple tasks or gaming, a powerful CPU can be a game-changer. Consider your budget and the types of activities you’ll be doing most often to make an informed decision.
To take your PC to the next level, don’t overlook the importance of pc cooling systems. A well-designed cooling system can help optimizing pc performance and prevent overheating, which can damage your components. Look into different cooling options, such as air or liquid cooling, to find the best fit for your build. Additionally, investing in pc building tools for beginners can make the assembly process much smoother and less intimidating.
As you near the end of your build, think about the best budget gpu options that will give you the graphics quality you desire without breaking the bank. With the right combination of CPU, GPU, and cooling system, you’ll be able to enjoy a seamless gaming experience or tackle demanding tasks with ease. By considering these factors, you’ll be well on your way to creating a PC that meets your unique needs and provides countless hours of entertainment and productivity.
Best Budget Gpu for Gaming
When it comes to gaming, your GPU is the real hero. For a budget-friendly option, consider the NVIDIA GeForce GTX 1650 or the AMD Radeon RX 5500 XT. Both offer impressive performance without breaking the bank. With these GPUs, you can enjoy smooth graphics and high frame rates, making your gaming experience even more exhilarating.
Look for a GPU with at least 4GB of VRAM to ensure seamless gameplay. Additionally, check for compatibility with your CPU and motherboard to avoid any potential issues. By choosing the right budget GPU, you’ll be able to play your favorite games with stunning visuals and responsive performance, all while staying within your budget.
Choosing the Right Cpu for You
Now that we’re diving into the specifics of building your dream PC, let’s talk about the brain of the operation: the CPU. Choosing the right one can feel overwhelming, but don’t worry, I’ve got you covered. Think of your CPU as the conductor of your computer’s orchestra – it needs to keep everything in harmony. Consider what you’ll be using your PC for: if you’re a gamer, you’ll want a CPU with high clock speeds and multiple cores.
For general use, such as browsing and streaming, a mid-range CPU will suffice. Make a list of your top priorities and match them with the CPU’s specs. Remember, the goal is to find the perfect balance between performance and budget. With a little research, you’ll be well on your way to selecting the ideal CPU for your dream PC.
5 Essential Tips for a Smooth PC Building Experience
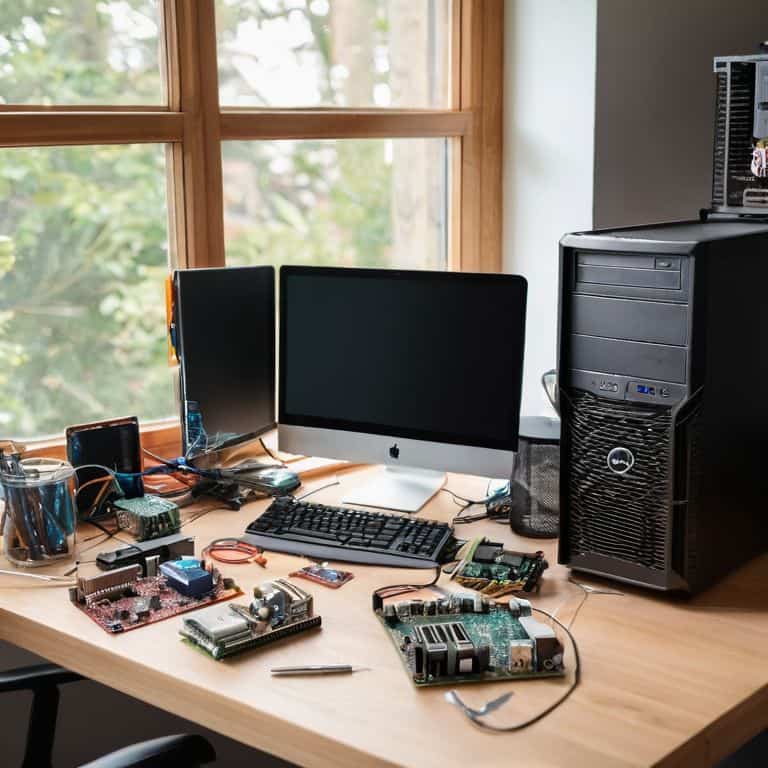
- Prepare Your Workspace: Clear a flat surface and gather all your tools and components before starting to build your PC
- Ground Yourself: Static electricity can damage your components, so touch a grounded metal object or wear an anti-static wrist strap to protect your parts
- Handle Components with Care: Be gentle when handling sensitive parts like the CPU, GPU, and RAM to avoid damaging them
- Follow a Logical Order: Install your components in a logical order, starting with the motherboard, then the CPU, RAM, and storage, to make the process easier and less prone to errors
- Double-Check Your Connections: Verify that all cables are securely connected to the correct ports and that your components are properly seated to avoid any issues during boot-up
Your Dream PC Awaits: 3 Key Takeaways
By following the step-by-step guide, you’ll be able to build your very own PC from scratch, tailored to your specific needs and budget
Choosing the right CPU and GPU is crucial for optimal performance, and considering your budget and intended use will help you make the best decision
With these basics under your belt, you can now explore more advanced topics, such as overclocking, custom cooling, and more, to take your PC-building skills to the next level
Building Your Dream PC Made Easy
The moment you screw in that final component and press the power button, the thrill of creation is addicting – and that’s what makes building your own PC an adventure, not a chore.
Sophie Wallace
You Did It: A Dream PC Reality
As we wrap up this beginner’s journey to building a PC, let’s quickly recap the key milestones we’ve covered: from understanding the basics of what makes a PC tick, to the crucial step-by-step guide on how to assemble your components, and finally, to making informed decisions about your CPU and GPU, such as choosing the best budget GPU for gaming. Each of these steps, though potentially daunting at first, has been designed to be approachable and engaging, because I believe that learning should be a fun, rewarding adventure, not a chore.
Now, as you stand back to admire your handiwork, remember that building your own PC is not just about the end result – it’s about the journey, the learning, and the sense of accomplishment that comes with creating something with your own hands. So, go ahead, turn it on, and watch your dream PC come to life. You’ve earned it, and I’m honored to have been a part of your journey. Keep exploring, keep learning, and most importantly, enjoy the incredible world of PC gaming and creation that you’ve just unlocked for yourself!
Frequently Asked Questions
What are the essential tools I need to assemble my PC?
Time to get hands-on! To assemble your PC, you’ll need a few essential tools: a screwdriver (preferably a torx and a flathead), wire cutters, and pliers. Don’t forget a can of compressed air to keep things tidy. I like to call these my ‘PC assembly superheroes’ – they’ll save the day and make the process a breeze!
How do I ensure compatibility between different components like CPU, motherboard, and RAM?
To ensure compatibility, I always check the motherboard manual or manufacturer’s website for compatible CPU and RAM options. I also use online tools like PC Part Picker to double-check that all my components play nicely together – it’s a total game-changer for avoiding frustrating mismatches!
What are some common mistakes to avoid when building a PC for the first time?
Don’t worry, I’ve got you covered. When building a PC for the first time, common mistakes to avoid include handling components by the edges, not grounding yourself, and forcing connectors into place – these can damage your shiny new parts. Let’s steer clear of those pitfalls and build your dream PC with confidence!