I still remember the first time I tried to build a workbench – it was a disaster. I had all the right tools, but my design was all wrong, and it ended up being a wobbly, useless piece of furniture. But that’s the thing about DIY projects – the mistakes are often where the magic happens. When I finally figured out how to build a workbench that was sturdy and functional, it was a game-changer for my workshop. I realized that it’s not about having a perfect plan, but about being willing to experiment and learn as you go.
In this article, I’ll share my honest, no-hype guide on how to build a workbench that will actually make your DIY dreams come true. I’ll walk you through the process, from choosing the right materials to adding the final touches, and I’ll give you all the practical tips and tricks I’ve learned along the way. My goal is to make this project fun and accessible, so you can enjoy the process of creating something with your own hands. Whether you’re a seasoned DIY enthusiast or just starting out, I promise you’ll find something valuable in this guide to help you build a workbench that will become the heart of your workshop.
Table of Contents
- Guide Overview: What You'll Need
- Step-by-Step Instructions
- How to Build a Workbench
- Building a Workbench for Beginners Essential Tools
- Workbench Design Ideas for Small Spaces and Big Dreams
- Hammering Out the Details: 5 Key Tips for Building Your Dream Workbench
- Key Takeaways to Get You Building
- Wrapping Up Your Dream Workbench
- Frequently Asked Questions
Guide Overview: What You'll Need
Total Time: 4 hours 30 minutes
Estimated Cost: $100 – $200
Difficulty Level: Intermediate
Tools Required
- Circular Saw (for cutting lumber)
- Drill Press (for precise drilling)
- Hand Saw (for cutting small pieces)
- Sander (for smoothing out wood)
- Tape Measure (for accurate measurements)
- Square (for ensuring corners are square)
- Clamps (for holding pieces together)
- Safety Glasses (for protecting your eyes)
Supplies & Materials
- 2-in x 4-in lumber (for frame and legs)
- 3/4-in plywood (for work surface)
- Wood Glue (for bonding pieces together)
- 2 1/4-in wood screws (for assembling frame)
- Wood Filler (for filling gaps and holes)
- Sandpaper (for smoothing out wood)
- Paint or Stain (optional, for finishing)
Step-by-Step Instructions
- 1. First, let’s gather our materials and get a sense of the space where our workbench will live. I like to think of this stage as the “dreaming phase” – we’re not just measuring the room, we’re imagining all the awesome projects we’ll be working on. Make sure you have all the necessary tools and lumber, and don’t be afraid to get creative with the design.
- 2. Next, we need to prepare the site where our workbench will be built. This means clearing out any clutter, covering the floor with a drop cloth, and setting up our power tools. I like to have my trusty table saw and drill press nearby, as well as a bunch of clamps and a tape measure. It’s also a good idea to have a solid work surface to work on, whether that’s a temporary table or a existing countertop.
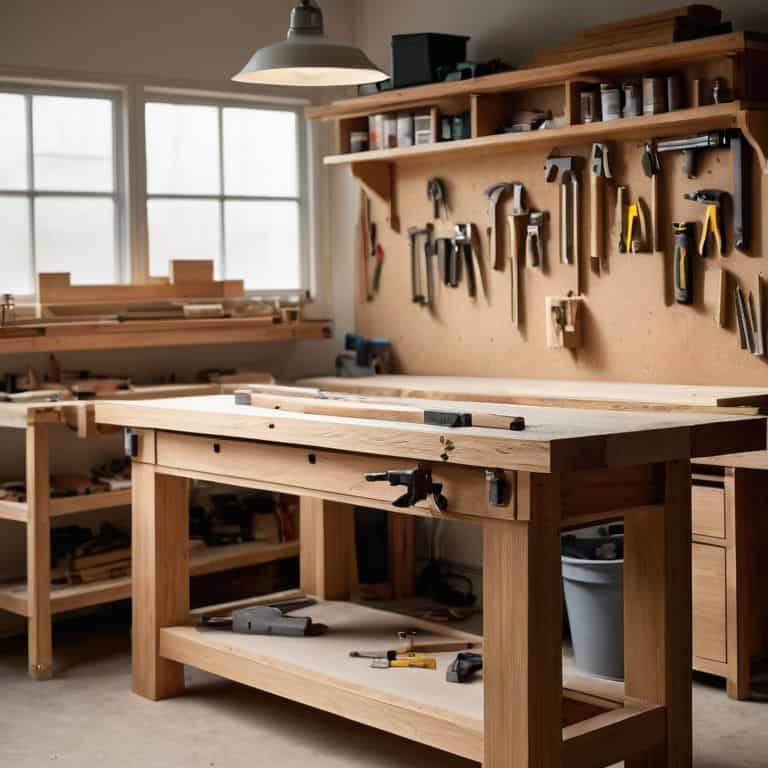
- 3. Now it’s time to start building the frame of our workbench. This is the foundation of our project, so it’s essential to get it right. I like to use 2×4 lumber for the legs and frame, as it’s sturdy and easy to work with. Use your table saw to cut the lumber to the right size, and then use your drill press to screw everything together. Don’t worry too much about making mistakes at this stage – we can always make adjustments as needed.
- 4. With our frame built, it’s time to add the work surface itself. This is where things can get really creative – you can use a solid piece of plywood, or get fancy with a live edge wood slab. I like to use a combination of both, as it gives our workbench a unique look and feel. Use your clamps to hold everything in place, and then screw it all together with your drill press.
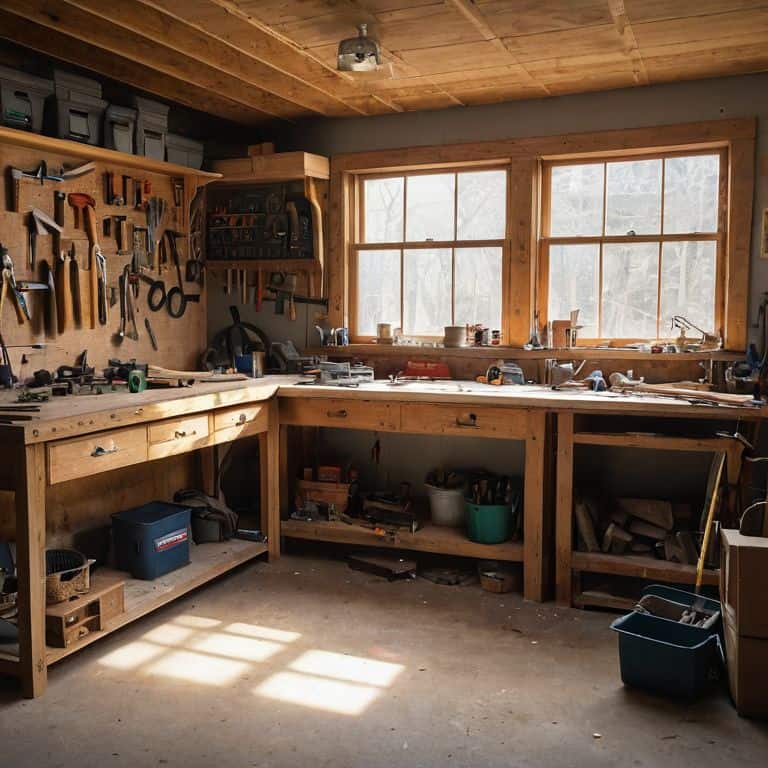
- 5. Next up, we need to add some storage and shelving to our workbench. This is where we can get really clever with our design, adding bins and baskets to hold all our tools and supplies. I like to use a combination of wooden crates and metal bins, as they add a touch of industrial chic to our workbench. Use your drill press to screw everything in place, and don’t be afraid to get creative with the layout.
- 6. Now it’s time to add some finishing touches to our workbench. This is where we can add some personality to our project, whether that’s with a fresh coat of paint or some decorative trim. I like to use a combination of both, as it gives our workbench a unique look and feel. Use your sandpaper to smooth out any rough edges, and then apply a coat of polyurethane to protect the wood.
- 7. Finally, it’s time to put our workbench to the test and see what it can do. I like to start with a simple project, like building a birdhouse or a picture frame. This is where we can really get a feel for our workbench and see how it performs. Don’t be afraid to make adjustments as needed, and don’t worry if things don’t turn out perfectly – that’s all part of the fun of building something with our own hands.
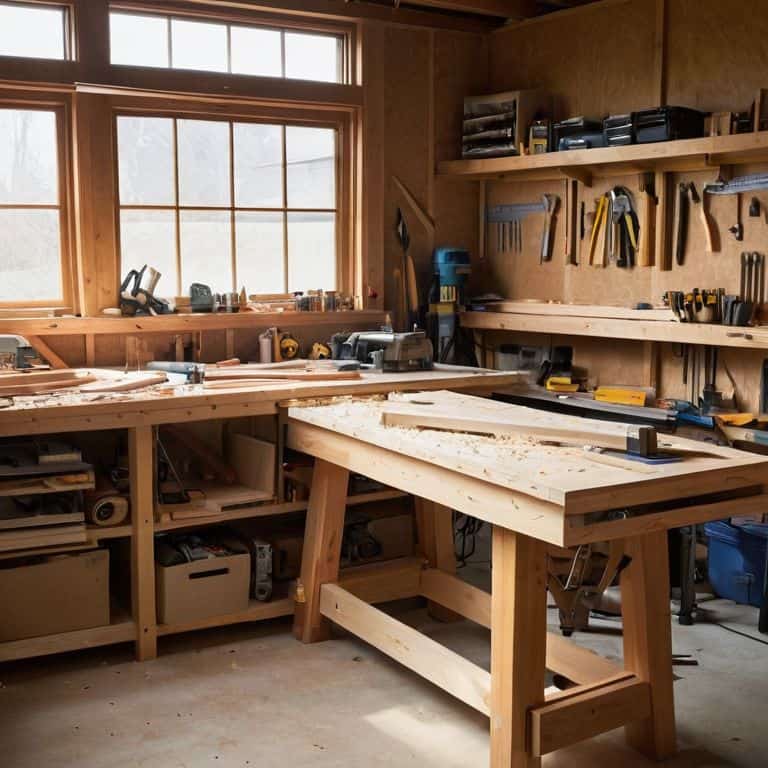
How to Build a Workbench

As we dive into the world of workbench building, it’s essential to consider workbench design ideas that cater to your specific needs. For beginners, a simple and sturdy design is often the best place to start. I always recommend exploring different workbench storage solutions to keep your tools and materials organized, making the building process much more efficient.
When it comes to the workbench top, choosing the best materials is crucial for durability and performance. I’m a big fan of using reclaimed wood or durable composite materials that can withstand the wear and tear of frequent use. Additionally, incorporating simple workbench plans can help you build a functional workbench even in small spaces.
To ensure a safe and enjoyable building experience, don’t forget to incorporate workbench safety features into your design. This can include features like non-slip surfaces, secure tool storage, and adequate lighting. By prioritizing safety and functionality, you’ll be well on your way to creating a workbench that meets your needs and provides a fun and creative building experience.
Building a Workbench for Beginners Essential Tools
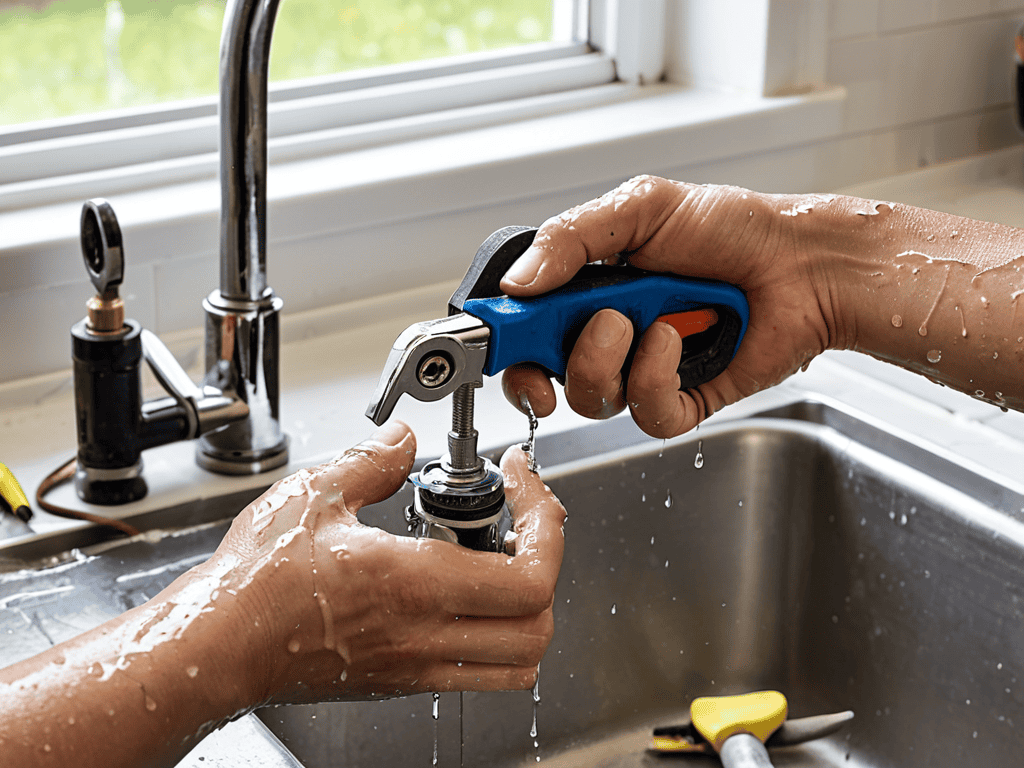
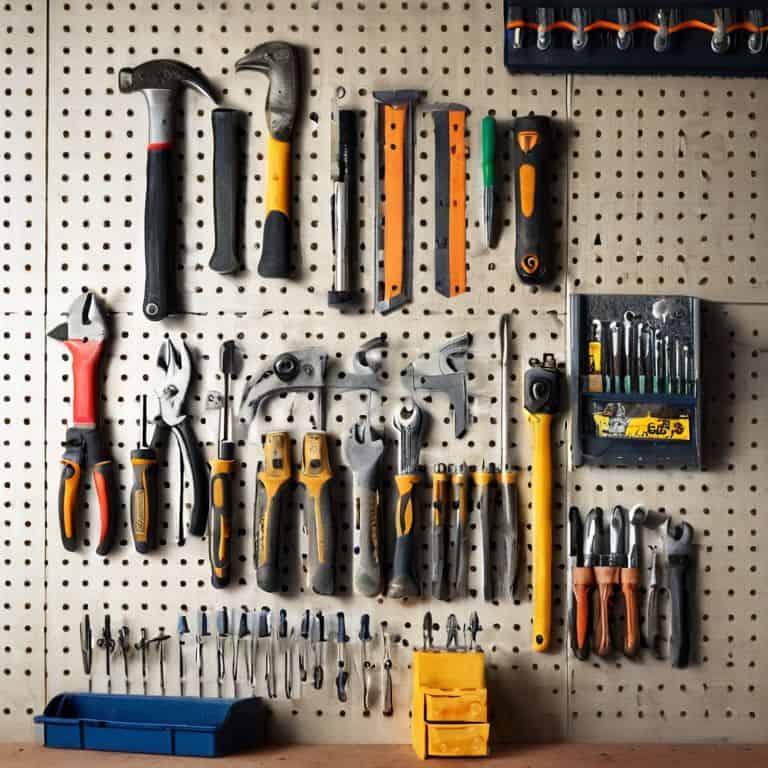
When it comes to building a workbench, having the right tools is crucial, especially for beginners. Don’t worry if you don’t have a fully-stocked workshop just yet – I’ve been there too. The essentials include a tape measure, square, level, and a trusty hammer. You’ll also need a drill press or hand drill, and some decent sandpaper for smoothing out those rough edges. I like to think of these tools as my old friends – we’ve been through a lot of projects together, and I know I can count on them to get the job done.
Now, I know what you’re thinking – “Frank, this is all pretty standard stuff.” And you’re right, it is! But here’s the thing: having these tools within arm’s reach will make all the difference in your build. Trust me, I’ve learned that the hard way. So, take some time to gather your essentials, and let’s get ready to turn some raw wood into an amazing workbench!
Workbench Design Ideas for Small Spaces and Big Dreams
Now that we’ve got the basics covered, let’s talk about making the most of your space. I’ve worked with tiny garages and cramped workshops, and I can tell you, it’s all about clever design. Consider a fold-down or wall-mounted workbench to save floor space. You can also think about adding storage bins, hooks, or a pegboard to keep your tools within easy reach. This way, you can have a big dream workshop even in a small space. I’ve seen some amazing setups in tiny apartments, and with a little creativity, you can turn any area into a functional workspace.
Hammering Out the Details: 5 Key Tips for Building Your Dream Workbench
- Measure Twice, Cut Once: Double-Check Your Workbench Design to Ensure a Perfect Fit
- Choose the Right Wood for the Job: Selecting Lumber that’s Both Durable and Budget-Friendly
- Get Creative with Your Workbench Top: Add a Personal Touch with Custom Designs or Materials
- Don’t Forget the Storage: Incorporate Shelves, Drawers, or Cabinets to Keep Your Tools Organized
- Add Some Personality to Your Build: Make it Your Own with Custom Finishes, Colors, or Quirky Details
Key Takeaways to Get You Building
Remember, the most important part of any DIY project is the journey, not just the end result – don’t be afraid to make mistakes and learn from them
Choose a workbench design that fits your space and style, whether you’re working with a compact urban garden or a spacious garage workshop
With the right tools, a bit of creativity, and a lot of enthusiasm, you can turn raw materials into a workbench that’s not only functional but also reflects your unique personality and workshop vibe
Wrapping Up Your Dream Workbench
As we’ve gone through this journey of building a workbench together, remember that the key to success lies in taking your time and enjoying the process. We’ve covered the essential tools for beginners, explored various workbench design ideas for small spaces and big dreams, and walked through the step-by-step instructions to bring your project to life. It’s all about embracing the happy accidents and learning from them, which is what makes DIY projects so rewarding. By now, you should have a solid foundation to create a workbench that suits your needs and reflects your personality.
As you put the final touches on your workbench, remember that this is just the beginning of your DIY adventure. The real magic happens when you start using your new workbench to create, experiment, and push the boundaries of what you thought was possible. So, go ahead, fire up your power tools, turn up the music, and let the joy of making take over. Your workbench is more than just a piece of furniture; it’s a gateway to a world of creativity and self-expression, and I’m honored to have been a part of your journey.
Frequently Asked Questions
What type of wood is best suited for building a workbench?
Dude, for a workbench, you want wood that’s tough and durable. I’m a big fan of using maple, oak, or beech – they can handle all the heavy lifting (literally!). Avoid softer woods like pine or fir, they’ll just get dinged up too easily. Trust me, you want a workbench that can keep up with your DIY adventures!
How do I ensure my workbench is level and stable?
Leveling your workbench is crucial, my friend! I use a combination of shims, adjustable feet, and a trusty level to ensure it’s rock-solid. Don’t be afraid to get a little creative – I’ve even used playing cards to fine-tune the balance. Remember, a level workbench is a happy workbench, and a happy workbench is a productive one!
What are some essential features I should include in my workbench design for optimal functionality?
Dude, when it comes to optimal functionality, I’ve got three non-negotiables: built-in vice, ample storage, and a durable, scratch-resistant top. Trust me, these will make all the difference in your workshop workflow. Now, let’s get creative and make it happen!