As I stand in my cozy kitchen, surrounded by the warm scent of baking spices and the gentle hum of my mixer, I’m reminded of the countless times I’ve been asked for a guide to making pies. It’s a topic that’s often shrouded in mystery, with many believing that crafting the perfect pie is a daunting task, reserved only for the most skilled bakers. But I’m here to tell you that’s simply not true. With a little patience, practice, and _attention to detail_, anyone can become a pie-making pro.
In this article, I promise to share my honest, no-fuss approach to making pies, gleaned from years of testing and refining recipes as a professional baker. You’ll learn the _essential techniques_ and tips that will take your pie game to the next level, from flaky crusts to perfectly balanced fillings. Whether you’re a beginner or a seasoned baker, my goal is to empower you with the knowledge and confidence to create stunning, delicious pies that will impress friends and family alike. So, let’s get started on this pie-making journey together, and I promise you, with these simple steps, you’ll be a pro in no time!
Table of Contents
Guide Overview: What You'll Need
Total Time: 2 hours 30 minutes
Estimated Cost: $20 – $40
Difficulty Level: Intermediate
Tools Required
- Pastry Brush (for egg wash)
- Rolling Pin (for dough rolling)
- Measuring Cups (dry and liquid)
- Measuring Spoons
Supplies & Materials
- All-Purpose Flour (2 cups)
- Cold Unsalted Butter (1 cup)
- Granulated Sugar (1 cup)
- Eggs (2 large)
- Milk (1 cup)
- Pie Filling (varies by type)
- Pie Crust (homemade or store-bought)
Step-by-Step Instructions
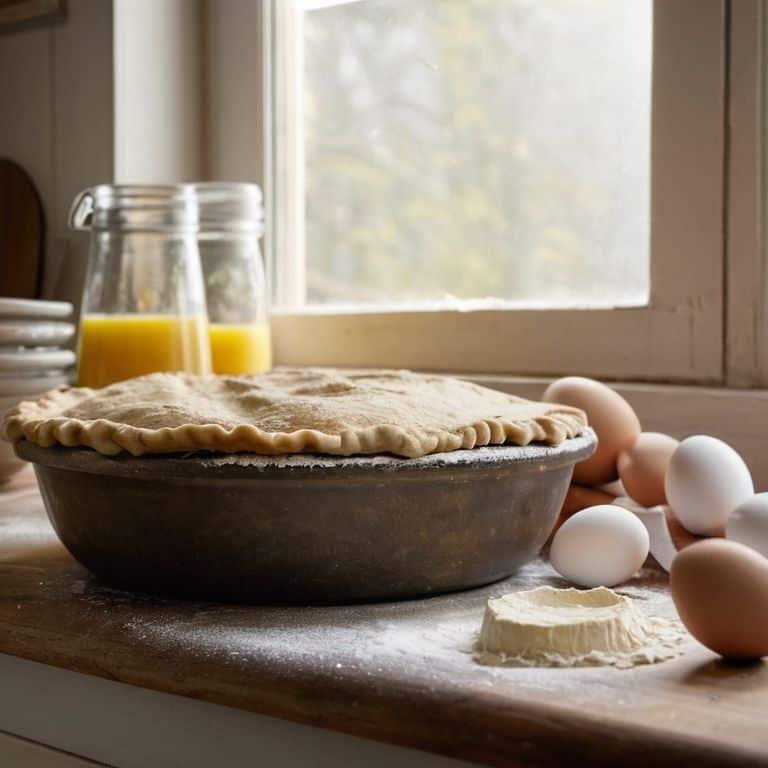
- 1. First, let’s start with the foundation of our pie: the crust. To make a flaky and tender crust, we need to begin by combining 2 1/4 cups of all-purpose flour, 1 tsp of salt, and 1/2 cup of cold unsalted butter in a large mixing bowl. Mise en place is crucial here, so ensure all your ingredients are measured and ready to go.
- 2. Next, we’ll use a pastry blender or our fingers to work the butter into the flour until the mixture resembles coarse crumbs with some larger pea-sized pieces of butter remaining. This step is all about creating a mix of different textures, which will ultimately lead to a crust that is both crumbly and smooth.
- 3. Now, we’ll gradually add 1/4 cup of ice-cold water to the mixture, stirring it in with a fork until the dough starts to come together in a ball. It’s essential to be gentle here and not overwork the dough, as this can lead to a tough crust. Instead, we want to aim for a dough that is just combined and still slightly shaggy.
- 4. Divide the dough in half and shape each half into a disk. Wrap each disk in plastic wrap and refrigerate for at least 1 hour or up to 2 days. This resting period is vital, as it allows the gluten in the dough to relax, making the dough easier to roll out and shape.
- 5. Preheat your oven to 375°F (190°C). On a lightly floured surface, roll out one of the chilled dough disks to a thickness of about 1/8 inch. To ensure the dough rolls out evenly, use a rolling pin with a bit of flour on it to prevent sticking. As you roll, rotate the dough 90 degrees every few rolls to maintain its circular shape.
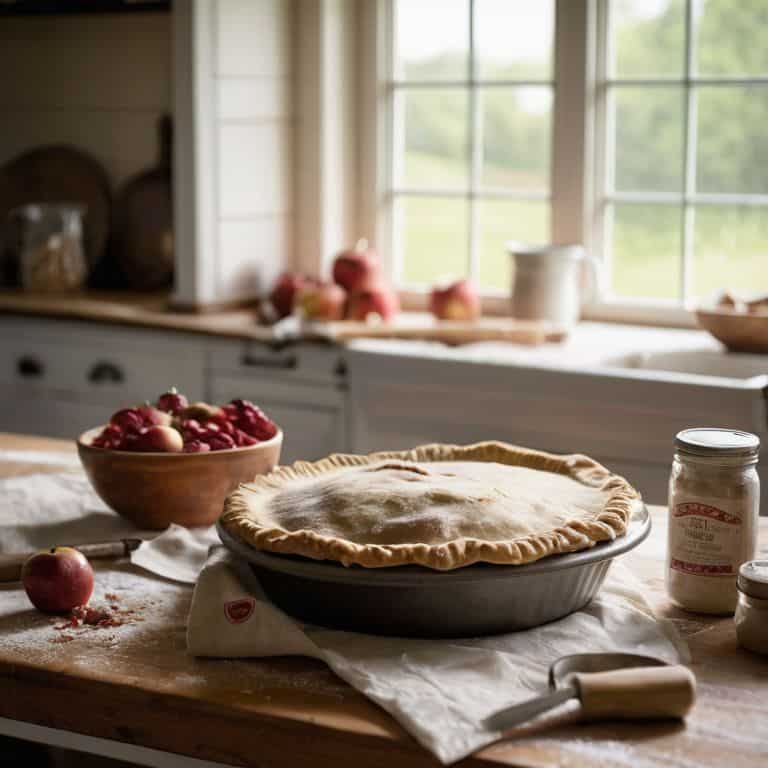
- 6. Carefully transfer the rolled-out dough to a 9-inch pie dish, trimming any excess dough from the edges and crimping the rim to form a decorative border. Don’t worry if it’s not perfect – the imperfections are what make homemade pies so charming. Fill the pie crust with your chosen filling, whether it’s a classic apple or a more adventurous combination.
- 7. Roll out the second dough disk to a similar size as the first. Use this to cover the pie and crimp the edges to seal the pie. Cut a few slits in the top crust to allow steam to escape during baking. Brush the top crust with a little milk or beaten egg for a beautiful golden glaze. Your pie is now ready to be baked to perfection.
A Guide to Making Pies
As we dive deeper into the world of pie-making, it’s essential to understand the importance of pie crust recipes from scratch. These recipes allow for a level of customization and control that pre-made crusts simply can’t match. By making your own crust from scratch, you can ensure that it’s tailored to your specific filling and baking style. For instance, if you’re making a delicate fruit pie, you may want to use a lighter touch when it comes to the crust, while a richer filling like chocolate or nuts might call for a more robust crust.
One common mistake that beginners make when baking pie is not allowing the filling to set properly. This can lead to a filling that’s too runny or, worse still, a crust that’s soggy and unappetizing. To avoid this, make sure to give your pie plenty of time to cool and set before serving. It’s also crucial to understand the different types of pie crusts and how they interact with various fillings. For example, a flaky crust is perfect for a classic apple pie, while a more delicate crust might be better suited to a creamy pie like pumpkin or sweet potato.
When it comes to baking pie for beginners, it’s all about taking it one step at a time. Don’t be discouraged if your first few attempts don’t turn out perfectly – with practice, you’ll soon be whipping up delicious homemade pies like a pro. Remember to keep your ingredients cold, your workspace clean, and your expectations realistic. And don’t forget to have fun with it! Homemade pie crust tips and tricks are plentiful, and experimenting with different ingredients and techniques is all part of the journey.
Avoiding Common Pie Filling Mistakes
When it comes to pie fillings, even the smallest misstep can lead to a less-than-desirable outcome. One common mistake is overmixing the filling, which can result in a tough, dense texture. To avoid this, gently fold your ingredients together until they’re just combined, being careful not to overwork the mixture. Another mistake is not cooking the filling long enough, leading to an undercooked or runny center. Make sure to cook your filling until it’s bubbly and thickened, following the recipe’s specified cooking time.
By being mindful of these potential pitfalls, you’ll be well on your way to creating a delicious, stress-free pie. Remember, patience and attention to detail are key when it comes to crafting the perfect pie filling.
Pie Crust Recipes From Scratch
Pie Crust Recipes from Scratch
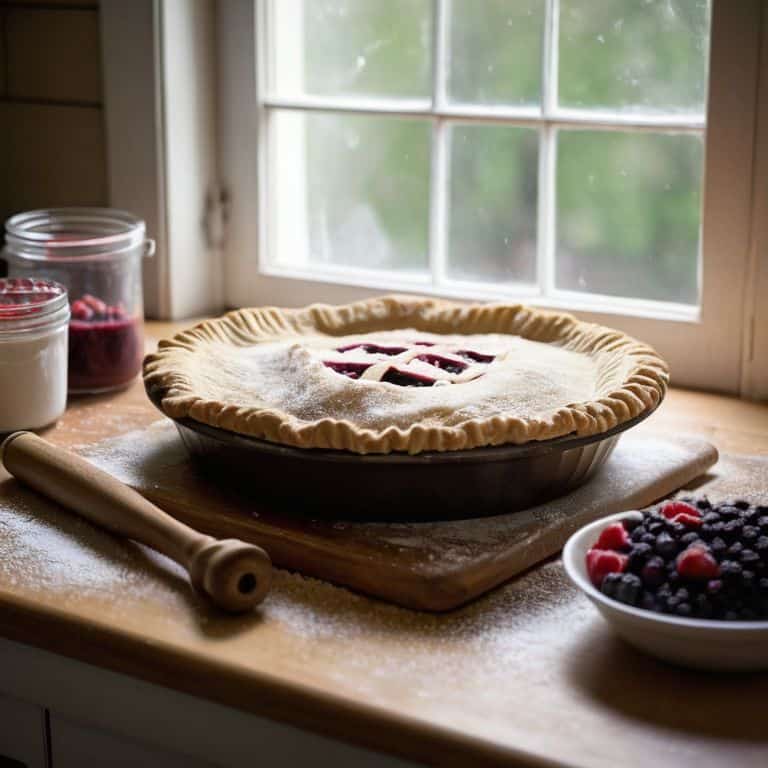
When it comes to making pies, the crust is where the magic begins. I adore crafting my own pie crusts from scratch, and I’m excited to share my favorite recipes with you. With just a few simple ingredients – flour, butter, and water – you can create a flaky, tender crust that’s the perfect base for your favorite fillings.
My go-to recipe is a classic all-butter crust, which I’ve perfected over years of testing and tweaking. The key is to keep your ingredients cold and to handle the dough gently, so you don’t develop the gluten in the flour. I’ll walk you through the process step-by-step, with photos to illustrate each stage, so you can confidently make your own delicious pie crusts from scratch.
Pie-fecting Your Craft: 5 Essential Tips for a Flawless Pie
- Ensure Your Ingredients are at Room Temperature for Better Dough Consistency
- Blind Baking is Your Friend: Preventing Soggy Bottoms in Cream and Custard Pies
- Don’t Overwork the Dough: The Key to a Flaky, Tender Crust
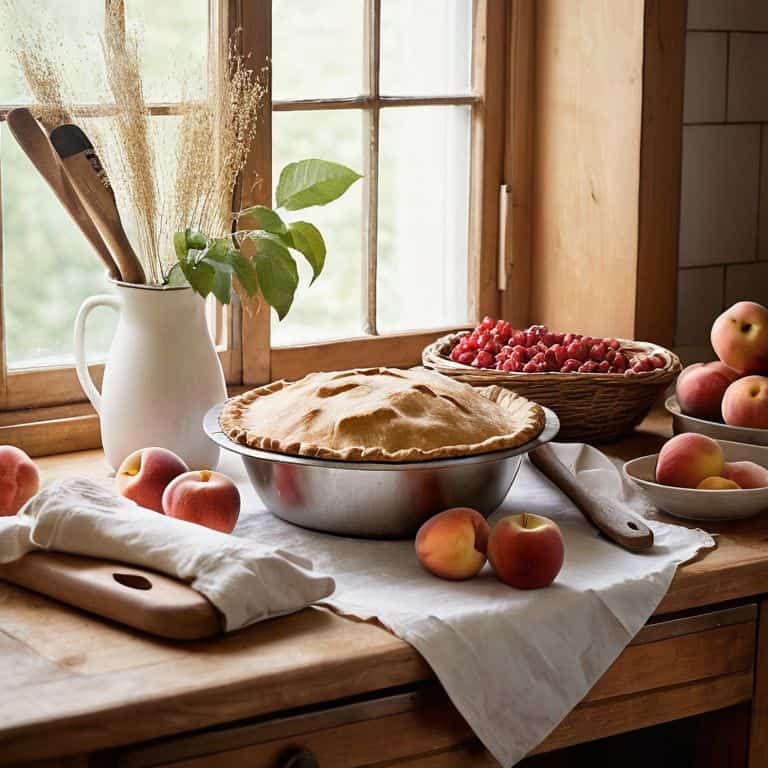
- Balance Your Fillings: The Art of Combining Sweet and Tart for the Perfect Pie
- Chill Your Dough: Why Patience is a Virtue in the Pie-Making Process
Pie-Perfecting Key Takeaways
Becoming a pie-making pro starts with mastering the art of ‘mise en place’, ensuring all your ingredients are prepped and ready to go, making the process smoother and less stressful
Understanding the science behind pie crust and filling interactions can elevate your bakes from good to great, and it’s all about finding that perfect balance of flavors and textures
Practice may not make perfect, but in the world of pie crafting, it certainly gets you closer – don’t be discouraged by initial mishaps, and remember, even the most seasoned bakers have been where you are now
The Pie-Making Philosophy
The art of making pies is not just about following a recipe, but about telling a story of love, tradition, and warmth, one delicious layer at a time.
Julia Ashwood
Bringing It All Together: The Joy of Pie Making
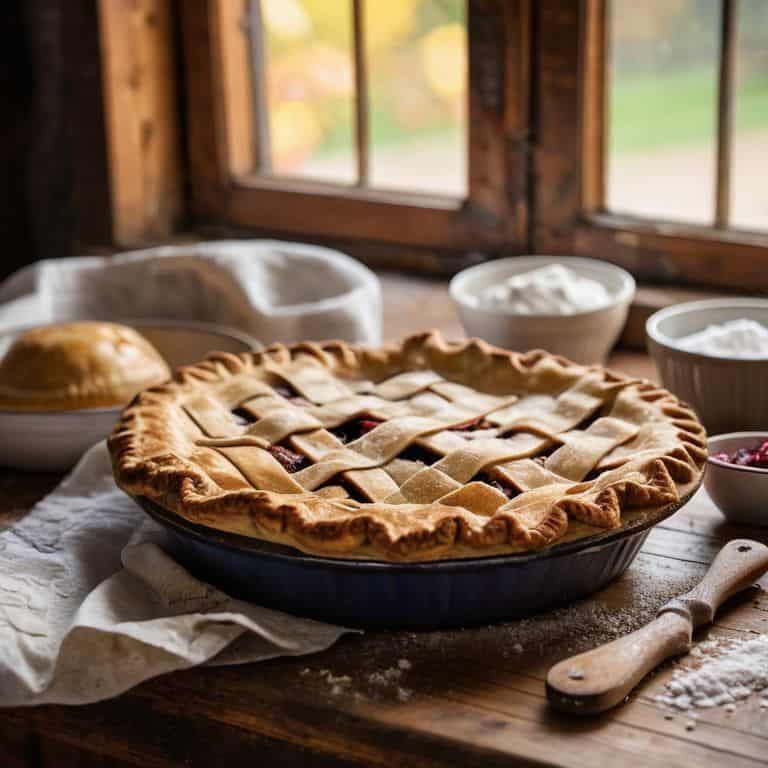
As we conclude this journey through the world of pie making, let’s take a moment to reflect on the key elements that make a truly exceptional pie. From the crust, which serves as the foundation of our dessert, to the filling, where flavors and textures come together in perfect harmony, each component plays a vital role. We’ve covered essential techniques such as making pie crusts from scratch and avoiding common mistakes in pie fillings. By mastering these fundamentals, you’ll be well on your way to creating pies that are not only delicious but also visually stunning.
As you continue on your pie-making path, remember that the true beauty of this craft lies in its creative freedom. Don’t be afraid to experiment with new ingredients and recipes, and always keep in mind that practice makes perfect. With time and patience, you’ll find that the process of making pies becomes a labor of love, a journey where the joy of creation is just as important as the end result. So go ahead, get baking, and let the sweetness of your creations bring joy to all who taste them!
Frequently Asked Questions
What are some common mistakes to avoid when making a homemade pie crust from scratch?
When making a homemade pie crust from scratch, common mistakes to avoid include overworking the dough, using too much water, and not keeping ingredients cold enough. These errors can lead to a tough, dense crust. To prevent this, make sure to mix your ingredients just until they come together, use ice-cold water, and keep your butter and shortening chilled.
How do I ensure my pie filling is evenly distributed and baked to perfection?
To achieve a perfectly baked pie with evenly distributed filling, I swear by the ‘blind bake’ method for the crust, followed by a gentle pouring of the filling. Then, it’s all about the baking temperature and time – I recommend a moderate 375°F for about 40-50 minutes, or until the filling is set and the crust is golden.
Can I use pre-made pie crusts or frozen fillings as a shortcut, and if so, how do I adapt the recipe?
While I adore making everything from scratch, I understand the allure of shortcuts. You can definitely use pre-made pie crusts or frozen fillings, but keep in mind they might affect the texture and flavor. Simply thaw and follow package instructions, then adjust baking time as needed.