I still remember the first time I attempted to finish a DIY coffee table – it was a disaster. I had followed all the instructions, but somehow, the final result looked nothing like the picture. That’s when I realized that most guides to finishing a DIY coffee table are too focused on the end result, rather than the journey. They don’t account for the happy accidents that can happen along the way, and they certainly don’t teach you how to troubleshoot when things go wrong. That’s why I’m excited to share my own approach to finishing a DIY coffee table, which I’ve learned through trial and error.
In this article, I’ll walk you through my no-stress guide to finishing a DIY coffee table. You’ll learn how to choose the right materials, how to prepare your table for finishing, and how to apply the perfect coat of stain or paint. I’ll also share some of my favorite tips and tricks for avoiding common mistakes and achieving a professional-looking finish. By the end of this article, you’ll have all the knowledge you need to create a beautiful, one-of-a-kind coffee table that reflects your personal style. So, let’s get started and turn that pile of raw materials into something truly amazing!
Table of Contents
- Guide Overview: What You'll Need
- Step-by-Step Instructions
- A Guide to Finishing a Diy Coffee Table
- Bringing It All Together: 5 Essential Tips for a Stunning DIY Coffee Table Finish
- Key Takeaways to a Stunning DIY Coffee Table
- The Joy of Creation
- Bringing Your DIY Coffee Table to Life
- Frequently Asked Questions
Guide Overview: What You'll Need
Total Time: 4 hours 30 minutes
Estimated Cost: $75 – $150
Difficulty Level: Intermediate
Tools Required
- Circular Saw (for cutting lumber)
- Drill Press (for precise drilling)
- Sander (for smoothing out wood)
- Measuring Tape (for accurate measurements)
- Clamp (for holding pieces together)
Supplies & Materials
- 2-in x 4-in lumber (for table legs and frame)
- 3/4-in thick plywood (for table top)
- Wood Glue (for bonding wood pieces)
- 2 1/4-in wood screws (for assembling table frame)
- Wood Finish (for protecting and enhancing wood appearance)
- Polyurethane (for applying a clear coat)
Step-by-Step Instructions
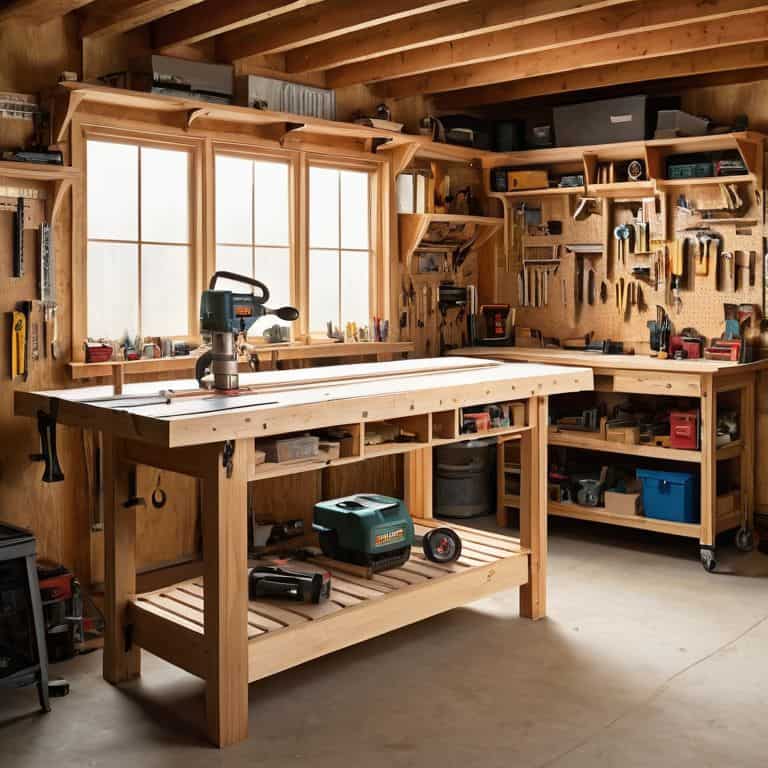
- 1. First, let’s get our tools ready and prepare the workspace. Clear out any clutter, put on your favorite playlist, and make sure you have all the necessary materials within arm’s reach. This will help you stay focused and ensure a smooth workflow.
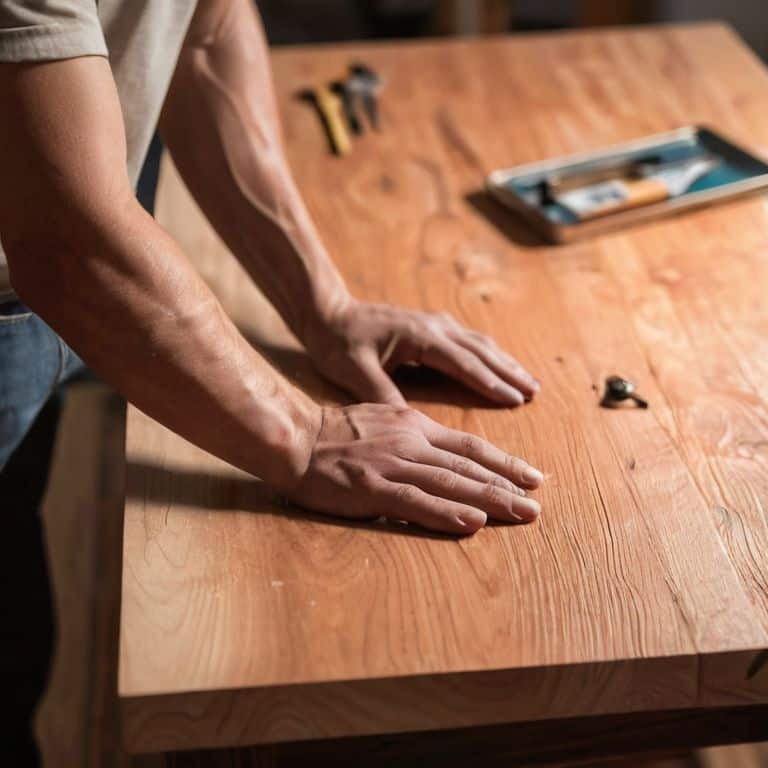
- 2. Next, we need to sand down the entire table to create a smooth surface for staining or painting. Start with a coarse-grit sandpaper and work your way up to a finer grit for a silky finish. Don’t forget to wear a dust mask and safety goggles to protect yourself from dust and debris.
- 3. Now it’s time to apply the stain or paint. Choose a color that fits your style and decor, and make sure to follow the manufacturer’s instructions for application and drying times. Remember, it’s all about the happy accidents, so don’t stress if it’s not perfect – it’s all part of the character.
- 4. After the stain or paint has dried, we’ll move on to assembling the hardware. This includes attaching the legs, handles, or any other decorative elements. Use a level to ensure everything is straight and even, and don’t overtighten the screws – we don’t want any stripped screws.
- 5. With the hardware in place, it’s time to add a protective finish. Apply a clear coat of polyurethane or varnish to protect the table from spills and scratches. Make sure to follow the instructions and apply thin, even coats, allowing each coat to dry before applying the next.
- 6. Next up, we’ll attach the shelves or storage units, if your design includes them. Use a drill press or hand drill to make precise holes, and then attach the shelves using screws or brackets. Double-check that everything is level and secure before moving on.
- 7. Finally, let’s add the finishing touches. This might include attaching decorative trim, adding felt pads to the legs, or applying a final coat of wax or polish. Take a step back and admire your handiwork – you’ve just created a one-of-a-kind DIY coffee table that’s sure to be the centerpiece of the room.
A Guide to Finishing a Diy Coffee Table
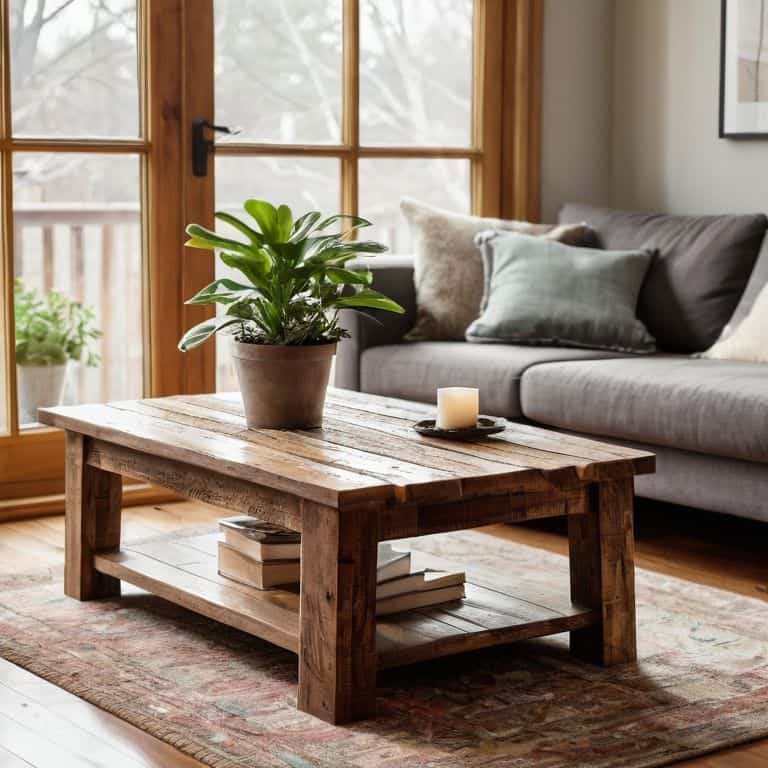
As we dive into the world of diy wood finishing techniques, it’s essential to remember that practice makes perfect. Don’t be too hard on yourself if your first attempts don’t turn out exactly as you envisioned – happy accidents can often lead to unique and exciting results. When it comes to coffee table design ideas, consider the overall aesthetic you want to achieve in your living room. Do you want a rustic, vintage vibe or a sleek, modern look?
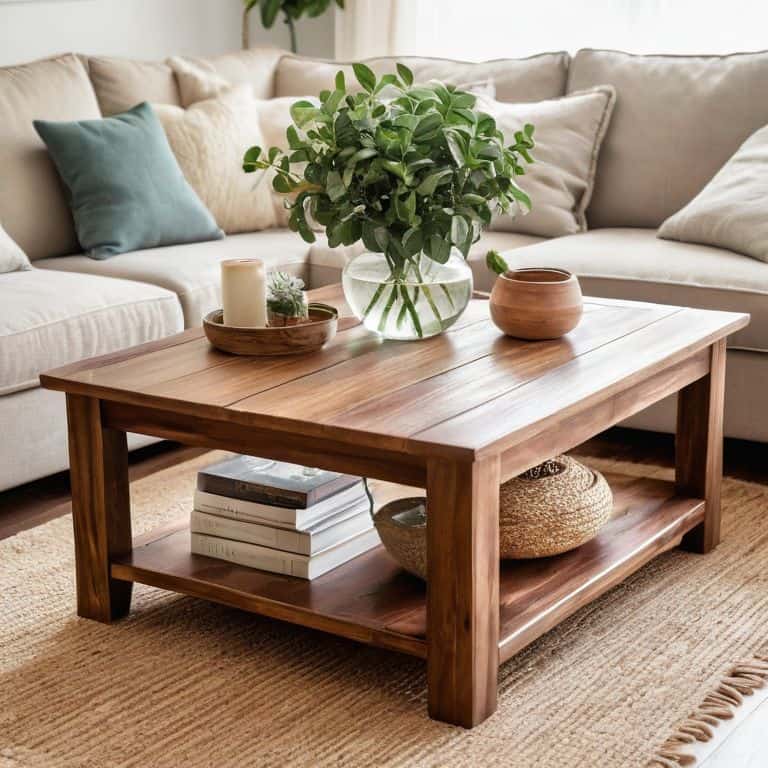
When applying wood protection methods, make sure to choose a finish that complements the type of wood you’re working with. For example, a water-based polyurethane is great for lighter woods, while an oil-based polyurethane provides a rich, warm glow on darker woods. As a beginner in furniture making for beginners, it’s crucial to experiment with different techniques and find what works best for you. Don’t be afraid to try new things and learn from your mistakes.
In the world of diy home decor projects, woodworking tools for coffee tables can be just as important as the materials themselves. Invest in a good quality sander and a reliable drill press to make your life easier and your projects more enjoyable. With the right tools and a bit of creativity, you can create a one-of-a-kind coffee table that reflects your personal style and adds a touch of warmth to your living room. Remember, the process of making something with your own hands is just as rewarding as the end result, so have fun and enjoy the journey!
Shielding Your Masterpiece With Wood Protection Methods
Now that we’ve got our coffee table looking like a million bucks, it’s time to shield it from the elements – and our daily lives. I’m talking about adding a protective finish to keep it looking fresh for years to come. Think of it like giving your table a force field against spills, scratches, and fading. You can use polyurethane, varnish, or even a waterproof coating – whatever you choose, make sure it’s right for your table’s material and the look you’re going for.
I like to think of this step as the secret ingredient in your favorite recipe. It’s what takes your DIY project from “homemade” to “handcrafted masterpiece.” So, take your time, and don’t be afraid to experiment until you find the perfect protection for your one-of-a-kind coffee table.
Unlocking Diy Wood Finishing Techniques
Now that we’ve got our coffee table built, it’s time to bring out the big guns – wood finishing techniques. I’m talking stains, sealers, and all the magic that happens in between. This is where your project goes from “cool DIY thing” to “stunning piece of furniture that’ll make your friends jealous.” Don’t worry if you’re new to wood finishing; I’ve got your back. We’ll explore some simple yet effective techniques to make your coffee table shine.
Think of wood finishing like adding the perfect soundtrack to your project – it elevates the whole experience. We’ll dive into the basics of applying stain, polyurethane, and other finishes to protect your wood and make it look amazing. Remember, it’s all about experimentation and having fun. And hey, if something goes wrong, that’s just part of the adventure, right?
Bringing It All Together: 5 Essential Tips for a Stunning DIY Coffee Table Finish
- Choose the Right Stain: Don’t be afraid to experiment with different stain colors and techniques to find the perfect match for your coffee table’s unique character
- Sand, Sand, Sand: Remember, a smooth finish starts with a solid sanding session – take your time and work your way up to higher grits for a silky surface
- Apply Thin Coats: When it comes to polyurethane or varnish, thin coats are your friend – they’ll help prevent drips and unevenness, ensuring a professional-looking finish
- Consider the Room’s Style: Think about the overall aesthetic you’re going for in the room where your coffee table will live – modern, rustic, or something in between – and choose your finish accordingly
- Seal and Protect: Once you’ve achieved the perfect finish, make sure to seal and protect it with a durable topcoat to keep your DIY coffee table looking fresh and fabulous for years to come
Key Takeaways to a Stunning DIY Coffee Table
Embracing the process, including the happy accidents, is just as important as the final result – it’s all about having fun and learning as you go
Combining the right DIY wood finishing techniques with effective wood protection methods will elevate your coffee table from a simple DIY project to a professional-looking masterpiece
Remember, the true beauty of DIY lies in making it your own, so don’t be afraid to experiment, add personal touches, and make your coffee table a unique reflection of your style and creativity
The Joy of Creation
Finishing a DIY coffee table isn’t just about slapping on some varnish, it’s about unleashing your inner craftsman and turning a pile of raw materials into a piece of art that tells a story of its own – and that, my friend, is the most beautiful finish of all!
Franklyn "Frank" Bishop
Bringing Your DIY Coffee Table to Life

As we wrap up this guide to finishing a DIY coffee table, let’s take a moment to recap the key takeaways. We’ve covered the essential steps to transform your raw materials into a stunning piece of furniture, from unlocking DIY wood finishing techniques to applying the perfect wood protection methods. Whether you’re a seasoned maker or a beginner, remember that the journey is just as important as the destination. Don’t be afraid to experiment, try new things, and learn from your mistakes – it’s all part of the fun!
So, as you put the final touches on your DIY coffee table, remember that you’re not just building furniture, you’re creating a piece of yourself. It’s a reflection of your creativity, patience, and dedication. Take pride in your work, and don’t hesitate to show it off to friends and family. And when you’re ready for the next project, I’ll be here, cheering you on and sharing my own making adventures. Happy building, and let’s get creative!
Frequently Asked Questions
What are some common mistakes to avoid when applying a wood finish to a DIY coffee table?
Whoa, don’t worry, buddy, we’ve all been there! Common mistakes to avoid when applying a wood finish include uneven application, insufficient drying time, and not testing the finish on a small area first. Trust me, I’ve learned from my own happy accidents – take your time, and you’ll be sipping coffee on that beautiful table in no time!
How do I choose the right type of wood protection for my coffee table's finish?
Dude, choosing the right wood protection is like picking the perfect soundtrack for your build – it sets the vibe! Consider the look you’re going for and how much use your table will get. Polyurethane, wax, or oil? Each has its own perks. I like to think of it as adding a force field to your masterpiece – it’s all about finding the right shield for your style!
Can I use a polyurethane finish on a DIY coffee table made from reclaimed or distressed wood?
Absolutely, buddy! Polyurethane is a great choice for reclaimed or distressed wood coffee tables. It enhances the natural beauty of the wood while providing a protective shield. Just make sure to choose the right sheen and apply it thinly to avoid hiding that amazing texture and character.